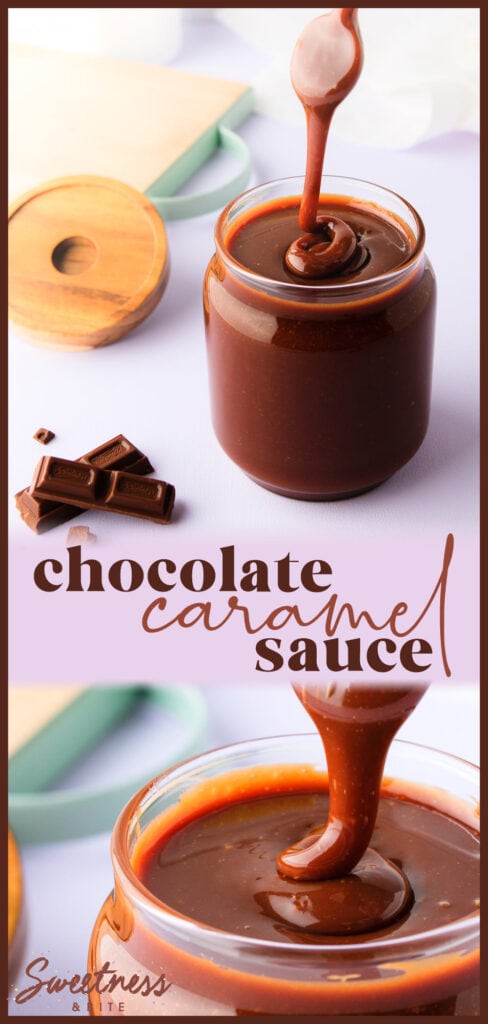
Chocolate Caramel Sauce
This post may contain affiliate links to products I recommend. I receive a small commission at no cost to you if you make a purchase using my link.
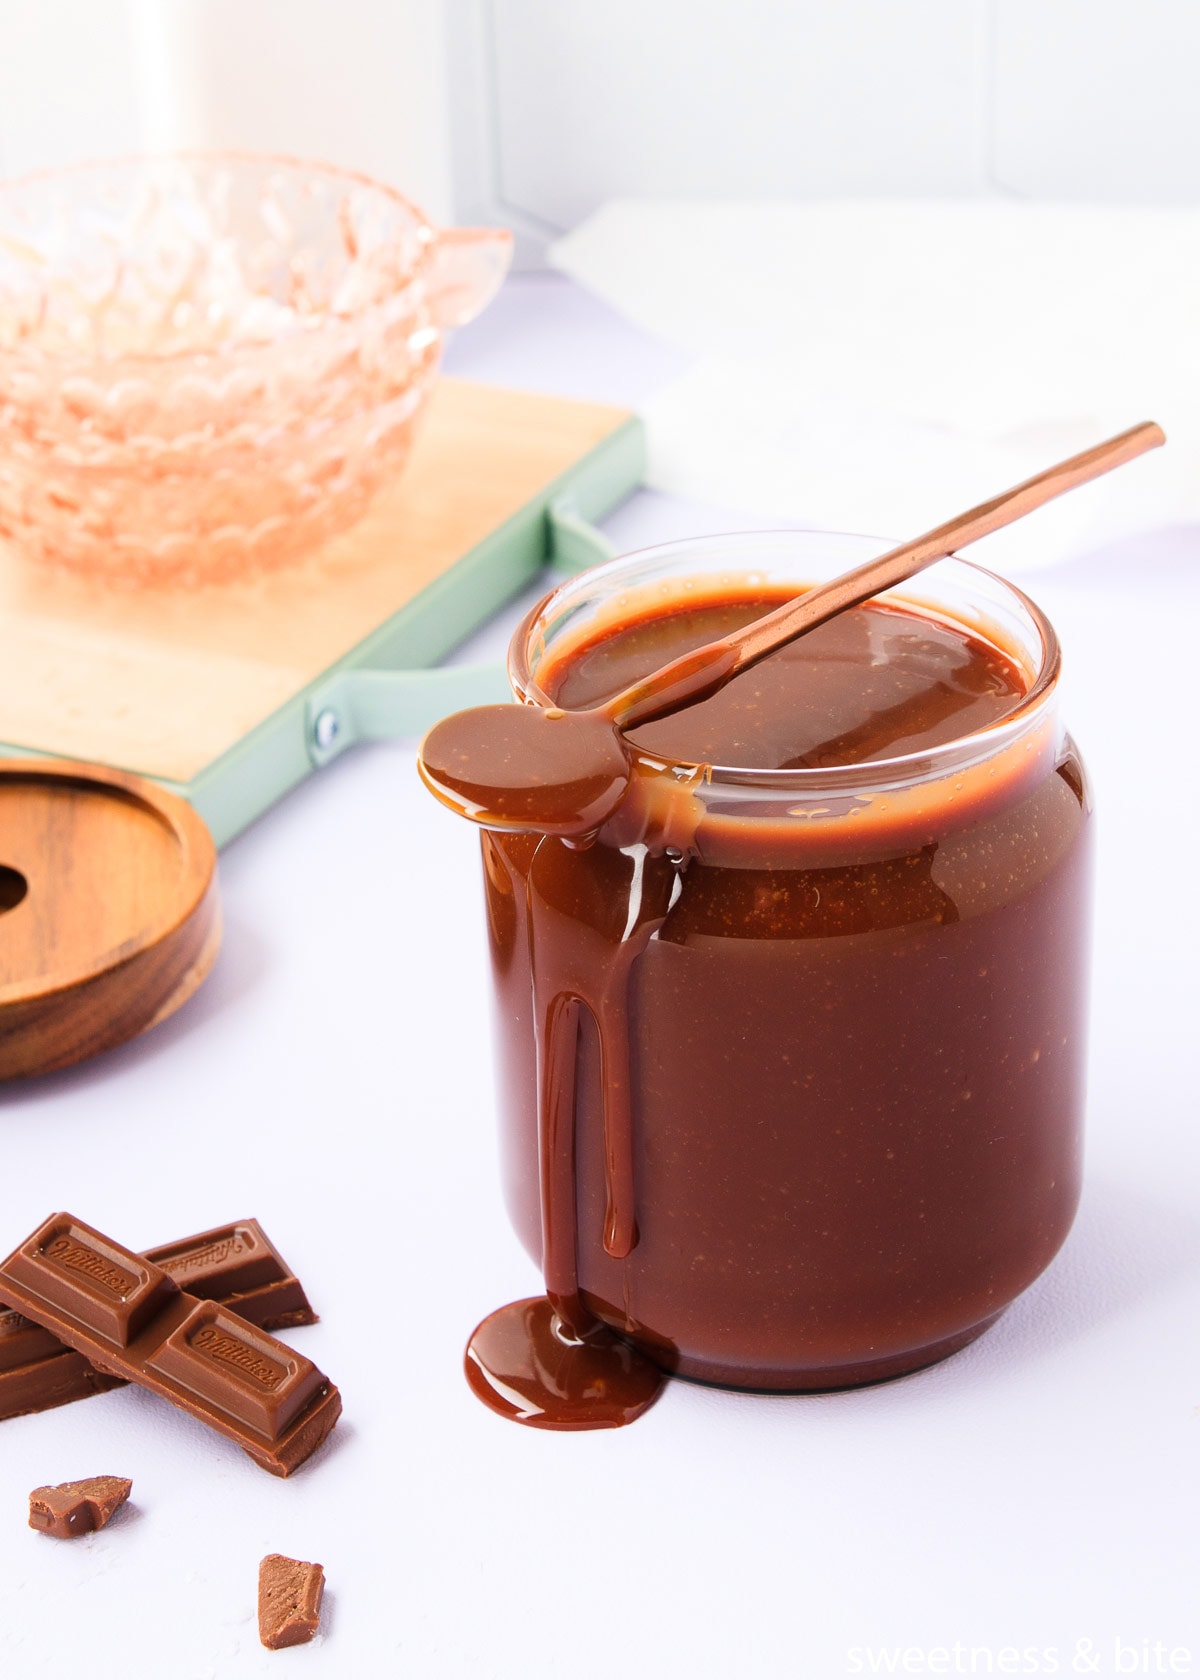
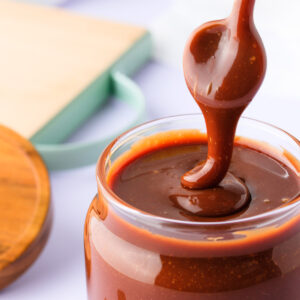
If you’re the type who struggles to choose between caramel and chocolate sauce, then allow me to introduce you to this decadent chocolate caramel sauce. Rich, thick and creamy, it’s perfect for drizzling over ice cream or brownies.
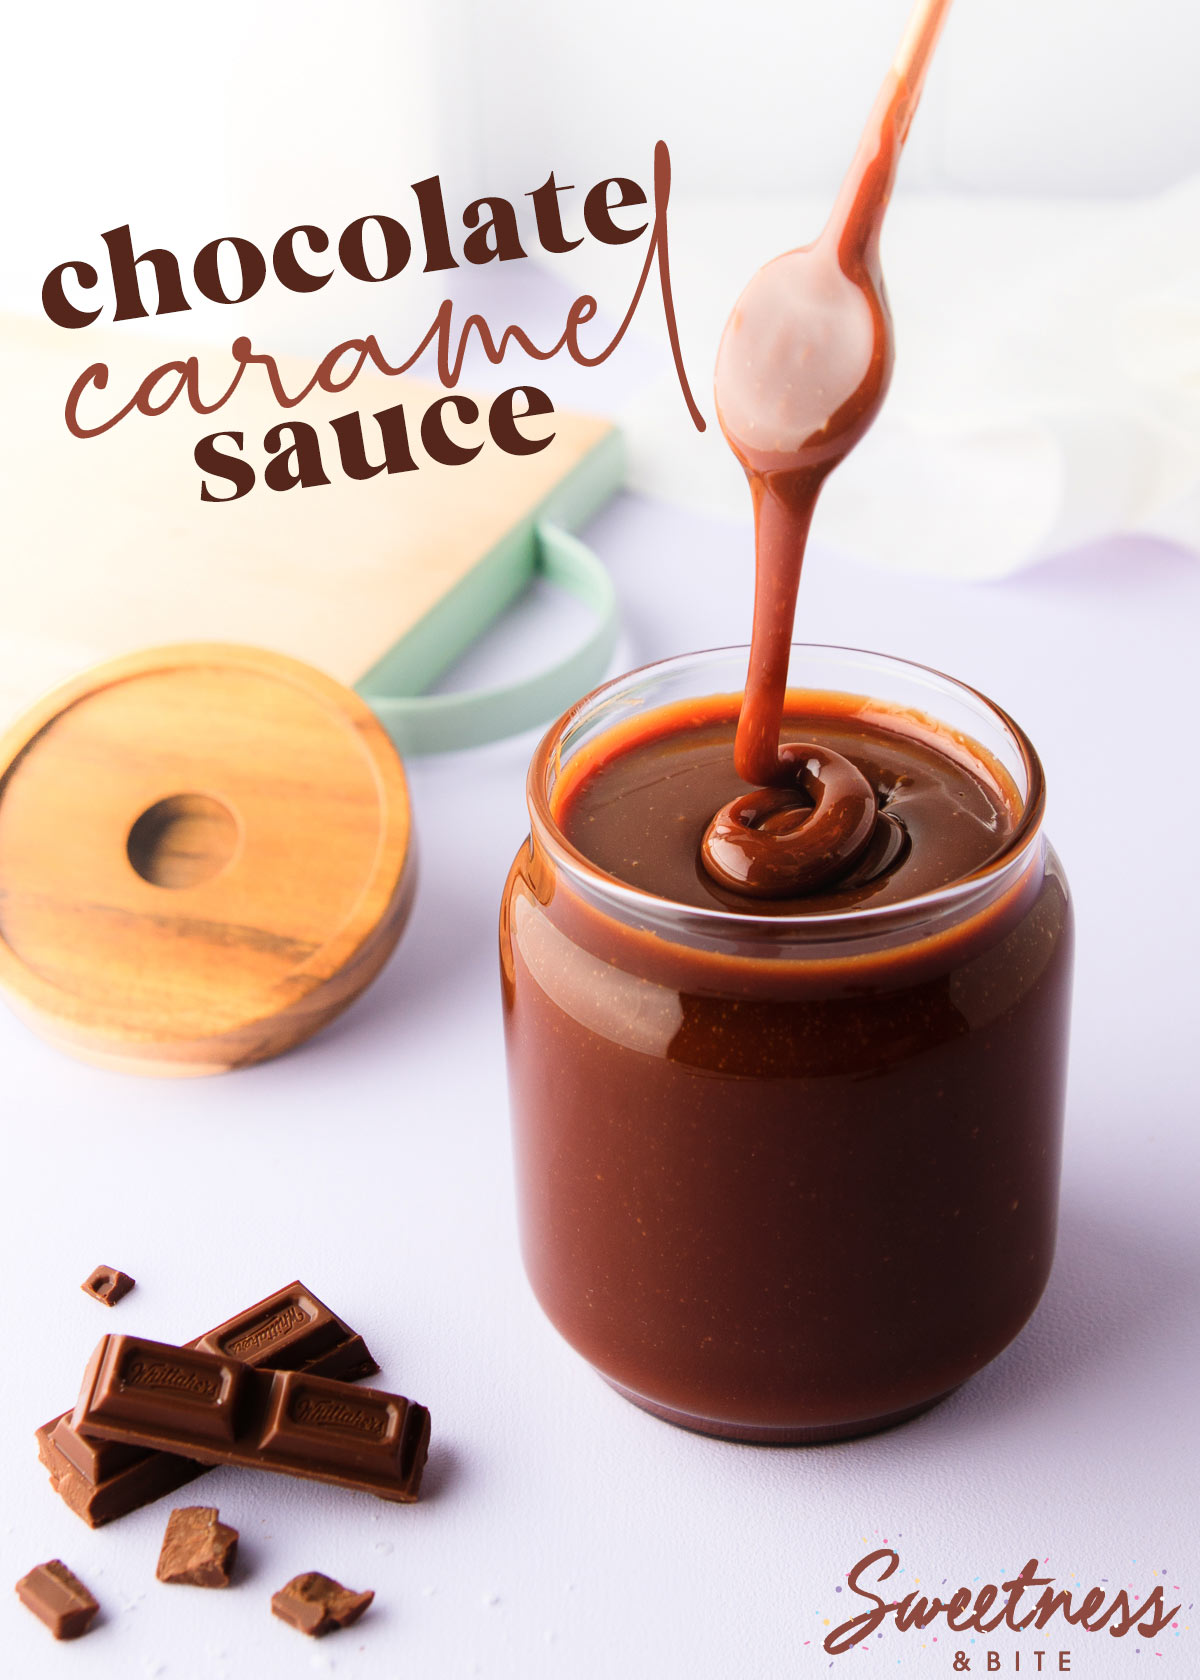
I thought that my rum caramel was the sauce to end all sauces, but less than six months later I have another contender for that top spot. At the very least they’re going to tie for the trophy.
This chocolate caramel sauce recipe is the ultimate dessert sauce, and it elevates anything to drizzle it over to Next Level status.
Almost like a hybrid of a classic caramel sauce and rich chocolate ganache, it’s smooth and creamy and when it cools down (like when you drizzle it all over ice cream) it goes slightly chewy like Twix caramel.
This decadent sauce can be made with either dark or milk chocolate. If you make it with dark chocolate, the chocolate taste is stronger and the caramel takes more of a back seat. If you make it with milk chocolate, as I have here, the caramel flavour shines through more.
Both ways are equally delightful, and you can’t make me pick a favourite. You just can’t.
Ingredients
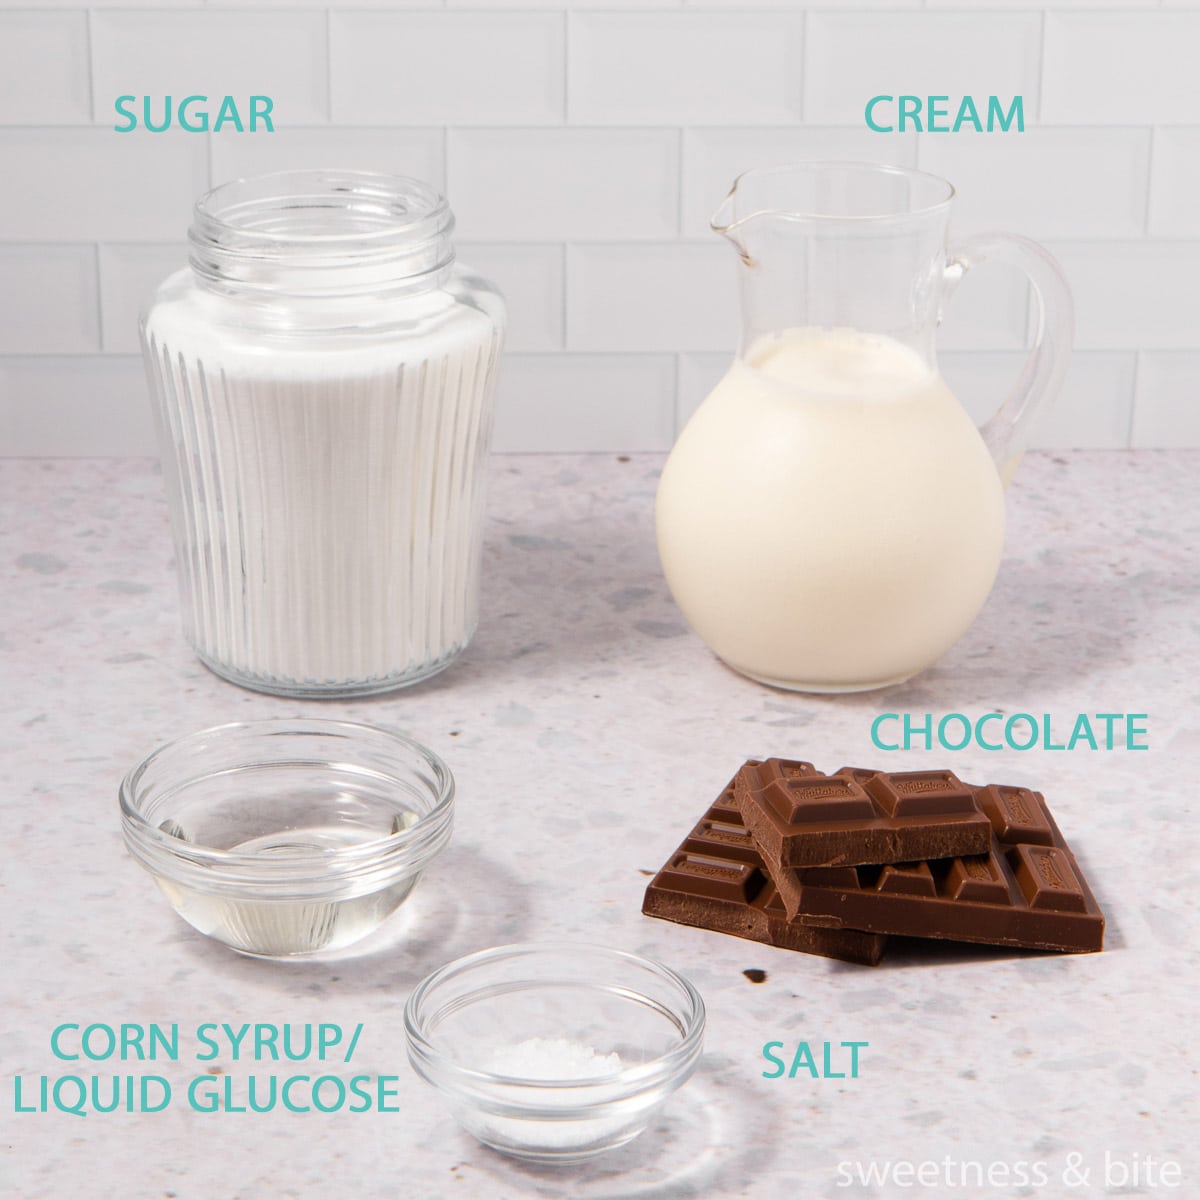
Sugar – I like to use caster (superfine) sugar when I make caramel sauce because it dissolves more quickly, but regular granulated white sugar will do.
Corn syrup or liquid glucose – This is optional, but it helps to stop the sugar from re-crystalising, so if you have some, or you can pick some up from the grocery store, then it is a handy addition.
Chocolate – As mentioned above, you can make this recipe with either dark chocolate or milk chocolate. Use a bar of good quality eating chocolate or chocolate chips that are suitable for melting. Don’t use chocolate baking chips which are designed not to melt in the oven, as these have a coating that will stop them from melting smoothly into the sauce. I have tested this recipe with both milk and dark Whittaker’s chocolate.
Cream – The cream you need for this recipe is known by different names in different countries. Here in NZ, it’s usually called standard cream or whipping cream. Elsewhere it may also be known as single cream or full cream. Heavy cream will also work and will give you a slightly thicker sauce.
Salt – I like a little bit of salt in caramel sauce to offset the sweetness, but you can absolutely adjust the salt to suit your own tastes. I use flaky sea salt, but Kosher salt will also work. If you only have table salt, add 1/2 of the amount.
As an optional extra, you could add a teaspoon of vanilla extract.
Useful EQUIPMENT
- Medium saucepan – a heavy-based pan is best as it heats more evenly. The mixture will bubble up a lot when you add the cream, so make sure you choose a pan with some space for that.
- Long handled spoon or spatula, and a whisk is handy, too.
- Pastry brush
- Candy thermometer – this is 100% optional, don’t worry if you don’t have one.
- Heatproof trivet or board – to put the pan on when you take it off the heat. It will be very hot.
How to Make Chocolate Caramel Sauce
Firstly, don’t get nervous if you haven’t made caramel before – I’m going to talk you through it, and there are pictures below of each stage so you know what to look out for.
The key to making caramel sauce easier is having everything you need ready to go – both ingredients and equipment. So measure out all of your ingredients first, and read through the recipe card below to make sure you have what you need on hand.
This recipe uses the “wet method” of making caramel, meaning we add water to the sugar to help it dissolve. I think this is easier for beginners, but if you’re not a beginner and you prefer the dry method, you can go ahead and make the caramel using that method, and then continue with the rest of the recipe.
Start by warming up your cream, this will help it to combine better later with the hot caramel. Just microwave it for 30-40 seconds or until warm and set aside.
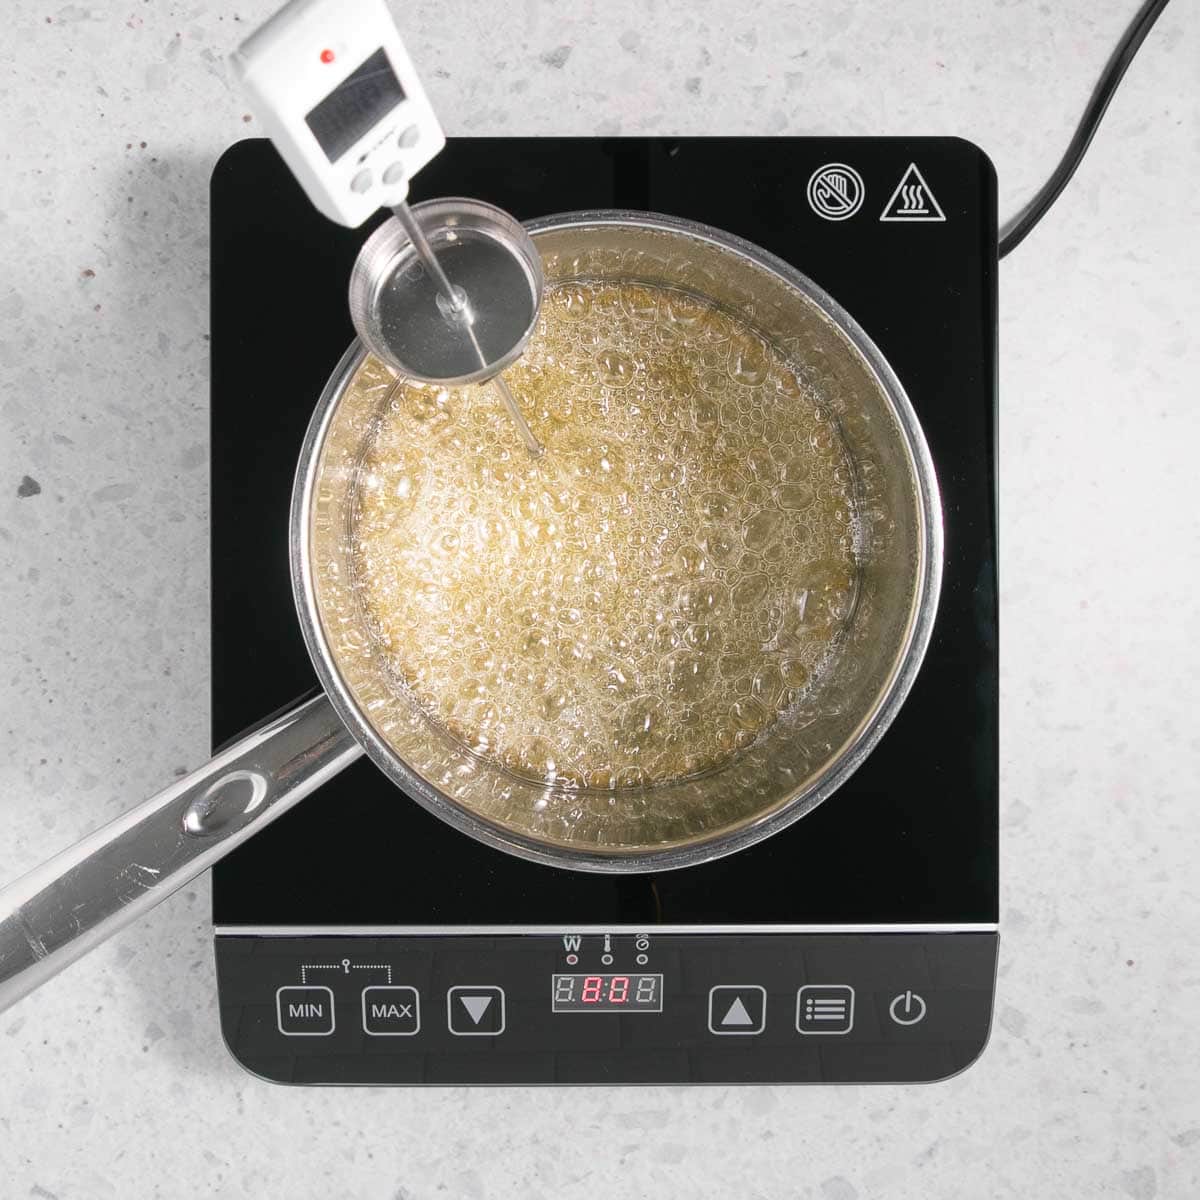
Stir together the sugar, corn syrup and water in a medium saucepan over medium heat for 1-2 minutes, until well combined and the sugar has started to dissolve. Bring the liquid to a boil over medium-high heat, stop stirring, and brush down the sides of the pan with a pastry brush dipped in water to remove any sugar crystals. If you have a sugar thermometer, clip it on now.
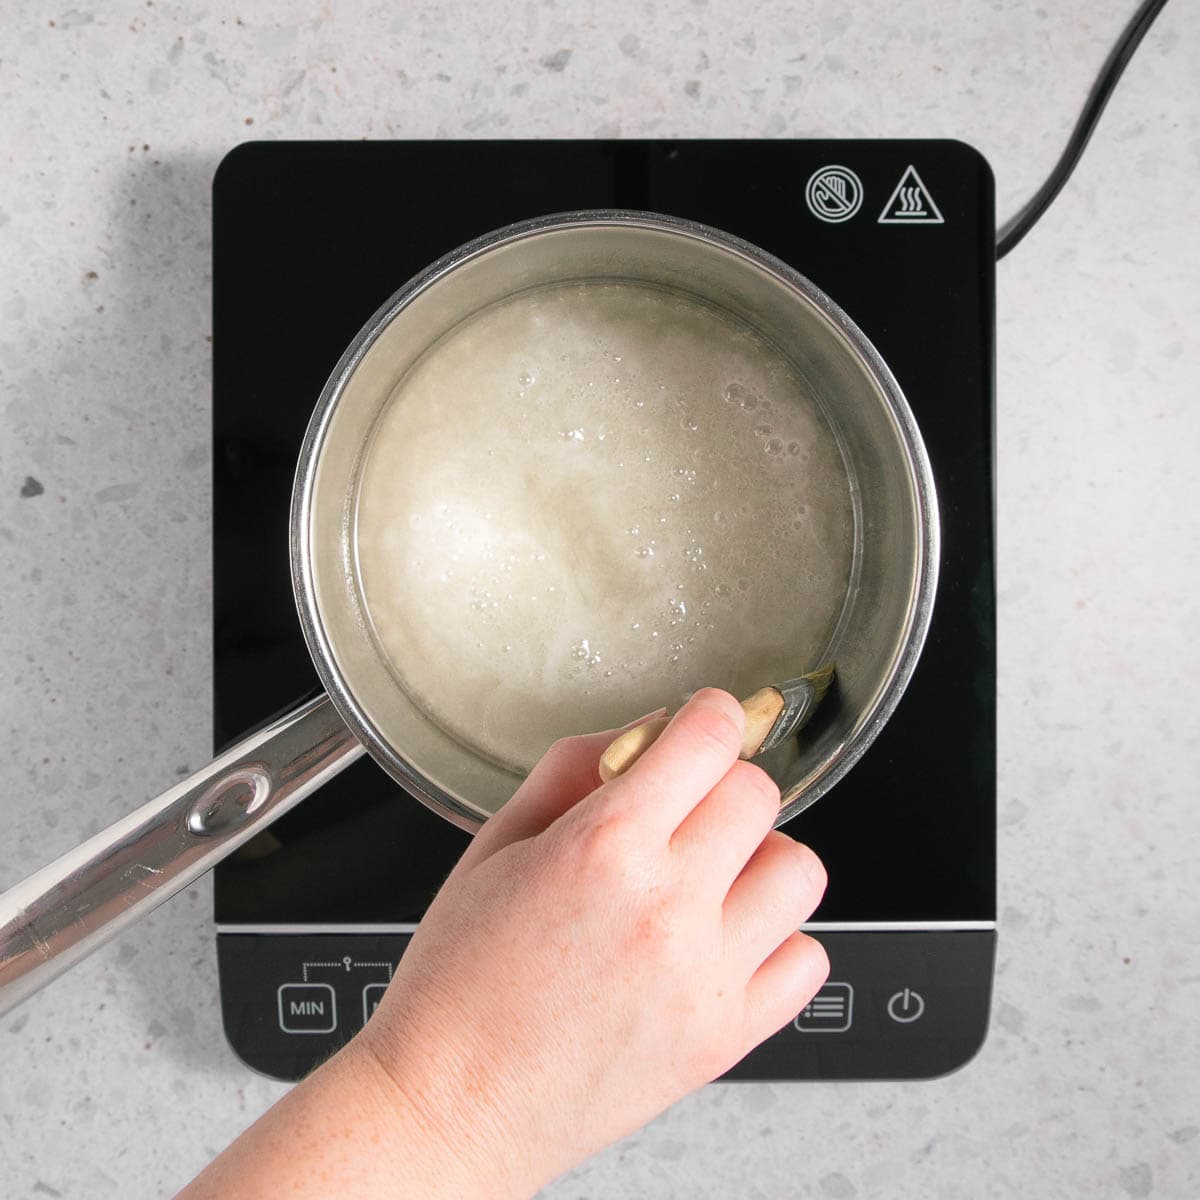

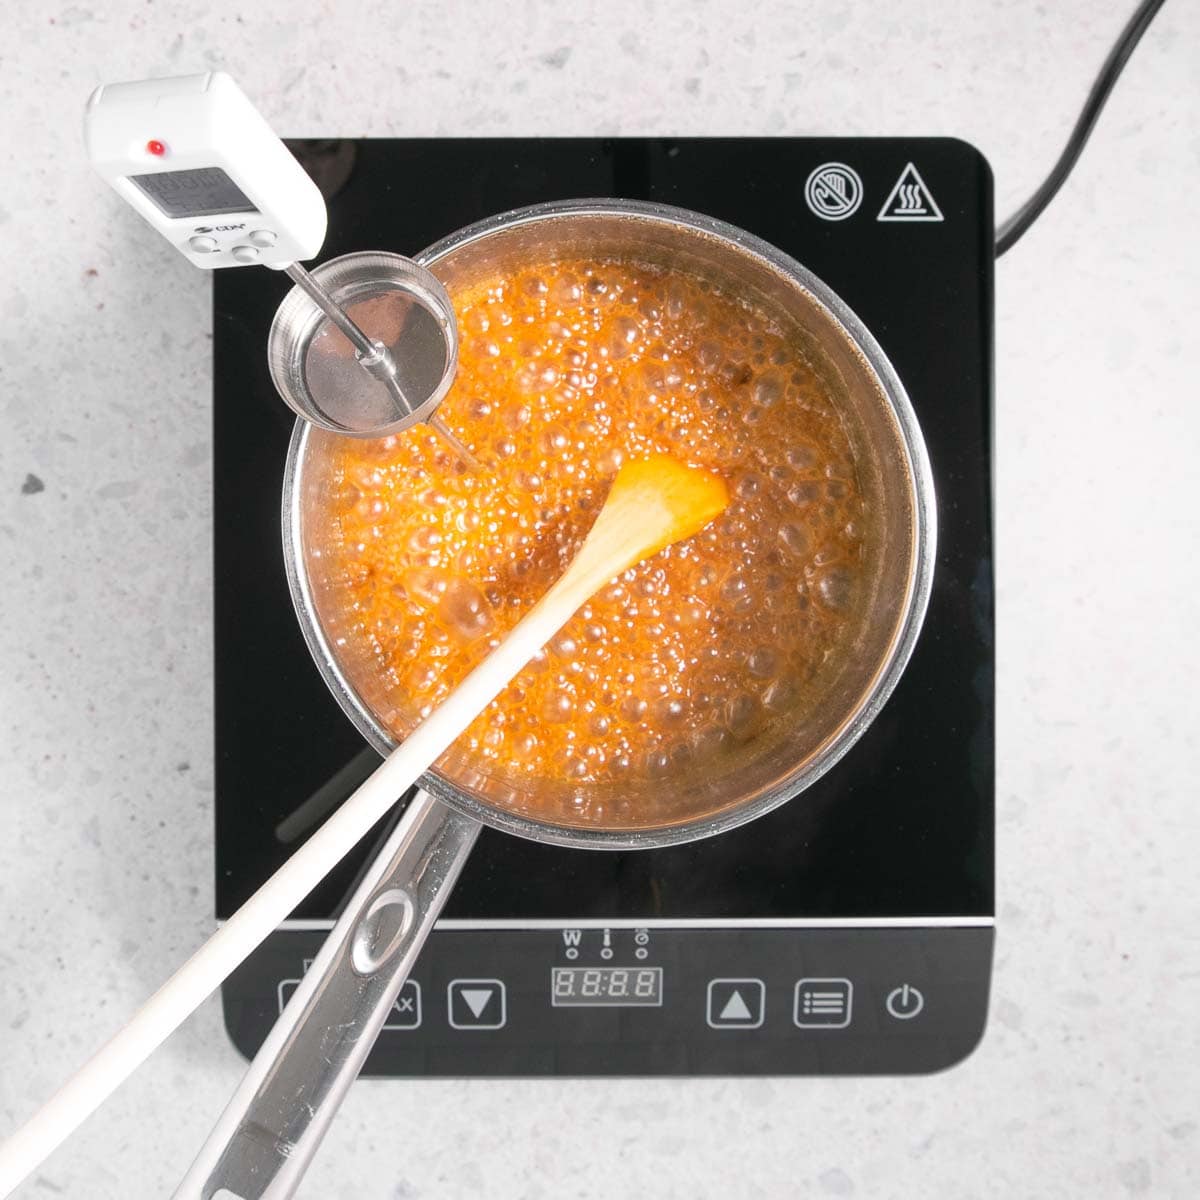
If you’re not using a candy thermometer, you just need to watch as the caramel goes through each stage. It will start off boiling with quite small bubbles that pop quickly on the surface. As it begins to colour more, the bubbles will become a bit bigger and will pop more slowly. At this stage, it will also start to smell amazing. Keep a close eye on it as it darkens, as it can go from golden to burnt very quickly!
If you’re using a candy thermometer, it should be around 170°C (340°F).
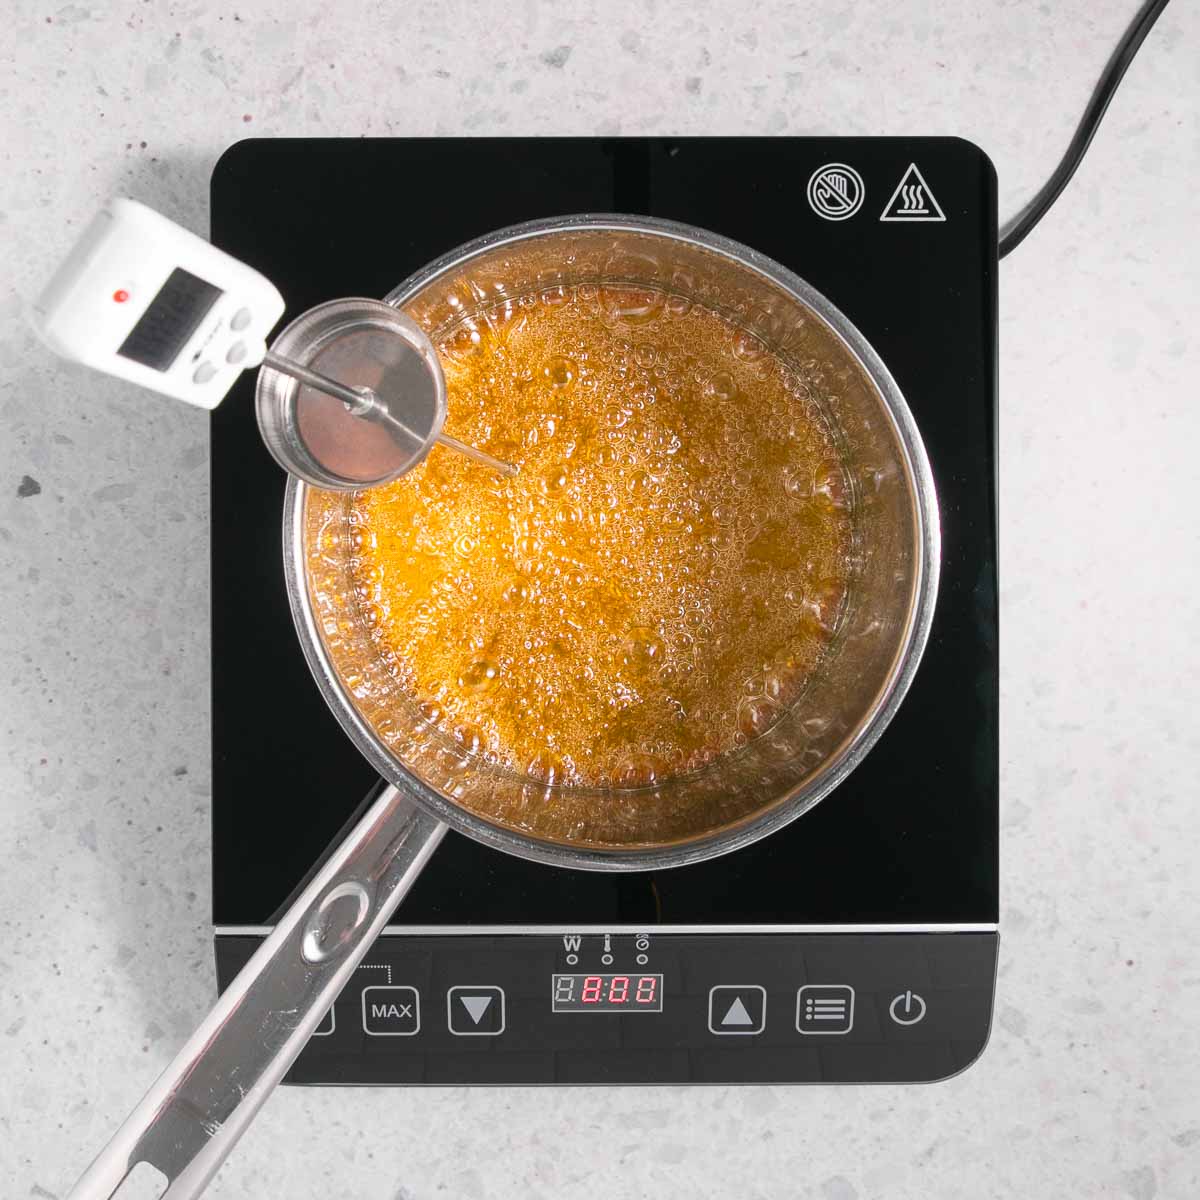
Once the caramel is a lovely golden amber colour, you can take it off the heat and add the warm cream. Be very careful, as it will bubble up and there will be a lot of steam. Stir with a long-handled wooden spoon or silicone spatula. Add in the salt.
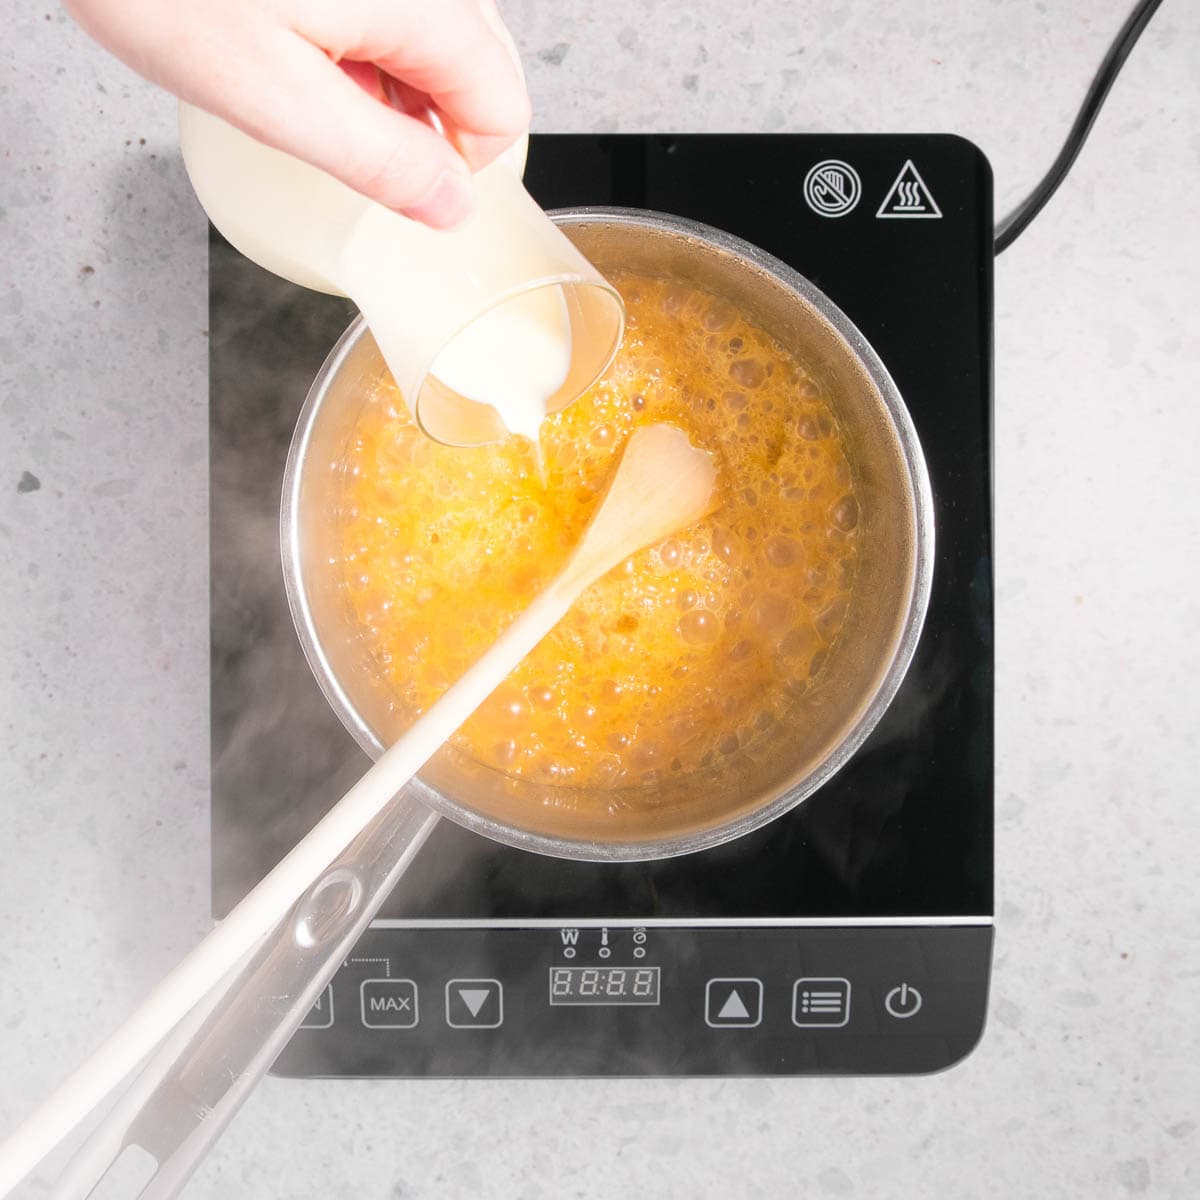
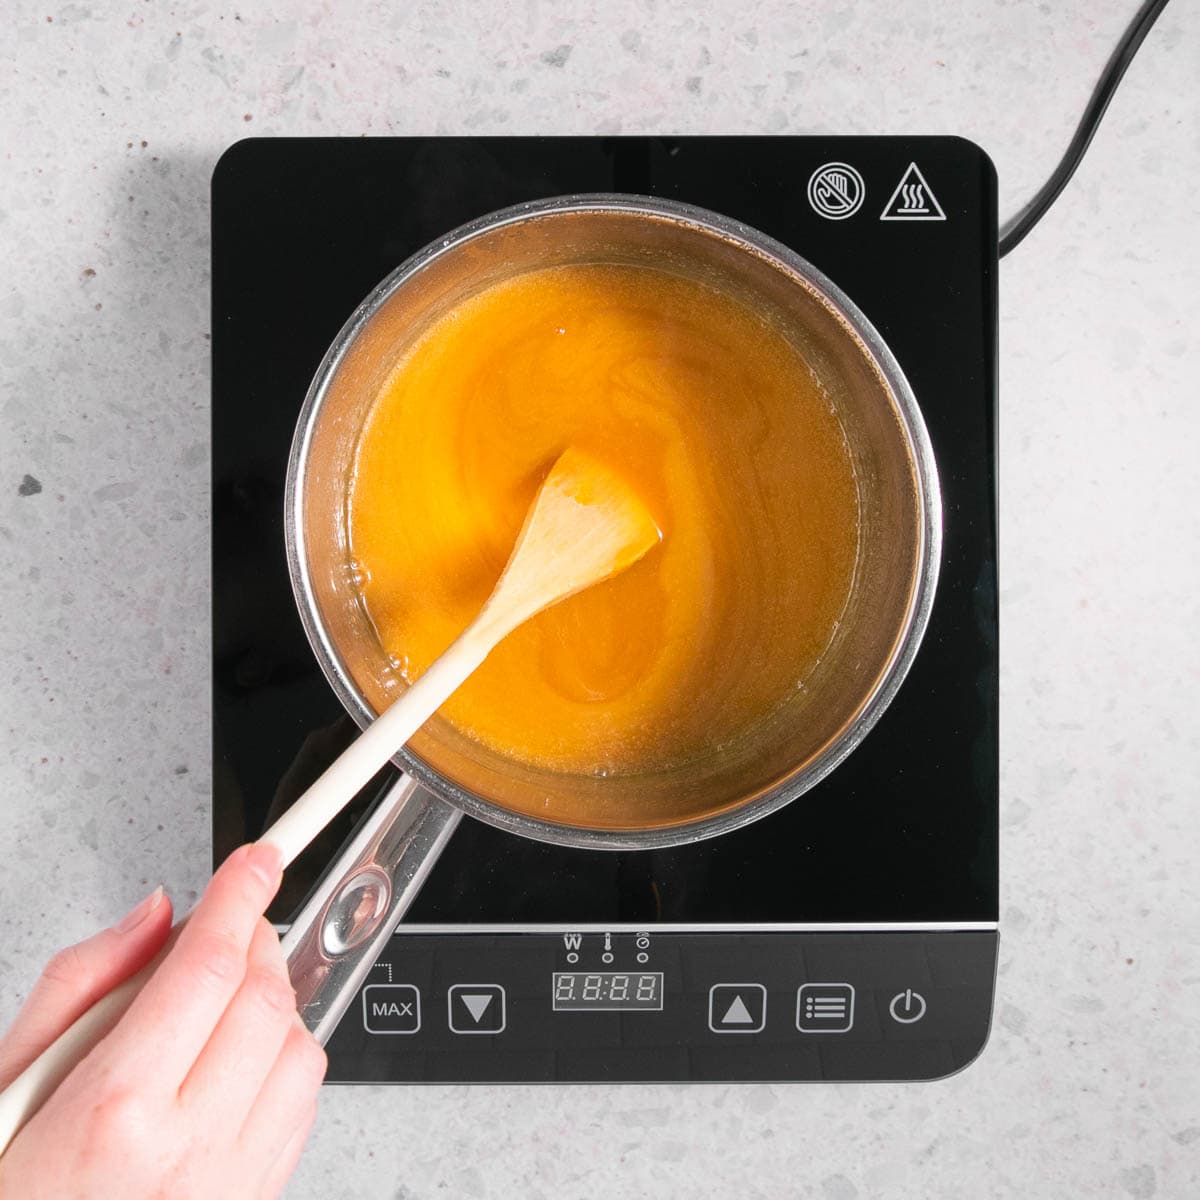
Return the caramel to medium-high heat and boil for another 2-3 minutes until slightly darkened in colour, or until it reaches 115°C (240°F). You can skip this step if you prefer a lighter caramel flavour.
Once it is ready, you can take it off the heat and pour it into a heatproof bowl or large jug to cool slightly.
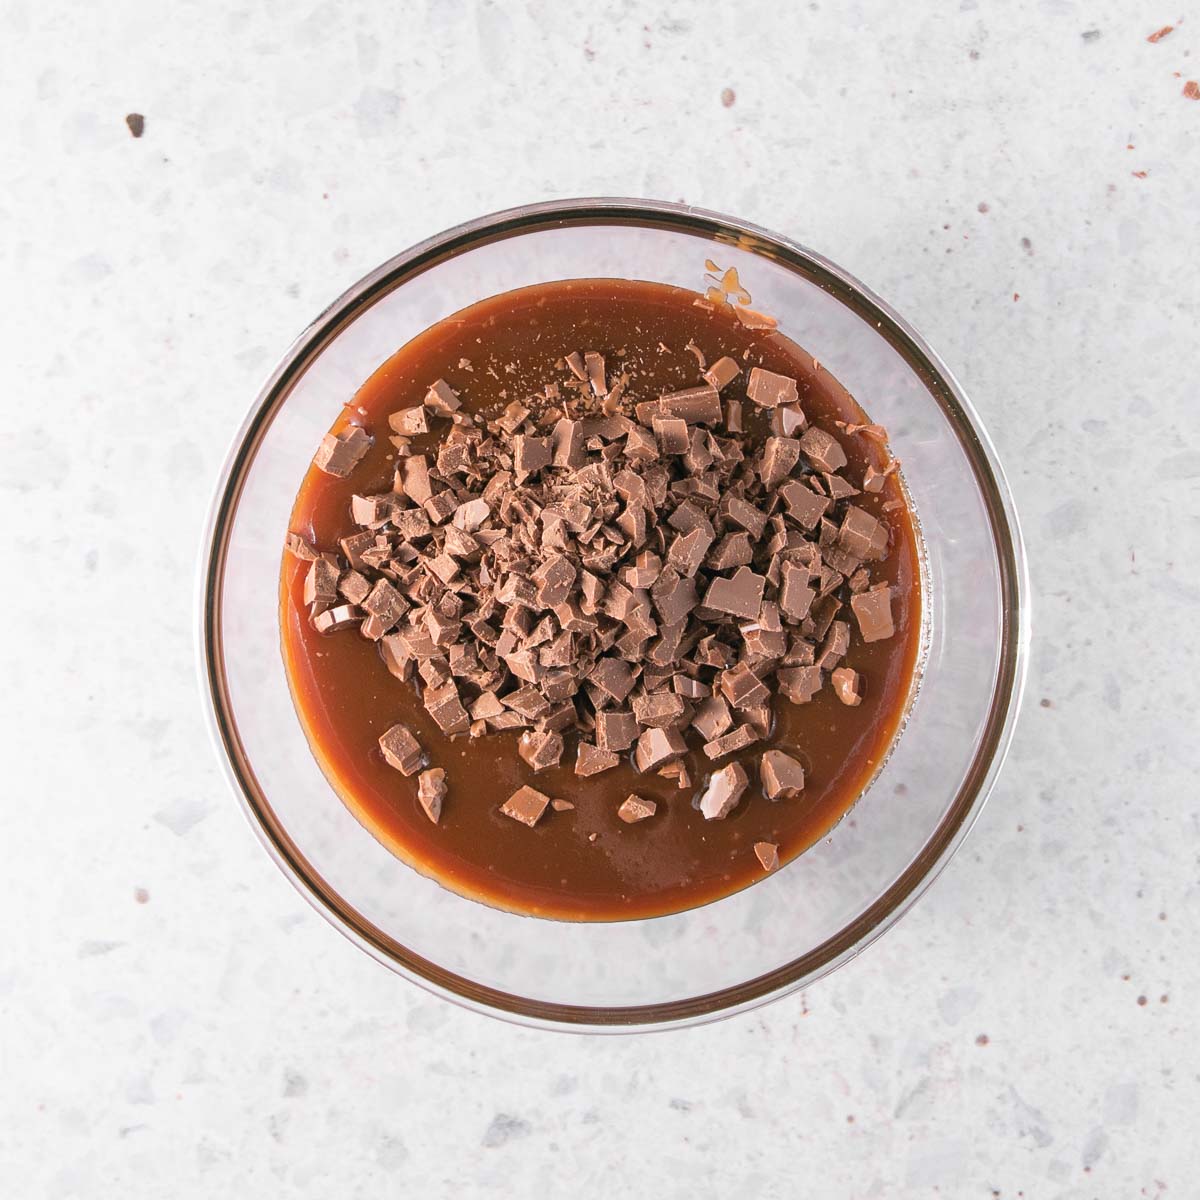
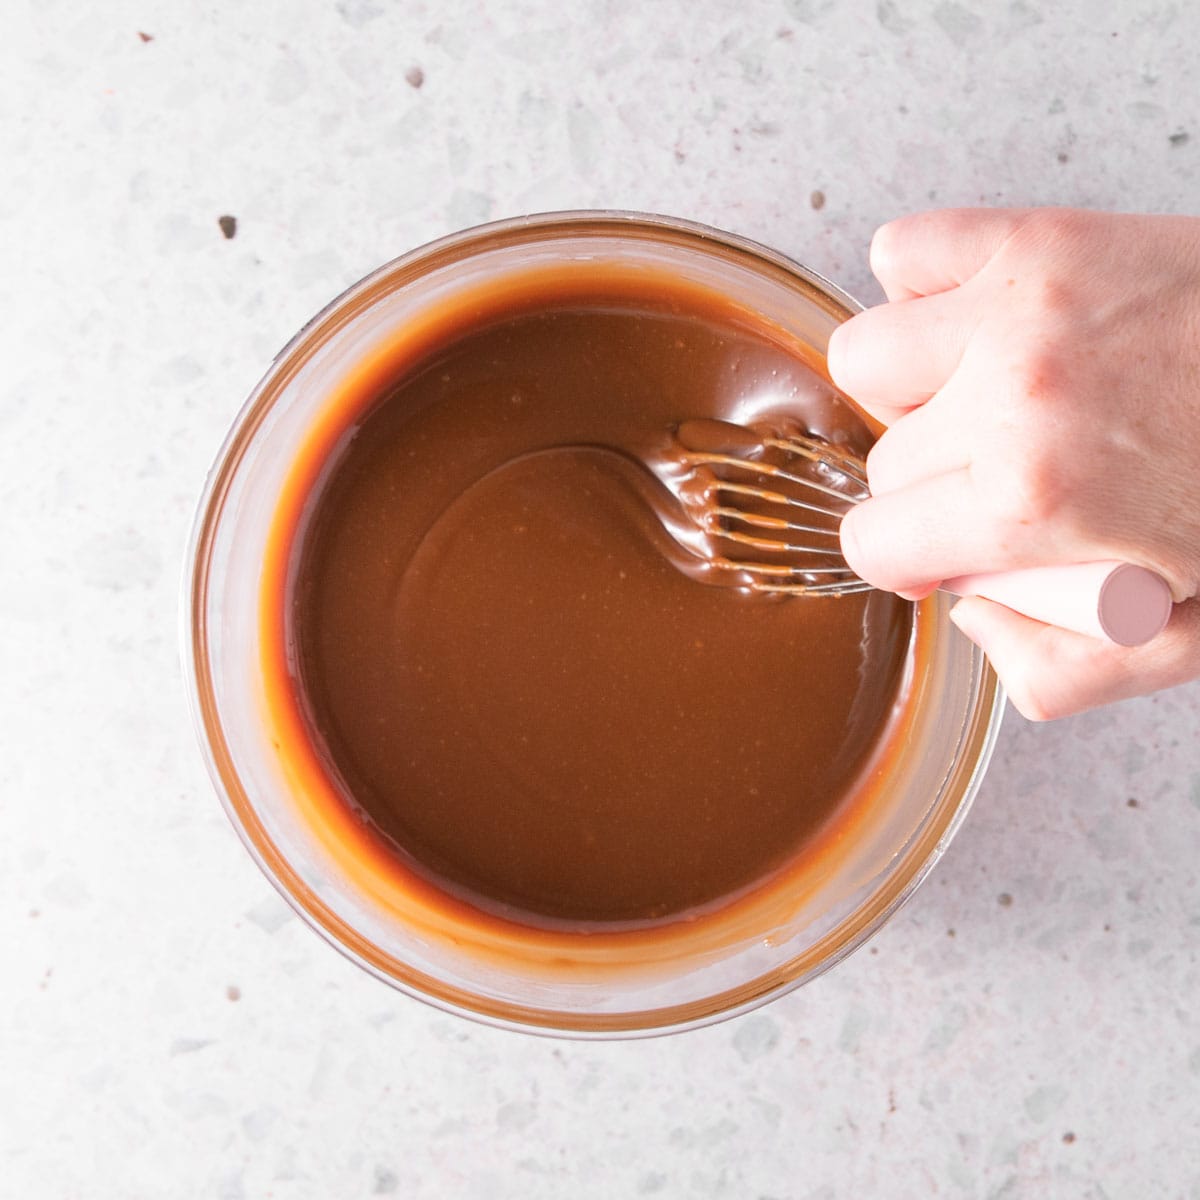
When it has cooled for 10-15 minutes, add the chopped chocolate and stir until melted and smooth.
If the chocolate doesn’t completely melt, you can warm the sauce back up slightly in the microwave, or give it a blitz with a handheld stick mixer.
Storing the Sauce
Let it cool to room temperature, then pour it into a glass jar or airtight container for storage. The sauce will keep for at least several months in the refrigerator.
Chocolate Caramel Sauce for Drip cakes
This sauce would make a truly decadent drip cake. Caramel drips can be a little more finicky than ganache drips, so check out my caramel drip tips first. This sauce will be a little more stable than a plain caramel drip, because of the chocolate, and will set slightly more firmly. And always do the drip right before serving the cake, as caramel doesn’t set as firmly as a ganache drip.
More Caramel Recipes You May Like
Rum Caramel Sauce – the ultimate adult dessert topping.
Caramel Mud Cake – made with real caramel sauce as a base, it’s the best caramel cake you’ll ever taste.
No Bake Chocolate Caramel Cheesecakes – super easy to make individual cheesecakes, with no gelatine required.
Chocolate Caramel Sauce
Ingredients
- 1 ½ cups cream (see notes)
- 400 g caster sugar (or granulated sugar)
- ½ cup water
- 2 tablespoons corn syrup or liquid glucose
- 1 teaspoon flaky sea salt (or ½ teaspoon table salt)
- 100 grams dark or milk chocolate chopped
Instructions
- Before you start making the caramel, read through the whole recipe, get all of your ingredients measured and ready to go, plus all of your equipment ready. Making caramel is all about timing, and you're less likely to burn it if you have everything you need easily at hand ❤
- Measure the cream into a microwave-safe jug, and heat until warm (around 30 seconds, depending on your microwave power). Warming the cream will help it splatter less when you add it to the caramel. Set aside.
- Place the sugar, water and corn syrup or glucose in a medium-large saucepan, and stir gently until combined. Place over medium-low heat and stir for a minute or so, without letting it boil, until the sugar starts to dissolve. Dip a pastry brush in water and brush down any remaining sugar crystals on the sides of the pan.
- Increase the heat to medium-high and bring the syrup to a boil, and boil until it reaches a deep amber colour. It will be about 170°C (338°F) on a sugar thermometer. You can swirl the pan gently to colour the caramel evenly.
- If you don’t have a thermometer, pay attention to the stages the syrup goes through. After it comes to a boil, the last of the sugar crystals will dissolve. The bubbles will be thin and rise and pop quickly on the surface. As the syrup cooks and the water evaporates, the bubbles will become thicker and a little slower to pop. Once it reaches the deep amber colour, it’s ready.
- Remove the caramel from the heat, and carefully pour in the cream. It will splatter, so be careful! Stir with a long handled wooden spoon or heatproof spatula to combine. Don’t panic if there are any hard bits of set caramel.
- Place the pan back over medium heat, and bring it back to a boil, stirring constantly, until the sauce reaches 115°C (240°F). If not using a thermometer, just boil the sauce for a couple of minutes, until it darkens a little more in colour and thickens slightly.
- Stir in the salt, then transfer the sauce to a heatproof bowl or jug. Allow to cool for 15-20 minutes, then stir in the chocolate until melted and combined.If the chocolate doesn't completely melt, you can warm the sauce back up slightly in the microwave, or give it a blitz with a handheld stick mixer.
- The sauce will continue to thicken as it cools. Store the sauce in a sealed container in the refrigerator for several weeks. Reheat gently before using.
Notes
Nutritional Disclaimer: Any nutritional information provided is a computer generated estimate and is intended as a guide only.

