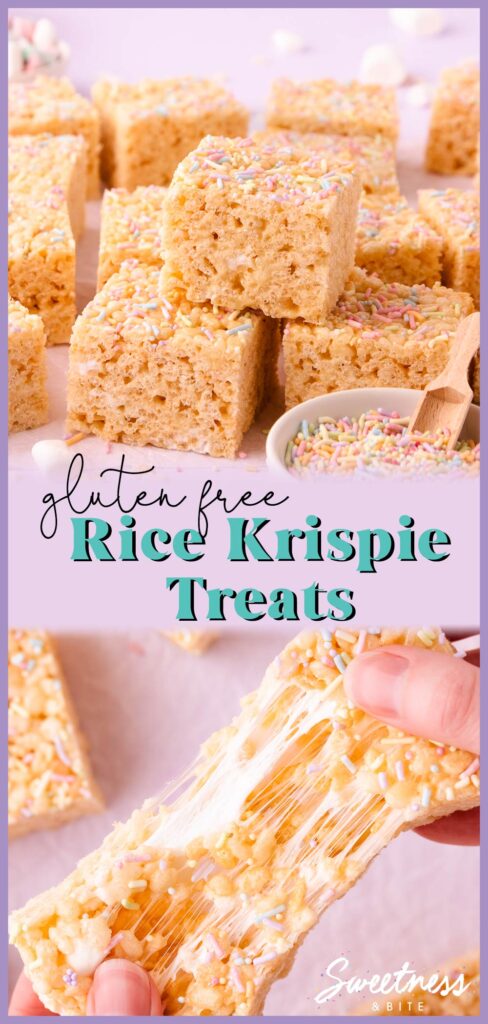
Gluten Free Rice Krispie Treats
This post may contain affiliate links to products I recommend. I receive a small commission at no cost to you if you make a purchase using my link.
These Gluten Free Rice Krispie Treats have that classic combination of crispy rice puffs and chewy, stretchy marshmallows. Find out what ingredients to look out for to make sure they are gluten free, and how to make the best homemade gluten free rice krispie treats!
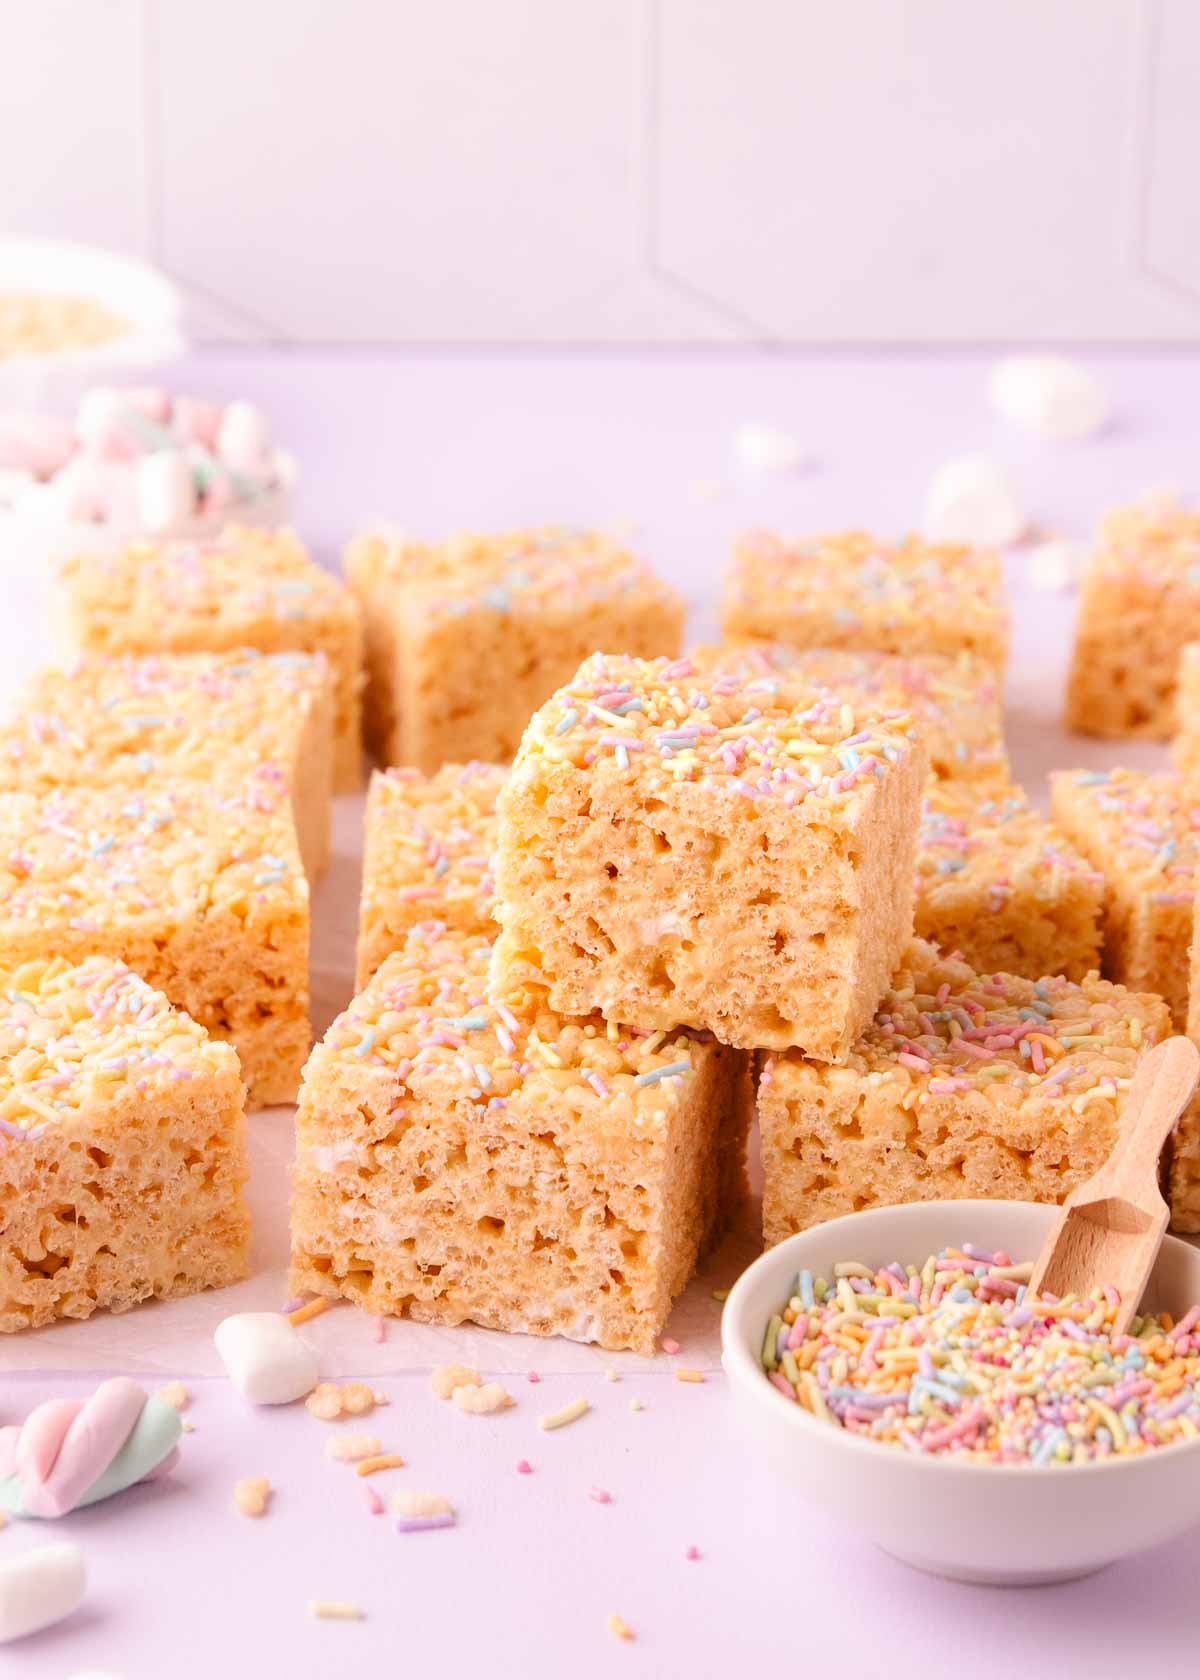
Rice Krispie treats are such a delicious snack or dessert to make, and although regular rice krispie treats are not gluten free, it only takes a couple of easy swaps to make a gluten-free version that is safe for those with Coeliac Disease or gluten intolerance 🙌🏻.
We love easy gluten free recipes around here, and these gluten-free rice krispie treats are super easy to make, with only 5 simple ingredients (plus optional sprinkles).
They’re crunchy and stretchy and sweet and chewy and did I mention stretchy?
I know I did, I just wanted the opportunity to show you this…
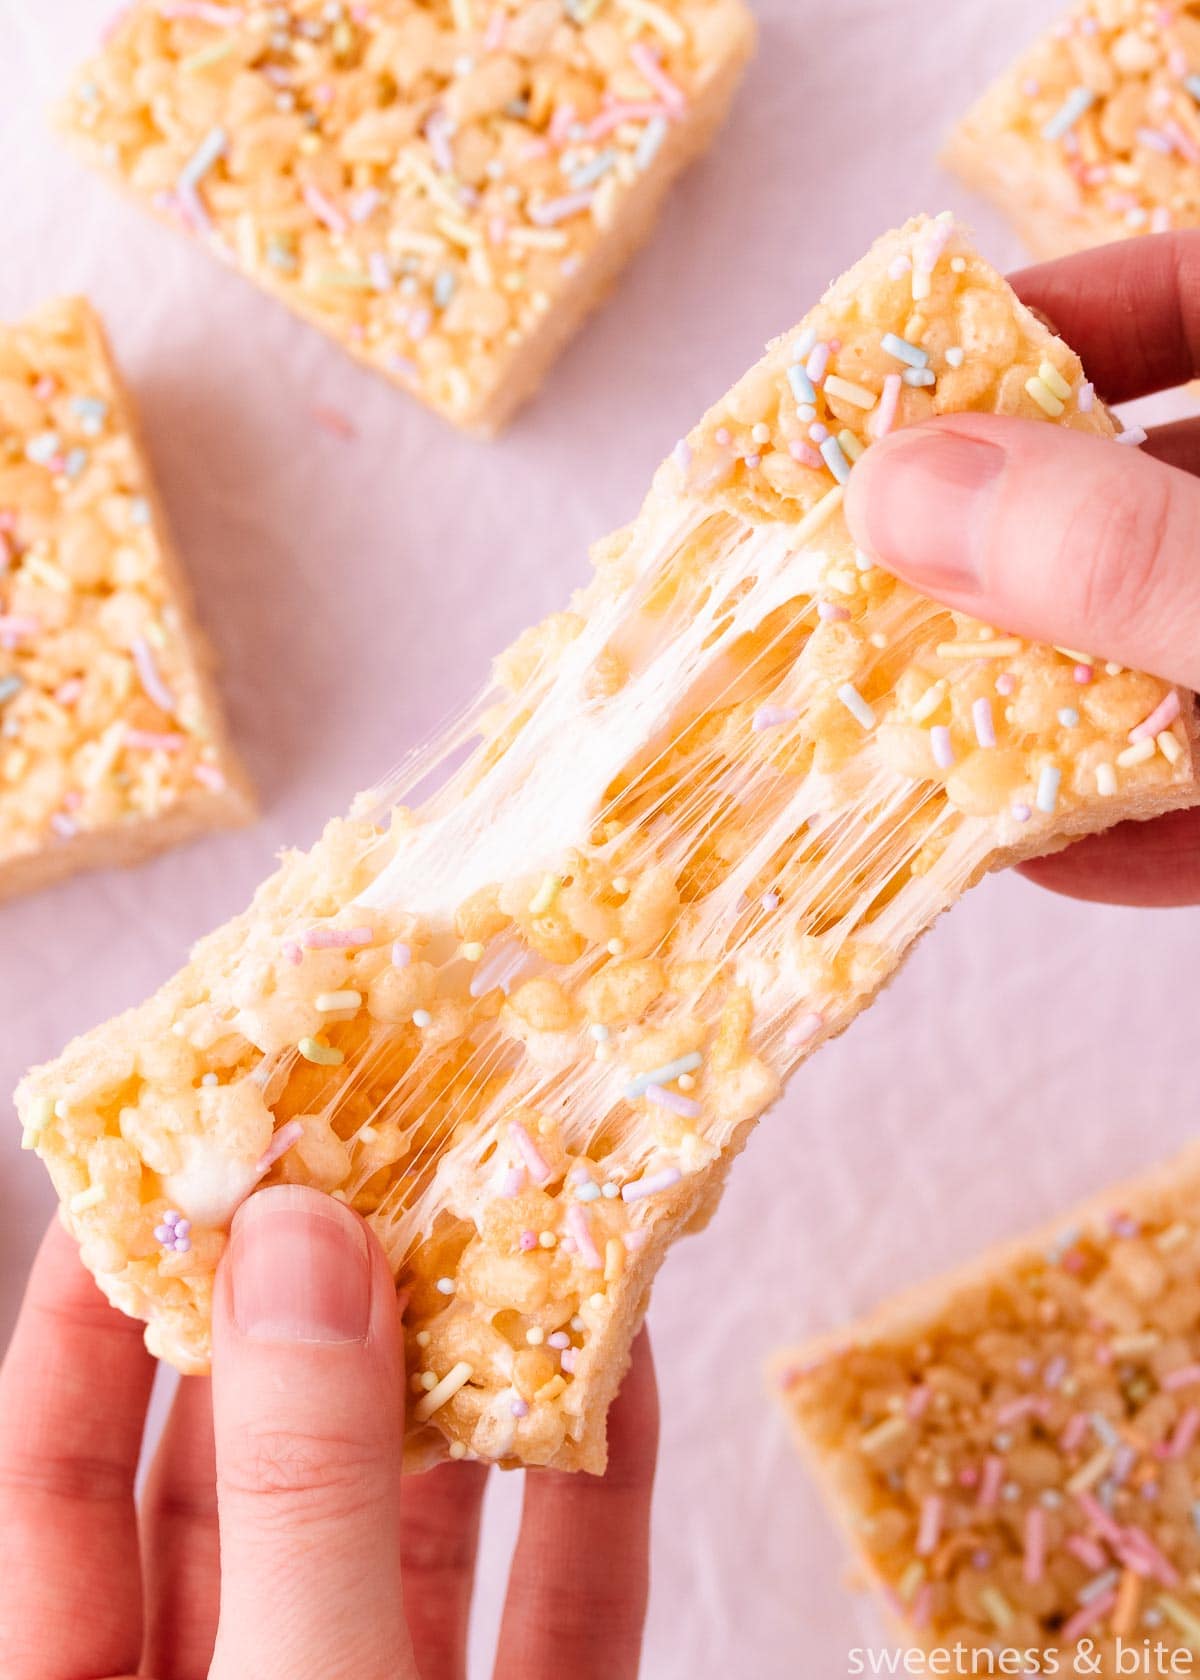
Seriously? Seriously. You want to make these now, right?
Scroll down to the recipe card for the full printable recipe, or keep reading to find out what to look out for when buying ingredients, and step by step pictures showing the recipe steps.
Ingredients
Ok let’s talk about how to make these rice krispie treats gluten free.
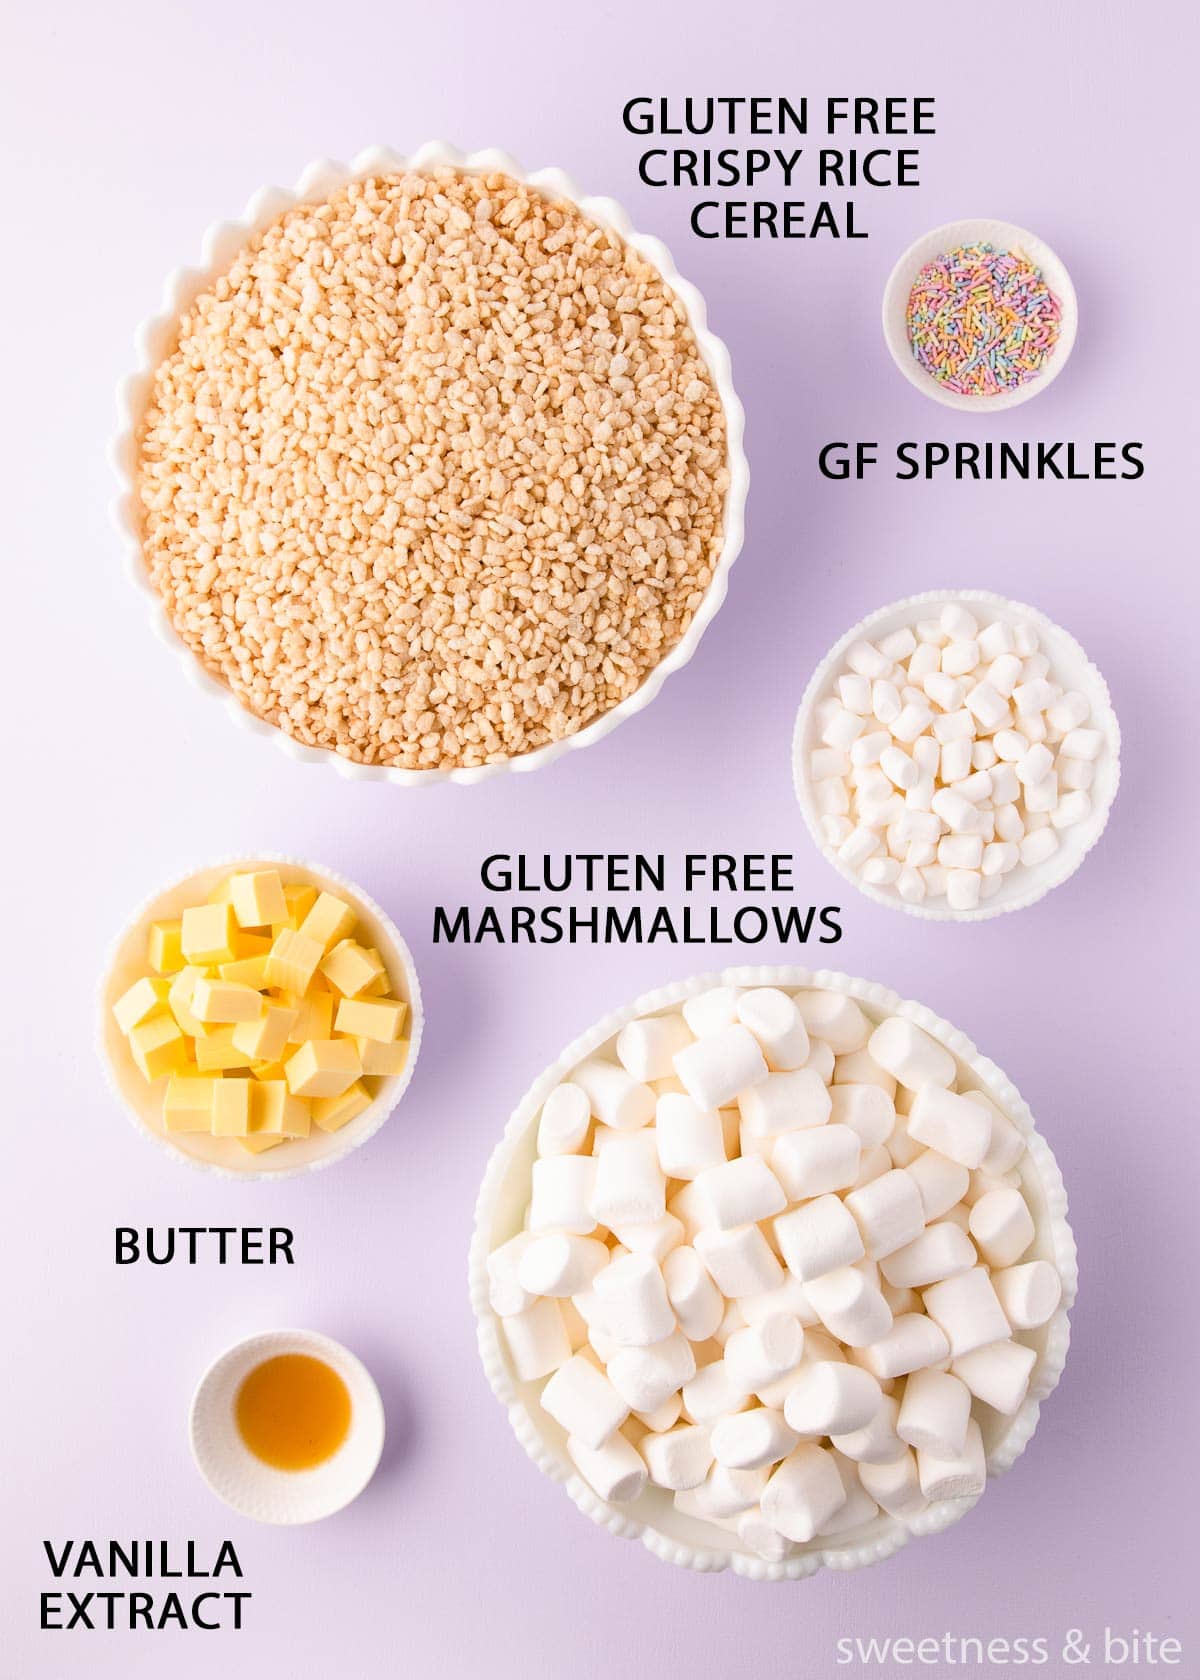
Where to Buy Gluten Free Rice Krispies
Kellogg’s Rice Krispies (called Kellogg’s Rice Bubbles in NZ and Australia) are not gluten free, because they contain barley malt extract or malt syrup for flavouring.
However, in most countries, there are gluten-free alternatives from different brands. They may be in the regular cereal aisle, or in the gluten free / free-from aisle. Just check the back of the packet and make sure that it doesn’t contain any variations of the words malt or barley, or any other gluten-containing ingredients.
You may want to look for certified gluten free cereal, as it is tested to ensure that it is free from cross contamination.
Other Ingredients
Marshmallows – Make sure you check that you’re buying gluten free marshmallows, as some contain gluten. Often it will say gluten free on the front of the pack, but if not, a quick look at the ingredient label will tell you. One thing to remember is that they may contain “glucose syrup from wheat” which is actually considered to be gluten free, as it is so highly processed that no gluten remains. It isn’t safe for anyone with a wheat allergy (which is different to Celiac/Coeliac disease) but it is considered safe for Coeliacs.
I usually use regular sized marshmallows, and toss in some mini marshmallows with the rice krispies, so they stay whole and make little marshmallow pockets.
Butter – You can use salted or unsalted butter here. I use unsalted, if you use salted you can omit the pinch of salt from the recipe.
Vanilla – This is optional, but since marshmallows don’t actually have a ton of flavour on their own, it’s a nice addition.
Salt – This helps balance the sweetness of the marshmallows.
Sprinkles – These are optional too, but I wouldn’t be me if I wasn’t throwing sprinkles at anything that stands still long enough. Make sure your sprinkles are gluten free, as some contain wheat starch.
To make gluten and dairy free or vegan rice krispie treats, you should be able to swap the butter for a dairy-free or vegan butter alternative. Choose one in block form if you can as they tend to be a similar consistency to butter) and choose vegan marshmallows that are made without gelatine.
How to Make Gluten Free Rice Krispie Treats
If you’ve made a regular rice krispie treat before, then you’ll know what we’re about to do, and if you haven’t, well let’s just say that it’s so easy that I almost didn’t bother doing step-by-step photos for it.
To make the gluten free rice krispie treats, start by preparing your cake pan. I use a 9″ square pan, which makes for lovely thick pieces, but you can use a 9″x13″ pan, or really any roughly equivalent sized pan. Line the pan with non-stick baking paper or parchment paper – I like to do two long strips and crisscross them, which makes a nice sling to help lift the crispy squares out later. Lightly spray the paper with oil spray and clip with binder clips if you like.
Melt the butter in a large saucepan over medium heat then add in your marshmallows, vanilla and salt, and stir with a spatula or wooden spoon until melted. Make sure you choose a very large pot, as it needs to fit all of the marshmallows and cereal.
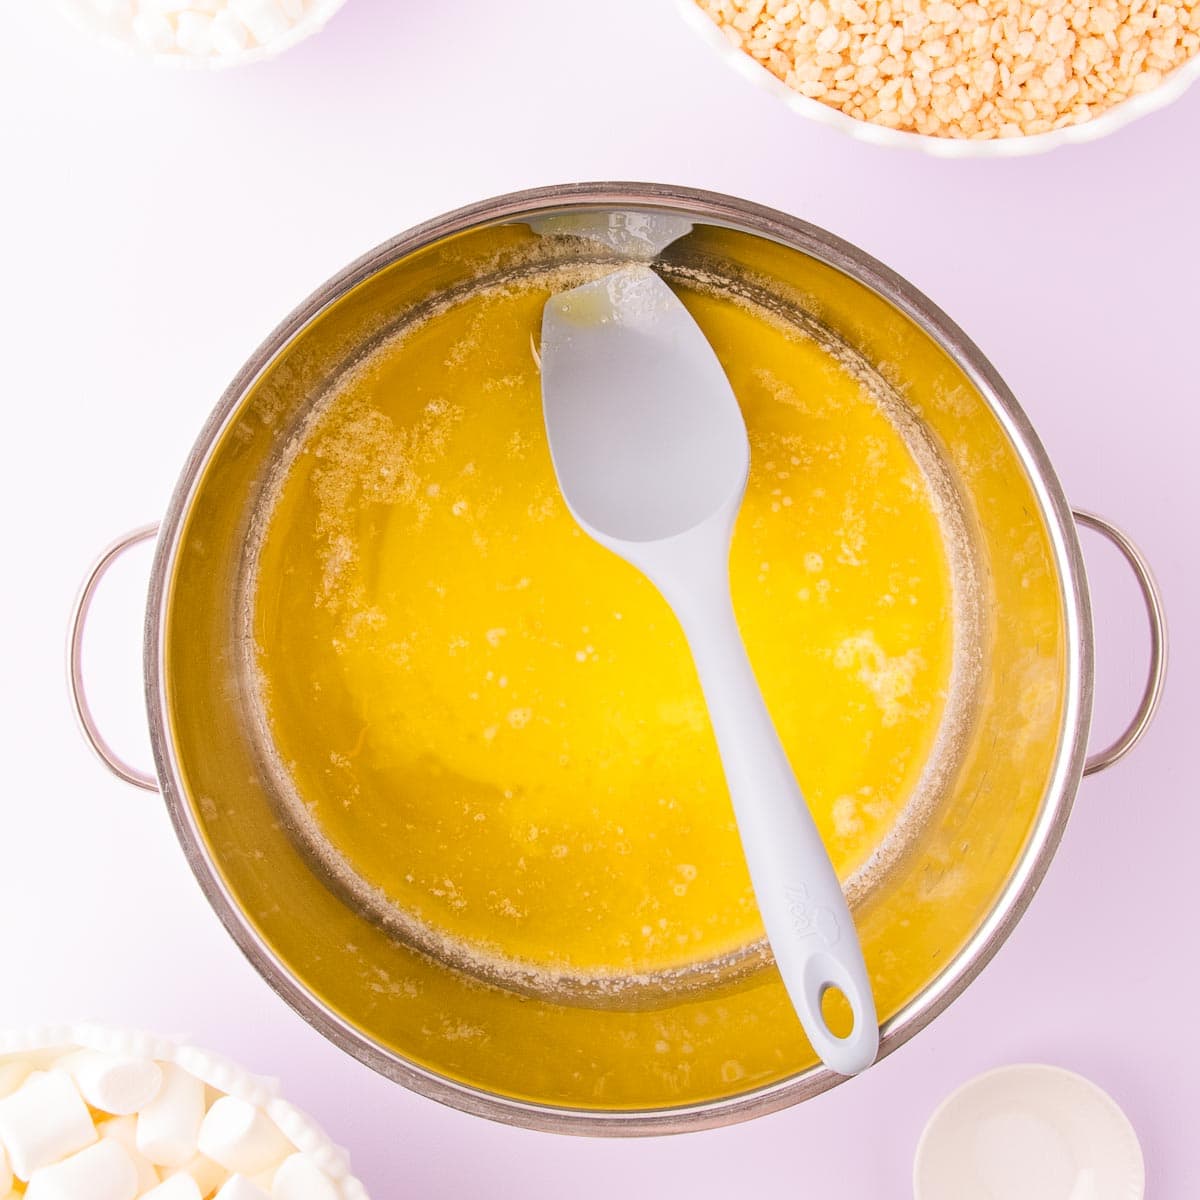
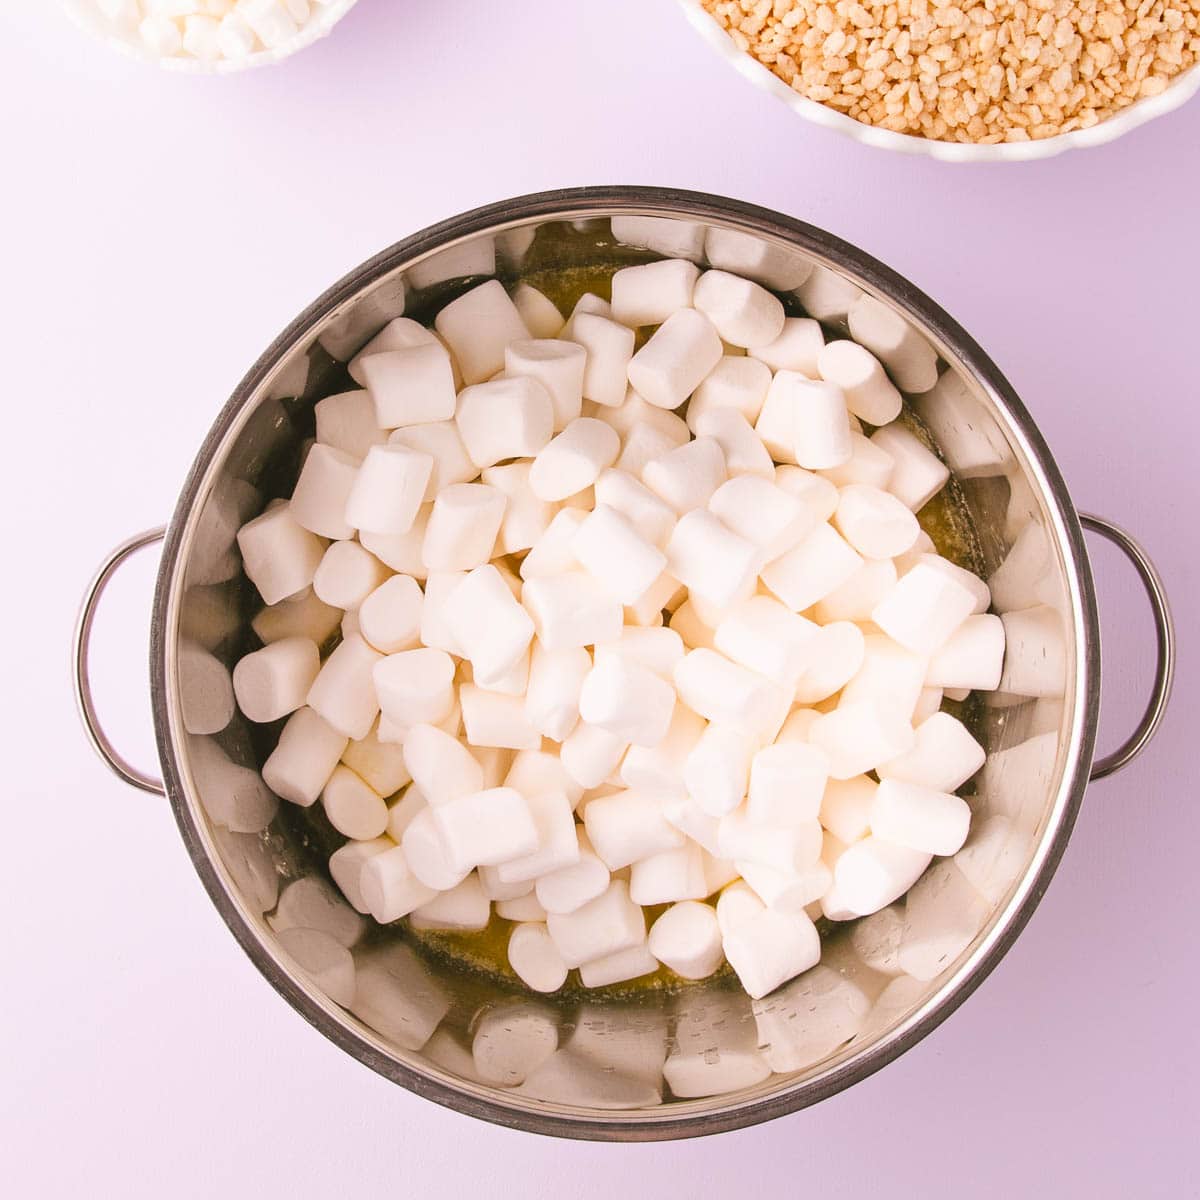
It’ll look a bit weird and separated to start with, and then the butter and gooey marshmallows will combine into a smooth, sticky mixture. Don’t let it boil, if it starts to bubble then turn it down to low or medium-low heat.
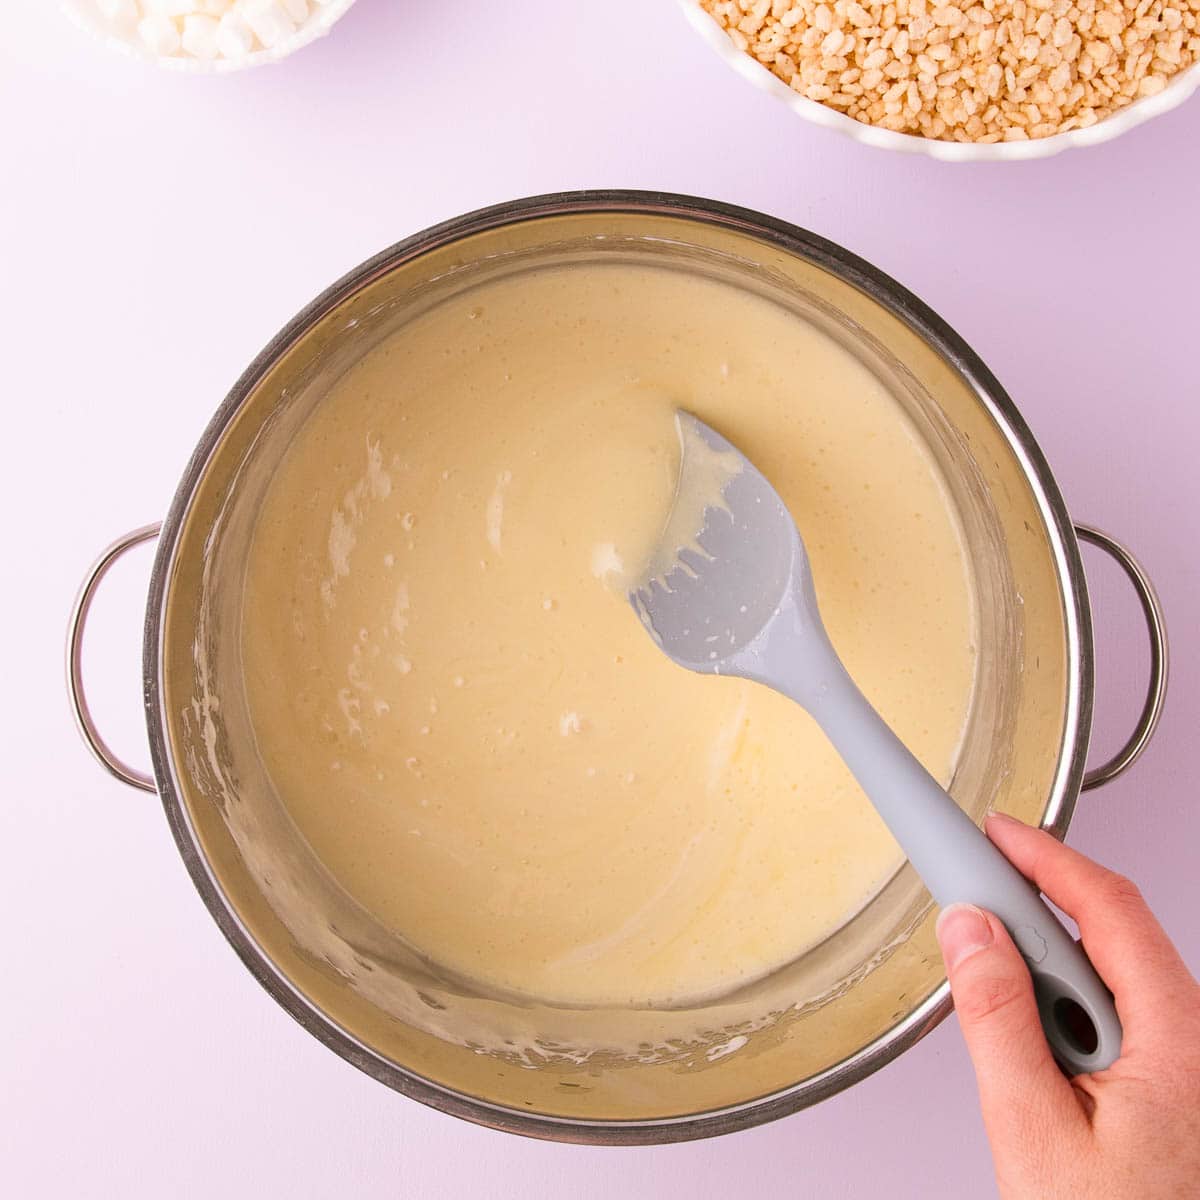
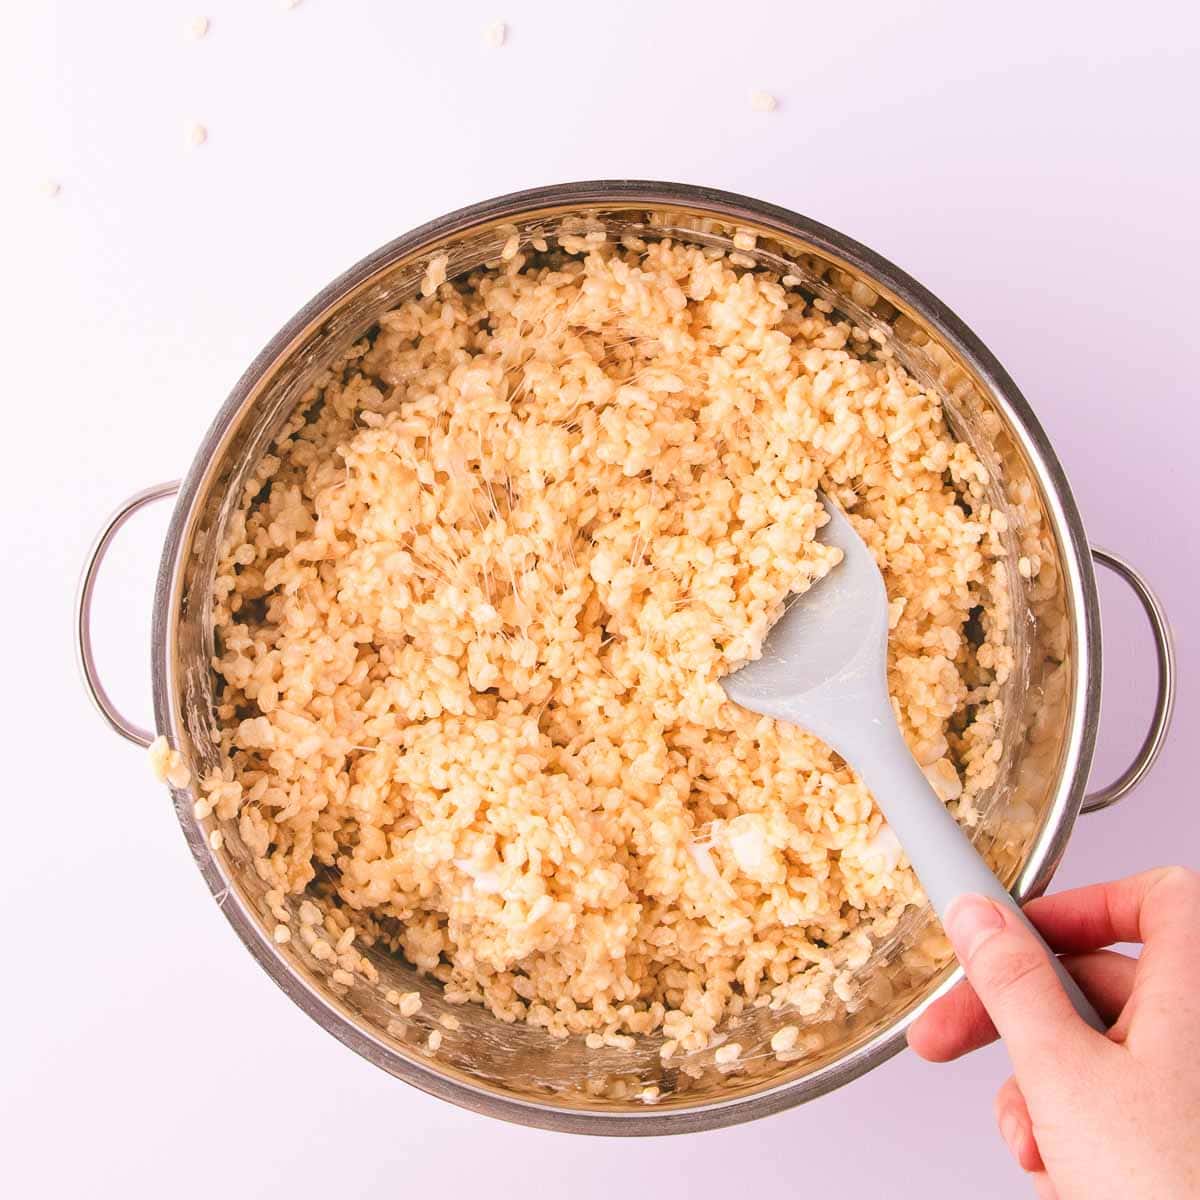
Then you can add in the crispy rice cereal, and toss in some extra mini marshmallows if you like. I find it easiest to add the cereal in two additions, it helps to make sure that it is completely coated in the marshmallow mixture.
Once it’s all mixed, tip it into the prepared pan and use the oiled spatula to gently level it into an even layer.
The key to stretchy, chewy rice krispie treats that aren’t as hard as rocks is to just gently press the mixture into the pan. Don’t cram it in, just lightly push it into the corners and flatten the top.
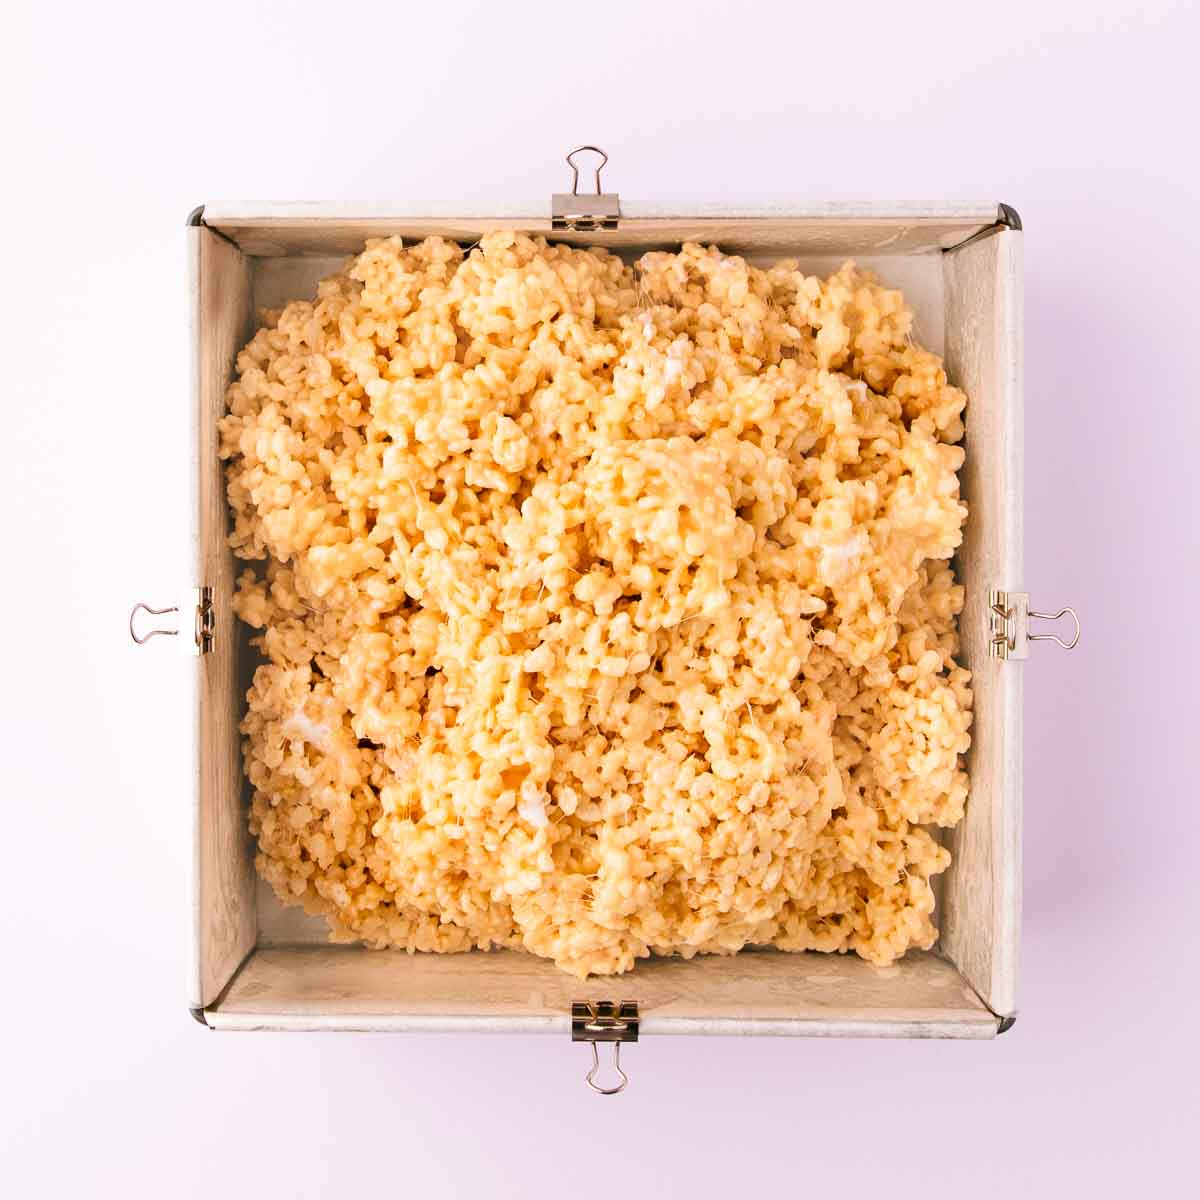
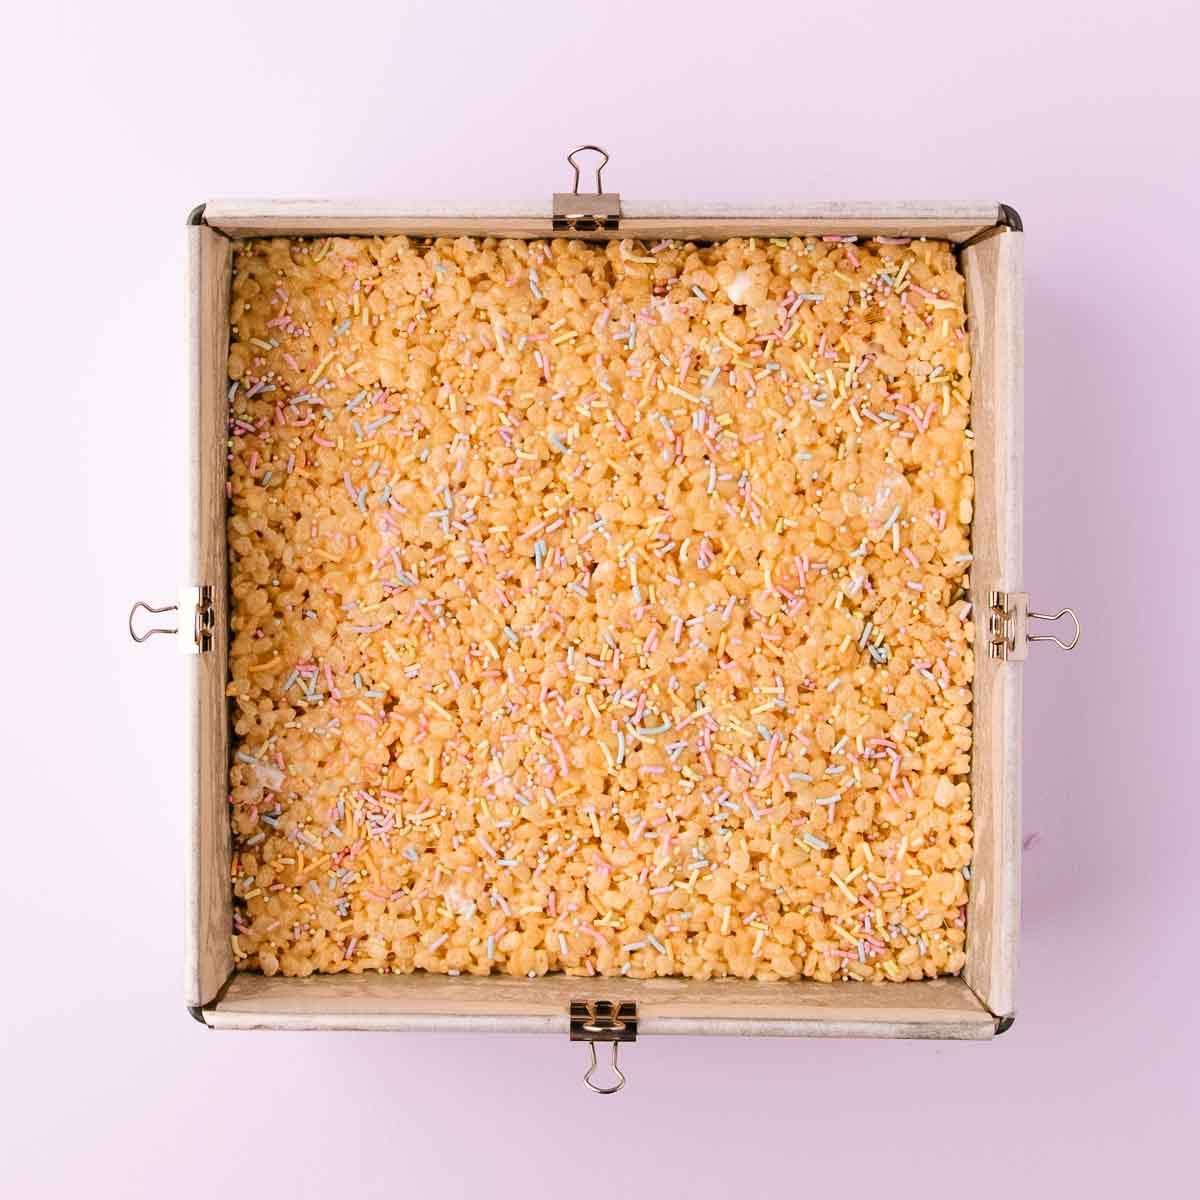
Sprinkle it with gluten free sprinkles, if you like.
Then just let it set. It will take half an hour or so to cool and set, depending on the room temperature, then you can cut it into pieces.
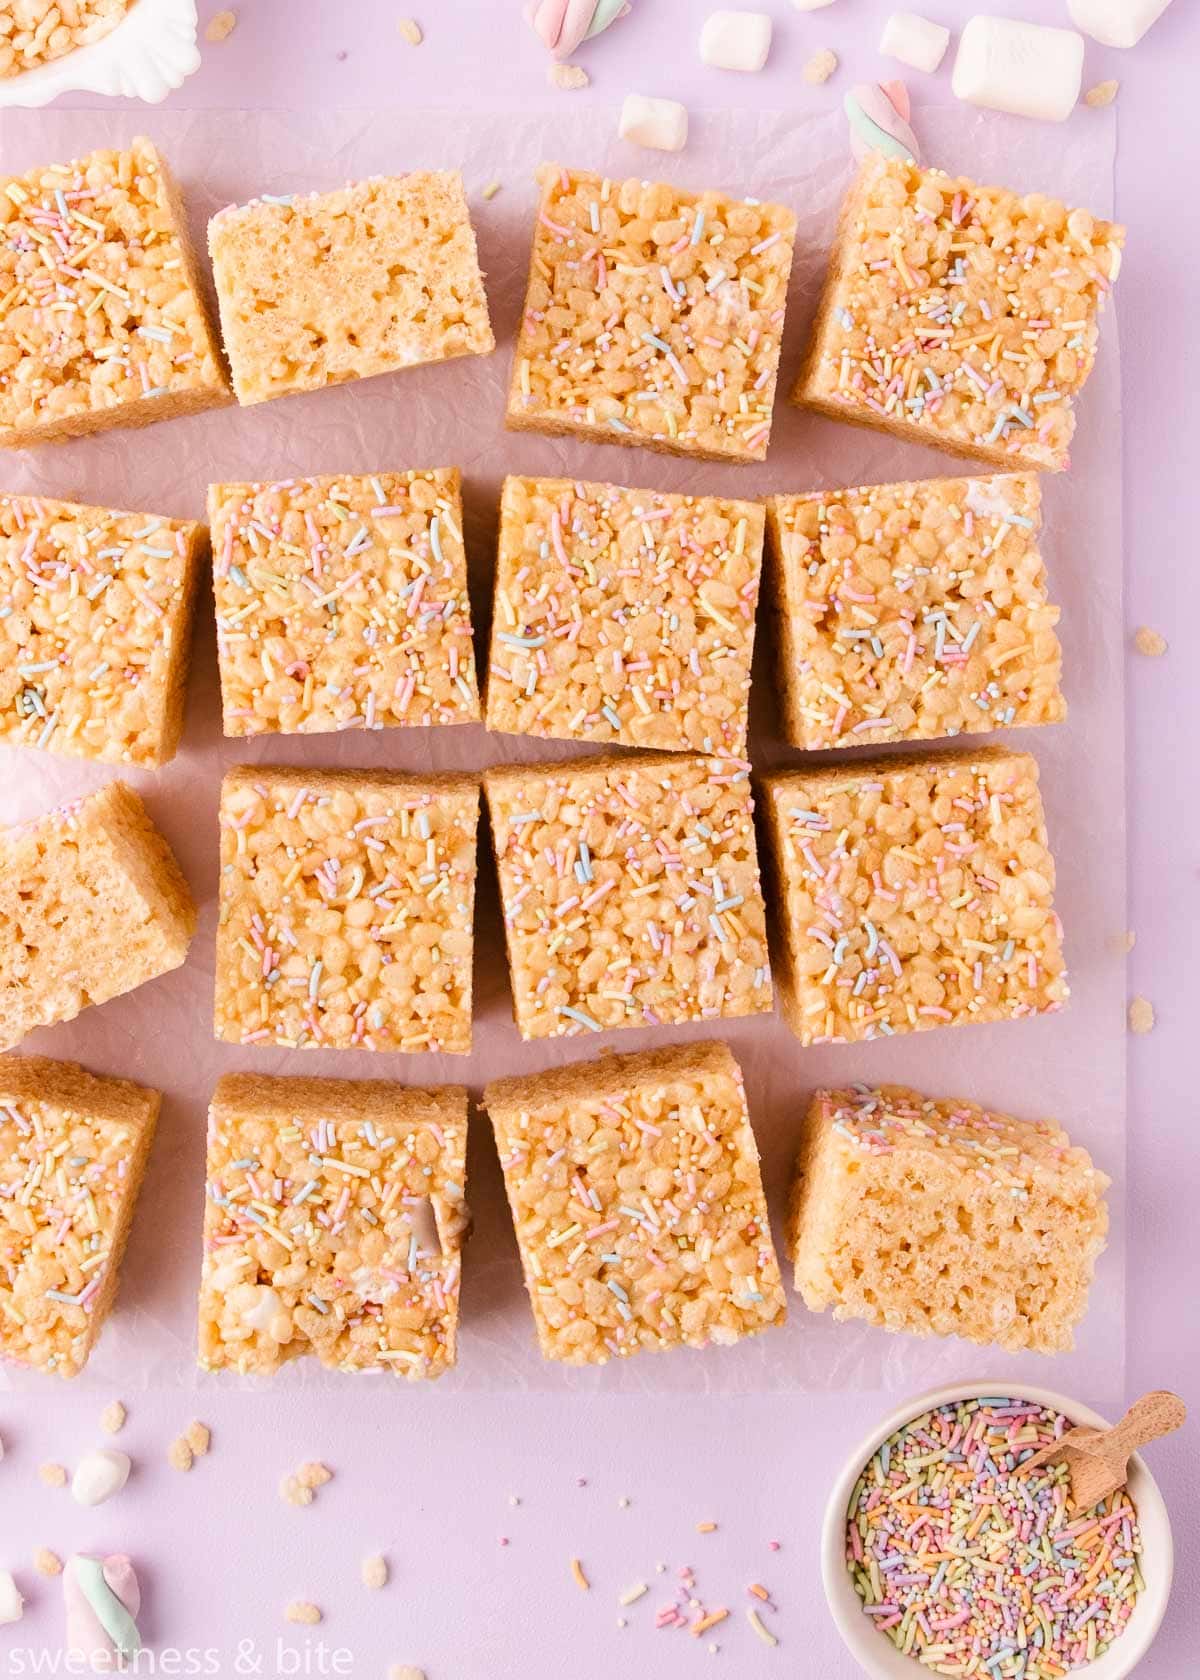
These are their chewy, crunchy stretchy best the day they’re made, but you can store them in an airtight container for 2-3 days.
If they get a bit hard, you can soften the marshmallow by gently warming the rice krispie treats in the microwave on low power just until they soften.
If you enjoy these, you should also definitely check out these Strawberry Rice Krispie Treats! 🍓
More No Bake Dessert Recipes
Easy White Chocolate Mousse
Chocolate Caramel Cheesecakes
Chocolate Coconut Truffles
Gluten Free Lemon Slice
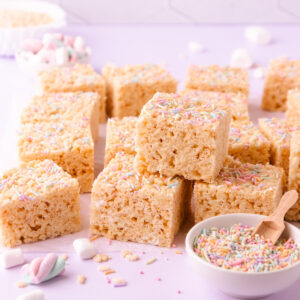
Gluten Free Rice Krispie Treats
Ingredients
- 150 g unsalted butter or salted butter (1 ¼ sticks or 10 Tablespoons)
- 1 teaspoon vanilla extract optional
- pinch salt omit if using salted butter
- 425 g marshmallows (15 oz) mini or regular-sized
- 350 g gluten free rice crispy cereal (8 cups)
- 60 g mini marshmallows (1 cup) optional
- oil spray, or melted butter, for greasing
- gluten free sprinkles optional, to decorate
Instructions
- Prepare a 9" square baking pan (or any roughly equivalent sized pan) by lining with baking paper (baking parchment). I like to line the pan with two crisscrossed strips of baking paper (baking parchment), as it makes it easier to lift the rice krispies out later.Lightly spray the paper with oil spray, or brush lightly with melted butter.
- In a very large saucepan, melt the butter over medium heat.
- Stir in the vanilla and salt, then toss in the marshmallows. Continue to stir until the marshmallows are completely melted.
- Remove from the heat and stir in half the rice cereal until well combined, then the mini marshmallows, if using, and the second half of the rice cereal.
- Tip the mixture into the prepared pan, and gently press it into an even layer using an oiled spatula. Don't press it in too firmly, or the rice krispie treats will be too hard.
- Sprinkle with sprinkles, if desired.
- Leave to set for an hour, then remove from the pan and cut into pieces using a sharp knife. For clean cuts, lightly oil the knife.
- Store the rice krispies in an airtight container at room temperature. They are best eaten within 2-3 days.
Notes
Nutrition
Nutritional Disclaimer: Any nutritional info provided is a computer generated estimate and is intended as a guide only.
GF Rice Krispie Q&A
Kellogg’s Rice Krispies cereal is not gluten free, as it contains malt flavouring from barley, which contains gluten.
While Kelloggs Rice Krispies are not gluten free, many other brands of crisp rice cereal are gluten free. It will depend on where you live as to which brands are gluten free, so check out your local store’s cereal aisle and gluten free food aisle. Make sure the one you choose doesn’t contain barley malt or any other gluten-containing ingredients such as wheat or rye.
Only if they are made with gluten free rice cereal and marshmallows. The original recipe and most other regular rice krispie treats are made with ingredients that contain gluten, so make sure you choose ones that are gluten free, or make your own using this recipe!
Many are, but some aren’t, so check the ingredients list of the marshmallows you’re buying to make sure. If they contain glucose syrup from wheat this is ok – as it’s considered to be so highly processed that it is gluten free and safe for people with Celiac disease.

