No Bake Chocolate Caramel Cheesecakes
This post may contain affiliate links to products I recommend. I receive a small commission at no cost to you if you make a purchase using my link.
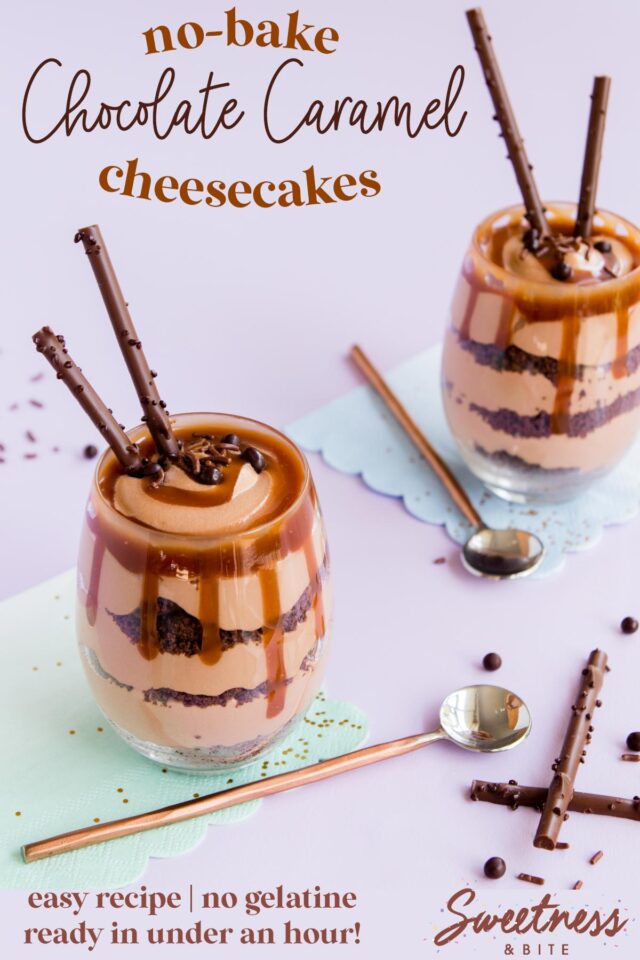
With creamy chocolate cheesecake and the rich flavour of salted caramel sauce, this delicious dessert is ready to eat in under an hour. This great recipe has no gelatine and no eggs, so these are the easiest no bake chocolate caramel cheesecakes you’ll ever make!
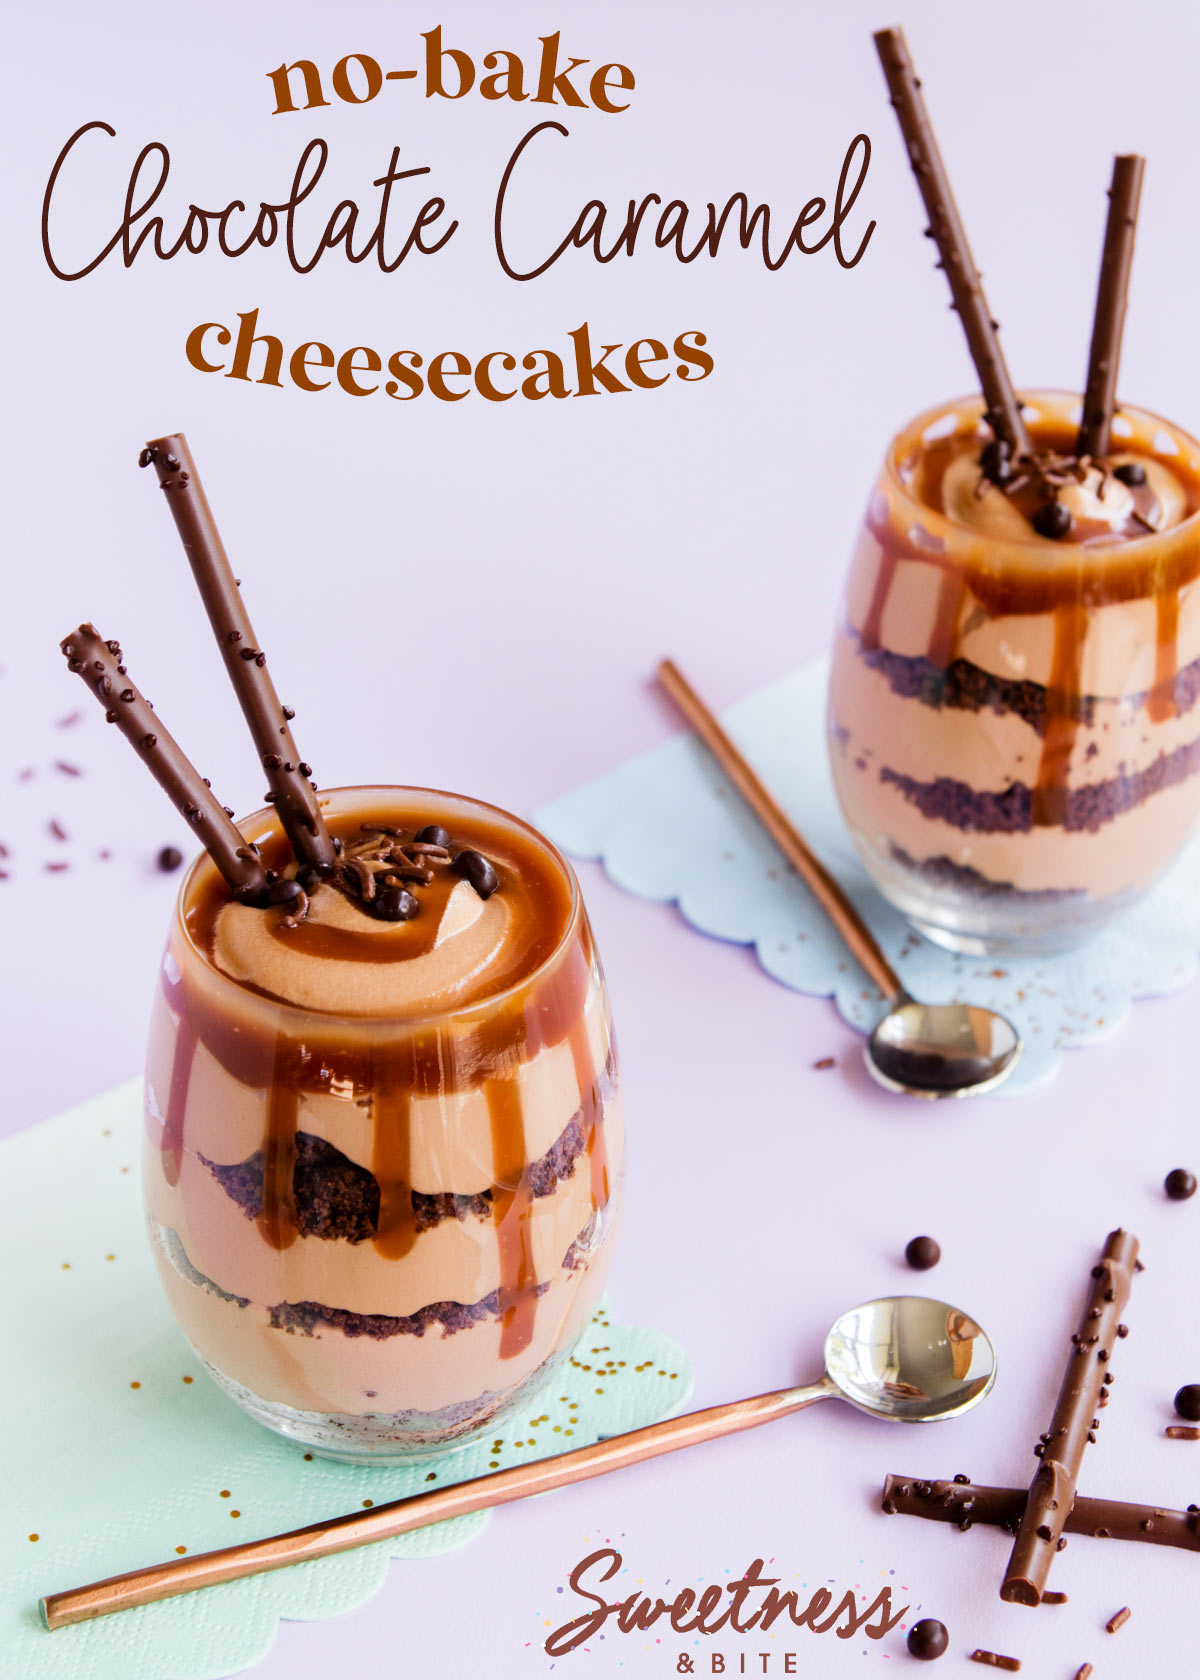
This easy recipe comes to you courtesy of my friend Loralee. She wanted to make my Lemon Cheesecakes Cups, but didn’t have any lemons. Or plain biscuits, or white chocolate 😂 So she came up with her own version of the recipe using what she did have – chocolate biscuits, salted caramel sauce and milk chocolate.
Loralee is the queen of time-saving baking and cake decorating and prefers simple recipes and techniques. She has four kids and she doesn’t have time for time-consuming recipes, so I know if she’s willing to use one of my recipes then it definitely passes the quick and easy “Mum Test”.
These are much easier to make than a baked cheesecake recipe, so if this is your first time making cheesecake, or even if you’re just not a fan of the texture of baked cheesecakes, then this might just be your new favourite dessert.
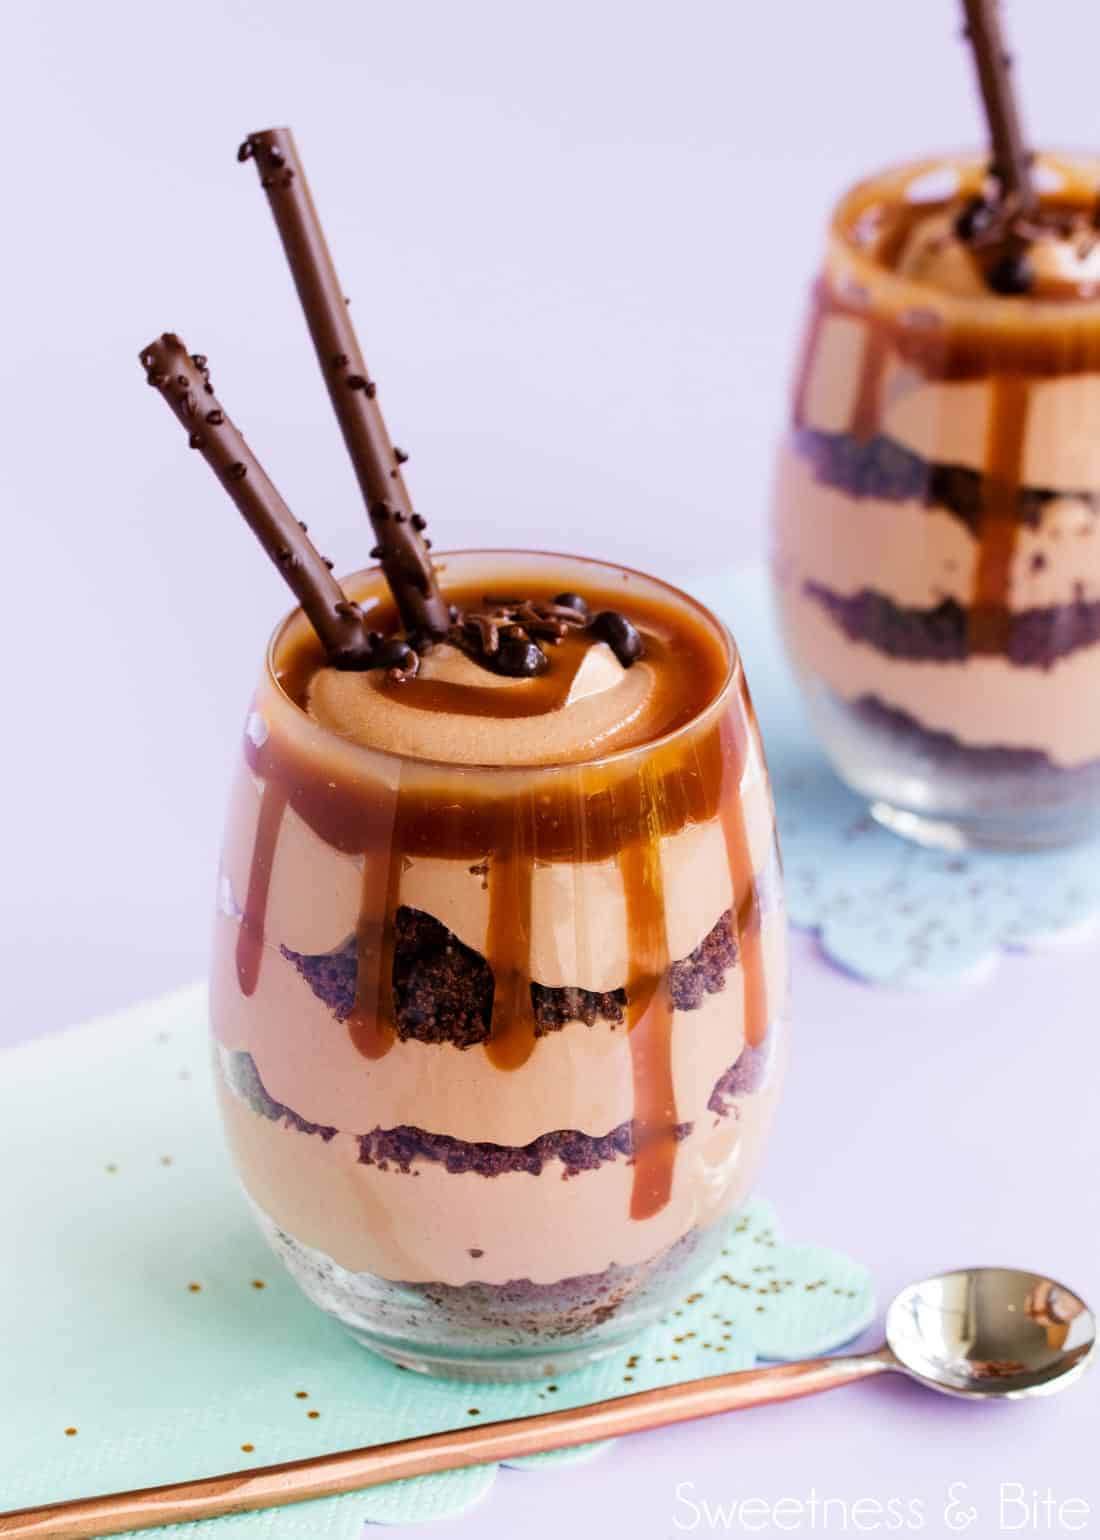
Serving the cheesecakes in glasses (or glass jars, if you like) means we don’t need gelatine to make the cheesecake mixture set firmly enough to slice. It also allows for layers of cookie crumbs, caramel and chocolate cheesecake filling, giving you a bit of each in every mouthful *chef’s kiss* 😘🤌.
The Best Things About These Cheesecakes
As I mentioned above, these are the best cheesecakes for parties or a dessert table – you can scale the recipe up or down, and pipe the mixture into shot glasses, little jars or even ready-made pastry tart cases, pop them all in an airtight container in the fridge, and just take them out when you’re ready to set up.
Ingredients
- Chocolate biscuits/cookies – I use homemade gluten free chocolate cookies to make mine gluten free, but you can use any store-bought or homemade cookies/biscuits in any complementary flavour that you like. If you wanted to be completely non-traditional, you could also use crumbled chocolate cake.
- Butter – Either salted or unsalted butter is fine in this recipe.
- Chocolate – For the best flavour, you need to use good quality chocolate. I used my favourite Kiwi chocolate – Whittaker’s, and I used both dark and milk chocolate – dark for the rich flavour, and milk for added sweetness, as we’re not adding any sugar other than what is in the chocolate and the caramel sauce.
- Full-fat cream cheese – Don’t try to use low-fat cream cheese in this recipe, it will end up runny and won’t set. The best cream cheese for this recipe is regular full fat cream cheese – I use the blocks of Philadelphia.
- Whipping cream – The cream you need for this recipe is known by different names in different countries. Here in NZ it’s usually called standard cream or whipping cream, in other countries it may also be known as single cream or full cream. Heavy cream (or heavy whipping cream) and double cream will also work, but be very careful not to overwhip it as it will get too thick and turn grainy.
- Caramel sauce – I made these with my own simple homemade caramel sauce, which is lightly salted. For an extra decadent treat, you could use chocolate caramel sauce or, for an adults-only dessert, you could use rum caramel sauce instead.
To make this an even easier dessert to whip up, use ready-made salted caramel sauce or caramel spread. Or you could go full choc-overload (is there such a thing?!) and use chocolate sauce or ganache. - Optional extras – You could add a splash of vanilla extract to the cheesecake mixture, or even a teaspoon or two of your favourite liqueur. Baileys or Frangelico would be delightful additions.
How to Make Salted Caramel Chocolate Cheesecakes
These are super straightforward to make. The cheesecakes are layered, parfait style, and have three main components – the creamy chocolate cheesecake layer, the chocolate cookie crust layer and the caramel layer.
You’ll start by crushing the chocolate cookies to fine crumbs, either in a food processor or in a resealable plastic bag and crush them with a rolling pin. Then they get mixed with the melted butter.
The chocolate gets melted (I just do this in the microwave on medium low heat, but you could do it in a double boiler if you prefer) then it gets beaten with the room temperature cream cheese and some of the caramel sauce in a large mixing bowl until smooth. Make sure you scrape down the sides of the bowl and get everything well mixed.
Next, the cream gets whipped in a separate bowl and then folded into the cream cheese mixture. At this point, the texture will be kind of like cream that has been whipped to soft peaks. You can continue with the recipe and spoon the mixture into the glasses, or if you want to pipe the mixture in instead, you can chill it for 10-15 minutes to firm up a bit, then transfer to a piping bag fitted with a large round tip.
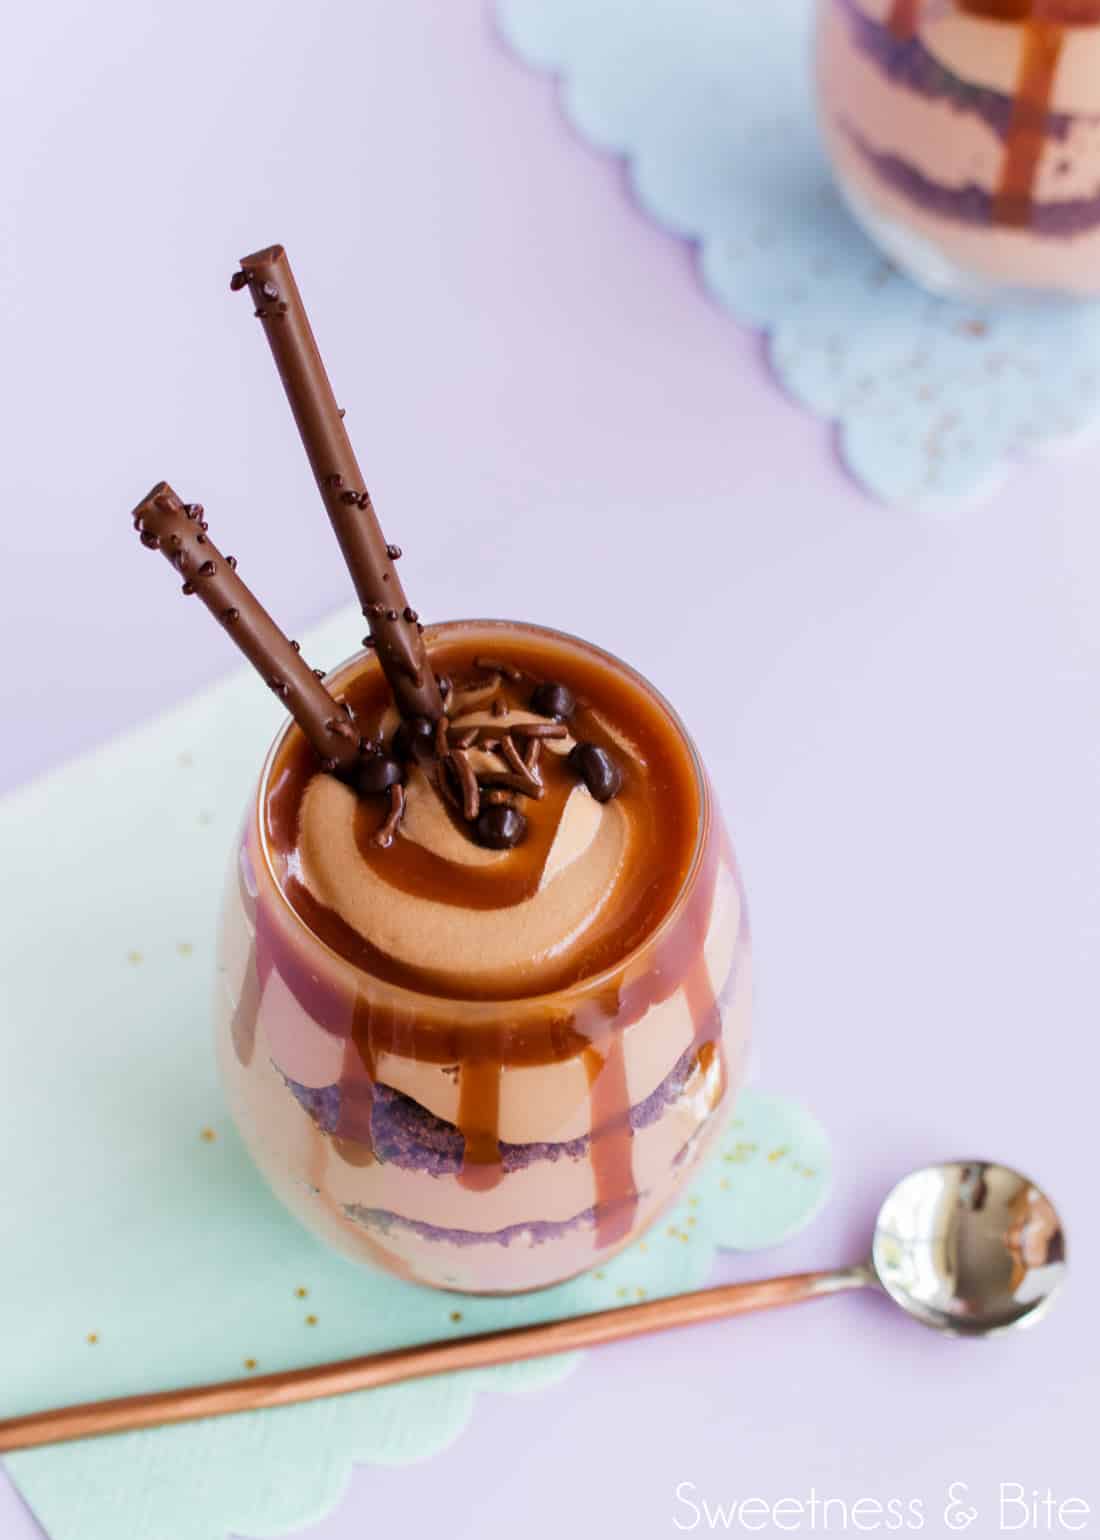
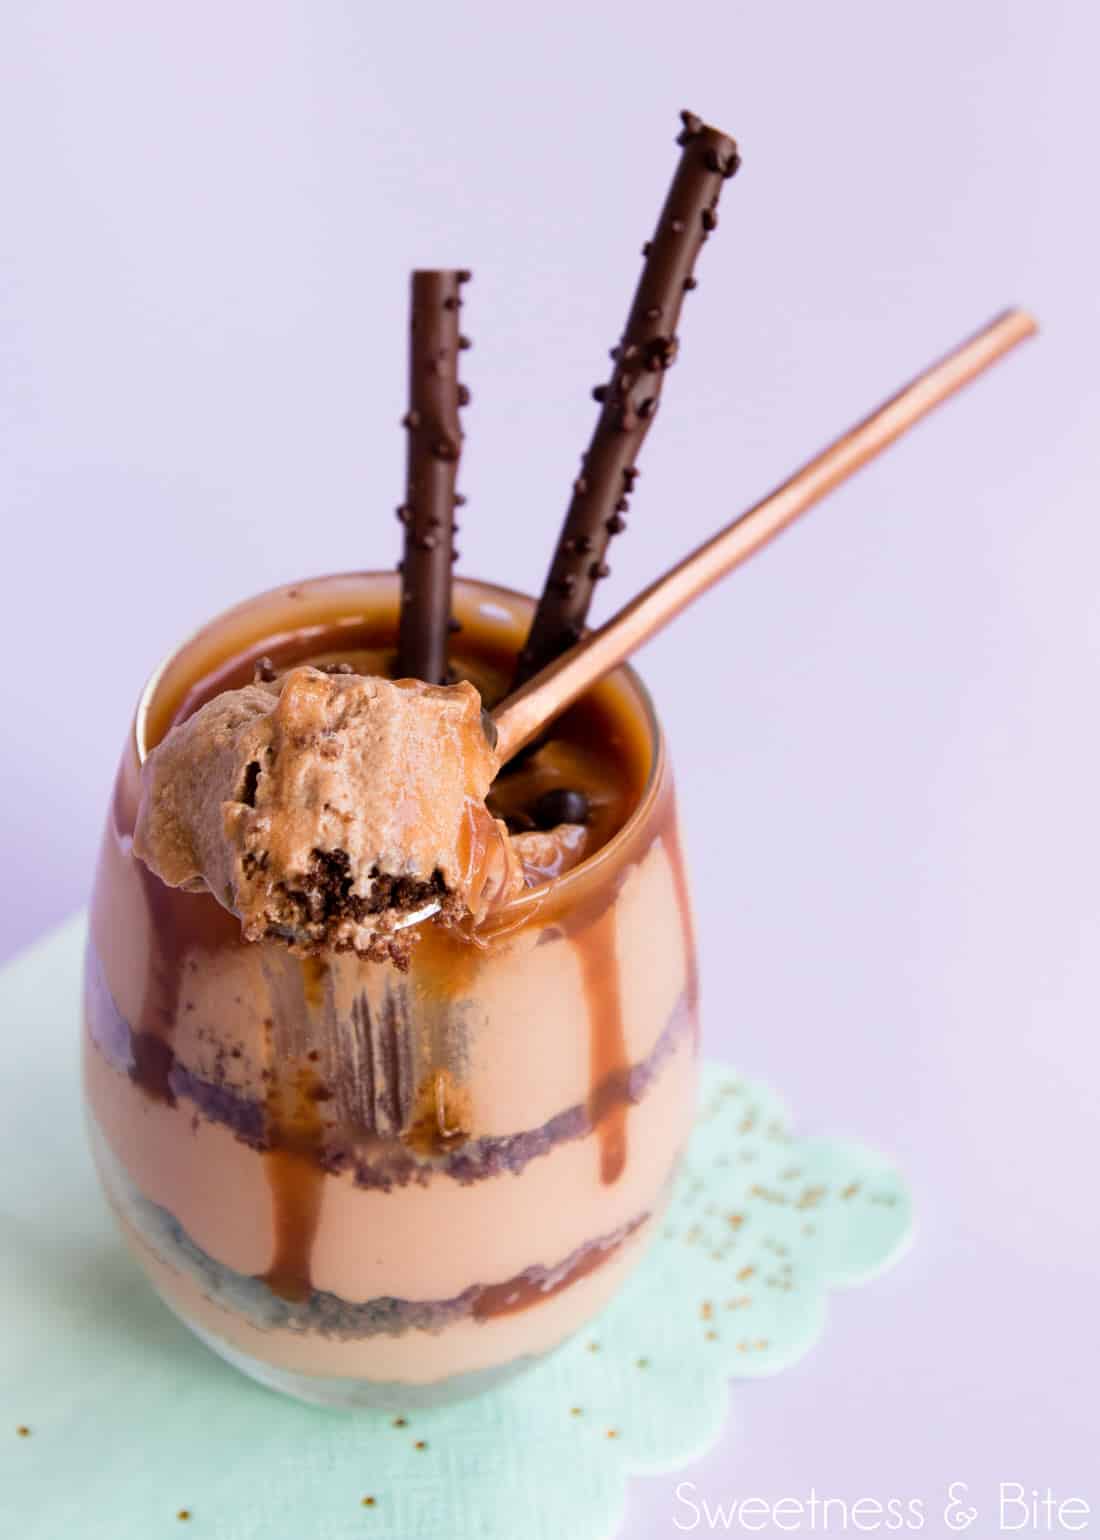
Then you’ll just layer up the cheesecakes in your glasses. Starting with a spoonful of the cookie crumb mixture, then the cheesecake mixture, then a squiggle of caramel sauce, and do it all again until you reach the top of the glass.
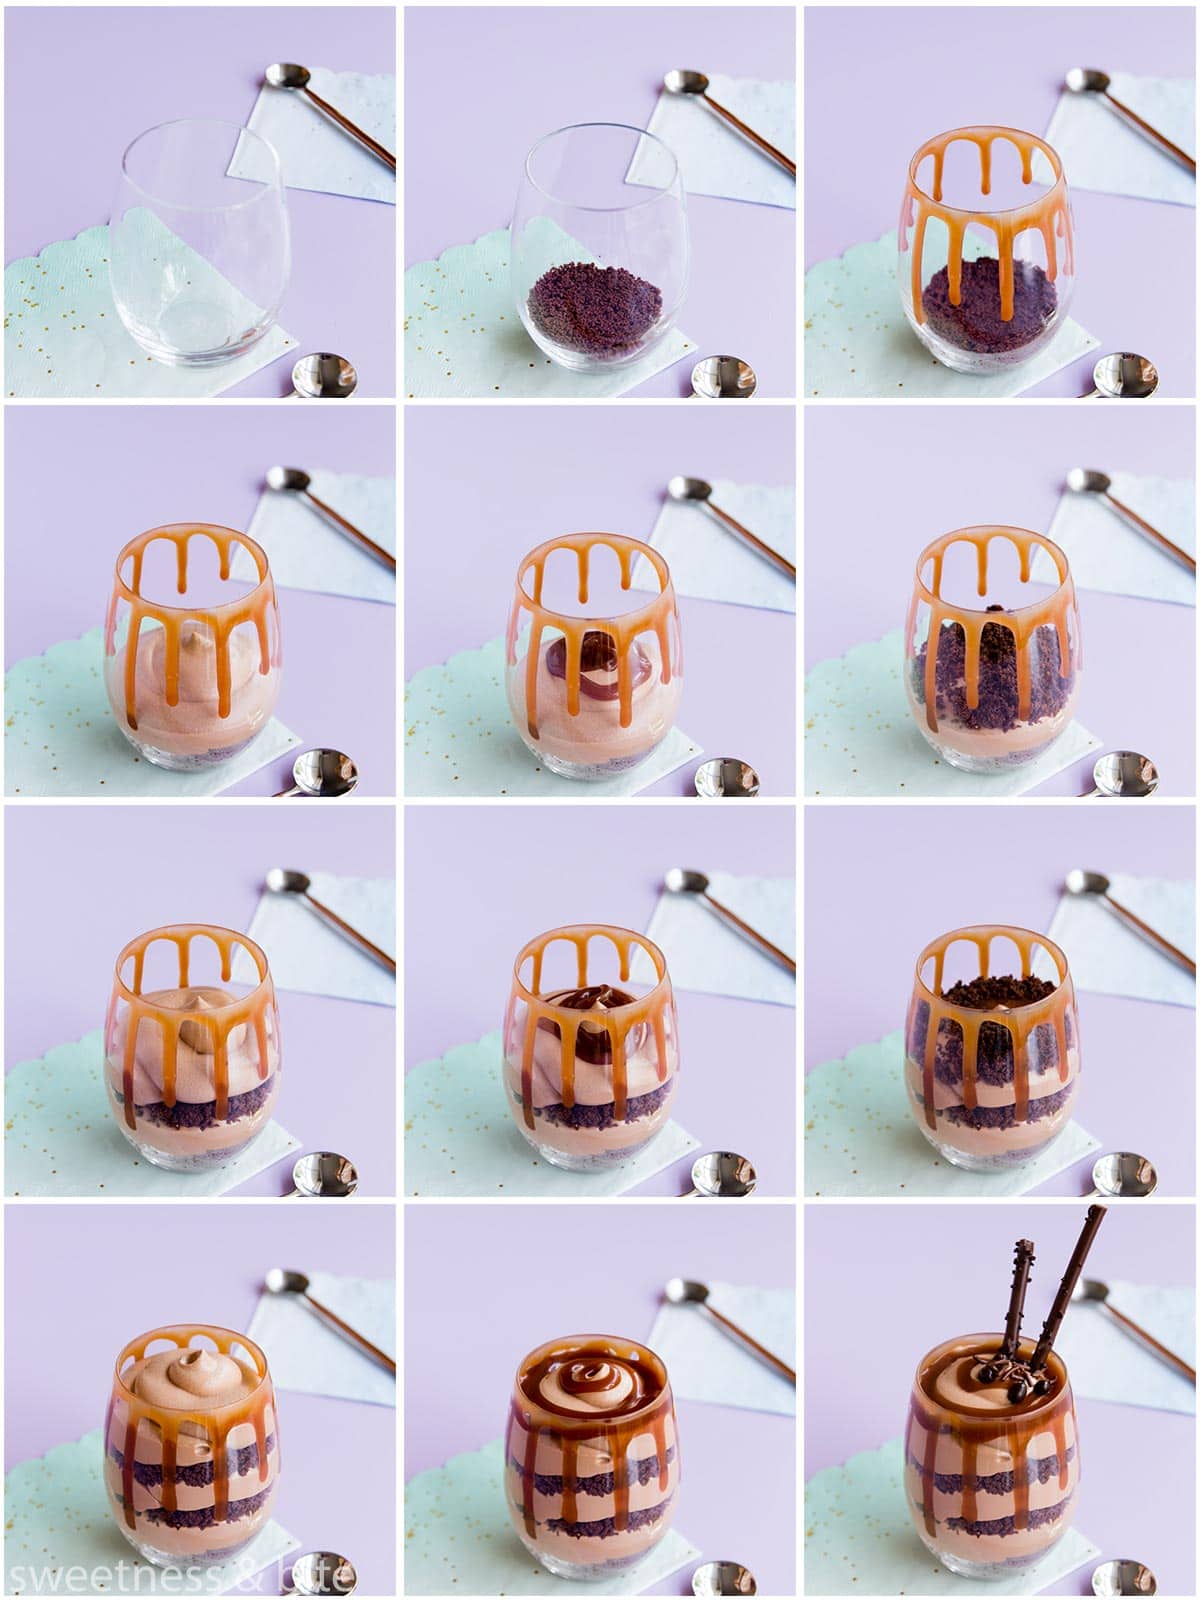
I went all fancy with these and did a caramel drip on the rims of my serving glasses. On the inside of the glass, because sometimes I’m smart like that and want to avoid mess and sticky fingers (or rather, I’d already got messy and sticky while mixing up the cheesecake filling, and there are only so many times you can wash your hands before you start losing skin, amiright?)
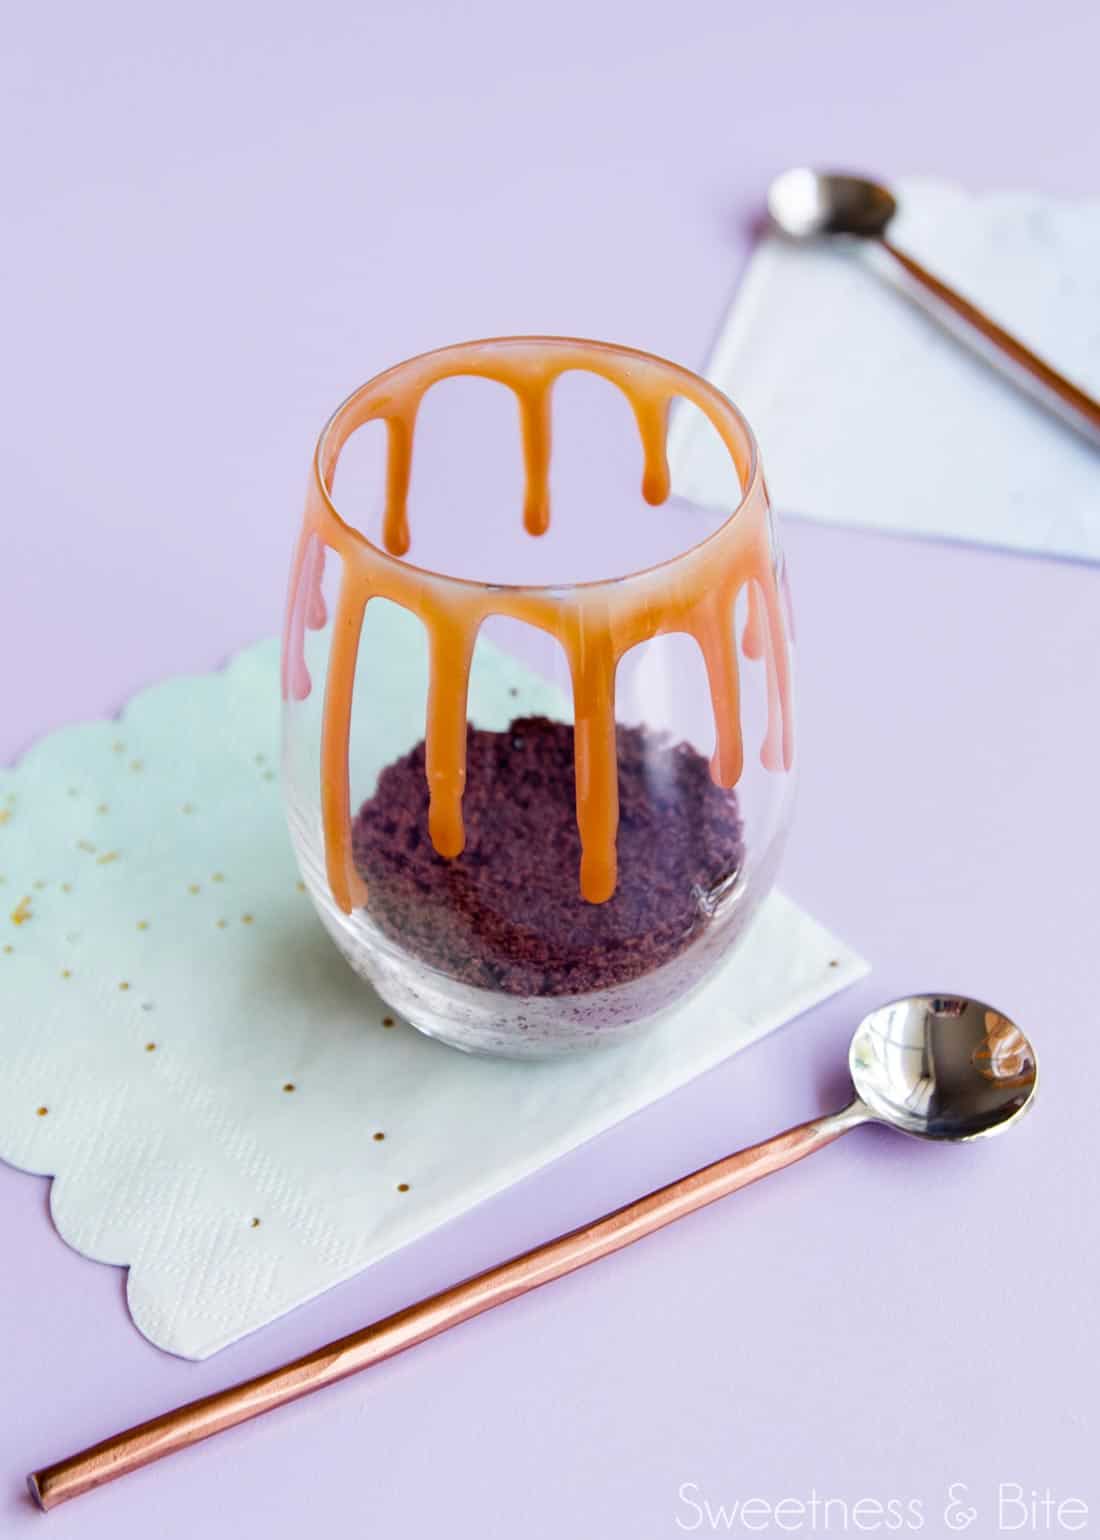
That bit definitely would not pass Loralee’s “Mum Test”, but it does look pretty, right? I’ll give instructions in the recipe for how to do the drip in the recipe card below (it’s done pretty much how I did this ganache drip on my mini cake) but if you don’t have time for that, then simply drizzling the caramel inside would look suitably enticing too.
Decorations – I decorated the tops with more caramel sauce, some chocolate sprinkles, Valrhona pearls and these chocolate twig/stick things that I stocked up on at Christmas time and then just slowly ate through all *cough* six *cough* boxes before I actually got round to using them to decorate something.
Other great decorations would be chocolate chips, more cookie crumbs or a sprinkle of sea salt. Add the salt just before serving, as it will dissolve in the fridge if you add it earlier.
Storing the No Bake Cheesecake
While these cheesecakes can be eaten straight away, they’re also a great make-ahead dessert.
When they’re first made, the cheesecake filling has a soft, smooth texture. When they’ve been refrigerated for a few hours or overnight, the mixture sets and has more of a fluffy texture.
The best way to store them is to put the glasses into a large airtight container and store them in the fridge. If you don’t have a container large enough, you can cover each of the glasses with plastic wrap instead.
They will keep in the fridge for several days.
The cheesecakes can also be frozen. You’ll need to make sure you’re putting them into freezer-safe containers. Individual lidded plastic containers are perfect. They should keep for 1-2 months in the freezer.
Quick Q&A
Yes! If you don’t need an entire cheesecake batch, you can easily halve the recipe. Half of the butter amount for the biscuit base is roughly 1 tablespoon of melted butter.
Absolutely it can. The doubled mixture should fit in a standard-sized stand mixer bowl, or a large bowl if you’re using a handheld mixer.
Sure can! You can add any kind of flavoured extract to the cheesecake mixture. You can swap the caramel sauce for ganache or bottled chocolate sauce. For a fruit flavour, you could also add some crushed freeze-dried fruit or a fruit coulis.
No Bake Chocolate Caramel Cheesecakes
Ingredients
- 250 g chocolate cookies
- 35 g butter melted
- 100 g dark chocolate at least 50% cocoa solids, chopped
- 100 g milk chocolate chopped
- 500 g full-fat cream cheese softened at room temp for 30 mins
- 300 ml whipping cream
- 250 ml caramel sauce 1 cups (or more or less, to taste)]
Instructions
- Crush the biscuits into crumbs using a food processor (or place them in a resealable plastic bag and crush them with a rolling pin). Combine them in a bowl with the melted butter, and stir well.
- Spoon some of the crumb mixture into the bottom of each of your serving glasses/jars. The amount will depend on how thick you like your cheesecake base, but 1-2 tablespoons is a good starting point. Press the crumbs down using the back of a spoon, or if you have one, the tamper from a coffee machine works really well for this. Place the glasses in the fridge while you prepare the ‘filling’ and set the remaining crumbs aside.
- If you want to do the caramel drip around the top edge of the glass, warm some of the caramel sauce until it’s pourable but not runny. Pour it into a squeezy bottle or piping bag fitted with a round nozzle (I used a Wilton #6). Place the tip against the inside top edge of the glass, and squeeze a little of the sauce until it begins to drip down the glass. Repeat around the glass for as many drips as you’d like, then you can go back as squeeze a little of the sauce along the edge to join up the drips. Pop the glasses back into the fridge so the sauce can set.
- Place the chopped dark and milk chocolate in a heatproof bowl and microwave on medium power in 30 second bursts until melted, stirring between each burst. Set aside to cool slightly.
- Beat the cream cheese in a large bowl with an electric mixer until smooth. Beat in the melted chocolate and 1/4 cup of the caramel sauce.
- In a small bowl, whip the cream until stiff peaks are just beginning to form. You can use the same mixer blades you used for the cream cheese, no need to wash. Be careful not to over whip the cream. Stir 1/3 of the whipped cream into the cream cheese mixture to lighten it, then gently fold in the remaining whipped cream. (At this point you can spoon the mixture into your serving glasses (or straight into your mouth, I won’t judge), or if you want to pipe it, then you can put the whole bowl of cheesecake filling into the fridge for 10-20 minutes to firm it up slightly and make it easier to pipe.)
- Spoon or pipe a layer of filling into each glass. Spoon or pipe some more of the caramel sauce on top (I put mine in a small squeezy bottle with a round nozzle), and sprinkle some of the remaining biscuit crumbs around the edge.Continue the layers as many times as your serving glasses allow. Top with more caramel sauce, and decorate with chocolate sprinkles, or any other decorations you desire.
- Chill for 20-30 minutes to firm up (or eat immediately if you just can’t wait.) Cheesecakes will keep for several days in the refrigerator. Cover individual glasses with plastic wrap, or place them all in a plastic container with an airtight lid. The cheesecakes can also be frozen, ideally in individual lidded plastic containers. Just thaw them for an hour or so before eating.
Notes
Nutritional Disclaimer: Any nutritional information provided is a computer generated estimate and is intended as a guide only.
Enjoy!
~Natalie
xx
More Cheesecake Recipes You May Like…
