Lemon Cheesecake Cups
This post may contain affiliate links to products I recommend. I receive a small commission at no cost to you if you make a purchase using my link.
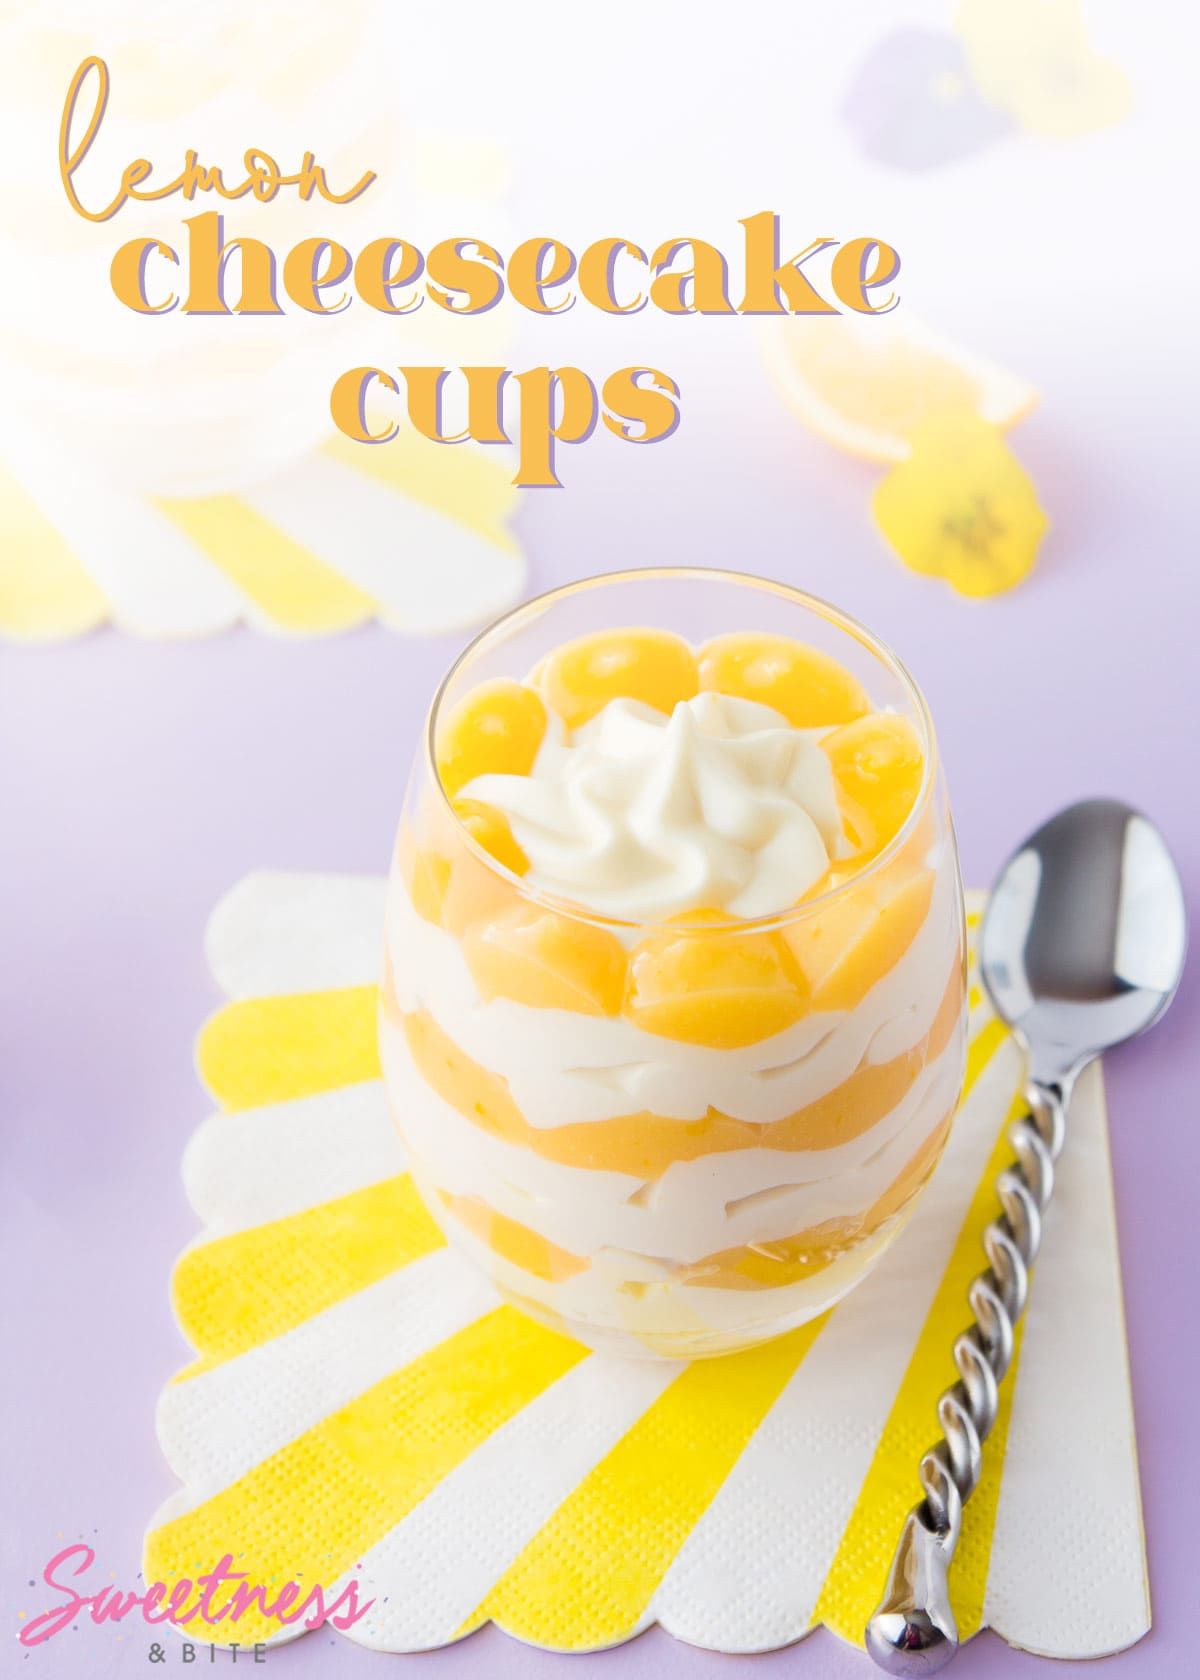
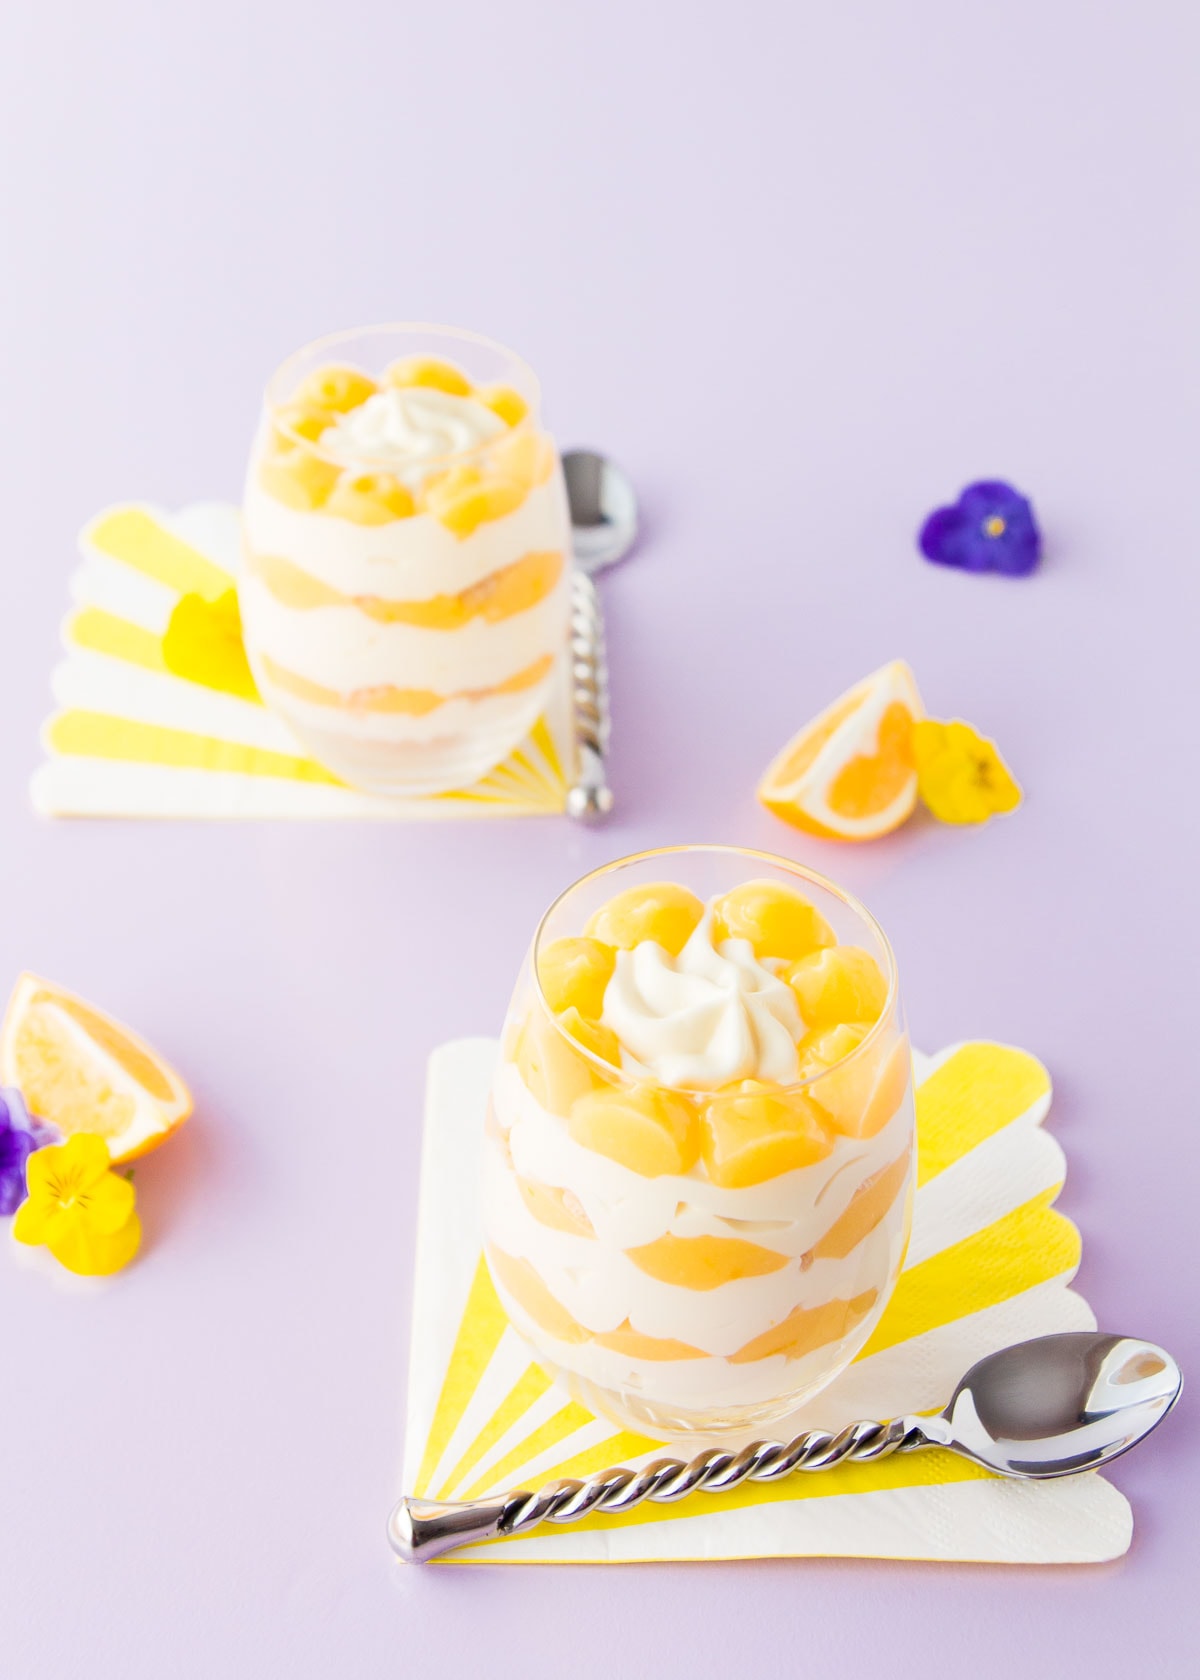
These no bake lemon cheesecake cups are so easy to make, with simple ingredients and no gelatine. You’ll have delicious, smooth and creamy individual lemon cheesecakes in under an hour!

I love cheesecake. There’s just something about tangy cream cheese that just elevates any other flavour that you choose to add to it.
The only downside of a full-sized cheesecake is that it can be a pain to prepare. A baked cheesecake can crack (and make you cry) or get overcooked and scramble the eggs, and most no-bake cheesecakes require gelatine (hoping to the goddess of cheese that the gelatine doesn’t go all clumpy and gross). Also, both of them require plenty of chilling time. All that chilling time is time in which you are not yet eating cheesecake.
But, what if I told you that you don’t need to wait? That these individual lemon cheesecakes could be yours in under an hour?
They don’t need baking, gelatine, or even a huge amount of chilling time, and guarantee you creamy cheesecake, every time.
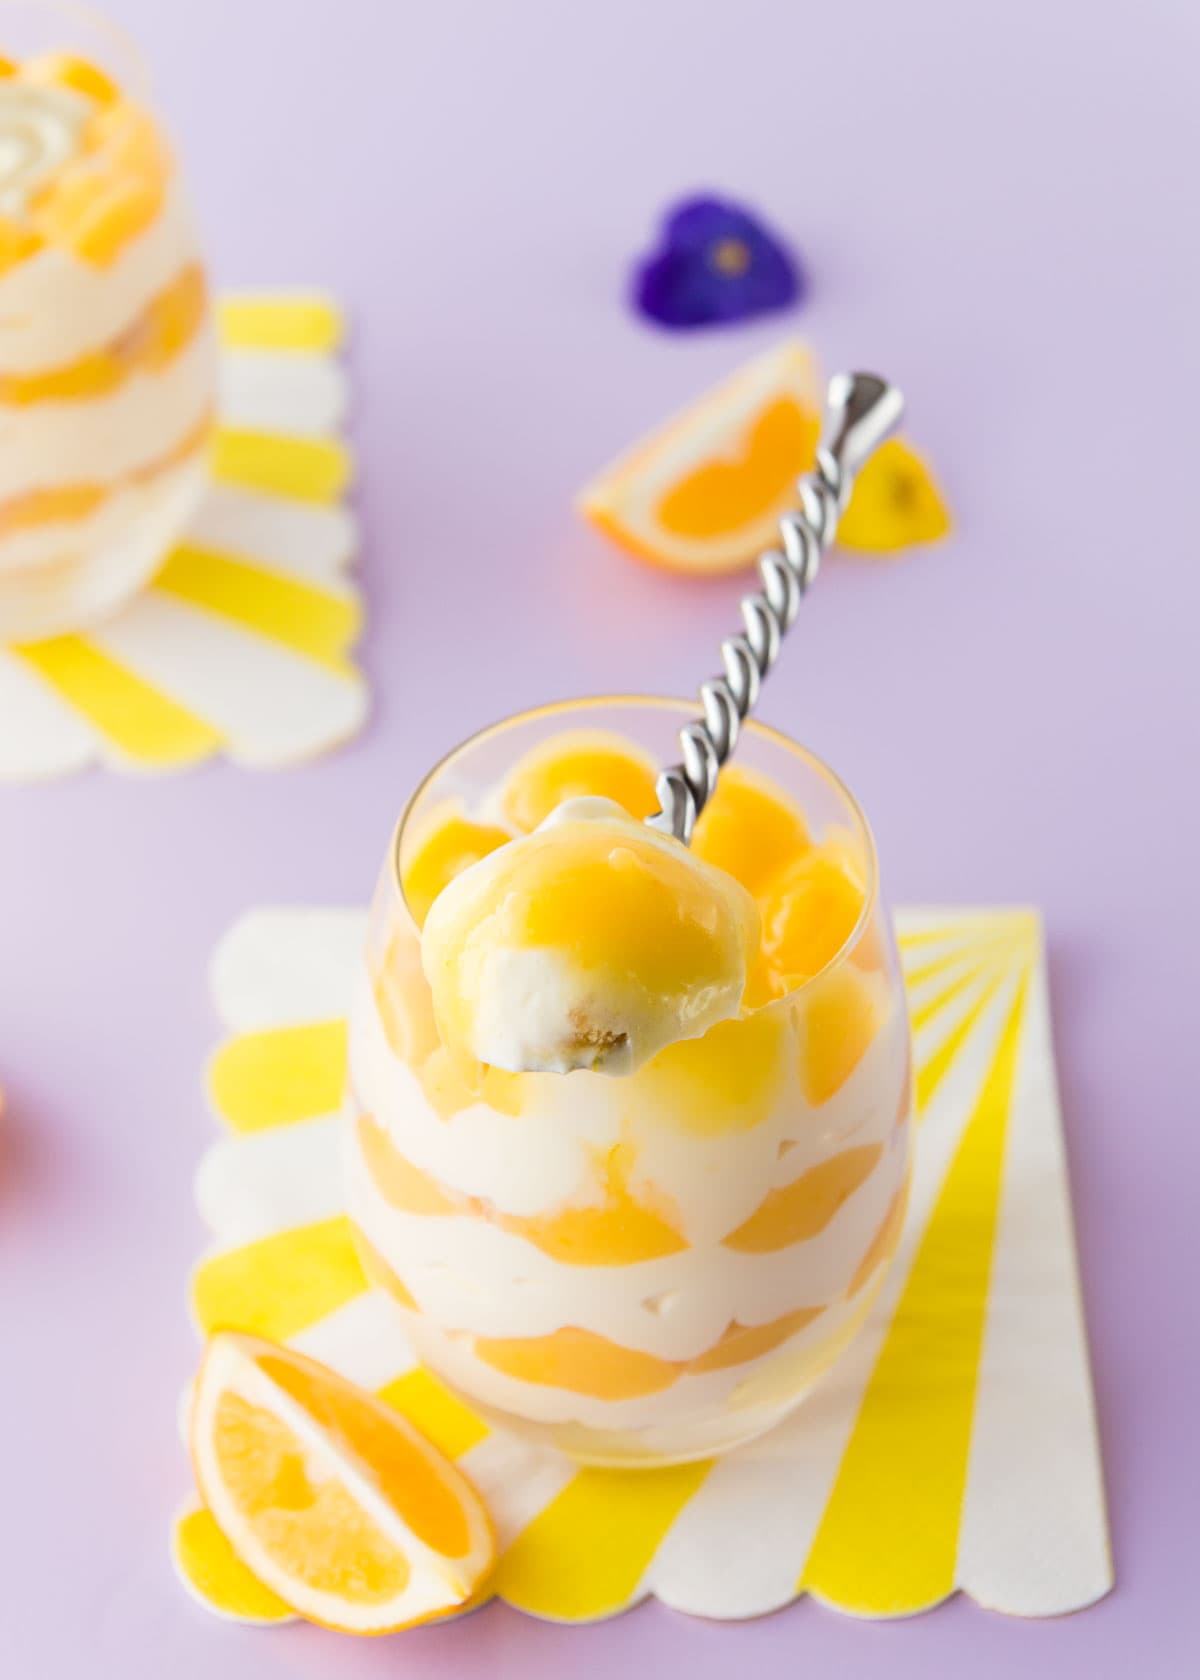
And because I believe that all the parts of a cheesecake are equally important, these no bake cheesecake cups have multiple layers of smooth lemon cheesecake filling, tart lemon curd and crunchy cookie crumbs, so you get a bit of everything in every bite.

What You’ll Love About This Recipe:
Ingredients
Cream Cheese – Make sure you buy full-fat cream cheese for this recipe, not low-fat or reduced fat cream cheese, as using those will mean your cheesecake won’t set and may become watery. Philadelphia cream cheese blocks are ideal for this recipe.
Cookies / Biscuits – Use any plain or complementary flavoured cookies. I used plain vanilla ones here, but lemon cookies or graham crackers would also work well. To make this recipe gluten free, choose gluten free cookies.
Butter – You can use salted or unsalted butter.
White Chocolate – Choose good-quality white chocolate rather than compound chocolate buttons or baking chips. Baking chips won’t melt properly, as they have a coating to stop them from melting in the oven. The little bit of white chocolate is what helps these cheesecakes set, it’s not enough to make it white chocolate flavoured or overpower the lemon flavour.
Whipping Cream – The cream you need for this recipe is known by different names in different countries. Here in NZ it’s called standard cream or whipping cream, in other countries, it may be known as single cream or full cream. Heavy cream (or heavy whipping cream) should also work, but be careful not to overwhip it as it will get too thick and turn grainy, and you won’t get that perfect creamy texture.
Lemon Curd – I have used my easy microwave lemon curd, but you can use a good-quality store-bought lemon curd if you prefer.
How to Make Lemon Cheesecake Cups
This is a super quick rundown of the recipe, for full recipe instructions and ingredient amounts, scroll down to the recipe card below.
- Start by crushing the cookies, either in a food processor or pop them in a plastic bag and crush them with a rolling pin. Mix them together with the melted butter. Spoon a little of the crumb mixture into the bottoms of 6 serving glasses and set the rest of the crumbs aside.
- Melt the white chocolate and set aside to cool. I just do this in the microwave on low power but you can use a double boiler if you’re worried about overheating the chocolate.
- In a large mixing bowl, beat the softened cream cheese on medium speed until smooth, then beat in the white chocolate and some of the lemon curd. I use a hand mixer but you could also use a stand mixer if you prefer.
- Whip the cream until stiff peaks just start to form, then fold it into the cream cheese mixture.
- Spoon or pipe some of the cream cheese mixture into the glasses, then add some lemon curd, and continue to layer the crumb mixture/cream cheese mixture/lemon curd until you fill the glasses.
- You can enjoy the cheesecakes straight away, or chill for 30 minutes to firm up slightly.
Storing the Cheesecake Cups
These are the perfect make-ahead dessert because they keep well in the fridge for several days. Cover the tops of each cheesecake cup with plastic wrap, or place all of the cups into a large airtight container, and refrigerate for up to 3 days.
If you want to decorate the top of each cheesecake with fresh fruit, add it just before serving.

Quick Tips
- Let the cream cheese warm up at room temperature for at least 30 minutes before using it.
- If using store-bought lemon curd instead of making homemade lemon curd, choose one that is nice and thick.
- If you want to pipe the mixture into the serving glasses, it helps to chill it for 10-15 minutes for it to firm up slightly before transferring it to a piping bag. Use a large round or star tip for the best results.
- If you want even more lemon flavour, you can add some finely grated lemon zest and/or lemon juice to the cheesecake mixture.
- Decorate the tops of the cheesecakes with some whipped cream, if you like. Fresh berries would be lovely, too!
- This is a great recipe to use when planning a decadent dessert table – you can make it into perfect mini cheesecakes by serving it in shot glasses or any other small bowls or serving glasses.
More No-Bake Desserts You May Like
Easy Chocolate Mousse – just three ingredients for fluffy chocolate mousse!
No Bake Caramel Chocolate Cheesecakes – another easy no bake cheesecake recipe.
Easy Mocha Mousse – topped with fluffy whipped coffee or whipped cream.
Gluten Free Lemon Slice – if lemon desserts are your thing then you’ll love this easy lemon slice, topped with lemon cream cheese icing.

Lemon Cheesecake Cups
Ingredients
- 250 g vanilla cookies or graham crackers or any complementary flavoured cookie
- 35 g butter melted
- 100 g white chocolate chopped
- 500 g full-fat cream cheese softened at room temp for 30 mins
- 300 ml whipping cream
- 1 ½ cups lemon curd (approx. 600g or 375ml)
Instructions
- Crush the biscuits into crumbs using a food processor (or place them in a resealable plastic bag and crush them with a rolling pin). Combine them in a bowl with the melted butter, and stir well. Place a spoonful of the crumb mixture into the bottom of each of your serving glasses/jars. Press the crumbs down using the back of a spoon, or if you have one, the tamper from a coffee machine works really well for this. Place the glasses in the fridge while you prepare the cheesecake mixture and set the remaining crumbs aside.
- Place the white chocolate in a heatproof bowl and microwave on medium power in 30 second bursts until melted, stirring between each burst. Set aside to cool slightly.
- Beat the cream cheese in a large bowl with an electric mixer until smooth. Beat in the melted white chocolate and 1/4 cup of the lemon curd.
- In a small bowl, whip the cream until stiff peaks are just beginning to form. You can use the same mixer blades you used for the cream cheese, no need to wash. Be careful not to over whip the cream.
- Stir 1/3 of the whipped cream into the cream cheese mixture to lighten it, then gently fold in the remaining whipped cream. At this point you can spoon the mixture into your serving glasses (or straight into your mouth, I won’t judge), or if you want to pipe it, then you can put the whole bowl of cheesecake filling into the fridge for 10-20 minutes to firm it up slightly and make it easier to pipe.
- Spoon or pipe a layer of filling into each glass. Spoon or pipe some more of the lemon curd around the edges (I put mine in a small squeezy bottle with a round nozzle), and add a spoonful of the remaining biscuit crumbs into the middle. Spoon or pipe over some more cheesecake filling, add more lemon curd and crumbs, and repeat again if your serving glasses allow. Top with more lemon curd.
- Chill for 20-30 minutes to firm up (or eat immediately if you just can’t wait.)
- The lemon cheesecake cups will keep for several days in the refrigerator. Cover individual glasses with plastic wrap, or place them all in a plastic container with an airtight lid. The cheesecakes can also be frozen, ideally in individual lidded plastic containers. Just thaw them for an hour or so before eating.
Notes
Nutritional Disclaimer: Any nutritional info provided is a computer generated estimate and is intended as a guide only.
Happy cheesecaking.
~Natalie
xx
