How To Paint On A Cake – A Fondant Painting Tutorial
This post may contain affiliate links to products I recommend. I receive a small commission at no cost to you if you make a purchase using my link.
This tutorial will teach you everything you need to know to paint any design onto a cake. From what paint to use on fondant, to how to trace a design onto a cake, right through to tips on keeping your hands steady and outlining your design for extra pop!
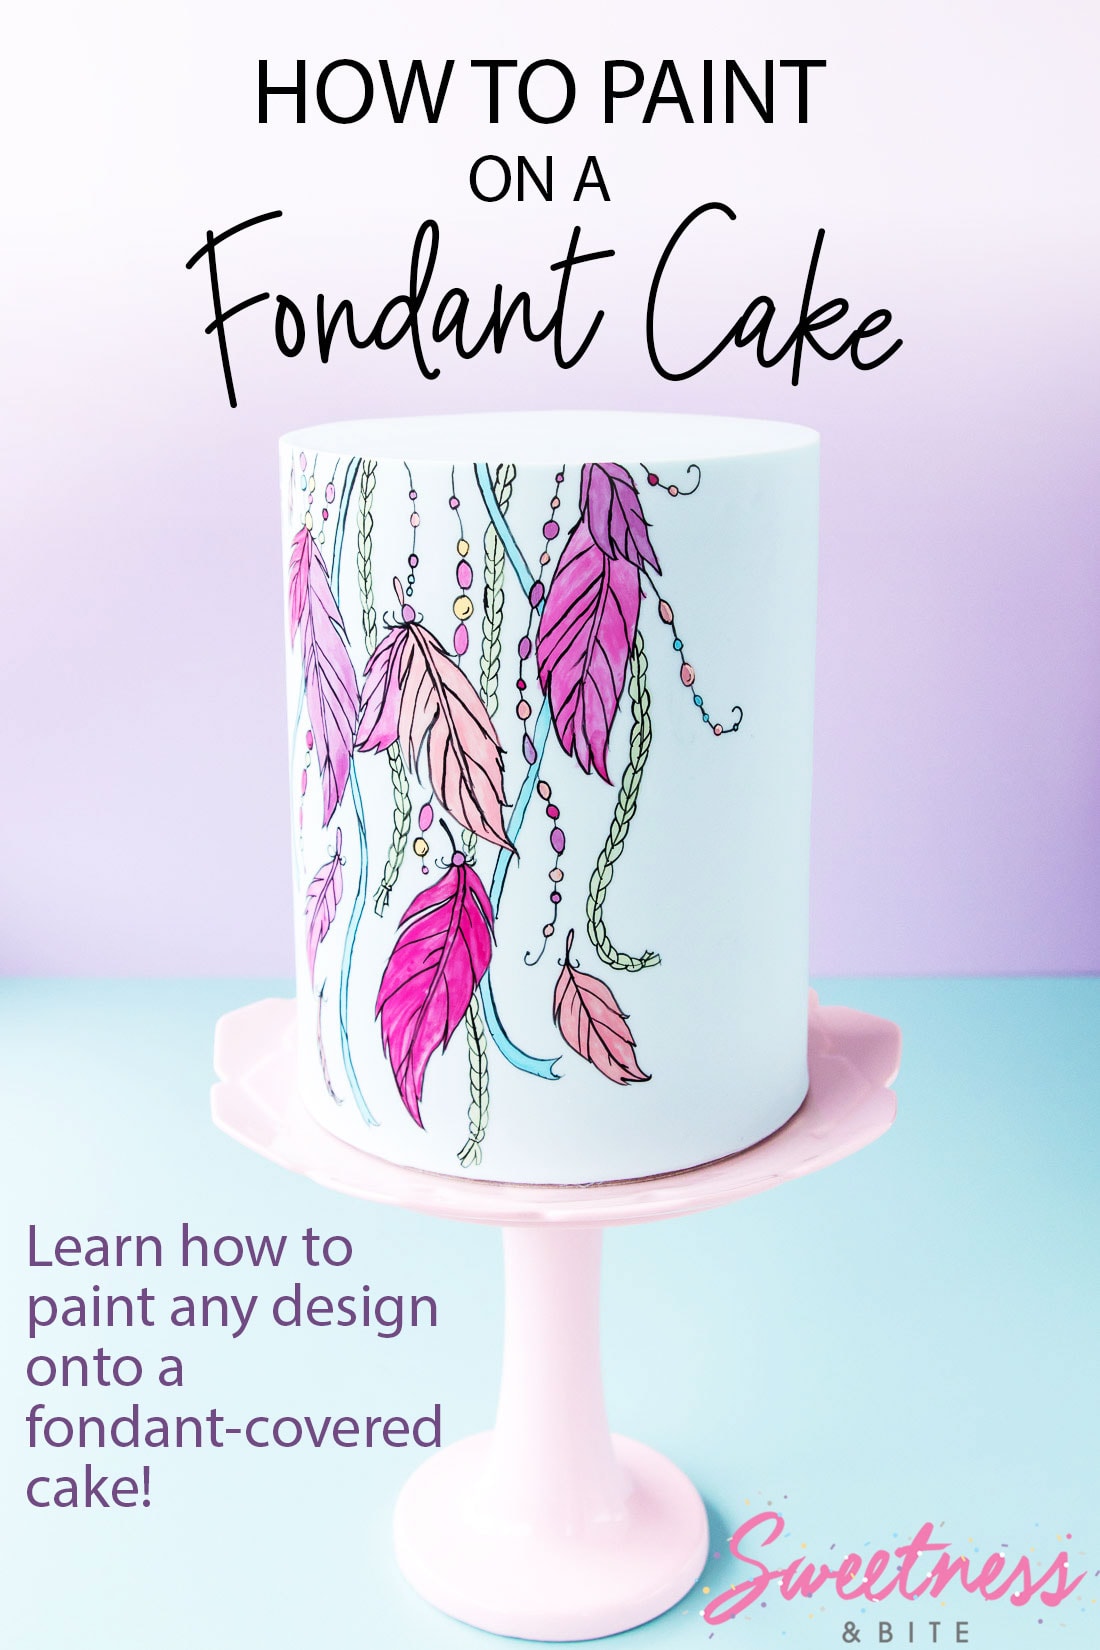
I’m going to make a little assumption here. You’re probably reading this post because you fancy the thought of (or have been talked into) making a cake with a hand-painted design on it. And possibly you’re thinking “Oh, ain’t no way I can do that!”.
Well, you know what, I reckon you can. Really. I have that faith in you. And also, I’m about to give you some Cake Painting for Dummies instructions on how to do it.
Not that I think you’re a dummy, because clearly you had the initiative to find a tutorial to help you on the road to a fabulously painted cake, and dummies wouldn’t think of that. So instead of Cake Painting for Dummies, I’ll just call it How to Paint on a Cake.
I actually find it pretty amusing that I’m about to share a hand-painted cake tutorial. I’ve never really thought of myself as artistic. Crafty, maybe, with the occasional artistic tendencies when cake decorating, but drawing and painting have never been something I’m particularly good at. My cake sketches are for my eyes only, so people don’t see them and get disheartened that my cake might be as terrible as my scribbles.
But with this tutorial I want you to know that even if you don’t think of yourself as artistic either, you too can paint a cake.
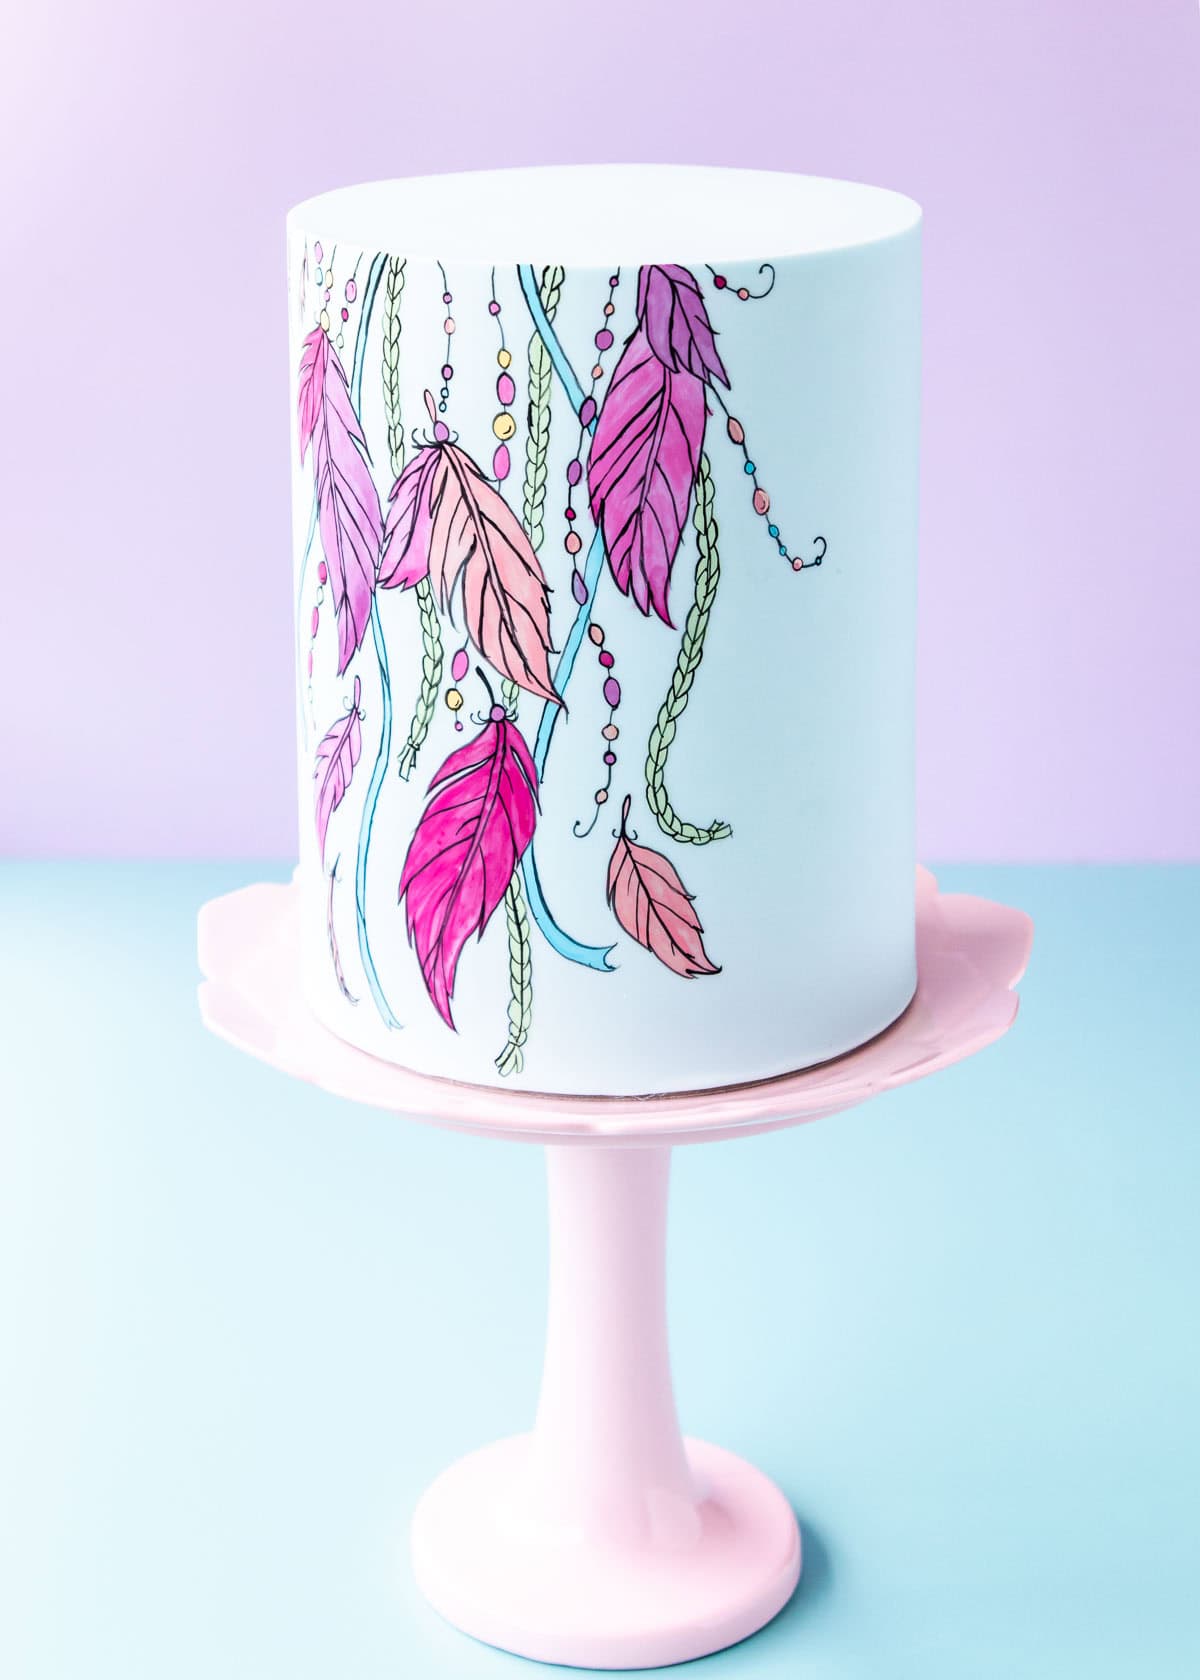
The example I’m going to give you is for this boho-style fondant cake that I created for my niece, but here’s the thing – you can use this cake painting technique to paint any design you want onto your cake!
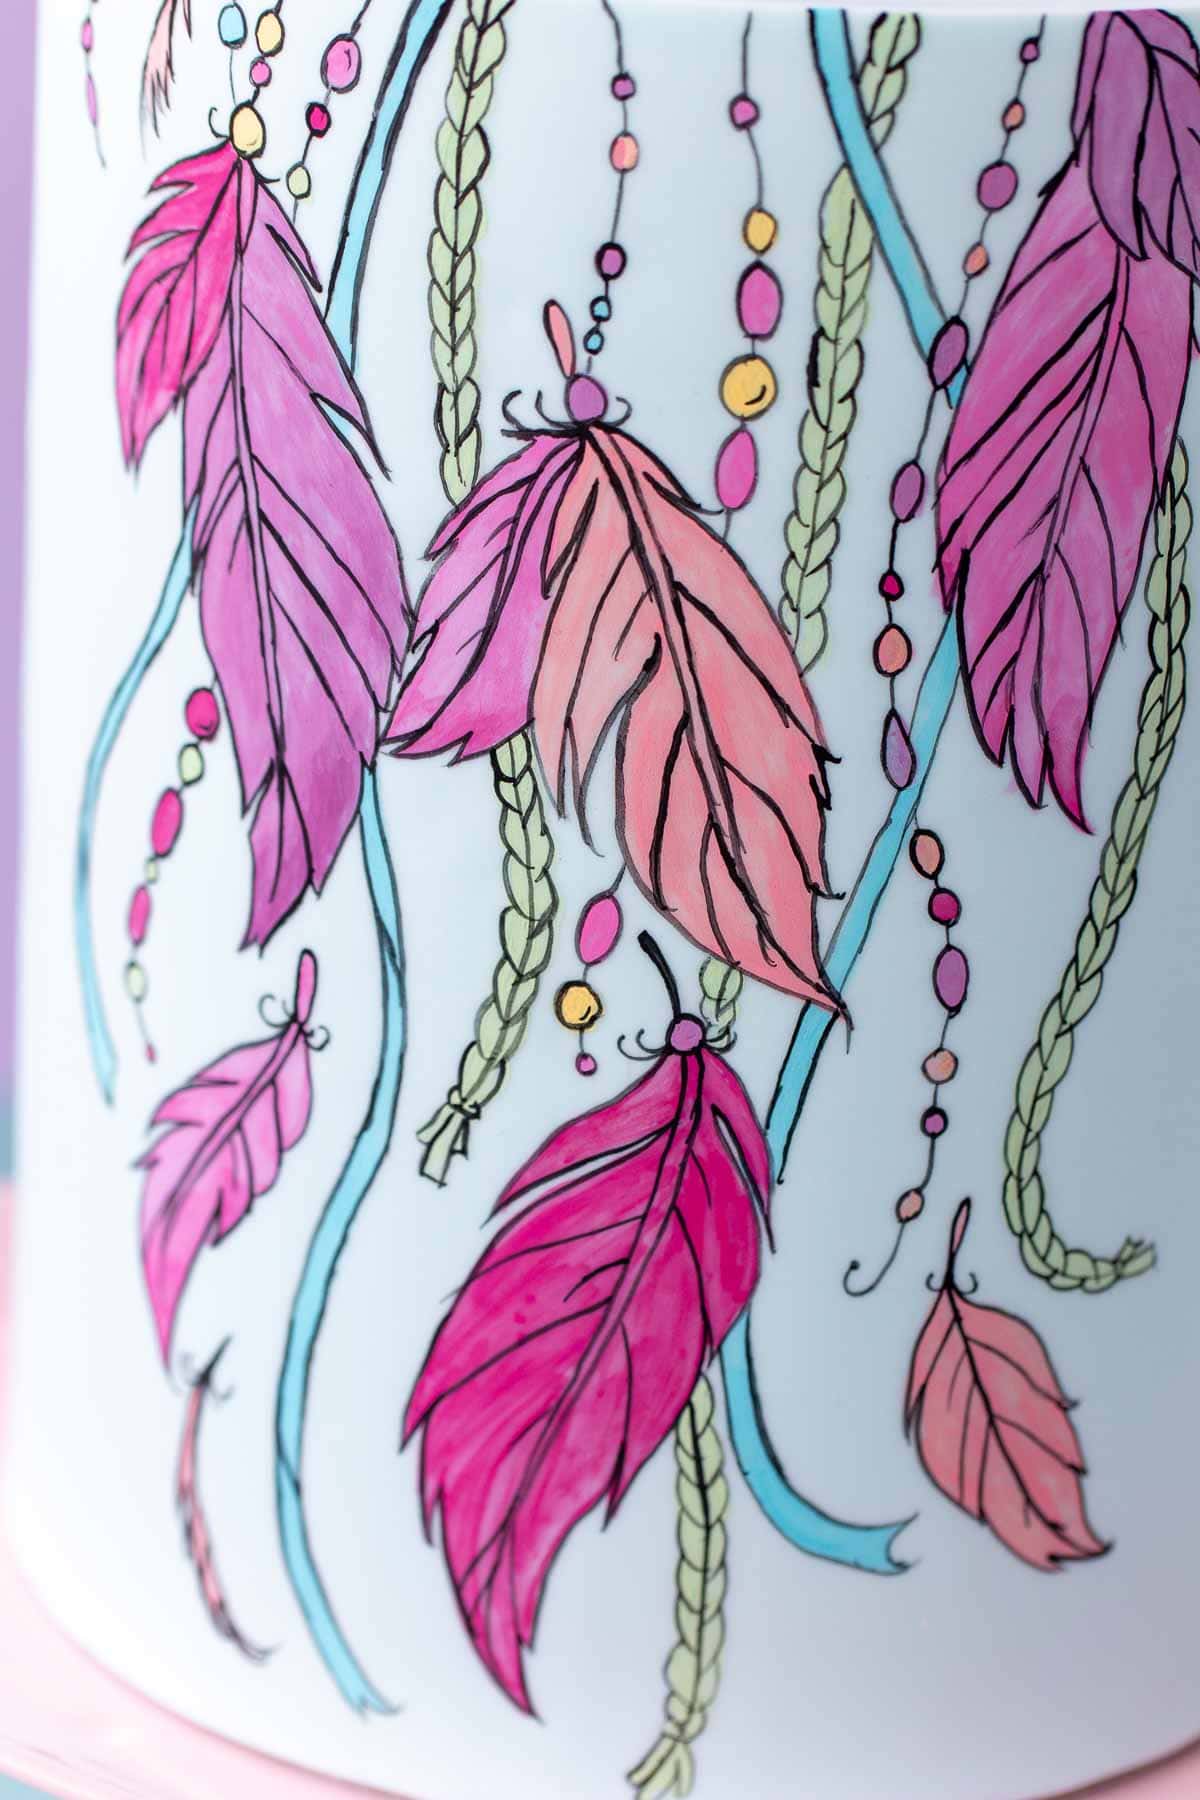
Looks fancy, right? But once you break it down, it’s actually really not. I purchased this design, traced it onto the cake, and then it was basically paint-by-numbers.
If you’re great at drawing then you can use your own design, and if, like me, you’re better suited to simply tracing a printed out design, then you can do that too.
If you’re panicking and thinking “no way my hands are steady enough to paint on a cake”, then I’d love for you to check out my post on cake decorating with shaky hands and see if any of my tips there can help you.
Ok cool, let’s get started!
What is the Best Edible Paint for Fondant?
I’ve used a bunch of different edible paints, and also made my own, but by far my favourite paints to use have been the Sweet Sticks Edible Art paints. Guys, these are so good, and no I don’t get paid to say it, I just love them.
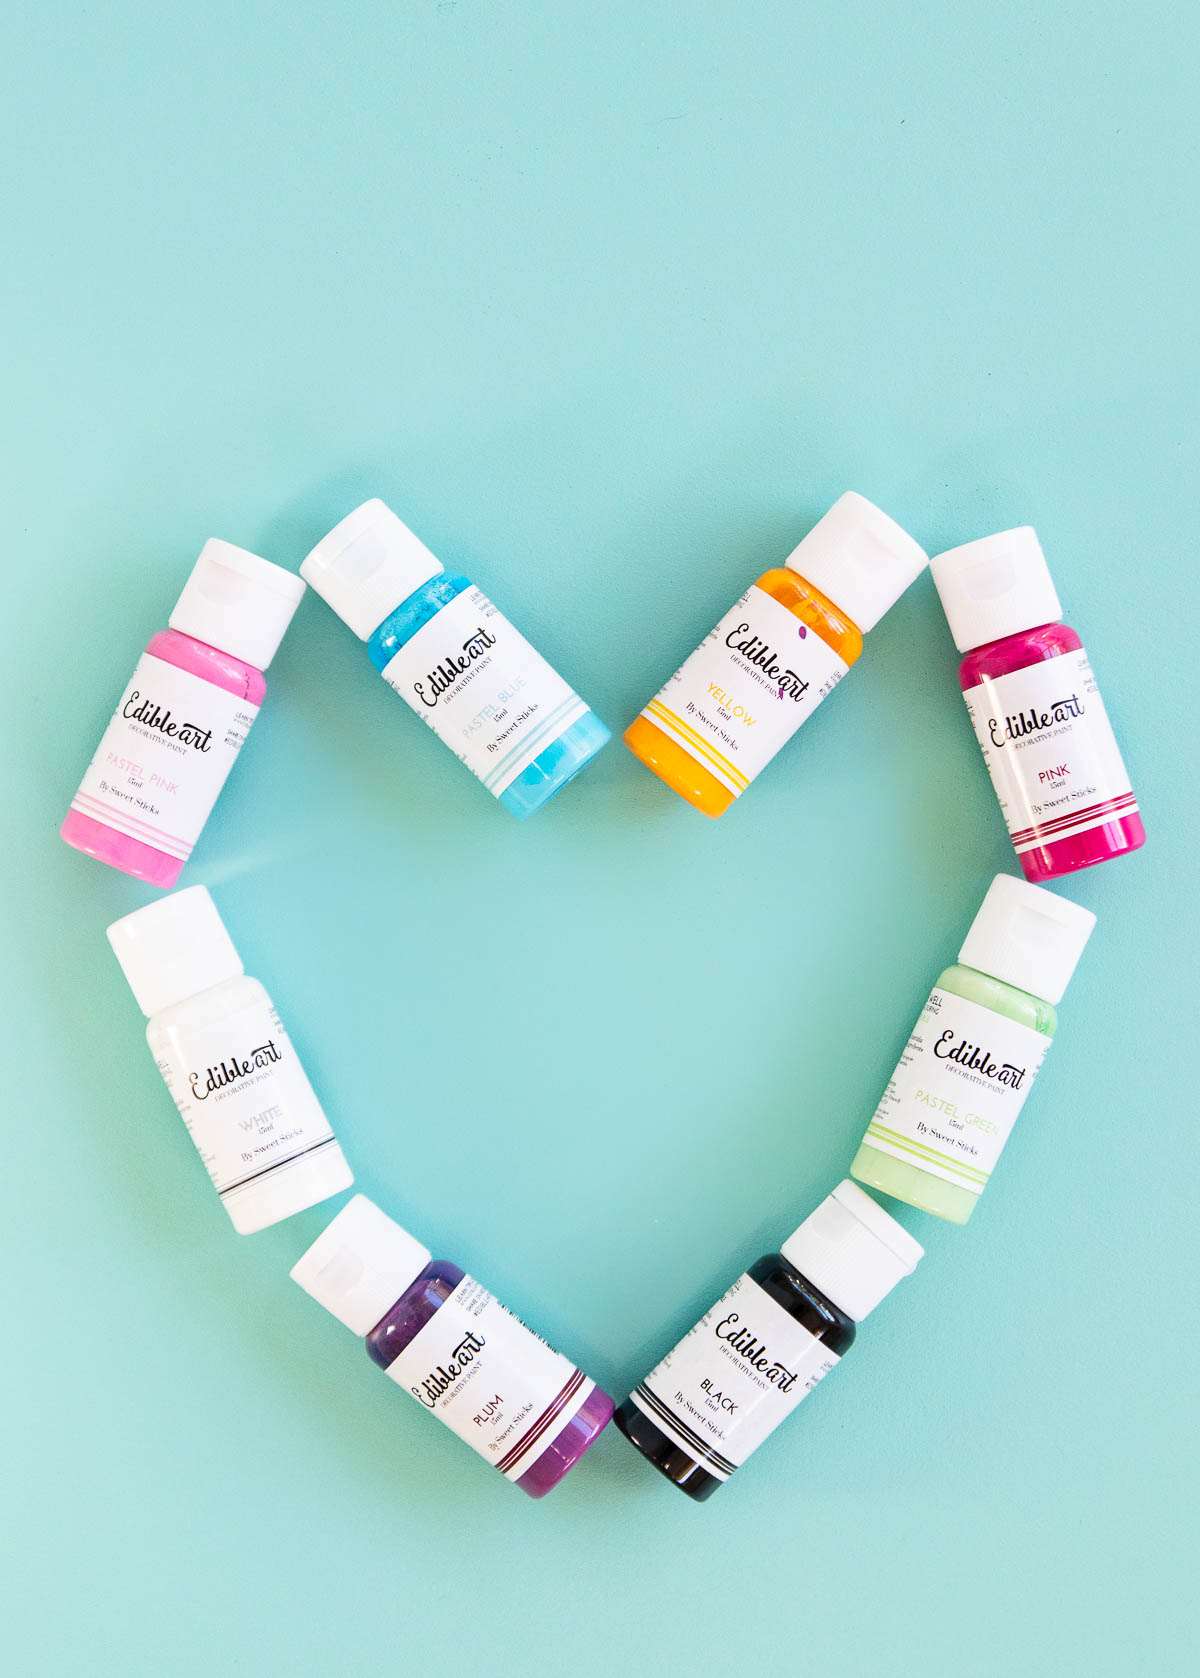
They’re glaze-based paints, which means that they dry completely and once they have dried, they won’t rub off. In my humble opinion, they’re the best paint for fondant.
Before these were available on the market, I used to make my own glaze paint using confectioner’s glaze + powdered colouring and that’s a great option if you can’t get your hands on the Sweet Sticks paint. But these days, I very rarely make it myself. The ready-made paints are just so convenient.
One very important tip for using these paints: make sure you give them a good stir with a toothpick, and then shake them well before you use them. The colour tends to settle on the bottom of the bottle and isn’t always incorporated back in if you only give it a shake, and then the paint seems thin and lacks colour punch. This is especially important for metallic colours, but I do it for all of the matte colours now too.
It’s also important to make sure you have some high-strength alcohol on hand for thinning down the paint, and for clean up afterwards.
Other options for painting on a cake include using powder colouring or gel colouring mixed with vodka. I find those ok for doing small details on cakes, but I don’t recommend them for large and detailed designs like these.
Powder colour + vodka tends to rub off if you touch it once it’s dry, and gel colour + vodka tends to stay slightly tacky. If you try to do a second coat or to outline your design in black like I’ll show you for this design, then you’re likely to end up with messy streaks.
cake Painting Tools and Equipment
Other than the paints, here’s what you’ll need for painting on a cake…
Paper and a pencil,
Scissors or craft knife, ruler & cutting board
Sellotape
A paint palette or other container to put your paint into while you work
Cake decorator’s alcohol (95% alcohol) or other high-strength alcohol such as Everclear – this is used to thin the paint. I like to use isopropyl alcohol to clean my brushes afterwards, but you shouldn’t use this to thin down the paint as it isn’t food safe.
Toothpicks or ice cream sticks for mixing the paint
A small empty jar or plastic container – to put alcohol in to clean your paintbrush between colours
and of course, some paintbrushes…
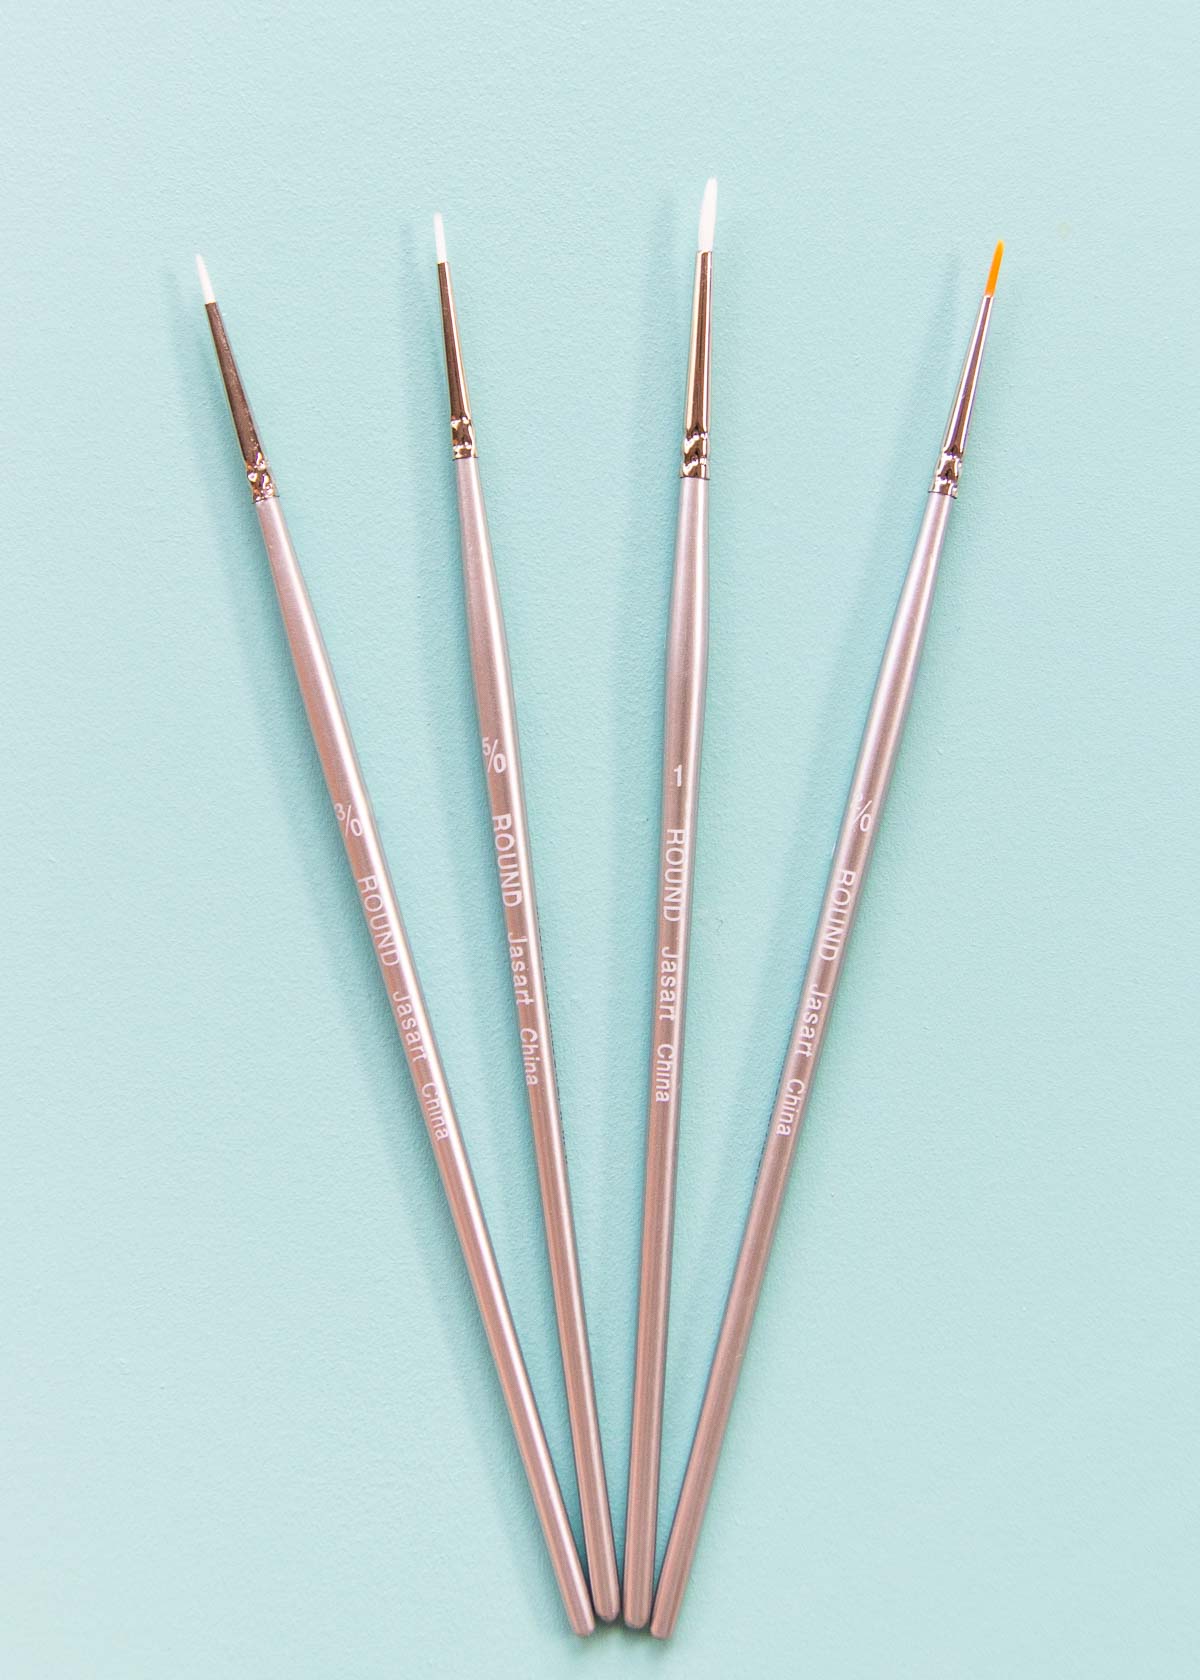
You’ll need one or two very fine brushes for outlining, and a couple of slightly thicker ones for the colours. I bought these ones pretty cheaply from our local emporium shop. You don’t need super fancy brushes, but make sure they are reasonable quality and the bristles are neat, with no straggly bits.
Prep Your Fondant Covered Cake.
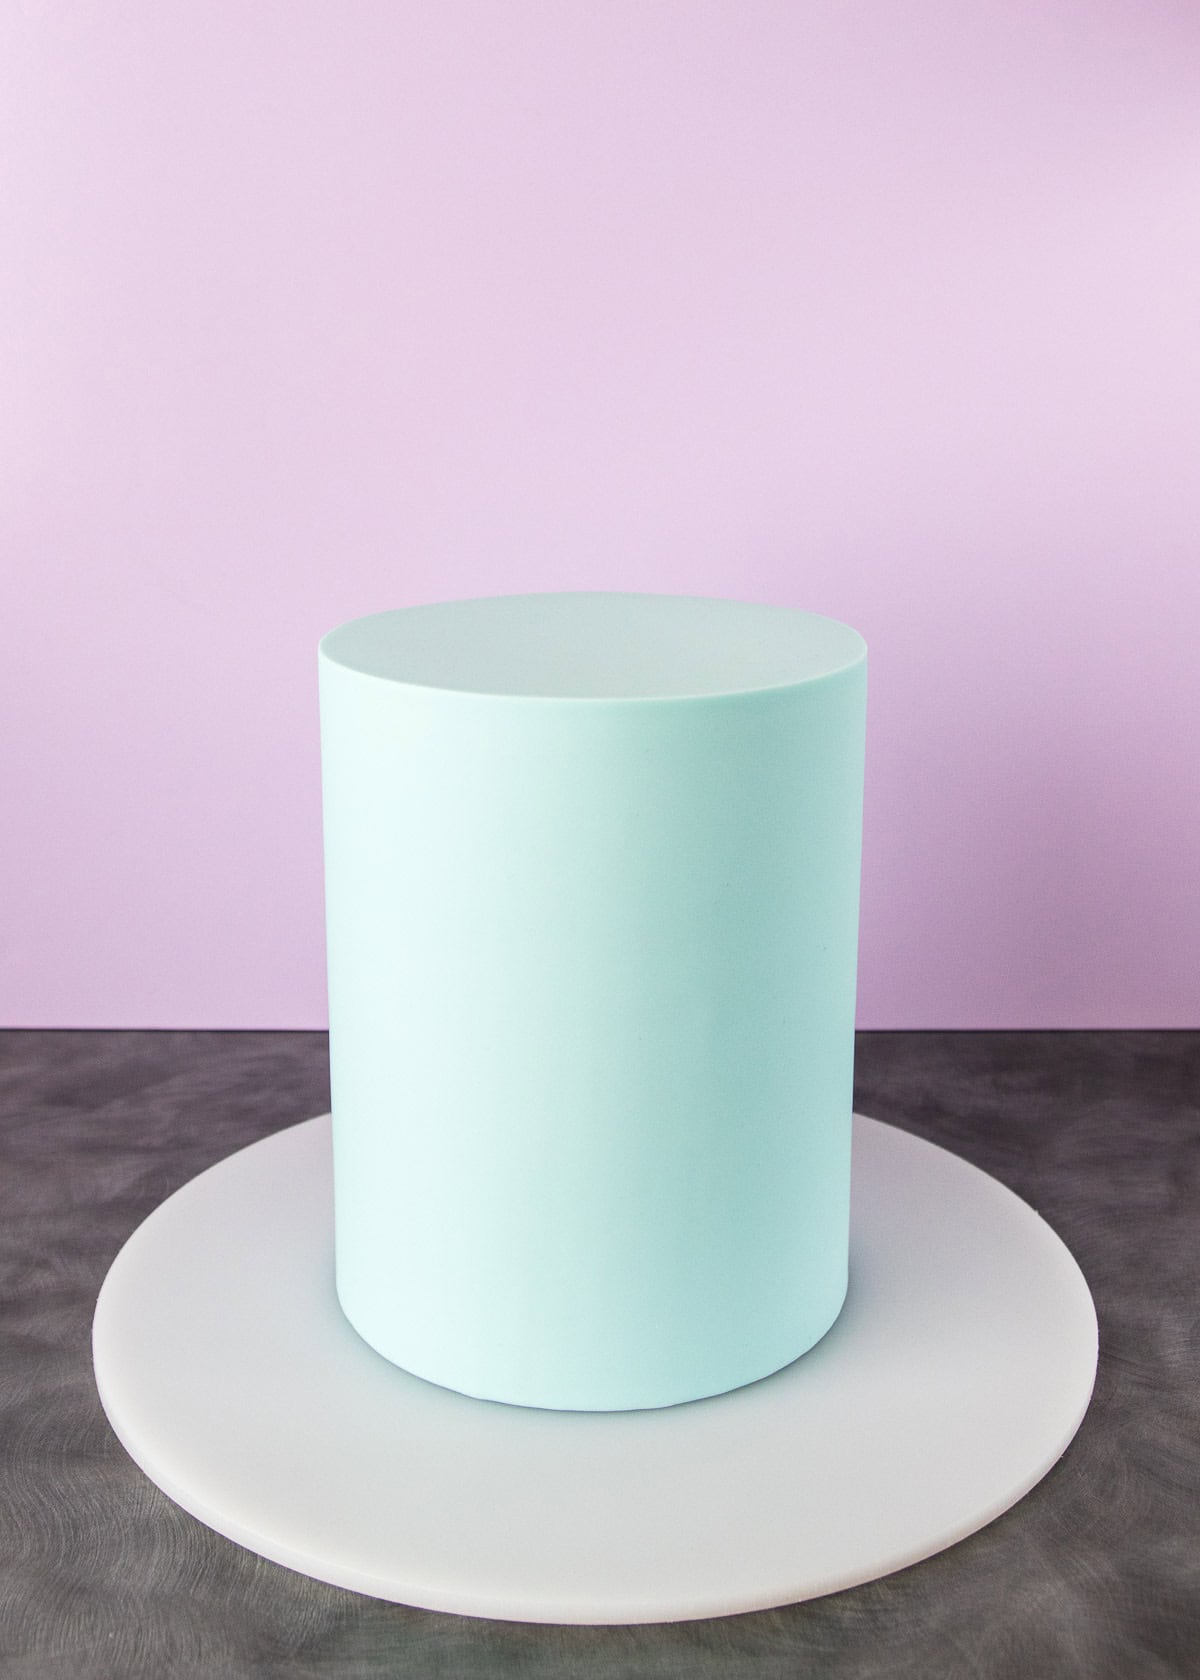
Painting on a cake will be infinitely easier if you have a great base to work on. The straighter and smoother the sides on your cake, the easier it will be to trace your image neatly onto the cake.
I suggest ganaching your cake, as the ganache will give you a much firmer base than buttercream will. Check out my How to Ganache a Cake post for info on ganaching a cake for perfectly straight sides. Then once your ganache is set, you’ll need to cover your cake in fondant. My cake was an 8” tall, 6” round cake, and I wrapped it with fondant and let it dry.
Your fondant needs to dry for at least 12 hours (24 hours is even better) before you try and paint on it.
Yep, it’s so important that I wrote it in bold and italic. If your fondant is too soft, all you’ll succeed in doing is denting your cake with all manner of finger/knuckle/thumbprints and possibly even rip through the paper with your pencil.
If you can’t press your finger gently against the cake without it leaving a mark (try it somewhere inconspicuous), then it isn’t dry enough.
Prepare Your Image to Trace
Time to pick out your image. If you’re drawing the design yourself, then you’ll need to draw it onto a sheet of paper, then trace it so that you have the reverse image (see more on this below).
For this cake, I purchased this pretty dreamcatcher clipart set off Etsy. I ended up deciding not to do the whole dreamcatcher so I cropped the top section off, to leave me with just the feathers, ribbons and beads. I used Photoshop to do this, but any image editor with a crop tool will do the job. Then I resized the remaining image to fit my cake. When I traced the image I just ignored the last remaining part of the dreamcatcher ring and continued the strings and ribbons up to the top (you can see it in the photo below).
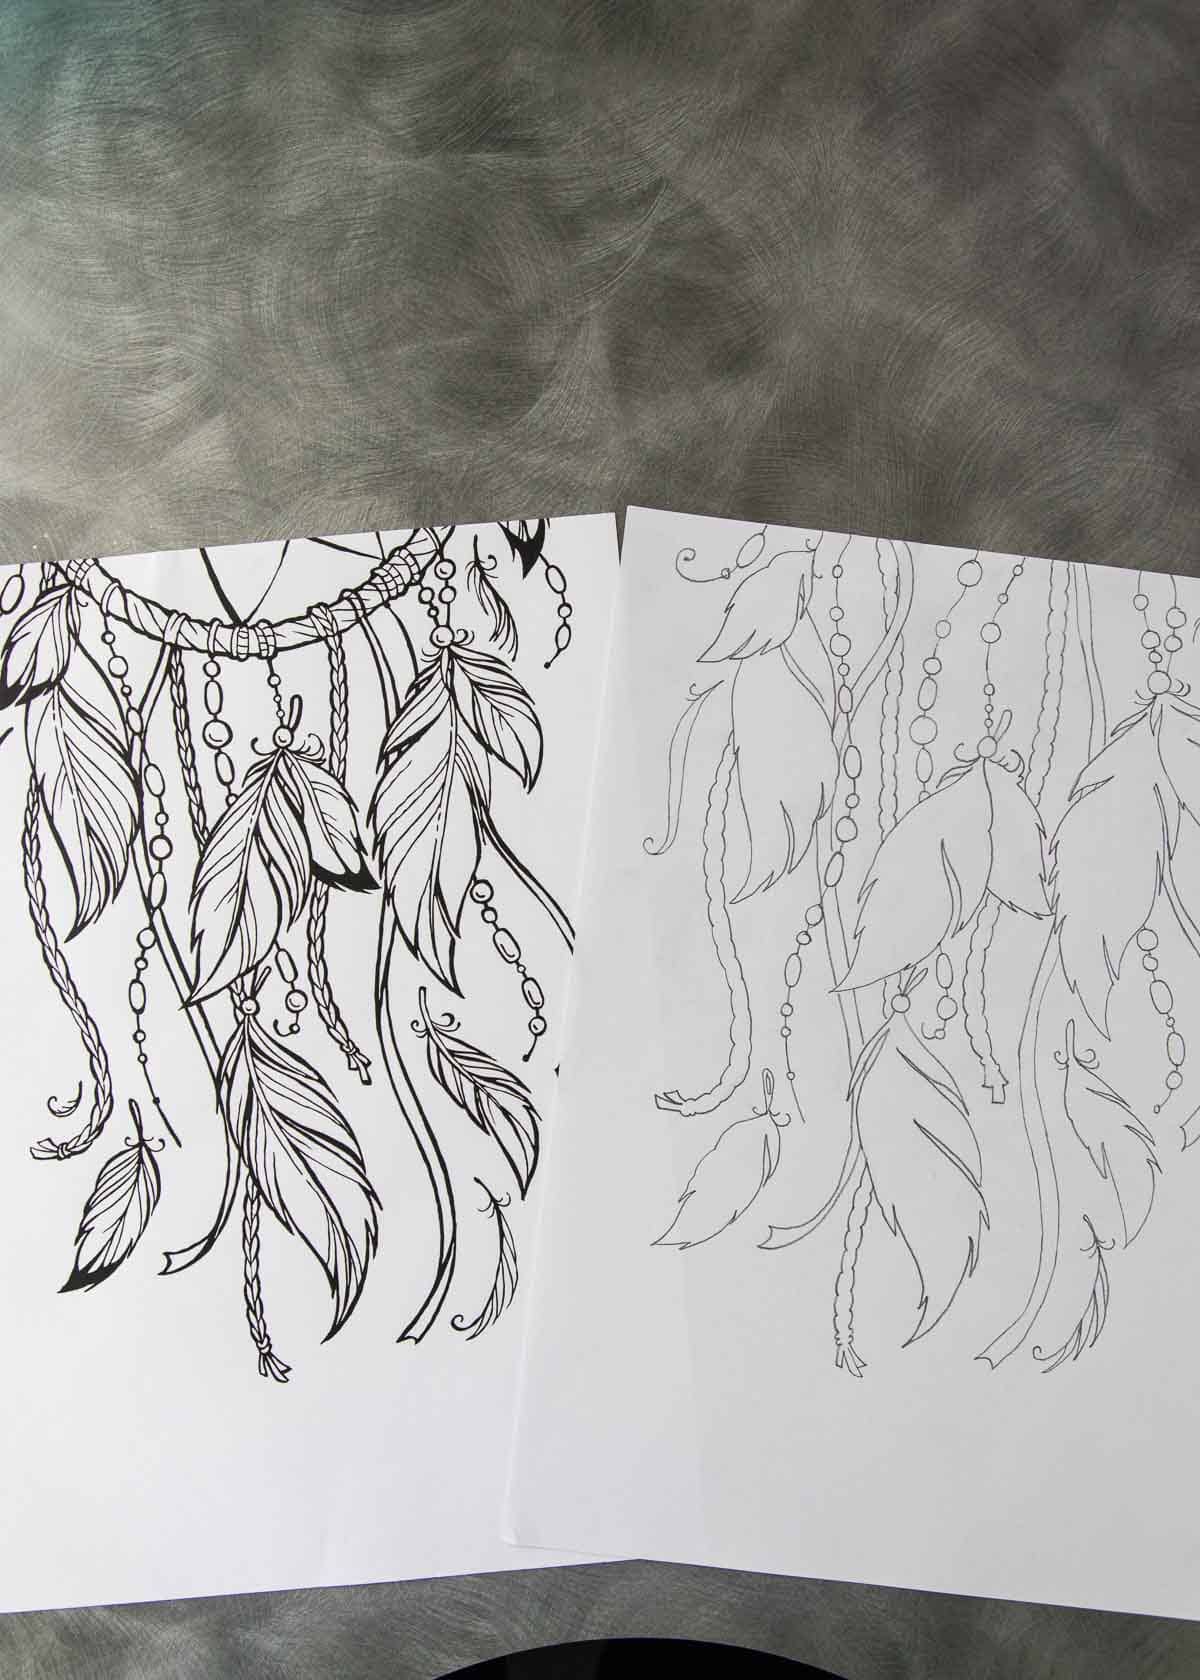
To make it easier to trace, you can choose a design that has a black outline, but if it doesn’t have one, you can just trace an outline around the edge yourself.
Note: If you’re selling your cake, make sure you check the copyright rules for the image you’re using – usually, there will be details of that on the purchase page – and purchase the commercial license for the design if necessary.
Now, if your image is not symmetrical, then you also need to flip your image so that it is backwards (then when you trace it onto your cake, the image will be the right way). Most image editing tools will have a “flip horizontal” option.
Print out your image onto regular A4 printer paper. Place another piece of paper on top, and trace the image. You can hold it up to the window if you’re having trouble seeing the pattern to trace it. You don’t have to trace all of the very small details (for example with my image, I didn’t trace all the lines on the feathers, or all of the lines on the braid) as you can add them in by eye when you paint the black outlines on your image.
If your image is not symmetrical, then you also need to flip your image so that it is backwards (when you trace it onto your cake you will get the reverse).
Print out your image onto regular printer paper. Place another piece of paper on top, and trace the image. You can hold it up to the window if you’re having trouble seeing the pattern to trace it.
You don’t have to trace all of the very small details (for example with my image, I didn’t trace all the lines on the feathers, or all of the lines on the braid) as you can add them in by eye later.
Hold your traced image against something white (a wall, another piece of paper, the fridge, anything white) pencil tracing side down and check that you can see the lines through the back of the paper. If not, it probably means your paper is too thick. You may need to find a thinner piece, or buy some proper tracing paper. I had no issues seeing the pattern through the average-quality printer paper I used. If you do the tracing soon after printing the image, some of the ink will transfer to the back of your design and help you be able to see it.
We should talk briefly about the fact that we’re going to trace pencil lines onto our cake. Hopefully, we all know by now that pencil ‘lead’ is not made from actual lead, rather from graphite, which is non-toxic. Some people are still aren’t going to be keen on it (“it’s not edible, why would you put it on a cake?!”) so of course, if it’s an issue for you, you’re going to want to steer clear. Instead, you could use a scriber to imprint the design rather than tracing pencil lines. It’ll be harder to see, but it’s definitely an option. Or you can instruct people to peel off the fondant from the cake before it’s eaten.
Personally, I’m ok with the minuscule amount of pencil tracing that would be on a single slice of cake. I’ve been living with the tip of a pencil stuck in my leg since a certain over-enthusiastic-pencil-sharpening incident as a kid, and it hasn’t killed me yet. (And it’s still the only ‘tattoo’ I have 😂)
Right, back to it.
How to Trace a Design Onto a Cake
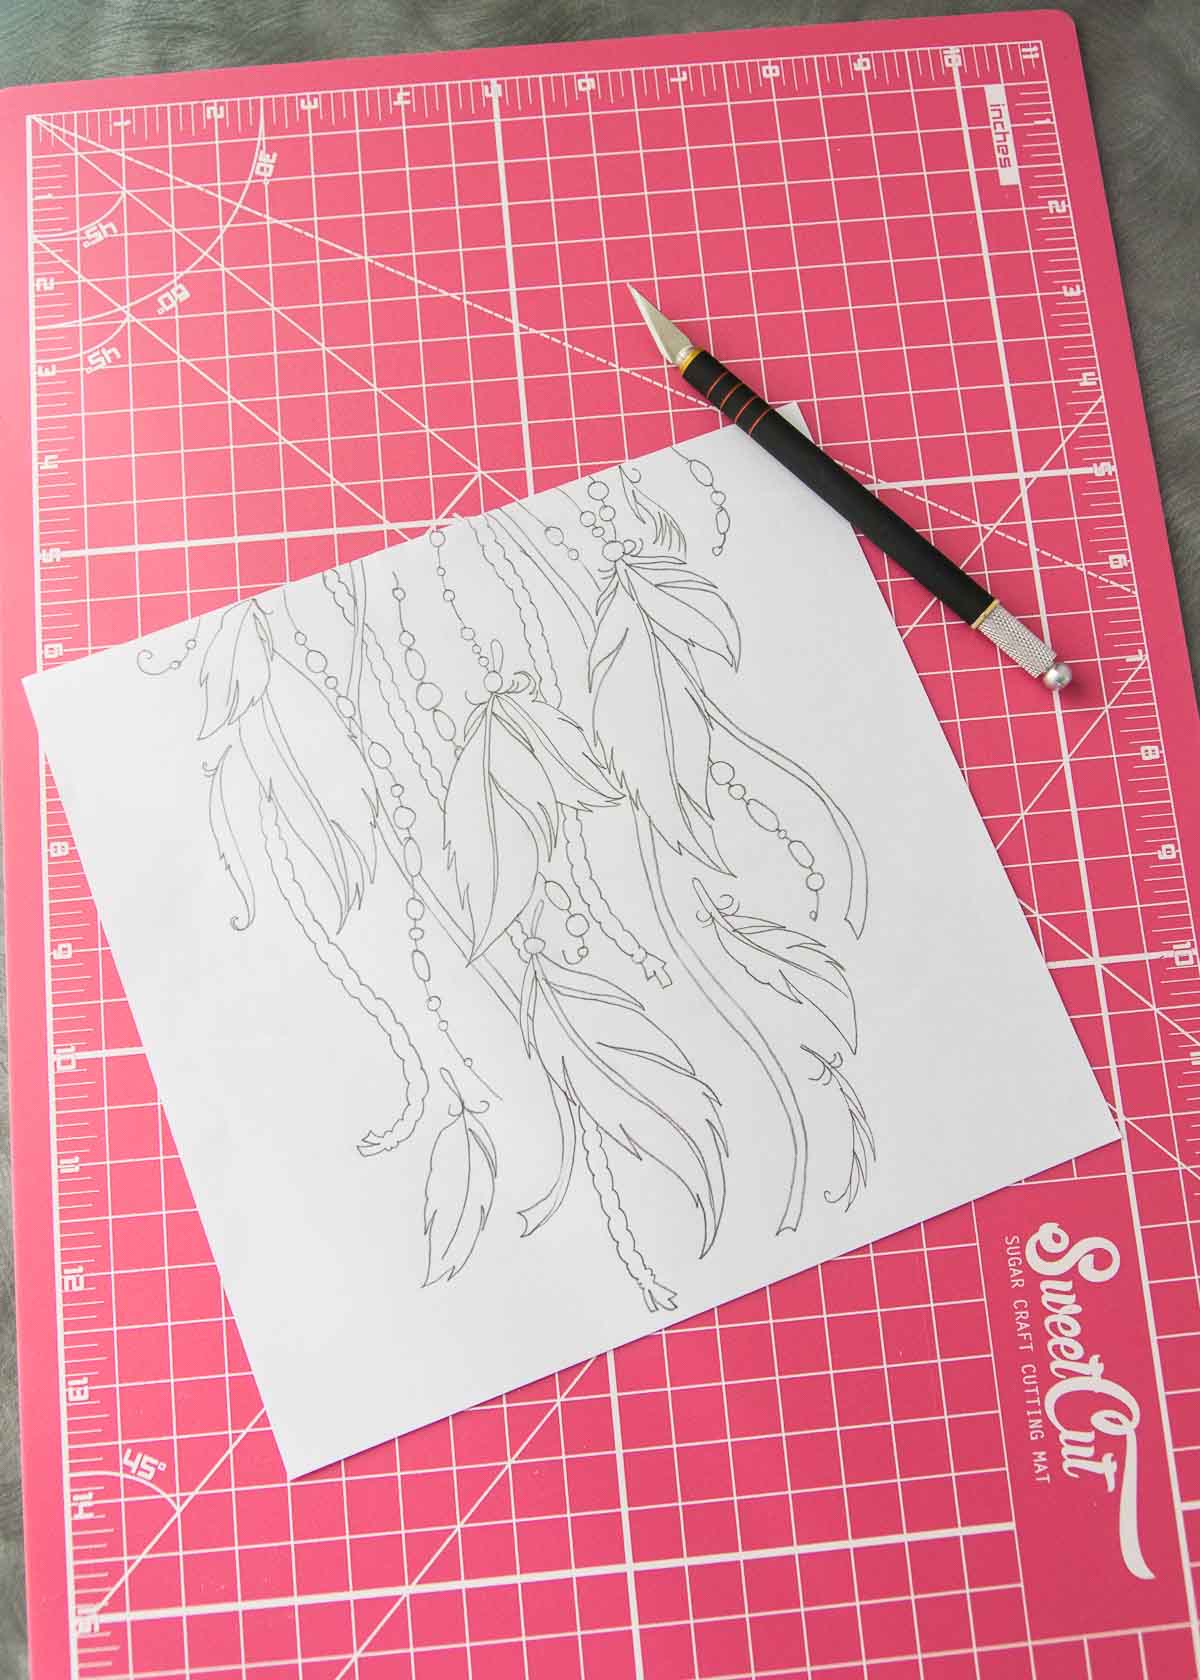
Trim the paper so that it is the same height as your cake. You can have the paper smaller, but there is a chance it will shift up or down when you’re tracing the pattern, so having it the height of the cake is helpful. My cake was 8″ tall, so I trimmed the paper to exactly 8″ high.
Now we need to add some more paper so we can wrap the whole thing around the cake. I used waxed paper for this, but you can use another piece of printer paper if you prefer.
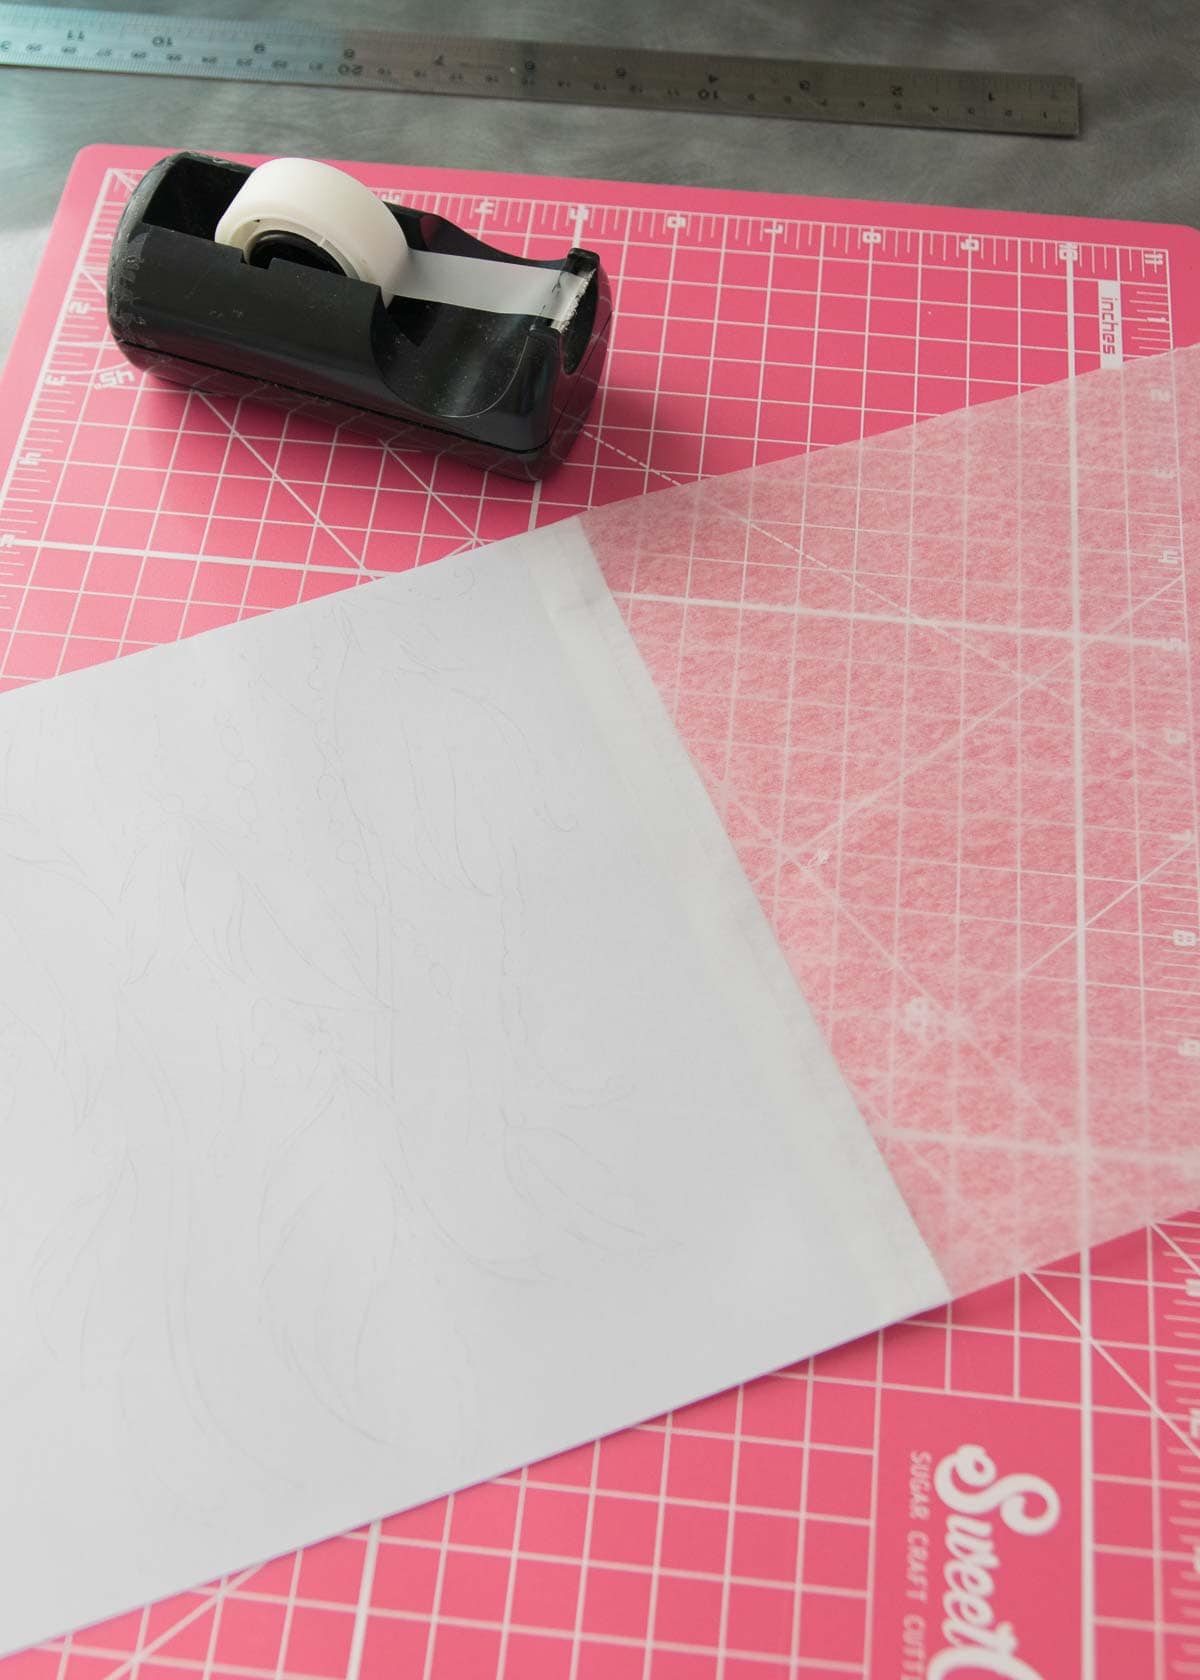
Cut a piece of paper the same height as the cake, and long enough to cover the back of the cake where the design ends. Tape one side to the edge of the design, then wrap it tightly but gently around the cake, design side down, and secure the other end with tape.
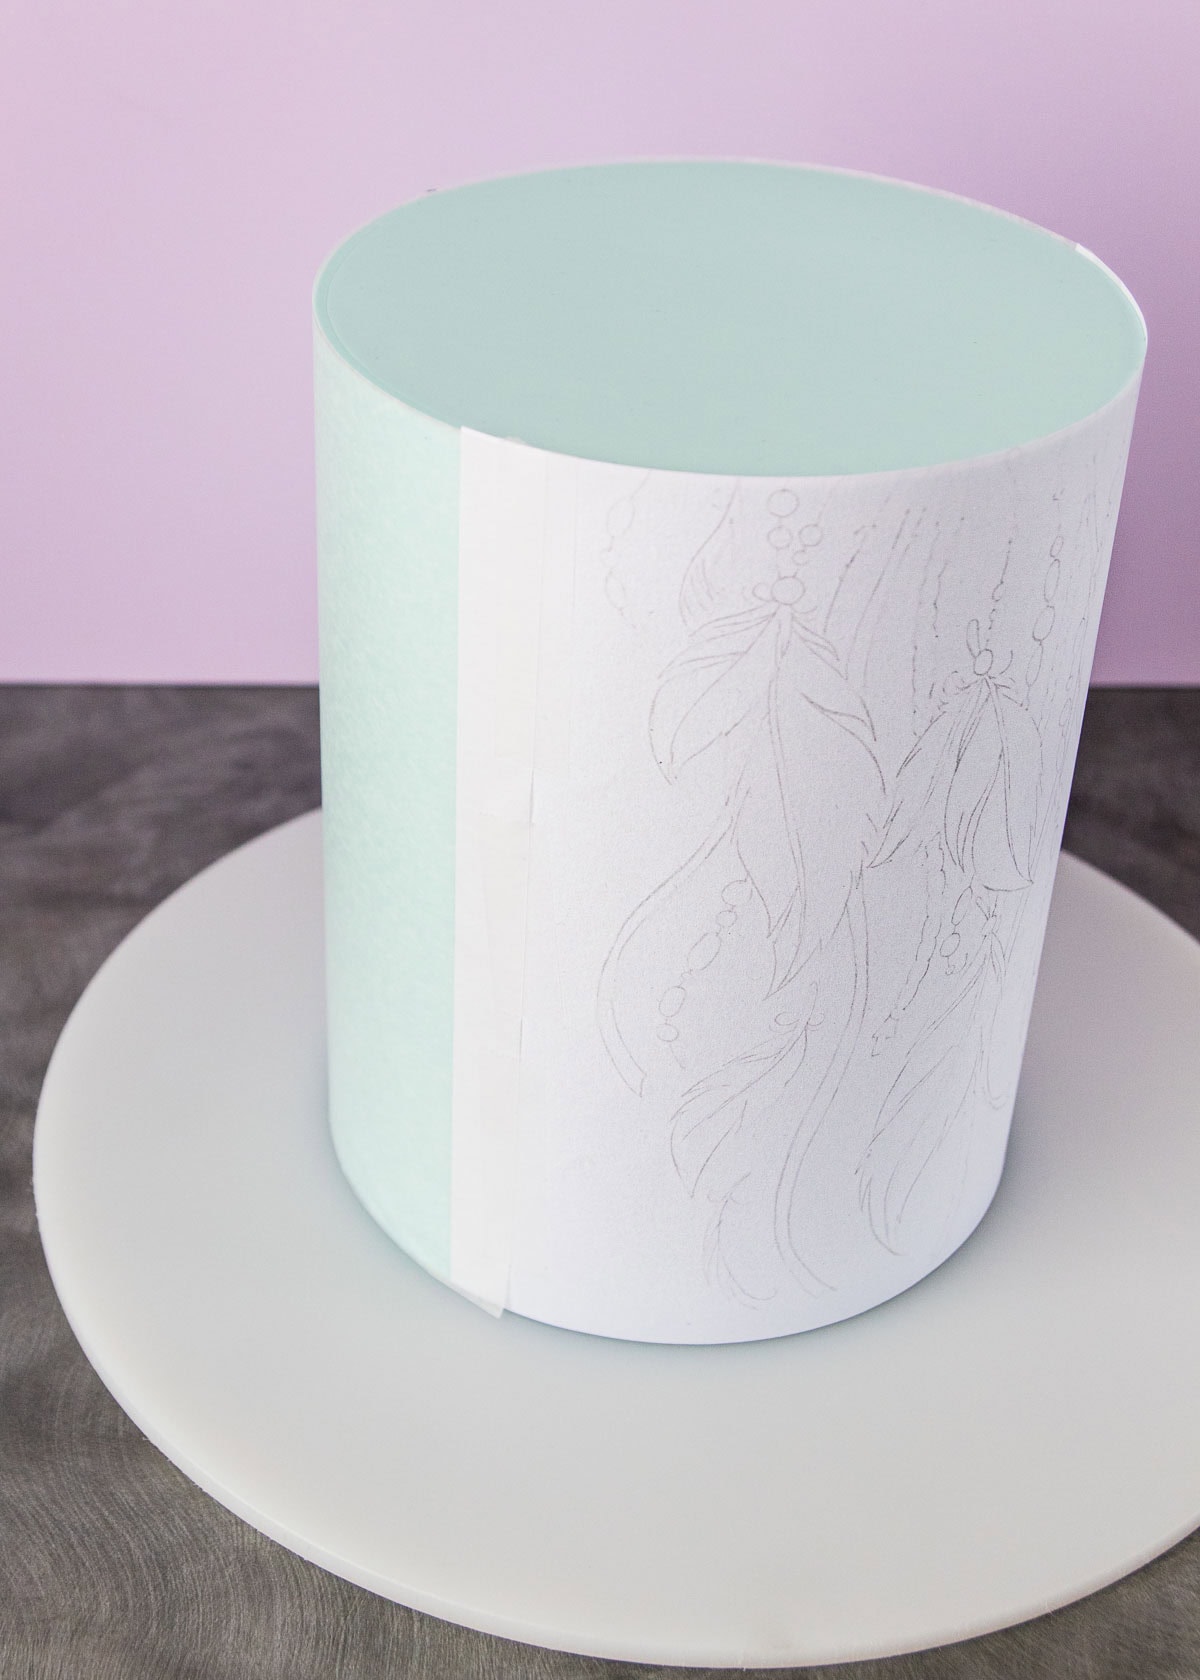
Now you can start tracing the design. Use a slightly blunt pencil, so you don’t accidentally poke through the paper. You don’t have to be precise here, you can either trace the lines exactly, or gently scribble over them, it’s up to you. Just make sure you go over each line of the design.
And try not to poke your fingers into the cake, which this klutz over here managed to do (seriously, you’d think I have the knuckles of a primate who walks on their fists). Luckily my fondant was pretty dry so the dents weren’t deep, and with this design (and probably most semi-detailed designs) no one will really see it.
The drier your fondant is, the less likely this is to happen.
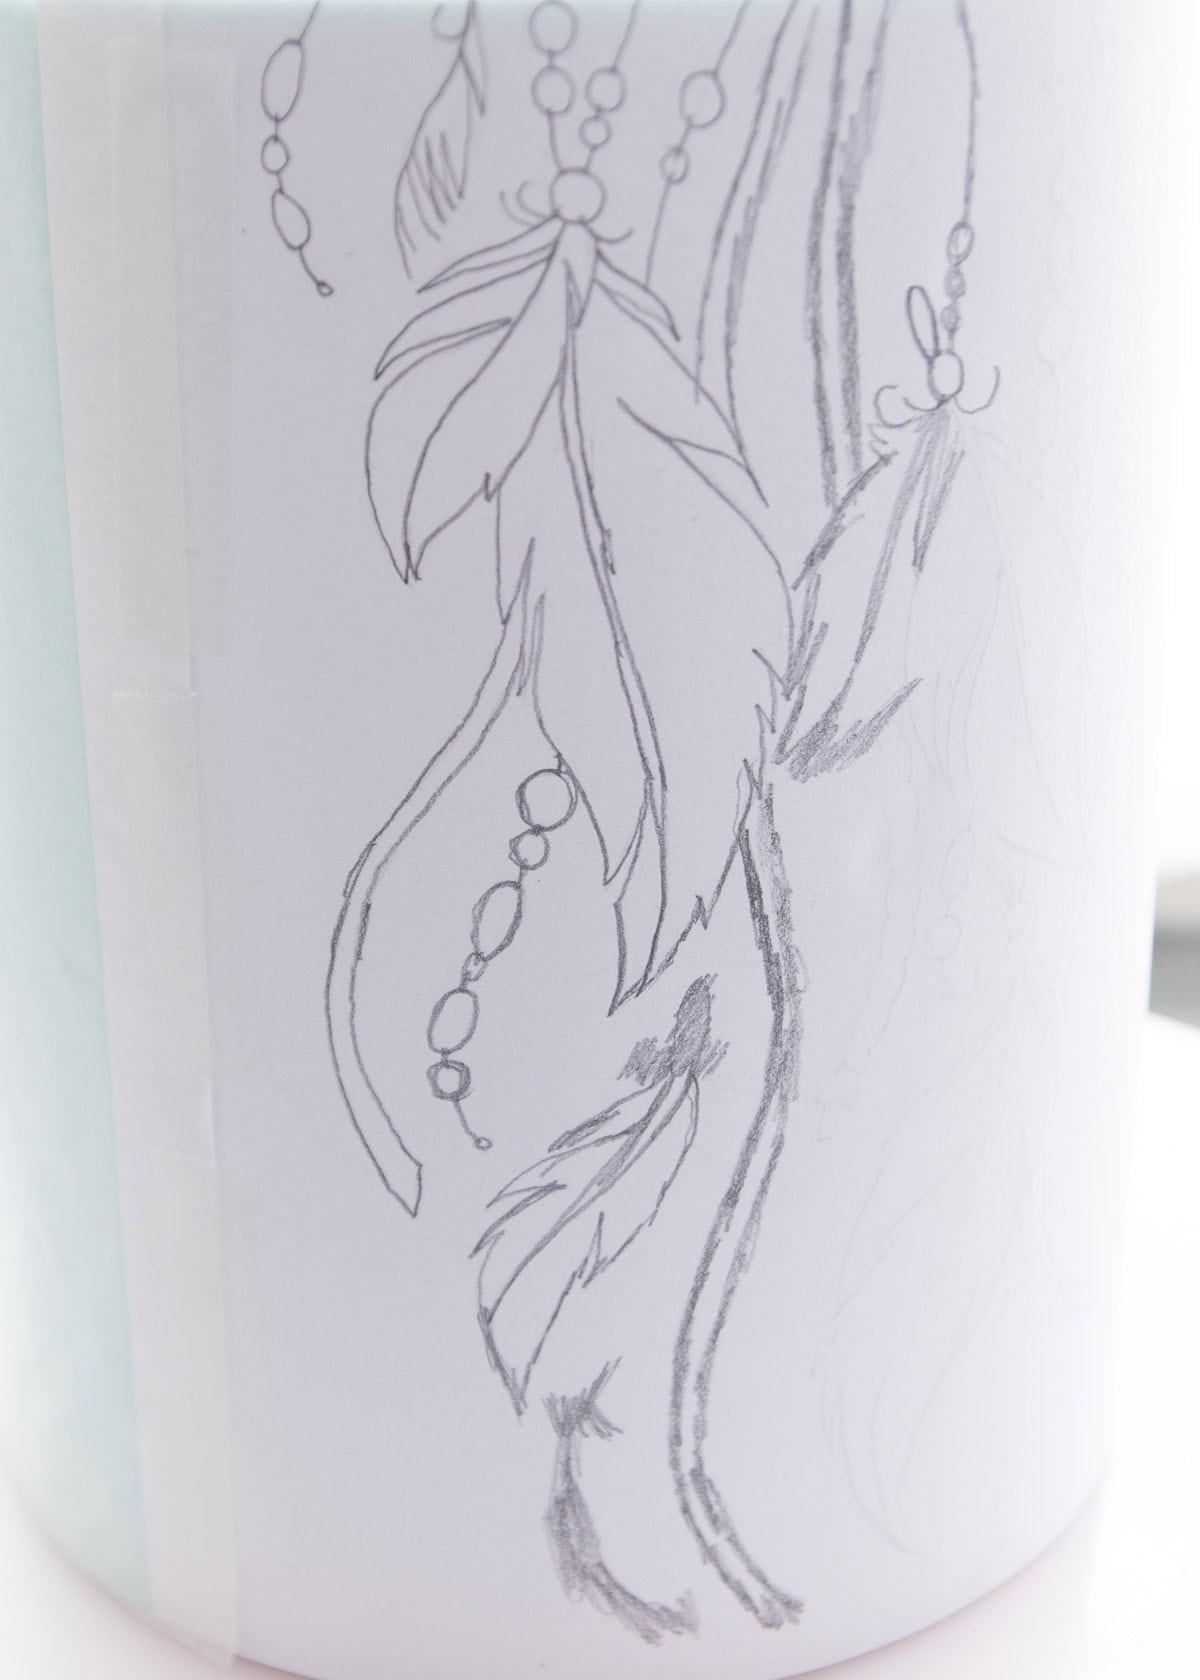
At this stage if you’re worried you’ve dented your cake a bit, you can rub around the cake with a regular fondant smoother (or even a flexible fondant smoother will do) to smooth it out a bit. It won’t get all dents out as the fondant is set, but it does help a bit. It also has the bonus of helping transfer the pencil lines onto the cake, so you can even give it a rub even if you’re not worried about dents.
Double-check that you have traced over every line, then you can remove the paper from the cake.
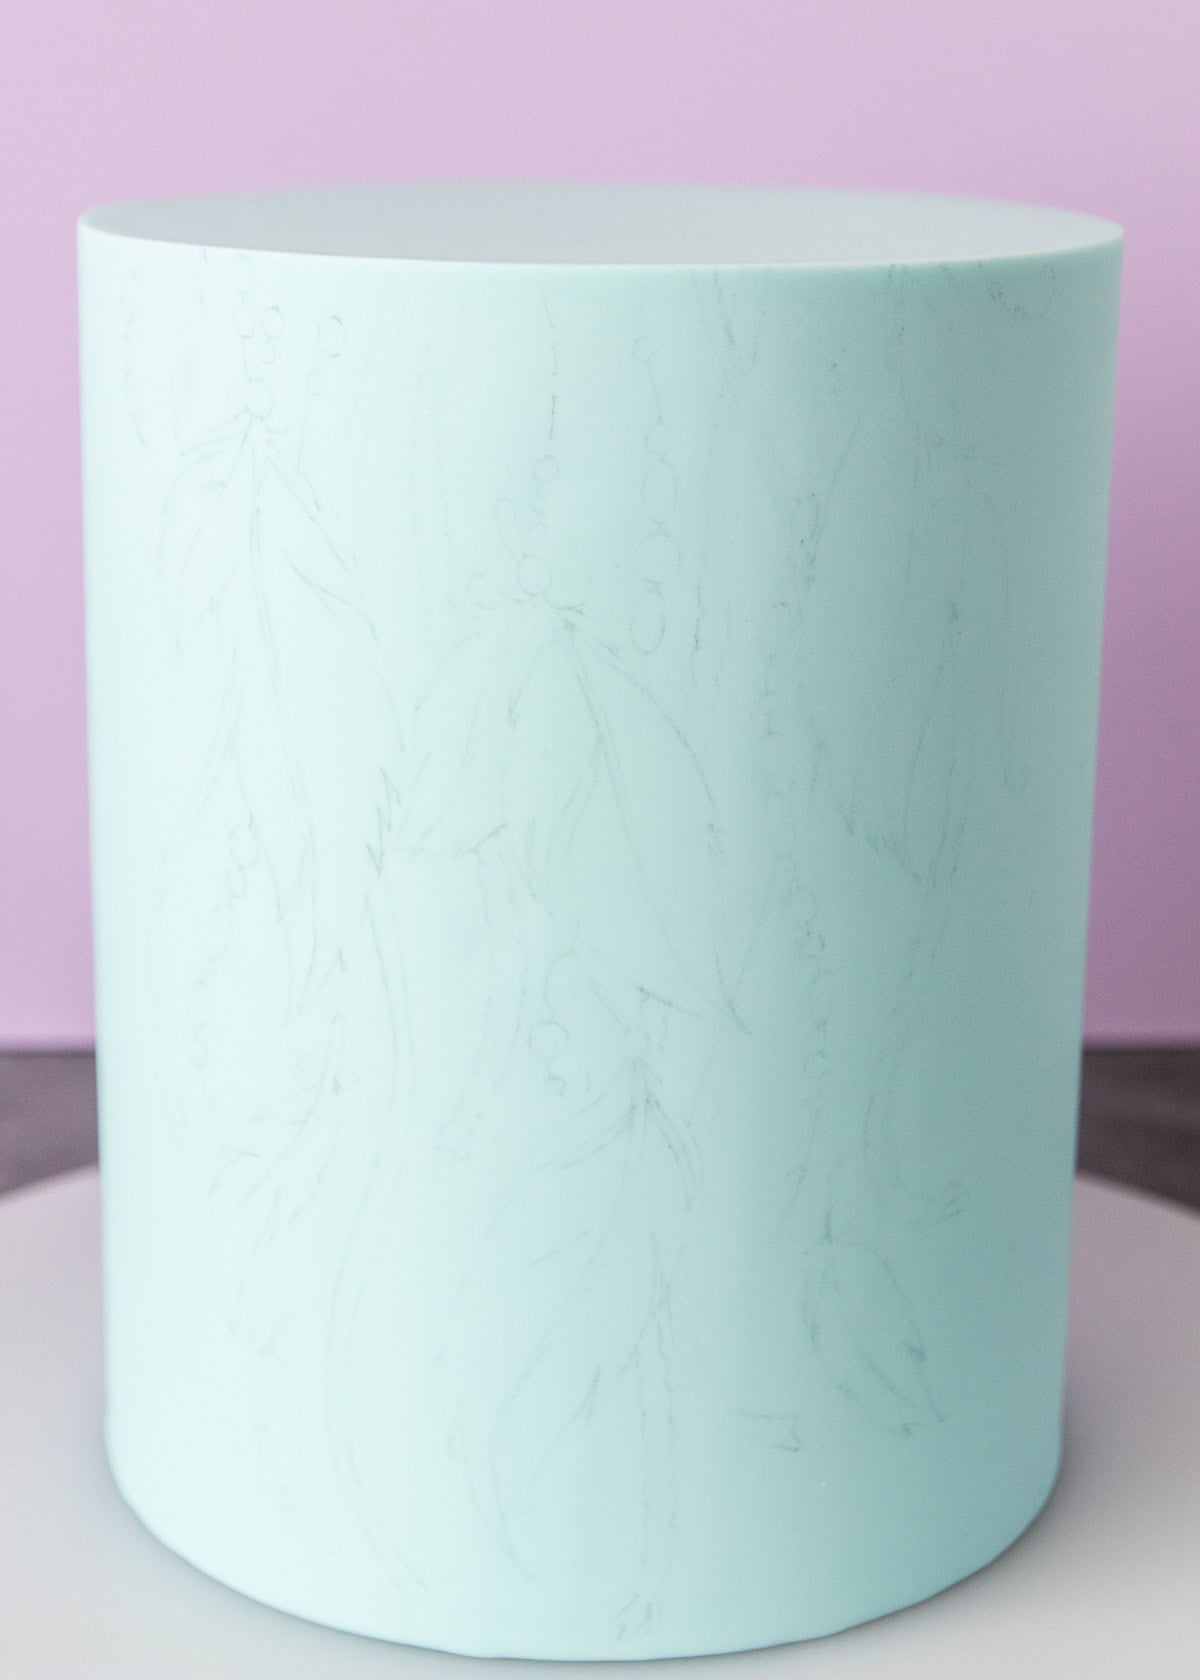
Ta da!
Right, now take a moment to psych yourself up, coz we’re going to start painting!
How to Paint on a Cake
Put drops of paint into your palette, and thin them down with a drop of alcohol or lighten them with a bit of white paint if necessary. I made the peach colour here by mixing pink and yellow paints together and also lightened the purple with a bit of white.
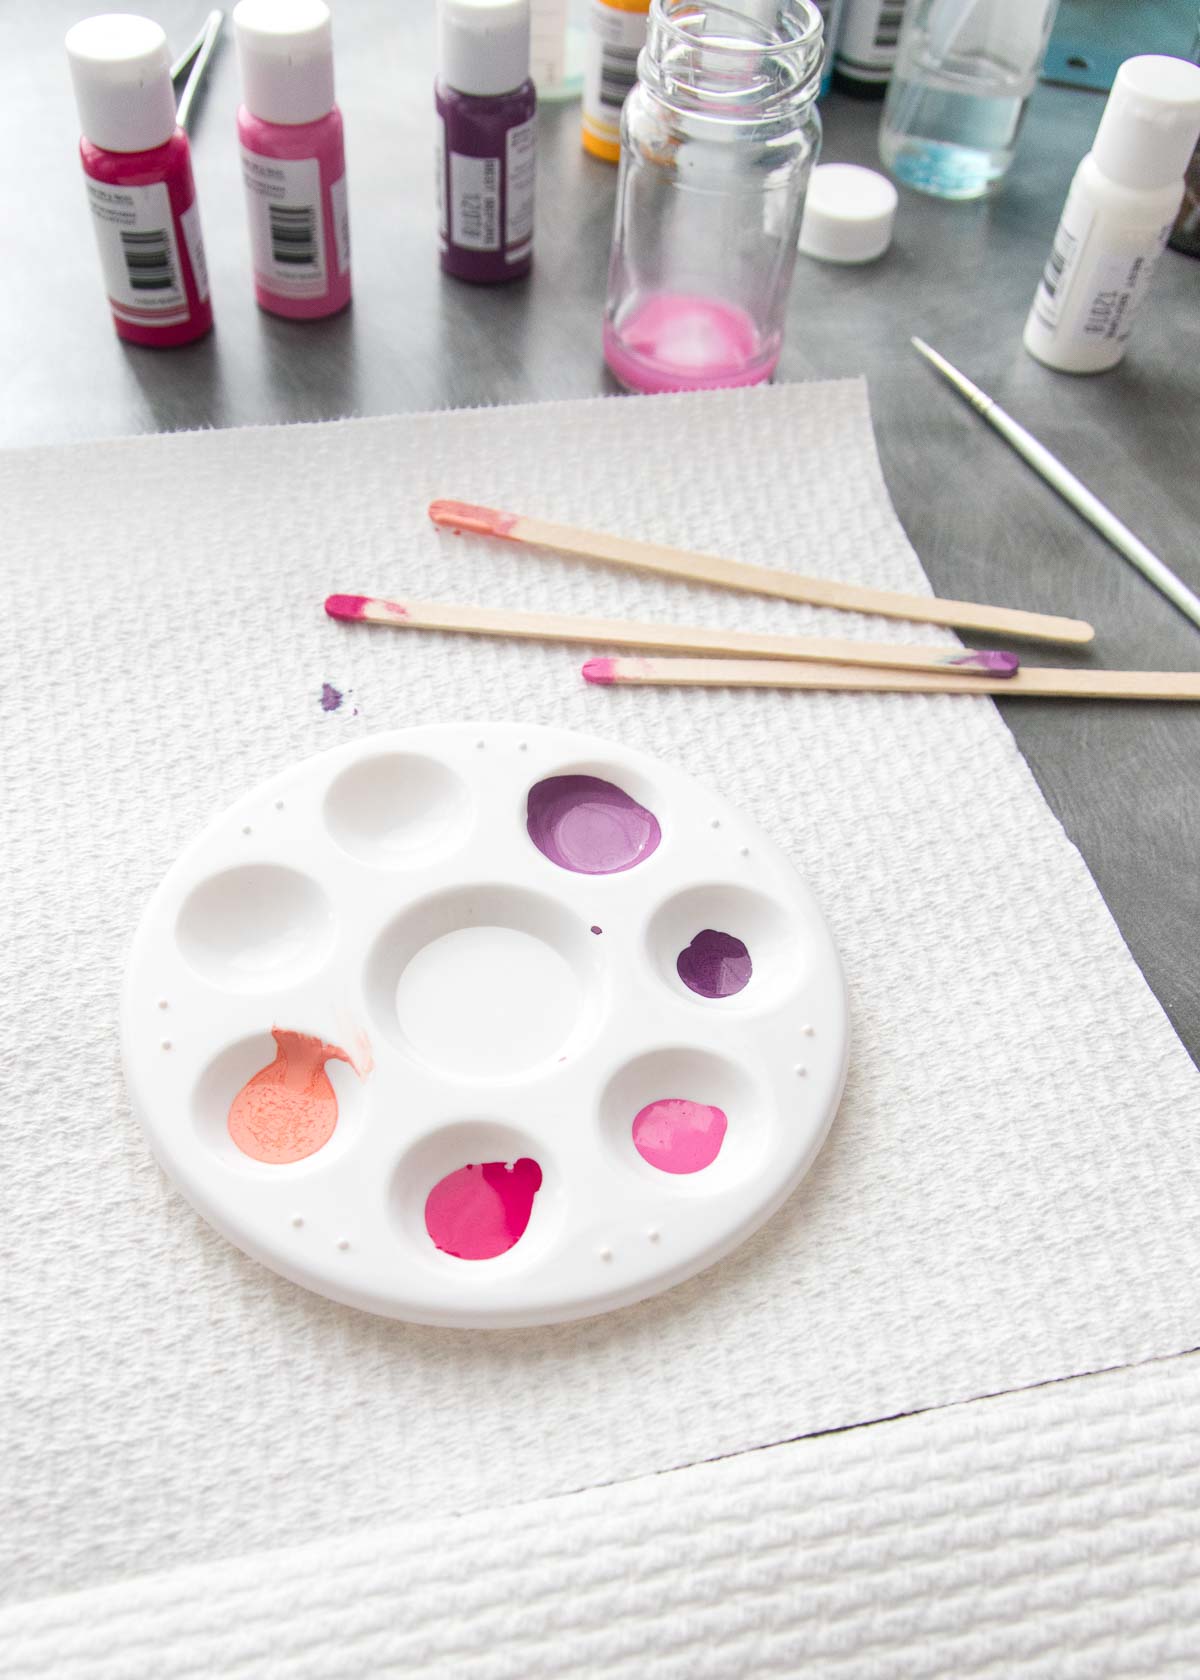
Exactly how you paint will depend on your pattern/design, but the basics will be pretty similar to what I did on this cake.
We’re going to ease into the whole painting thing by starting with just the outlines of the feathers. It’s helpful to keep the print-out of your image nearby so you can consult it if there are bits of line missing or if parts are too pale to see.
If, like me, you have unsteady or shaky hands, try experimenting with the best angle to hold your arm at, and where possible, rest your elbow on something. That could be the bench for the lower parts of the design, or an upturned bowl or something, just to prop your arm up so it’s not shaking like a broken tree branch in mid-air.
I also find it helpful to hold my right hand with my left while I was painting for a bit of extra support. Check out this post for more tips.
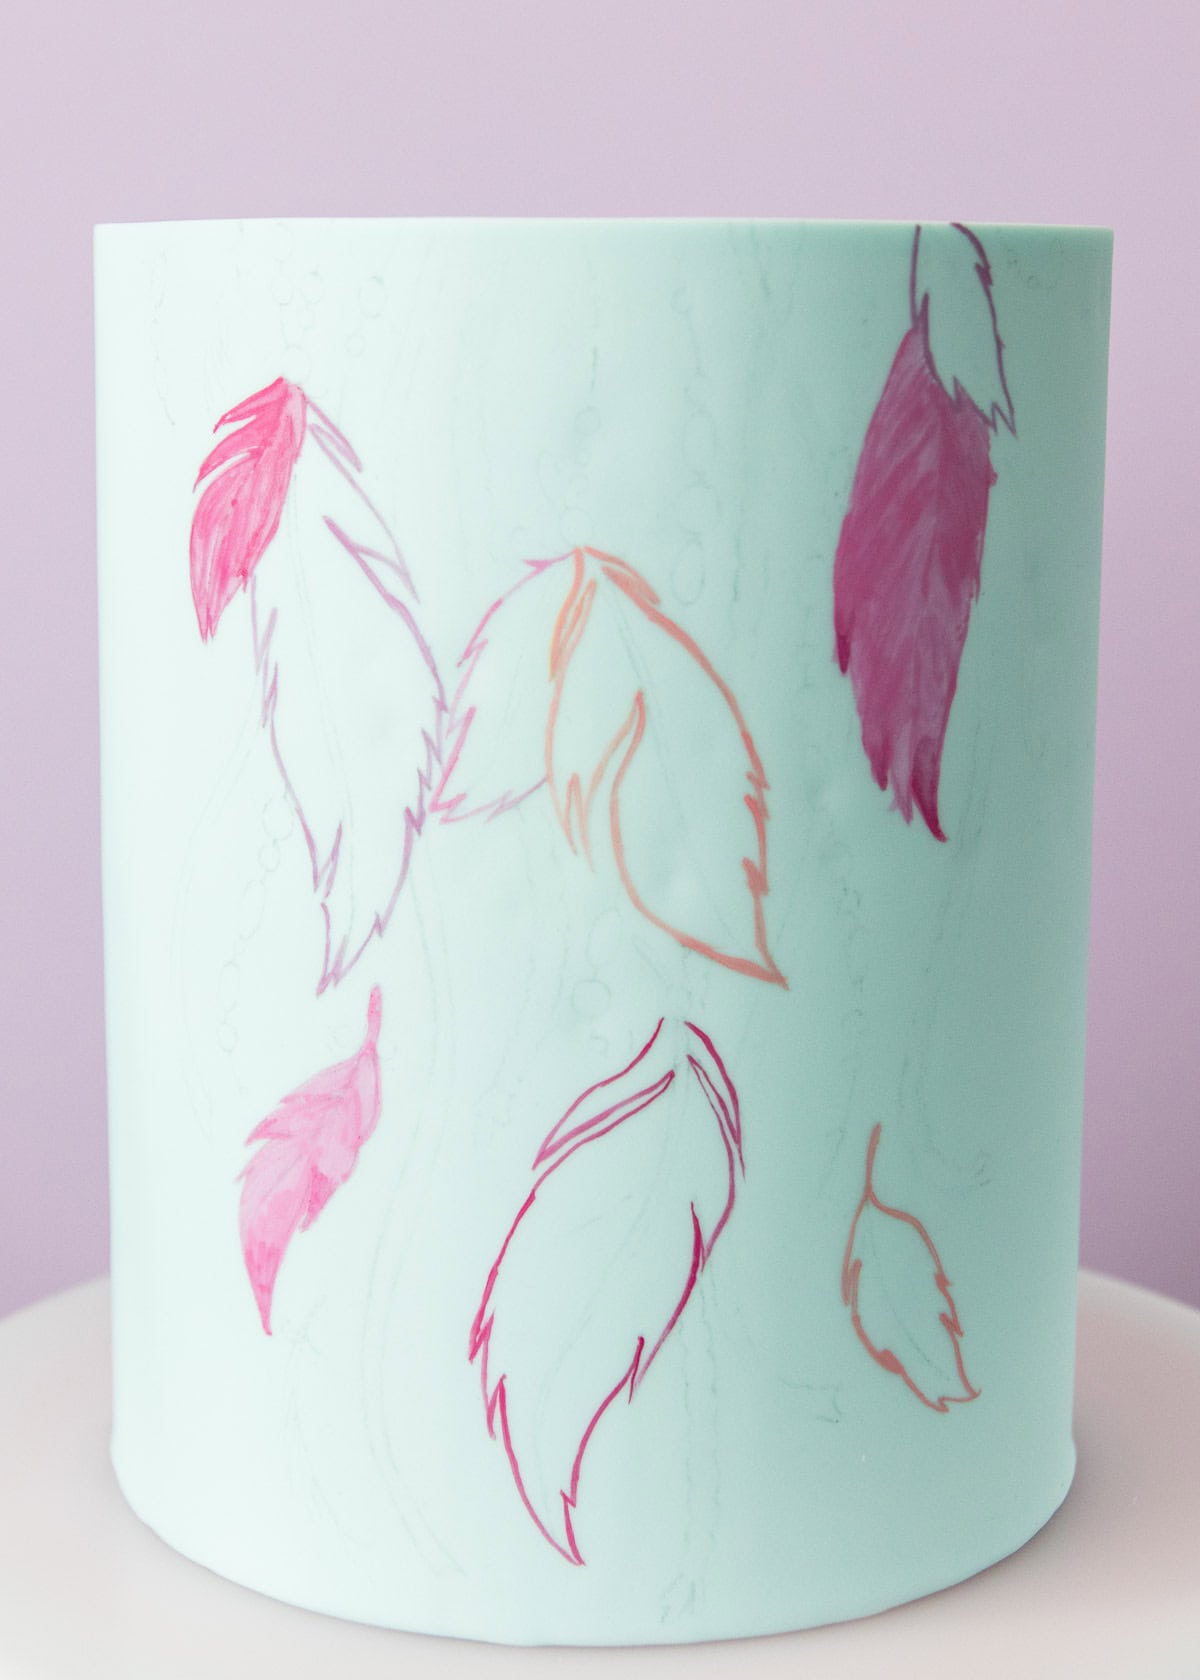
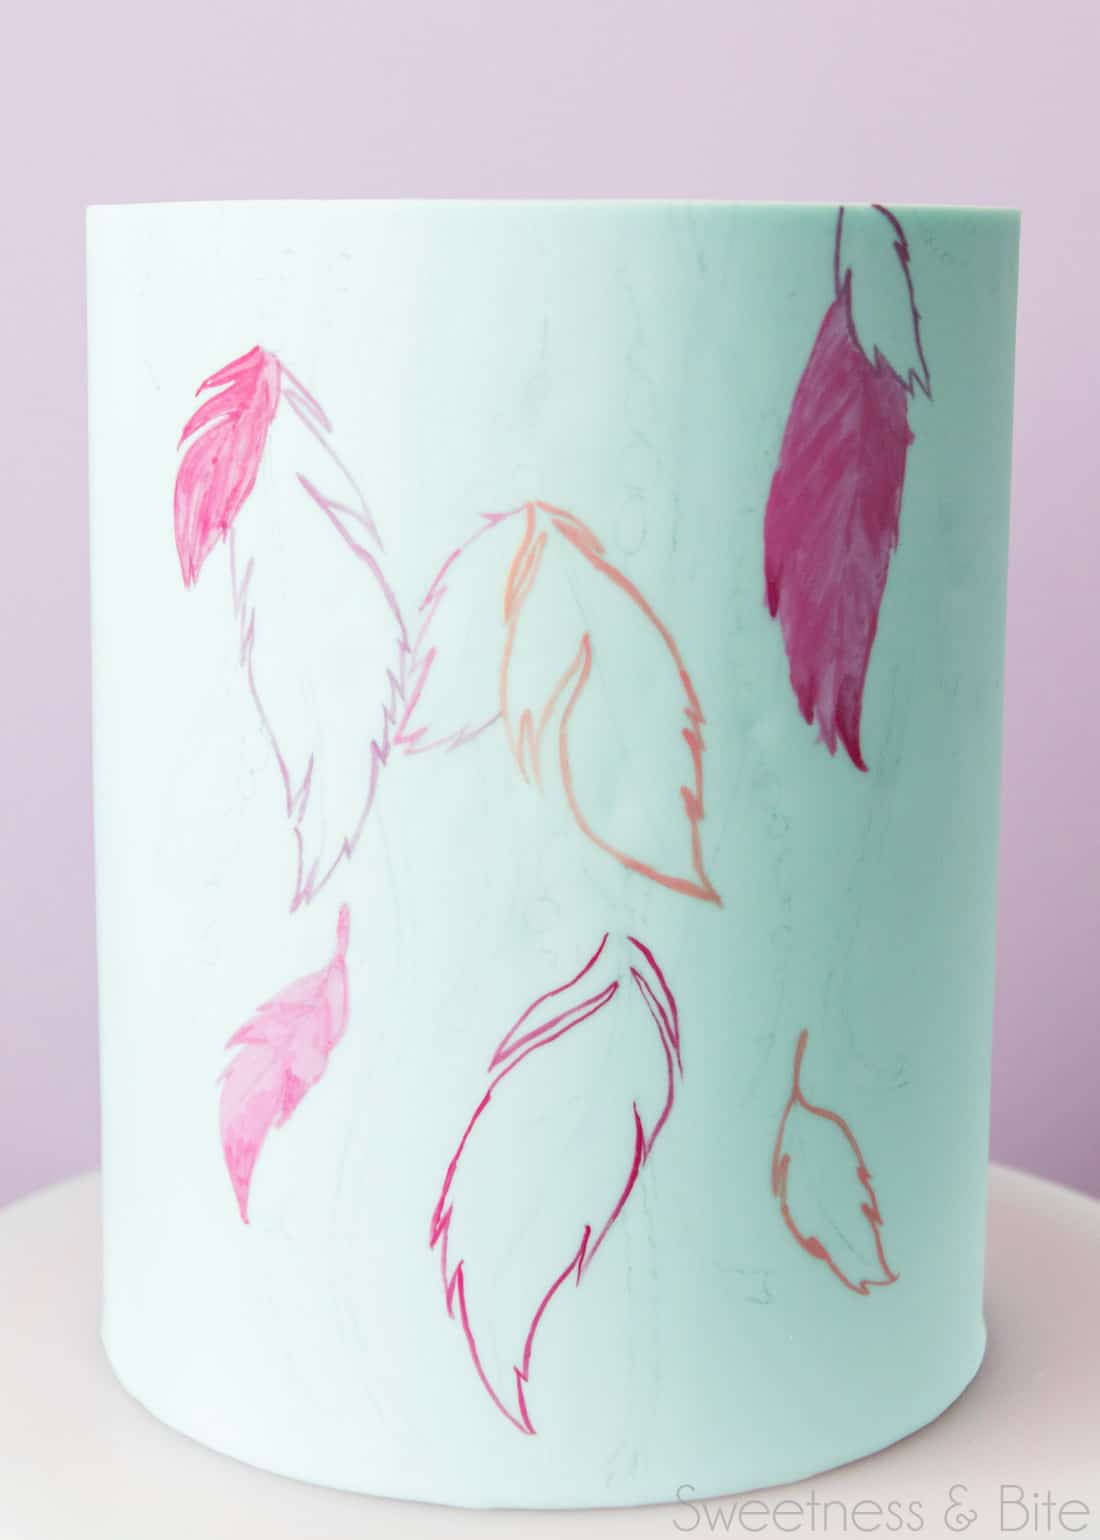
You don’t have to be too precise here, we will be outlining in black later, but it’s a good guideline for the next step which is…
…filling in the design. Use strokes of varying thicknesses for a bit of detail. I also thinned my paint down a bit to start with, then added in more strokes of the full strength paint. See, it’s almost like we know what we’re doing!
Keep an eye on the consistency of your paint, the edible art paint does dry out quite quickly, but a drop or two of alcohol will have it good as new.
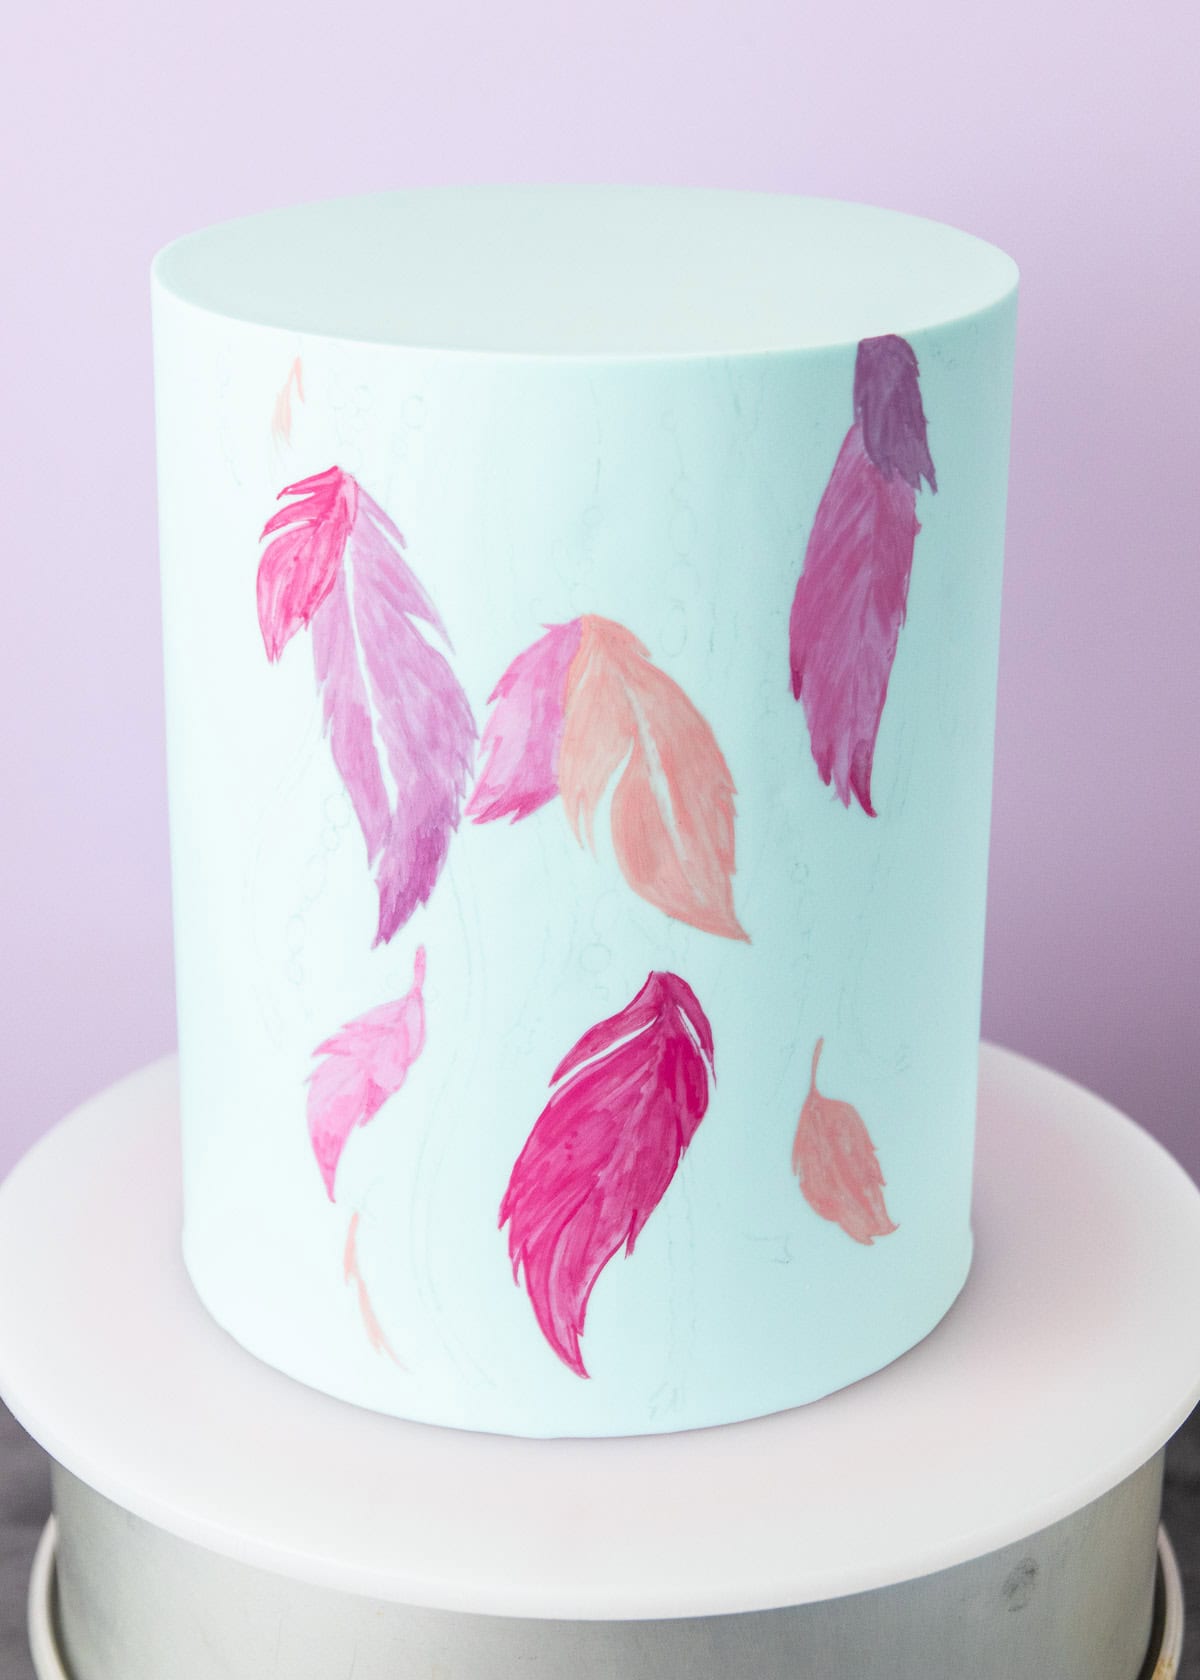
Keep going for the rest of the parts of your design. After the feathers, I moved on to the ribbons and braid details…
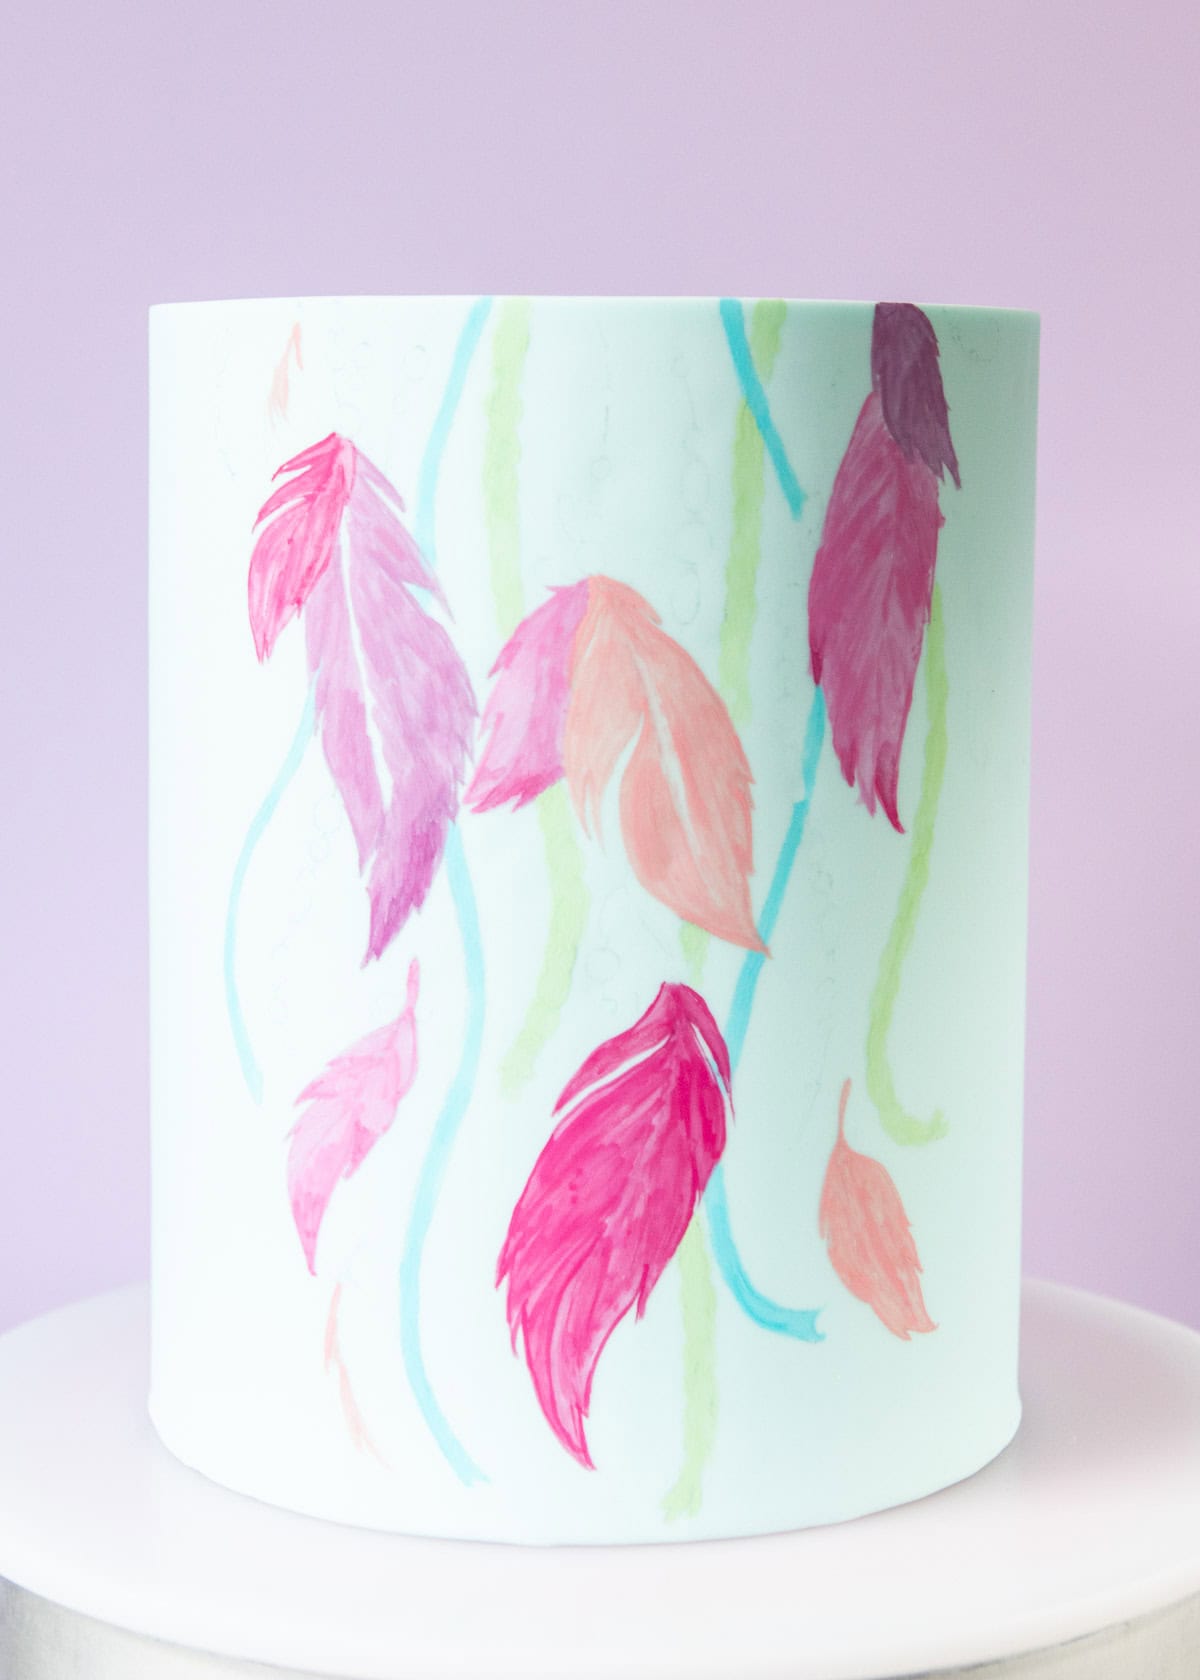
…then the beads…
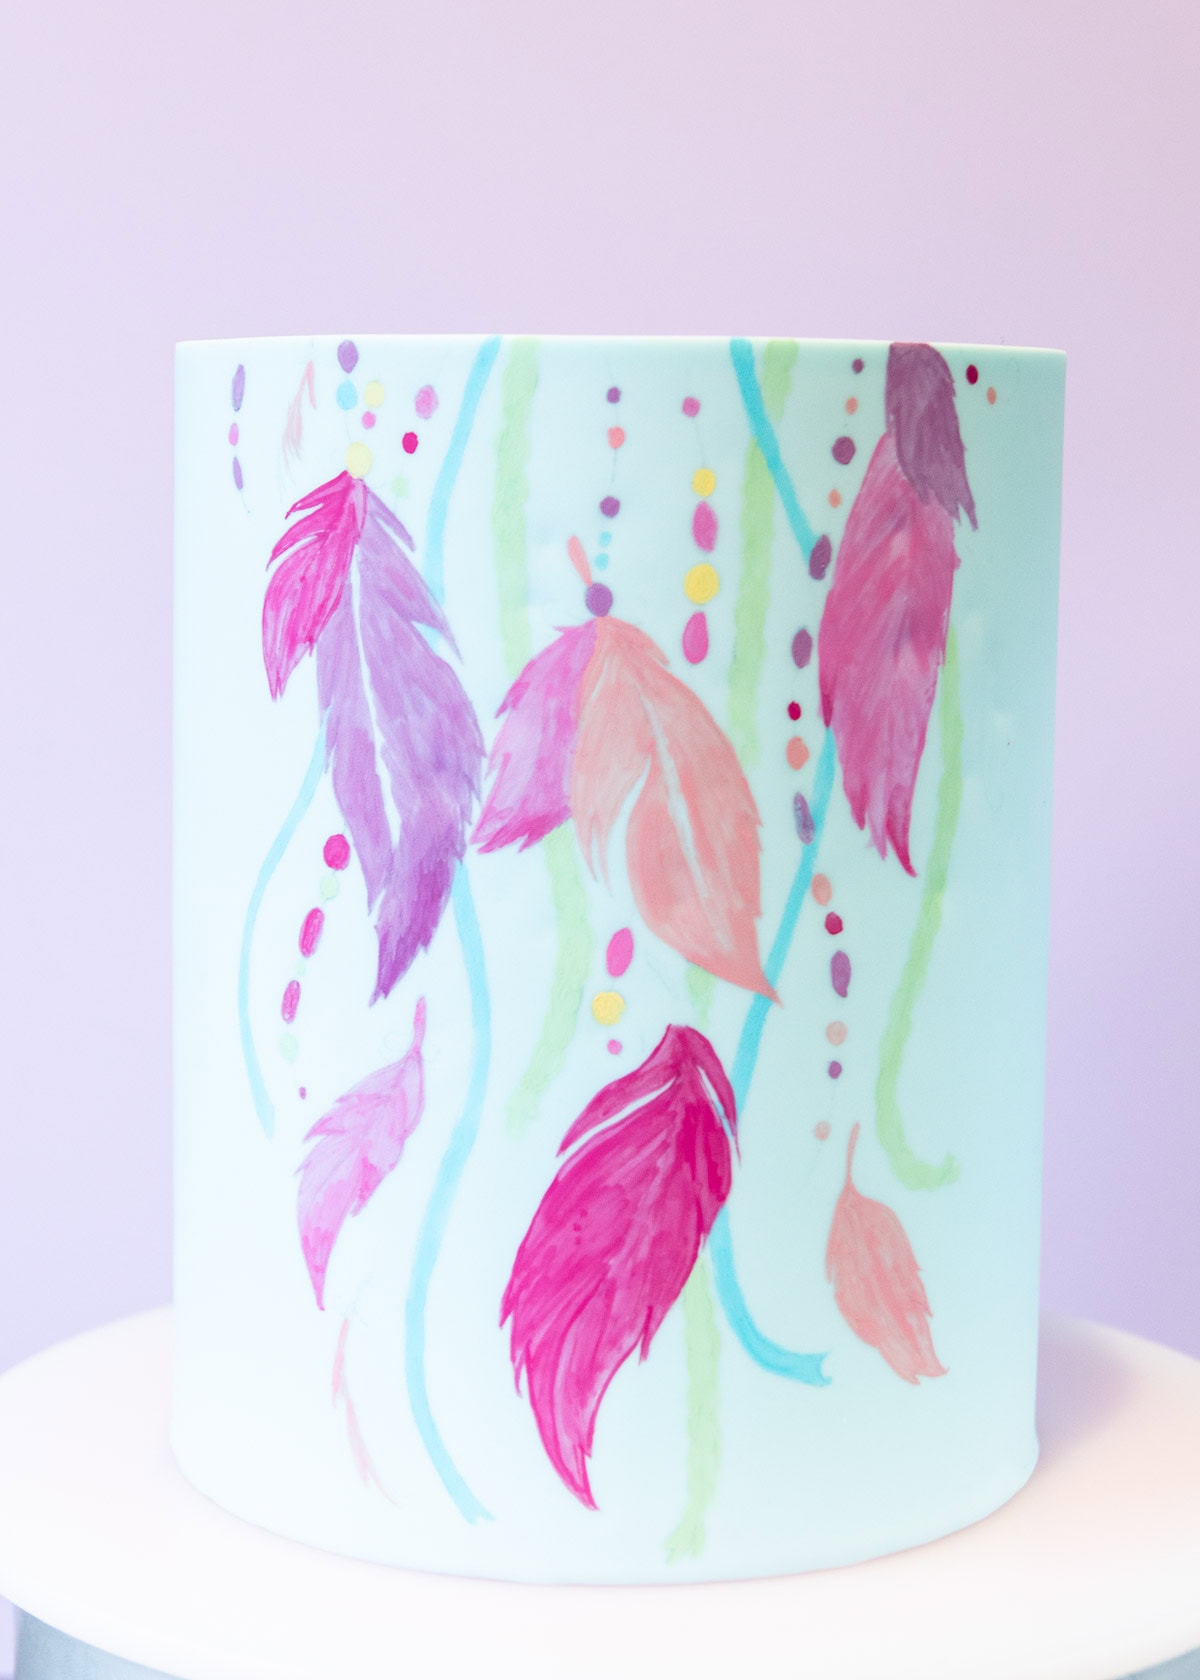
I also ended up going back and painting over those bits I had left bare in the centre of the top few feathers. I can’t even remember why I was leaving them blank, but obviously, I decided it wasn’t a good idea, whatever it was.
Now all that’s left to do is outline the whole thing in black. You don’t need to outline if your design doesn’t need it, but boy does it really make it pop!
This is probably the fiddliest part, but I’m going to encourage you to look super closely at my cake and see that there are a fair few dodgy bits, that most people would never notice at first glance.
So remember that the design as a whole will distract from a few slips here and there. Really. I promise. Don’t panic.
Make sure you work from left to right if you’re right-handed, or right to left if you’re a leftie, the last thing you want here is smudged black across your design!
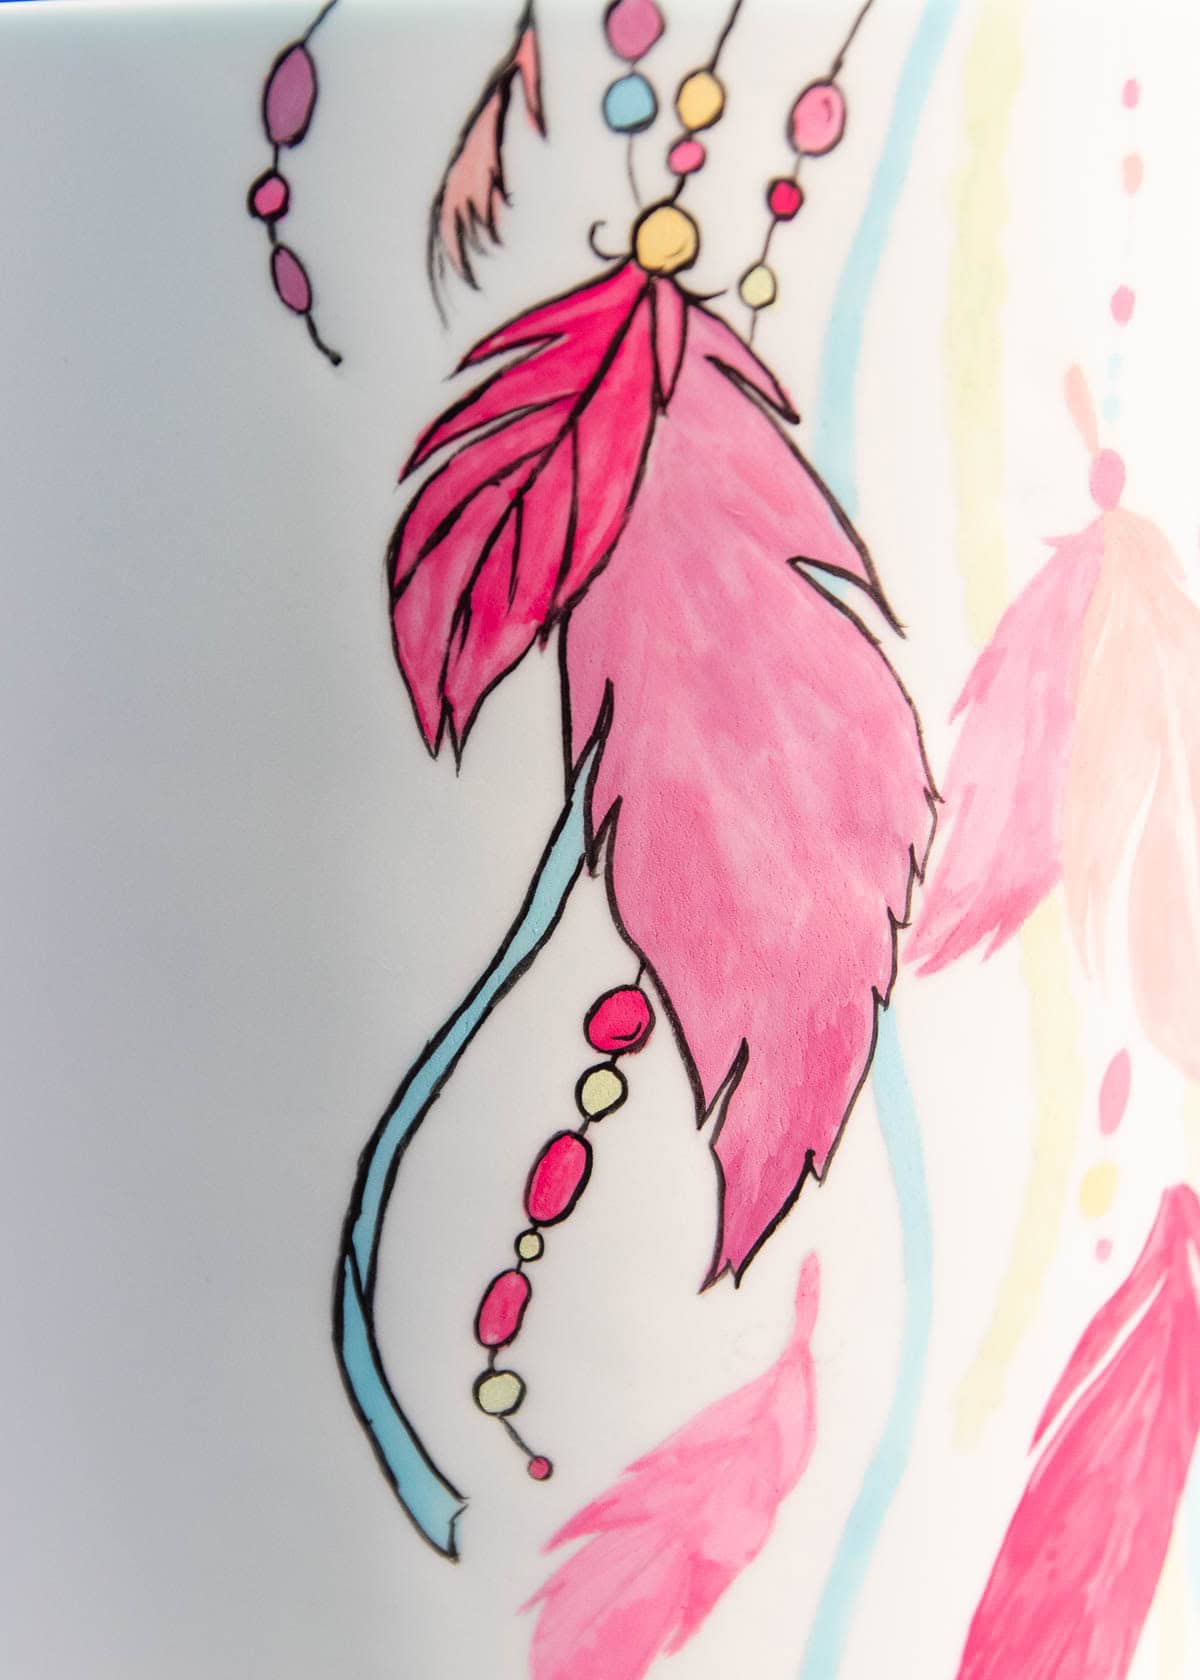
Refer to your original design for any additional details that you didn’t trace, and add those in.
It’s hard to see in the pictures but I also added a bit of the Edible Art rose gold metallic paint on the peachy coloured beads. Because a bit of shimmer is always welcome.
The outlines really do tie the whole design together and make it pop.
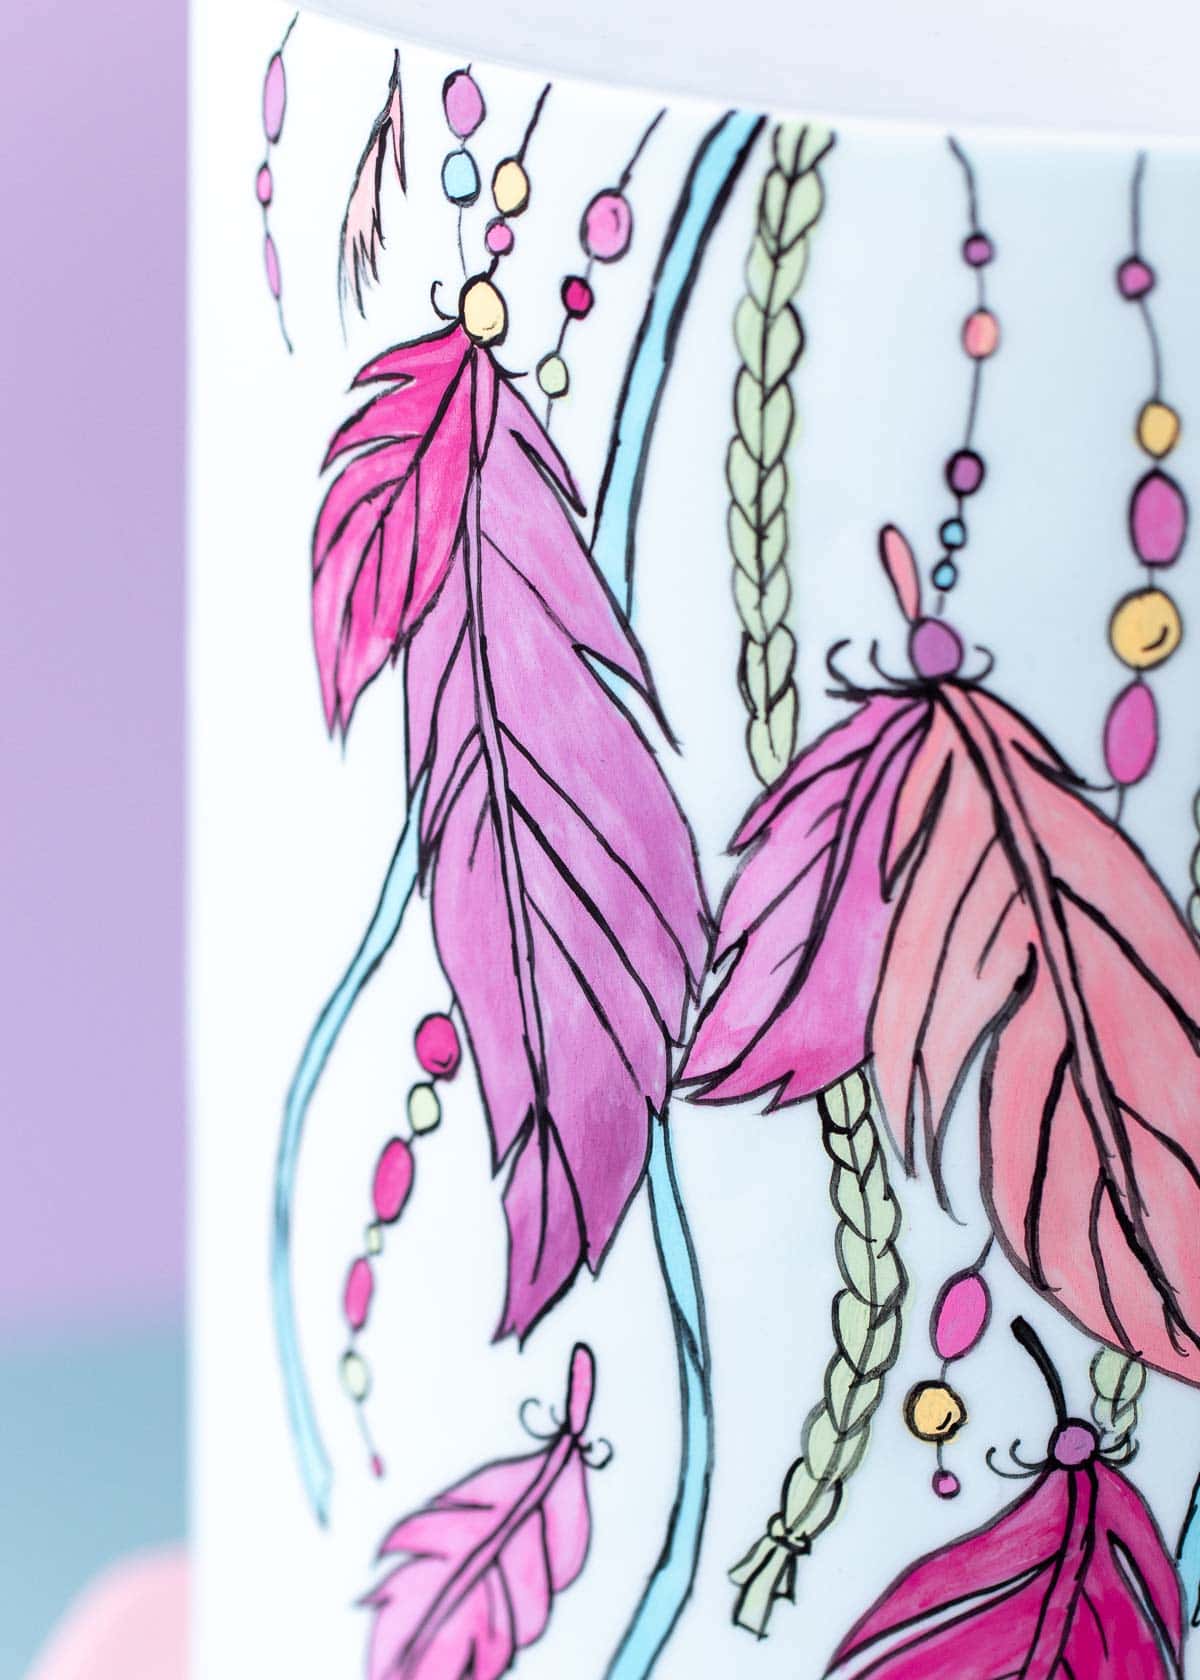
And there you have it, one painted cake design. I can do it, and you can too. I won’t call myself a painter, but until the day comes that Michaelangelo’s ghost taps me on the shoulder and bestows his gift upon me, I’m pretty darn happy to keep tracing and painting.
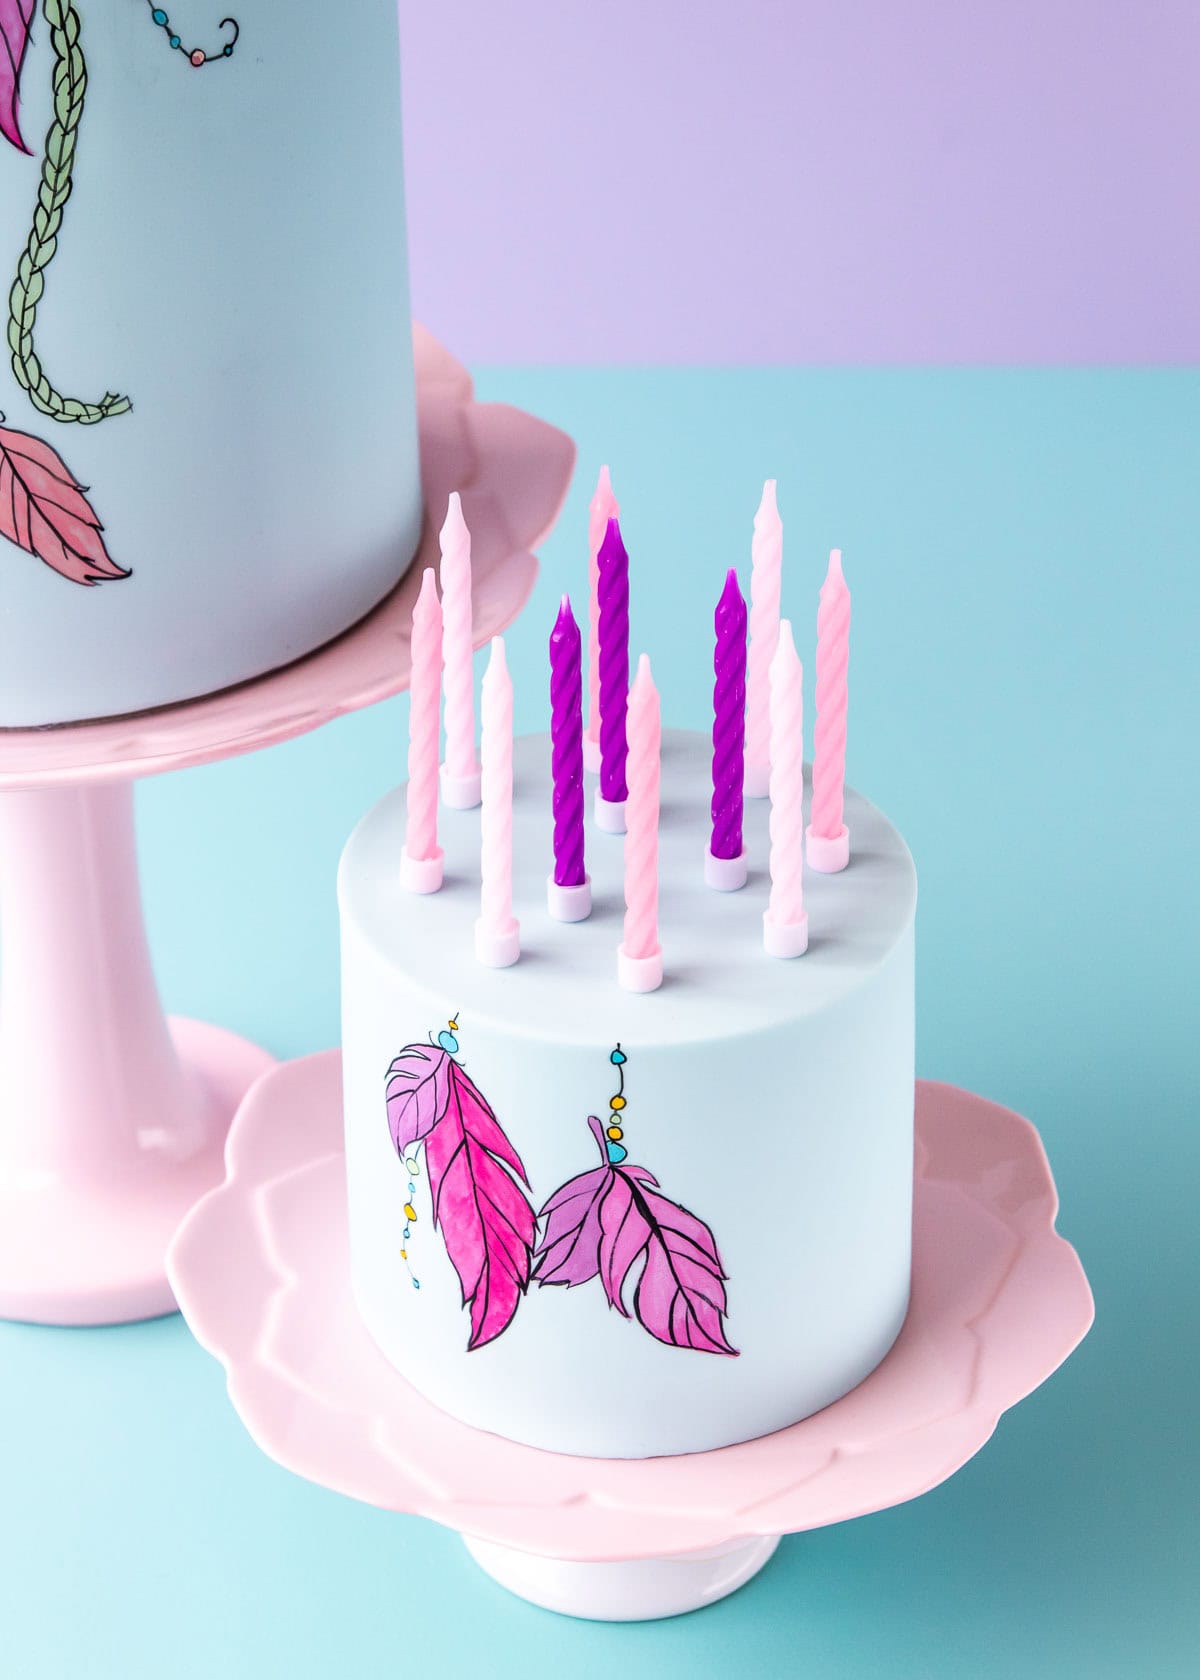
Once I finished the first cake I even did it a second time to make a little candle cake, since the perfectionist artist in me didn’t want candles marring my masterpiece 😉
When you try this fondant painting technique out, remember to pop over to my Facebook page and show me or tag me in your pic on Instagram (I’m @sweetness.and.bite). I love seeing your work!
Natalie
xx
