Rough Edge Ganache Drip Cake Tutorial
This post may contain affiliate links to products I recommend. I receive a small commission at no cost to you if you make a purchase using my link.
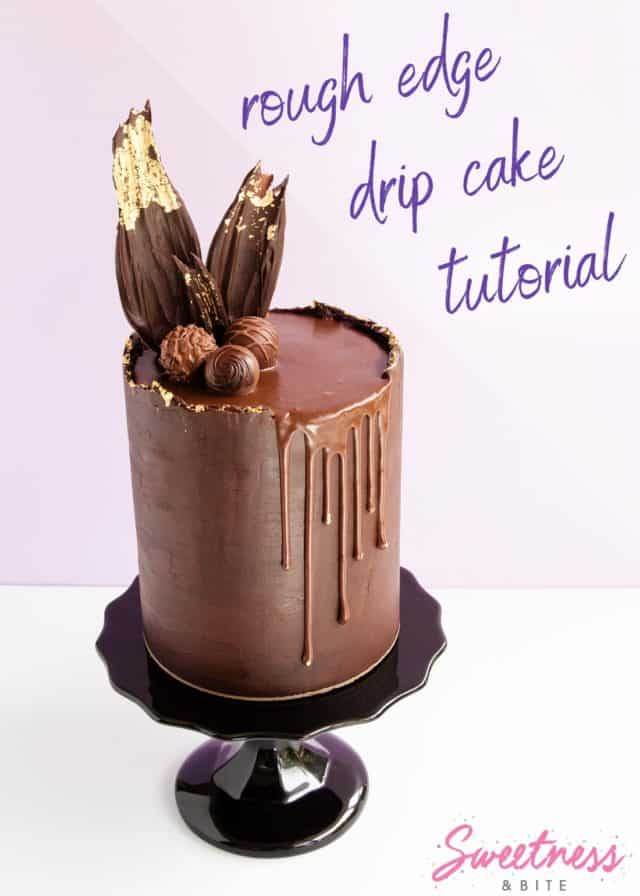
Learn how to make a rough edge ganache cake with gold leaf, a super shiny ganache drip and chocolate shards!

You know when you make a rough edge ganache drip cake, and then you kind of show it off, and then you forget about it for a while, and you’re not sure why you forgot about it because you really liked it, and then you start to think “why on Earth did I not put this on my website?!” so then you do?
Well maybe you might not know that feeling, or do that sort of thing, but that’s what I did in the case of this rough edge drip cake that I made a few months ago.
I shot a little video of how I made it and posted it on my Facebook page and Instagram, but for some reason, I didn’t post it on here.
Perhaps it’s because I only did the video and not a full photo tutorial for it like I usually do, but actually, people like videos, right?! So let’s do this thing.
Rough edge cakes seemed to totally become a thing after a certain royal couple got married and had several cakes with rough-edged buttercream on them. The design seemed to be a little controversial among cake decorators and the general public alike – a real love it or hate it situation – but I found them rather delightful.
You guys know how much I looooooove me some sharp-edged buttercream and sharpy-sharp-sharp ganache, but I have become a huge fan of these rough little babies.
There is something very freeing about doing the total opposite of what you usually do. Letting go of the obsession you have with one thing, and doing something new. I mean, my anxiety would never let me do that with anything important, but when it comes to cakes I’ve really been enjoying not having to faff around making sharp edges.
(You know, now that I can almost get sharp edges with my eyes closed, this rough stuff has become a thing #greattiming.)
I love how the ganache drips from the break in the rough edge, like one of those fabulous infinity pools that fancy rich people have. But better, because this is chocolate…
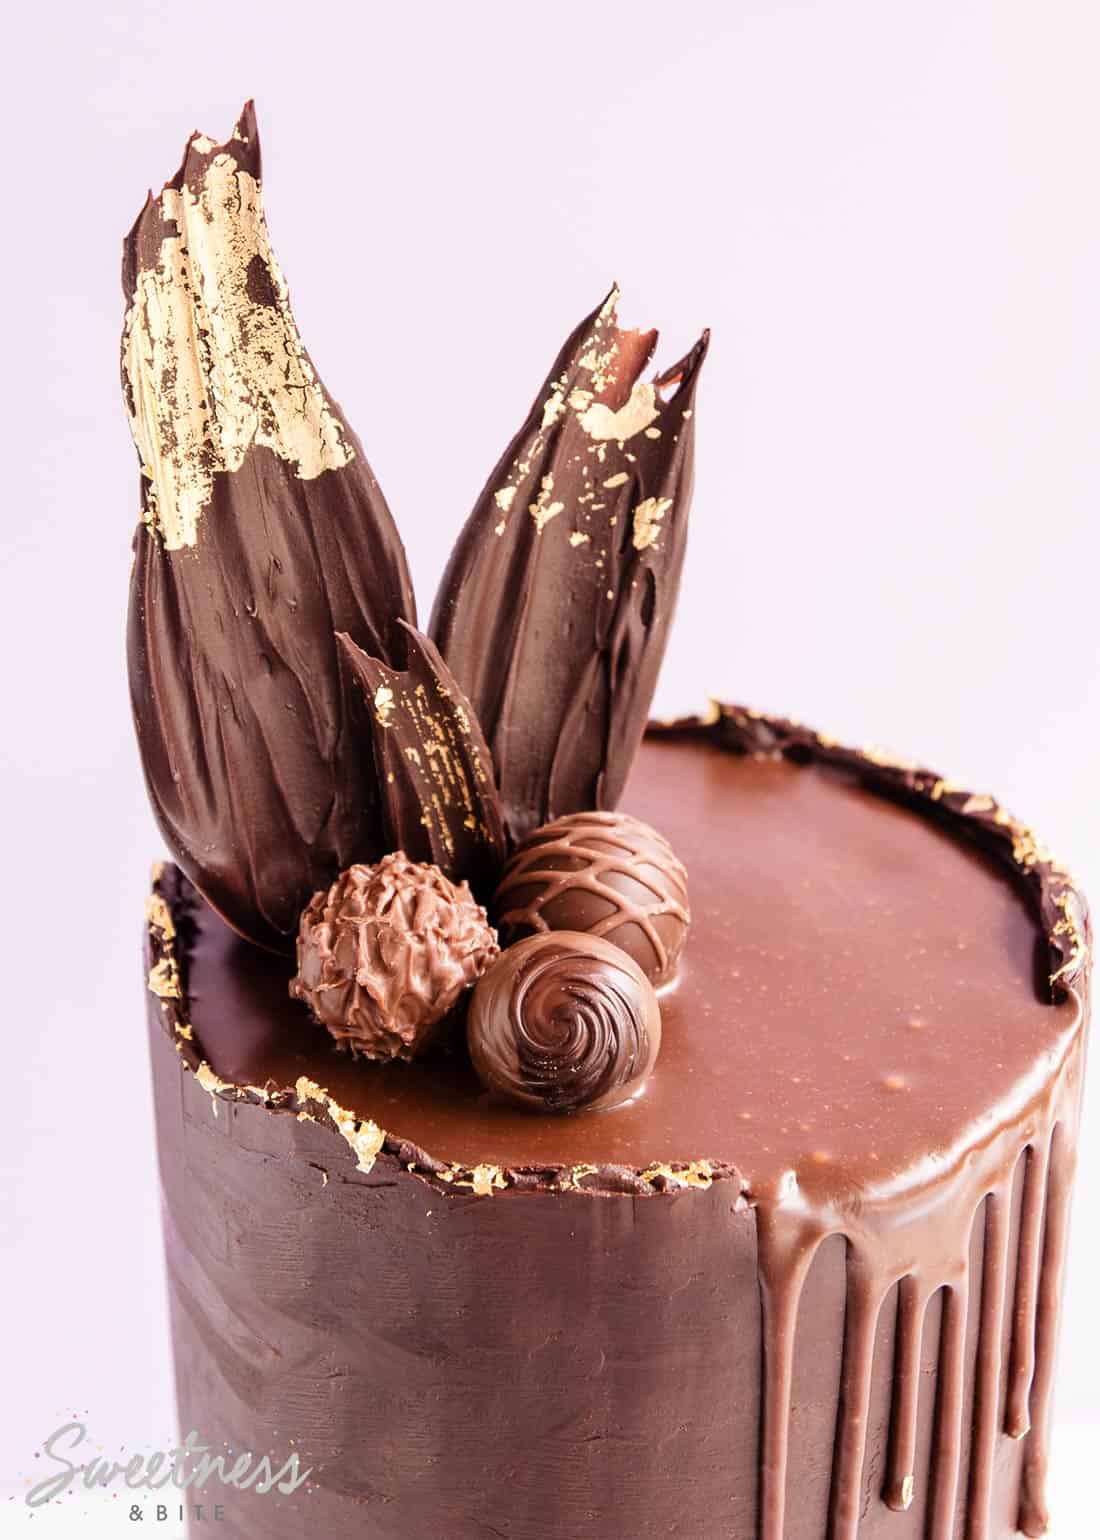
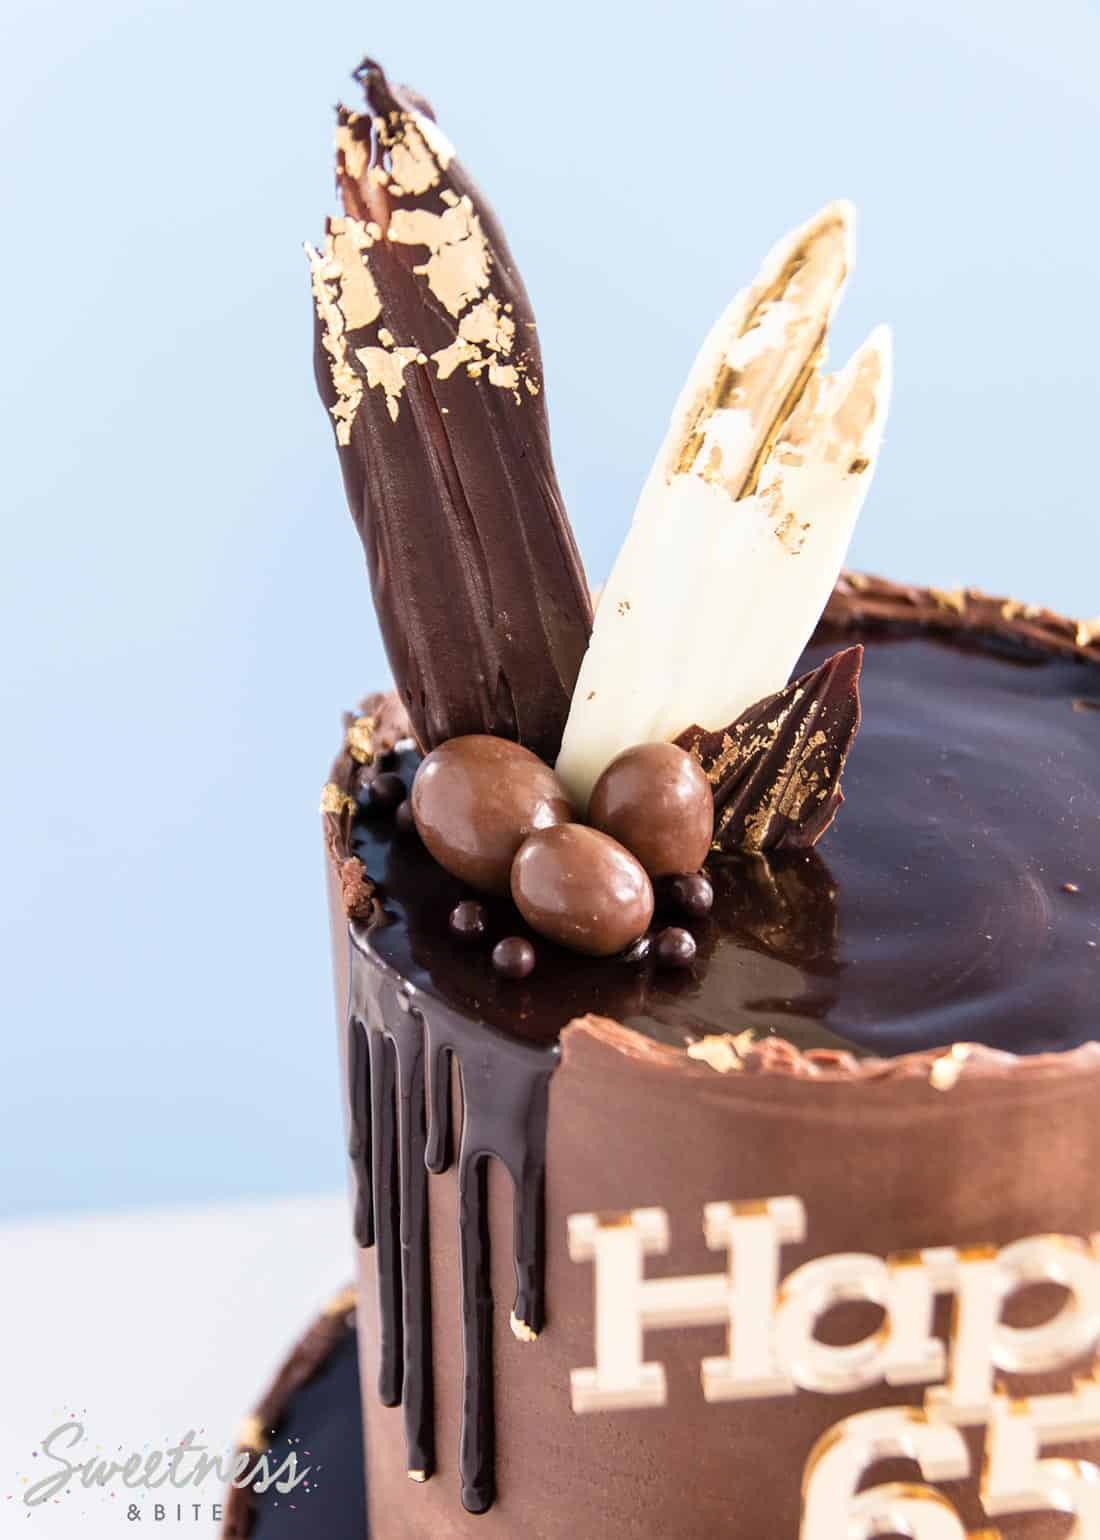
I really did get a bit obsessed with these cakes, and did several in the space of a couple of weeks. Including this two-tier cake for my best friend’s Dad’s birthday…
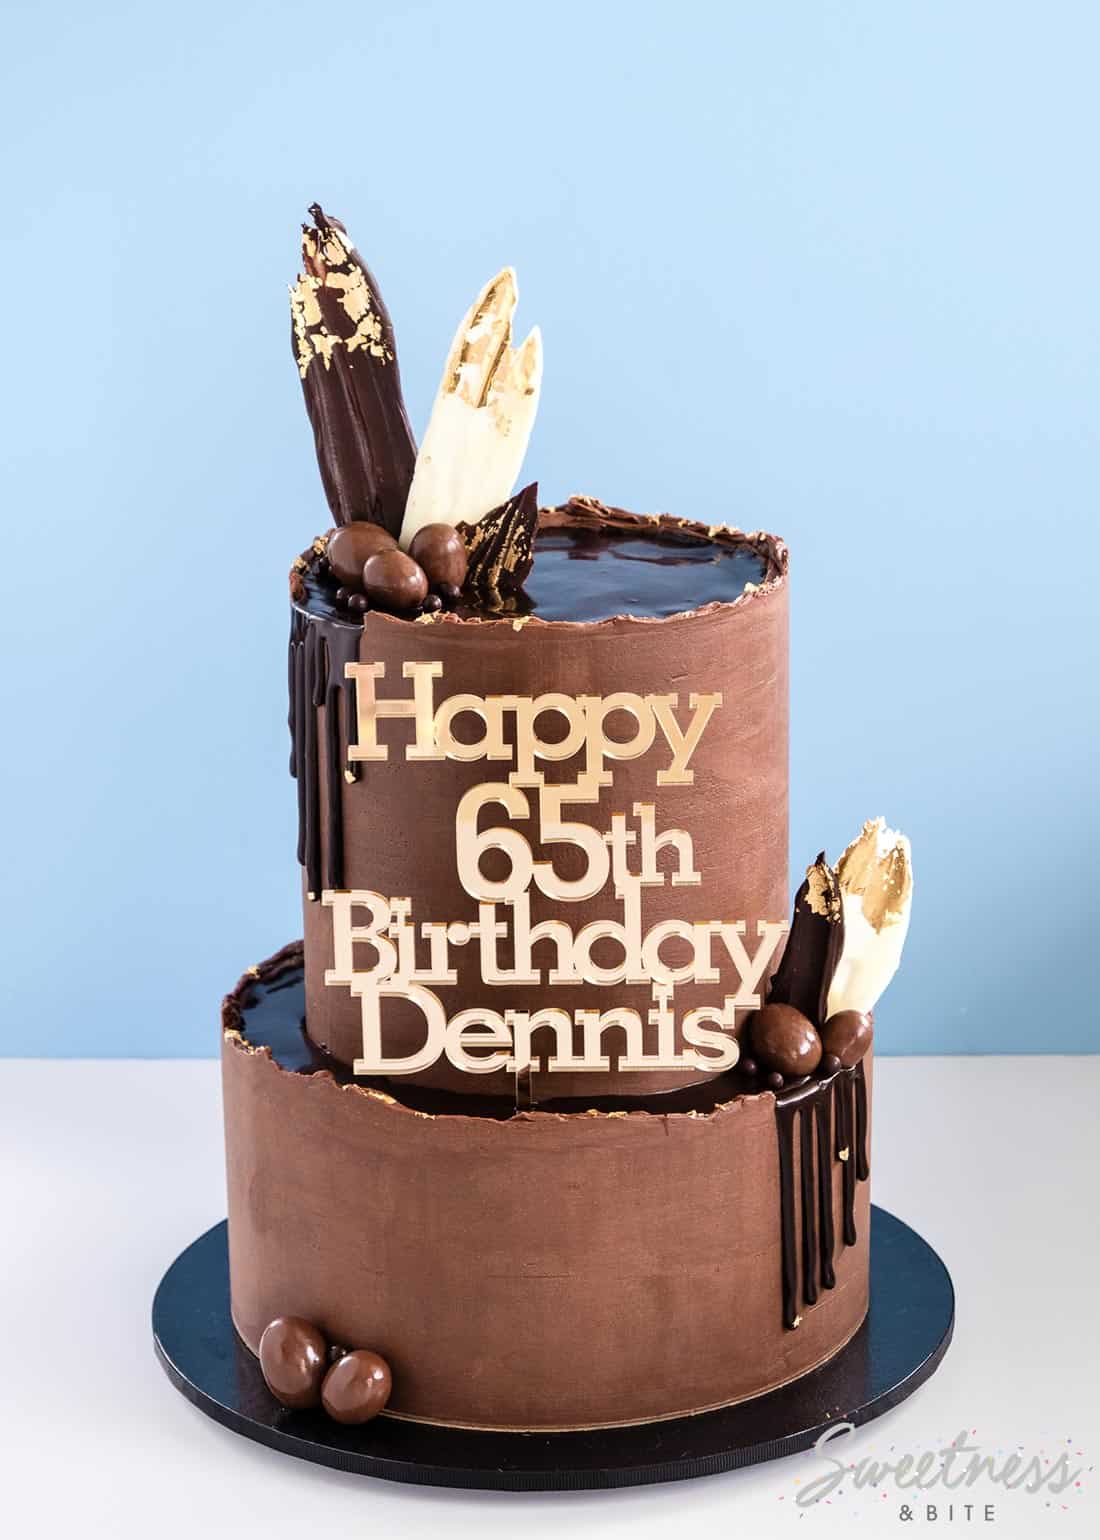
Could you not just swim in this ganache? Seriously.
And then there was this purple delight that I made for my Aunty. To make this two-toned ganache, I made up a batch of white chocolate ganache, added in a little white gel colouring (to get rid of some of the yellow tone) and then took out about two-thirds of the ganache and stirred some Creative Cake Decorating oil colouring in “Pretty in Mauve” into it.

For more detailed info on colouring ganache, you should definitely check out my “How to Colour Ganache” tutorial.
I loved the look of the purple edge with silver leaf so much that I ended up deciding to skip the drip on this one.
Ok, so shall we talk about how to actually get the rough edge on your cake?
How to Make a Rough Edge Ganache Cake
Because you really don’t want to watch me work at my actual speed (super, super slow) I have sped up the video below, so it’ll only take you a few minutes to watch. Most of it is pretty self-explanatory, but here are a few key points and notes:
- I started out filling and ganaching the sides of my cake with dark chocolate ganache in the same way I do in my ganache tutorial, so if you’re not familiar with ganaching a cake then it would be a good idea to start there. I brushed syrup on each cake layer, but this is completely optional.
- My cake was 6″ round and ended up about 8″ tall.
- Because the cake was so tall, I placed a 5″ round cake card in the middle, to make cutting and serving the cake easier.
- Once the cake has been filled and the outside ganached (about 1 min, 45 sec into the video), it needs to go in the fridge until the ganache is firm. Then you can pop the ganache lid off, cover the top in ganache, and scrape around the edge to start forming the rough edge.
- One thing I did on subsequent cakes that I did not do in this video is to put the cake back in the fridge after starting the rough edge. Once the edge was firm, I could continue to add more ganache to it and build it up a bit further, so the edge became higher.
- You can keep tweaking the edge with your spatula, then scraping again, until you’re happy with the edge.
- Pick the lowest (or the ugliest) part of the edge, and smooth it off. This will be where your drip will pour out from.
- To apply the gold leaf the way I did, you’ll need to buy loose-leaf edible grade gold leaf, and simply use a paintbrush to lift it off the paper and apply it to the soft ganache. Loose leaf is often harder to find than transfer sheets, so if you can’t get your hands on some then buy the transfer sheets, wait until the ganache is set, then dampen the ganache very lightly with water, and rub the transfer sheet against the ganache to apply the leaf.
- For the ganache drip, I made milk chocolate ganache using 100g of milk compound chocolate and 30mls of cream, and I added about a teaspoon or so of corn syrup. This makes the ganache extra shiny. Let the ganache cool slightly then put it into a squeeze bottle or piping bag, or you can use a spoon to add your drip if you prefer. Test your drip on the side of a glass before starting to drip it onto the cake. Consistency is everything here – so let the ganache cool if it is too runny, or gently warm it up if it’s too thick.
- To make the chocolate shards, I used melted compound chocolate (as it does not need to be tempered like real chocolate does). Just place a spoonful of the chocolate onto a piece of non-stick baking paper, then spread/smear it out with a spatula. (If you want to see it being done, have a look at my white chocolate mousse video, and fast forward 53 seconds.) Let the chocolate set, then brush the ends with a little water, and add some gold leaf. Then flip the shards over and use a little more melted chocolate to attach a clean popsicle stick or skewer to the backs.
With all that being said, check out the video. As always, if you have any questions about this technique, feel free to ask ’em in the comments.

