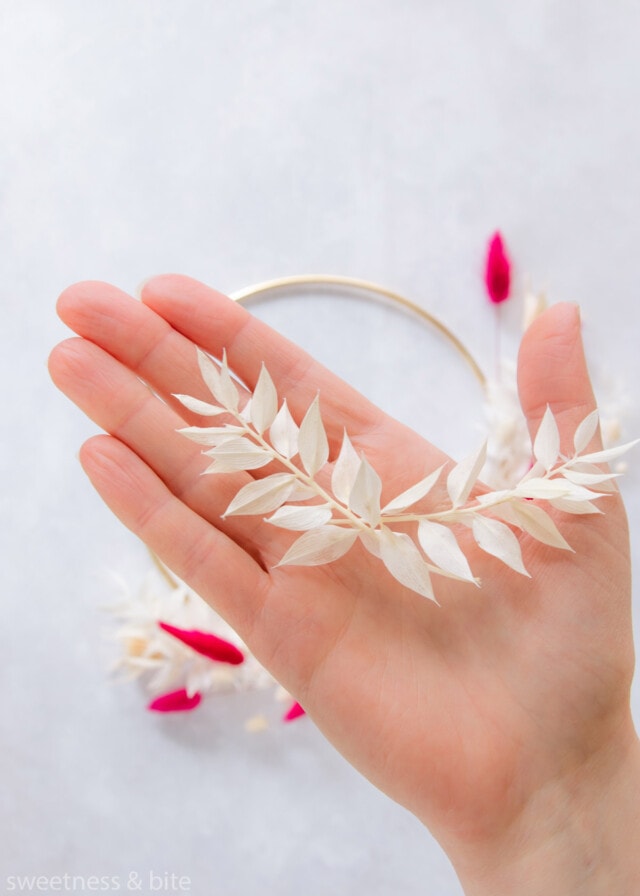
Floral Cake Topper Tutorial
This post may contain affiliate links to products I recommend. I receive a small commission at no cost to you if you make a purchase using my link.
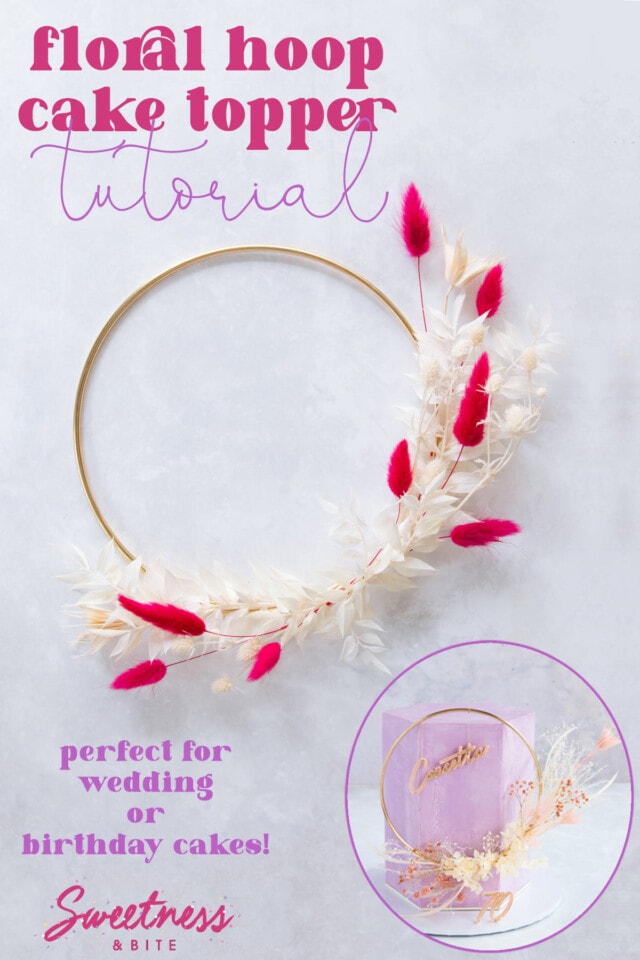
Learn how to make this pretty floral hoop cake topper. Using preserved flowers and leaves, this is the perfect floral cake topper for birthday cakes and wedding cakes alike!
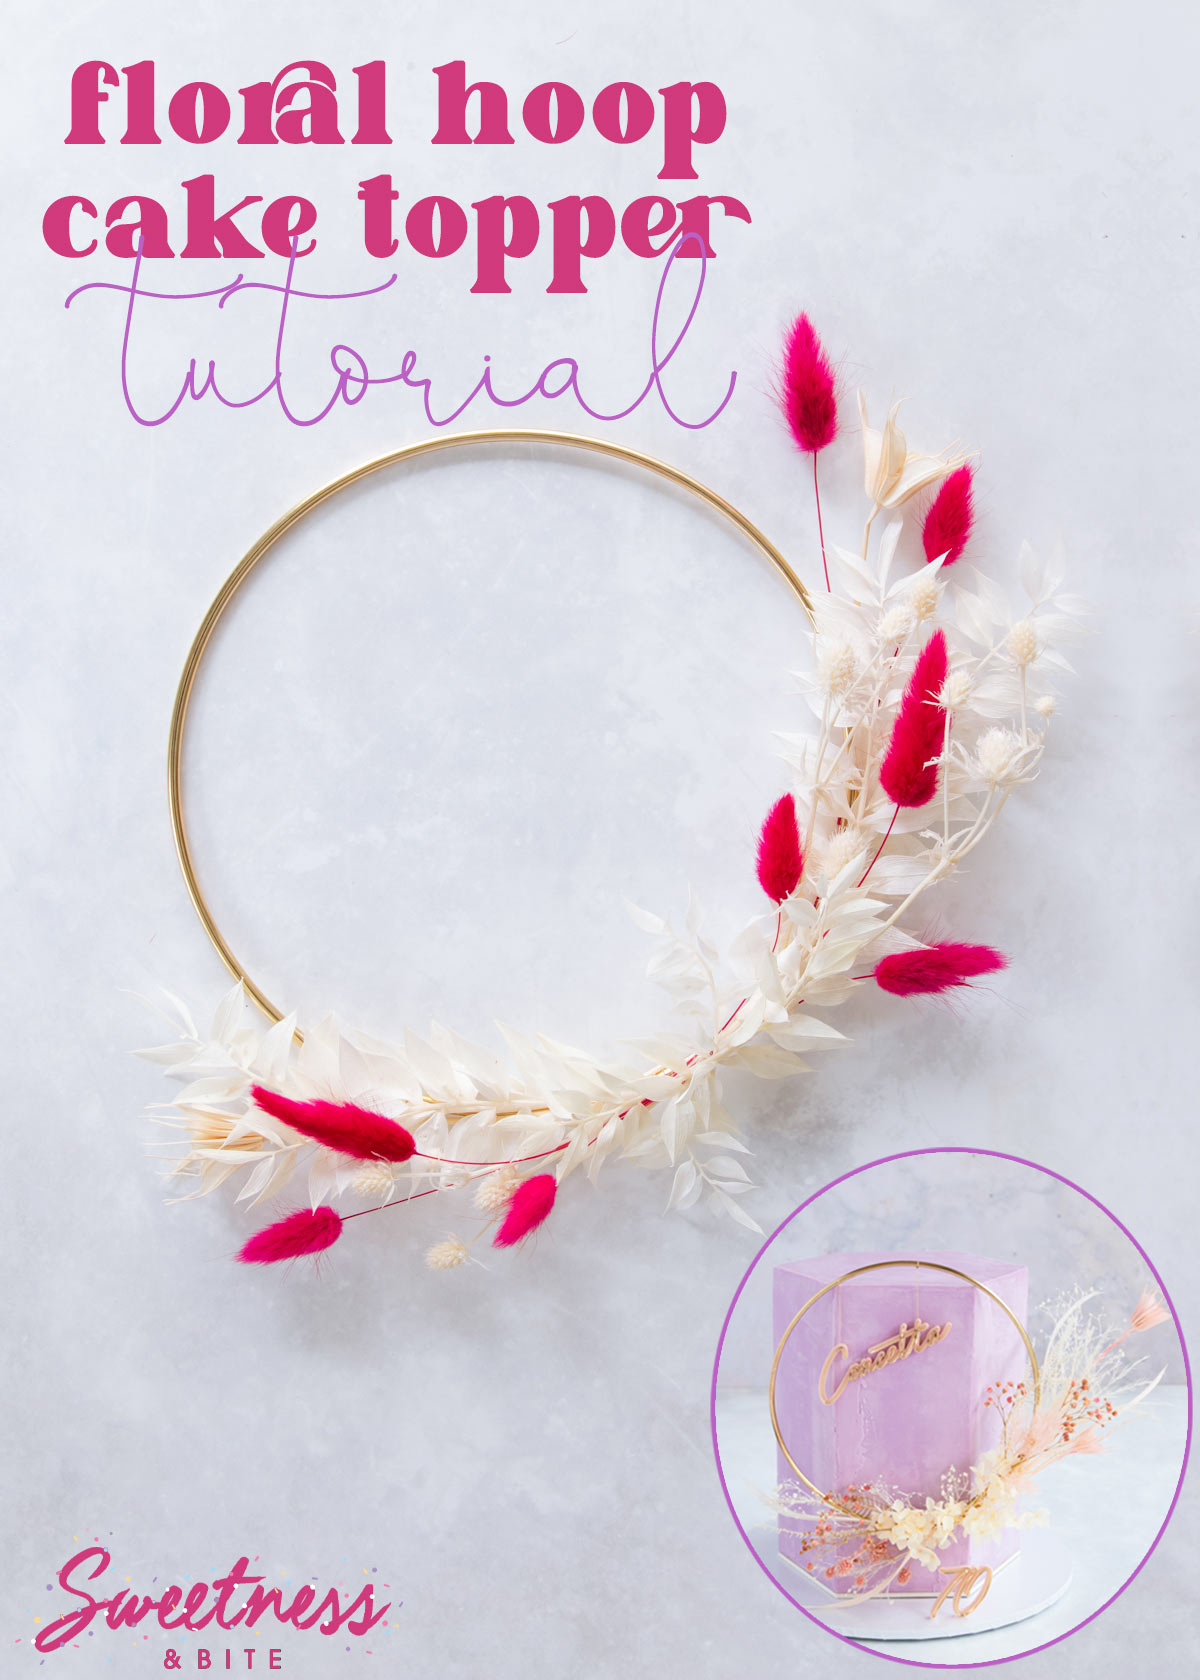
I haven’t been making a ton of cakes in the past year or two, but when my aunty turned 70 in July, I knew she needed to have a fancy cake.
When I asked her what she wanted, she just told me she wanted a chocolate cake, and that I could make it look however I wanted. It’s an ongoing joke in our family though that if you ask for “just a chocolate cake”, that’s not what you get 😂
I went hunting on Instagram for inspiration and came across a bunch of cakes that were decorated with preserved flowers, and one in particular that I loved, this cake from @Elviebakes1, which was decorated with a beautiful preserved flower hoop. I then had a look at a few more floral hoop cakes and knew that’s what I wanted to do.
I had a hunt for floral cake topper tutorials and couldn’t find any, so I made it up as I went along. I roped in my mother to help, and we had fun putting this cake topper together for my Aunty. It also made a great bonus birthday present for her to take home! 💜
It was my Mum’s idea to make the hoop “float” on the front of the cake, which I thought was genius, and is exactly why I pay her the big bucks.*
*I mean, I would, if I had big bucks.
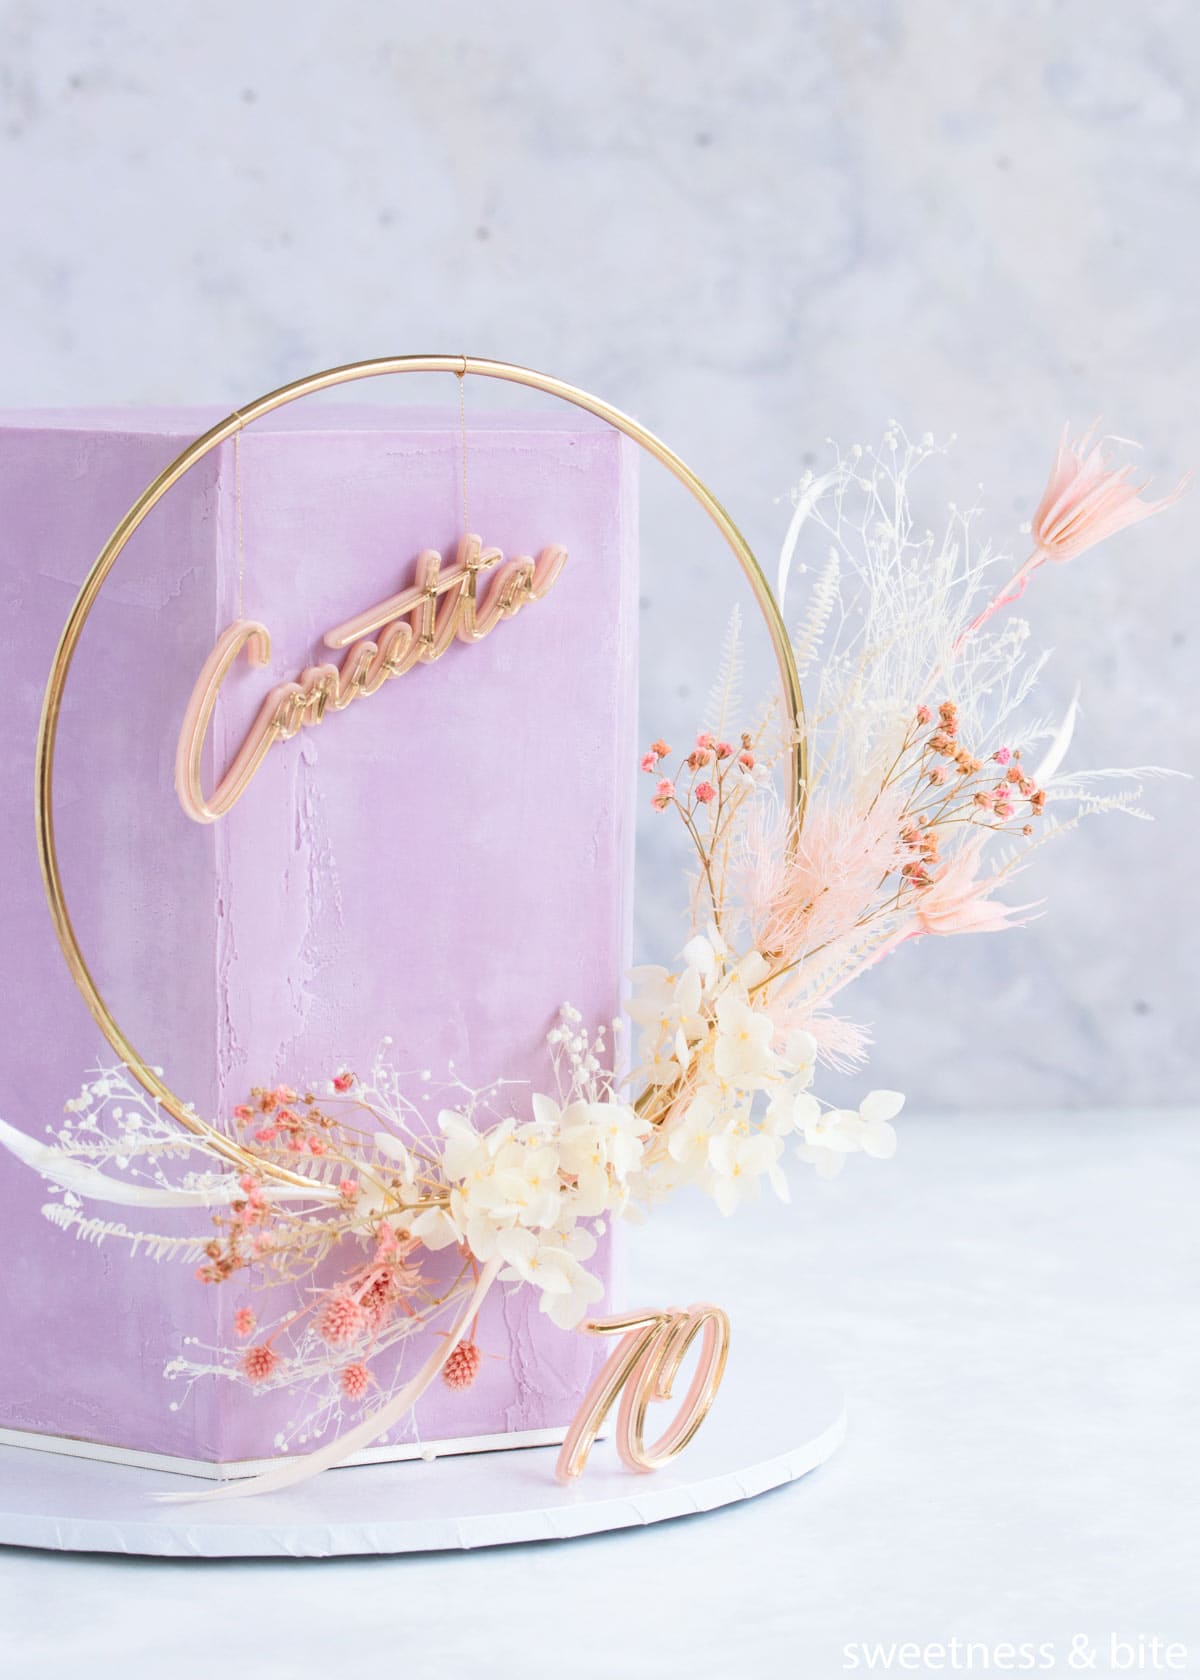
Because I couldn’t find any tutorials on how to make these floral hoop cake toppers, I thought maybe I should put one together for the next person. So here we are!
I’m not going to lie, it was also a good excuse to make another one, and to buy some more flowers 😂
These toppers are perfect for birthday cakes, and would make an amazing floral wedding cake topper, too!
Flower Hoop Cake Topper Tutorial
It should go without saying here, but I’m gonna say it anyway, these flowers are non-edible. Because of the way the hoop is assembled, there shouldn’t be much of the actual flowers and leaves touching the cake, but regardless, I wouldn’t recommend putting these floral hoops onto cakes iced with soft or sticky icings like buttercream.
Depending on the flowers and foliage you choose, they can shed small pieces, and those could stick to the buttercream. It’s best to choose ganache or fondant covered cakes for this.
Also, if you want to attach the topper as I did to make it look like it’s “floating”, the firmer the icing on the cake, the better.
At the time of writing this tutorial, I haven’t had a chance to make a cake to display the topper and show properly how I made the topper float, so I have added a diagram and description below to illustrate how I did it, and if anything isn’t clear, please let me know in the comments!
Table of contents
The Ring
To make your floral hoop cake topper, you obviously need… a hoop.
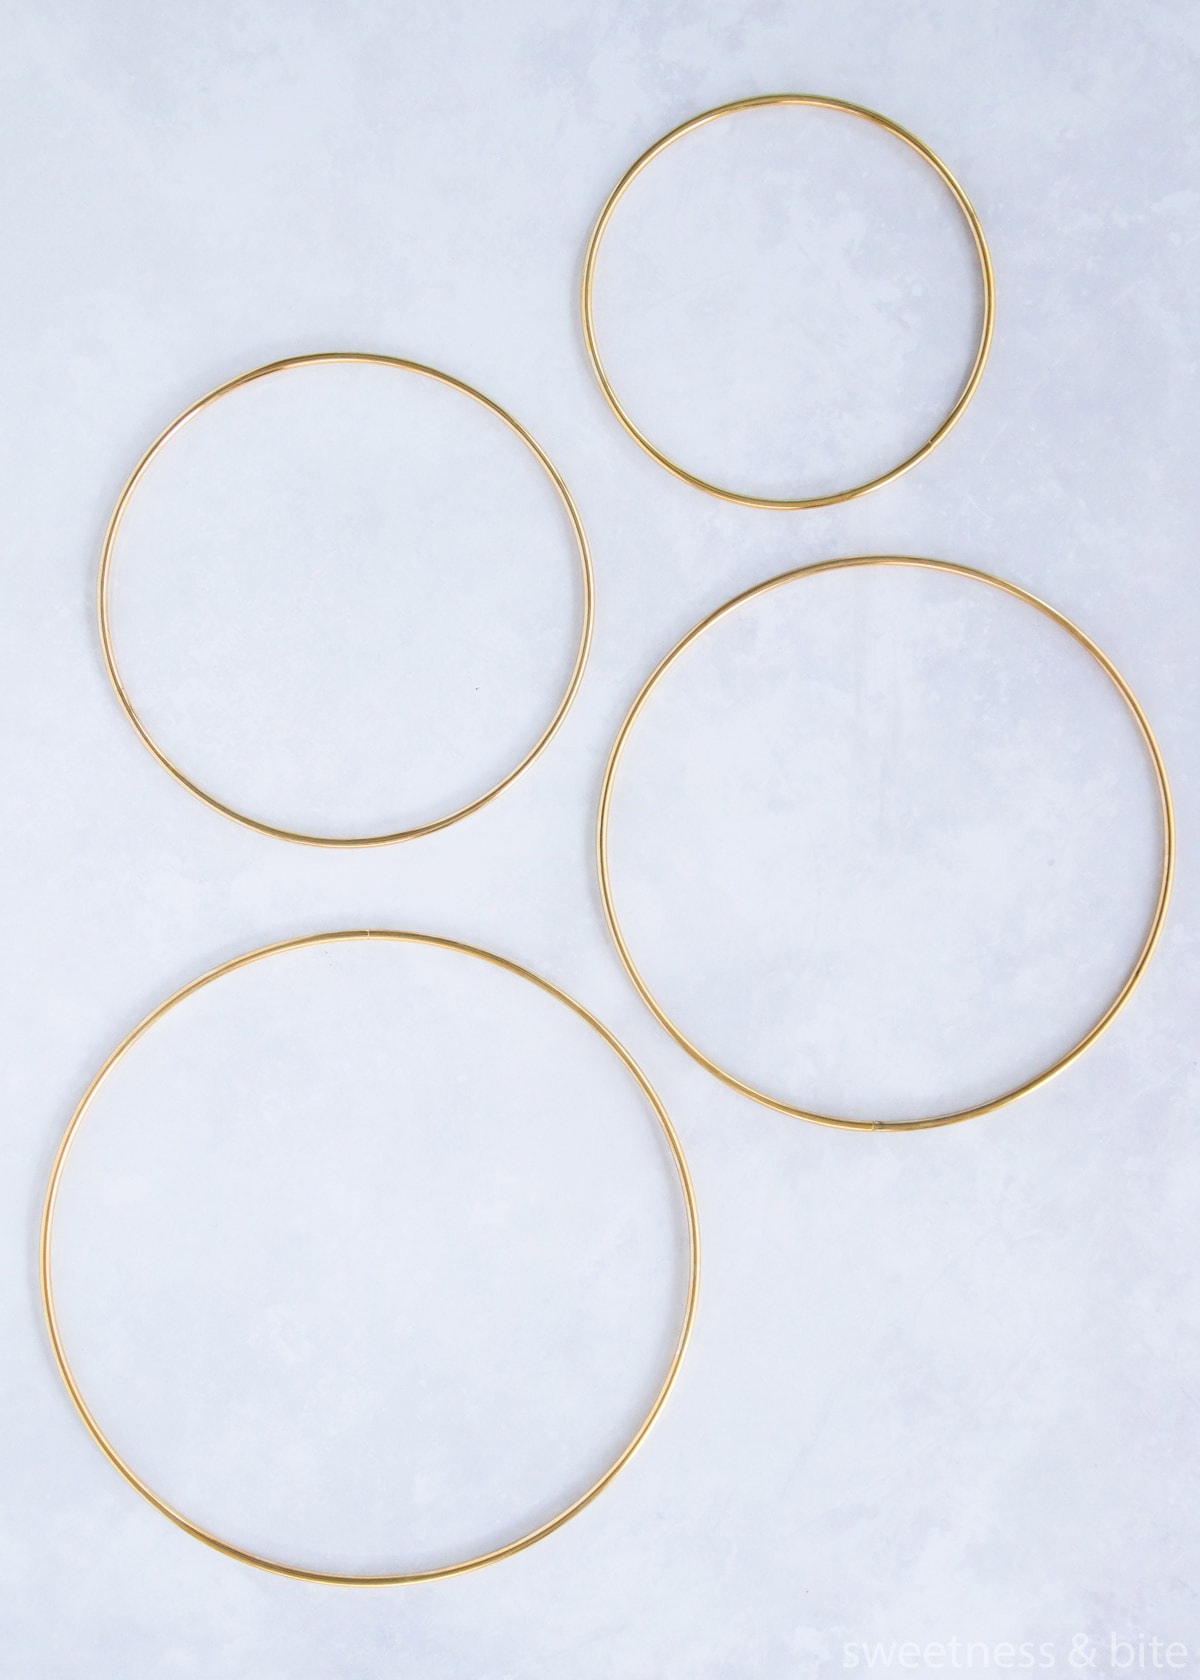
These are generally easy to find in craft stores or online. I bought these hoops from our local craft store, Spotlight. They had gold ones and silver ones, but the silver ones they had were a kind of dull metal, so I went with the gold. I like shiny things ✨
You’ll need to choose a hoop that is the right size for your cake. For my first flower hoop cake, the cake was a 7″ round cake (carved into a hexagon), and it was about 9″ tall. I used a 7″ hoop for that cake. The hoop I made for this tutorial was also 7″.
Preserved Flowers and Leaves
Until I made one of these cakes I had no idea about this whole world of preserved flowers and leaves. Unlike regular dried flowers that are just, er, dried, preserved flowers are treated with a special chemical solution that keeps them supple, while stopping them from decomposing. They’re often bleached and/or dyed to give us a whole spectrum of colours to choose from.
Preserved flowers are definitely having a “moment” right now, so they’re reasonably easy to get a hold of, especially online.
For the first cake I did, I didn’t want to order a ton of flowers, so I ordered two small posies from Spoil Me gifts, and used flowers and leaves from the two bunches to create the hoop.
Once I knew I wanted to do this tutorial, I went full-tilt and ordered bunches of preserved flowers and leaves from a wholesaler, All in Season. Pictured below are their cream ruscus, lavender and hot pink bunny tails, pink and lavender hydrangeas and pink ming fern.
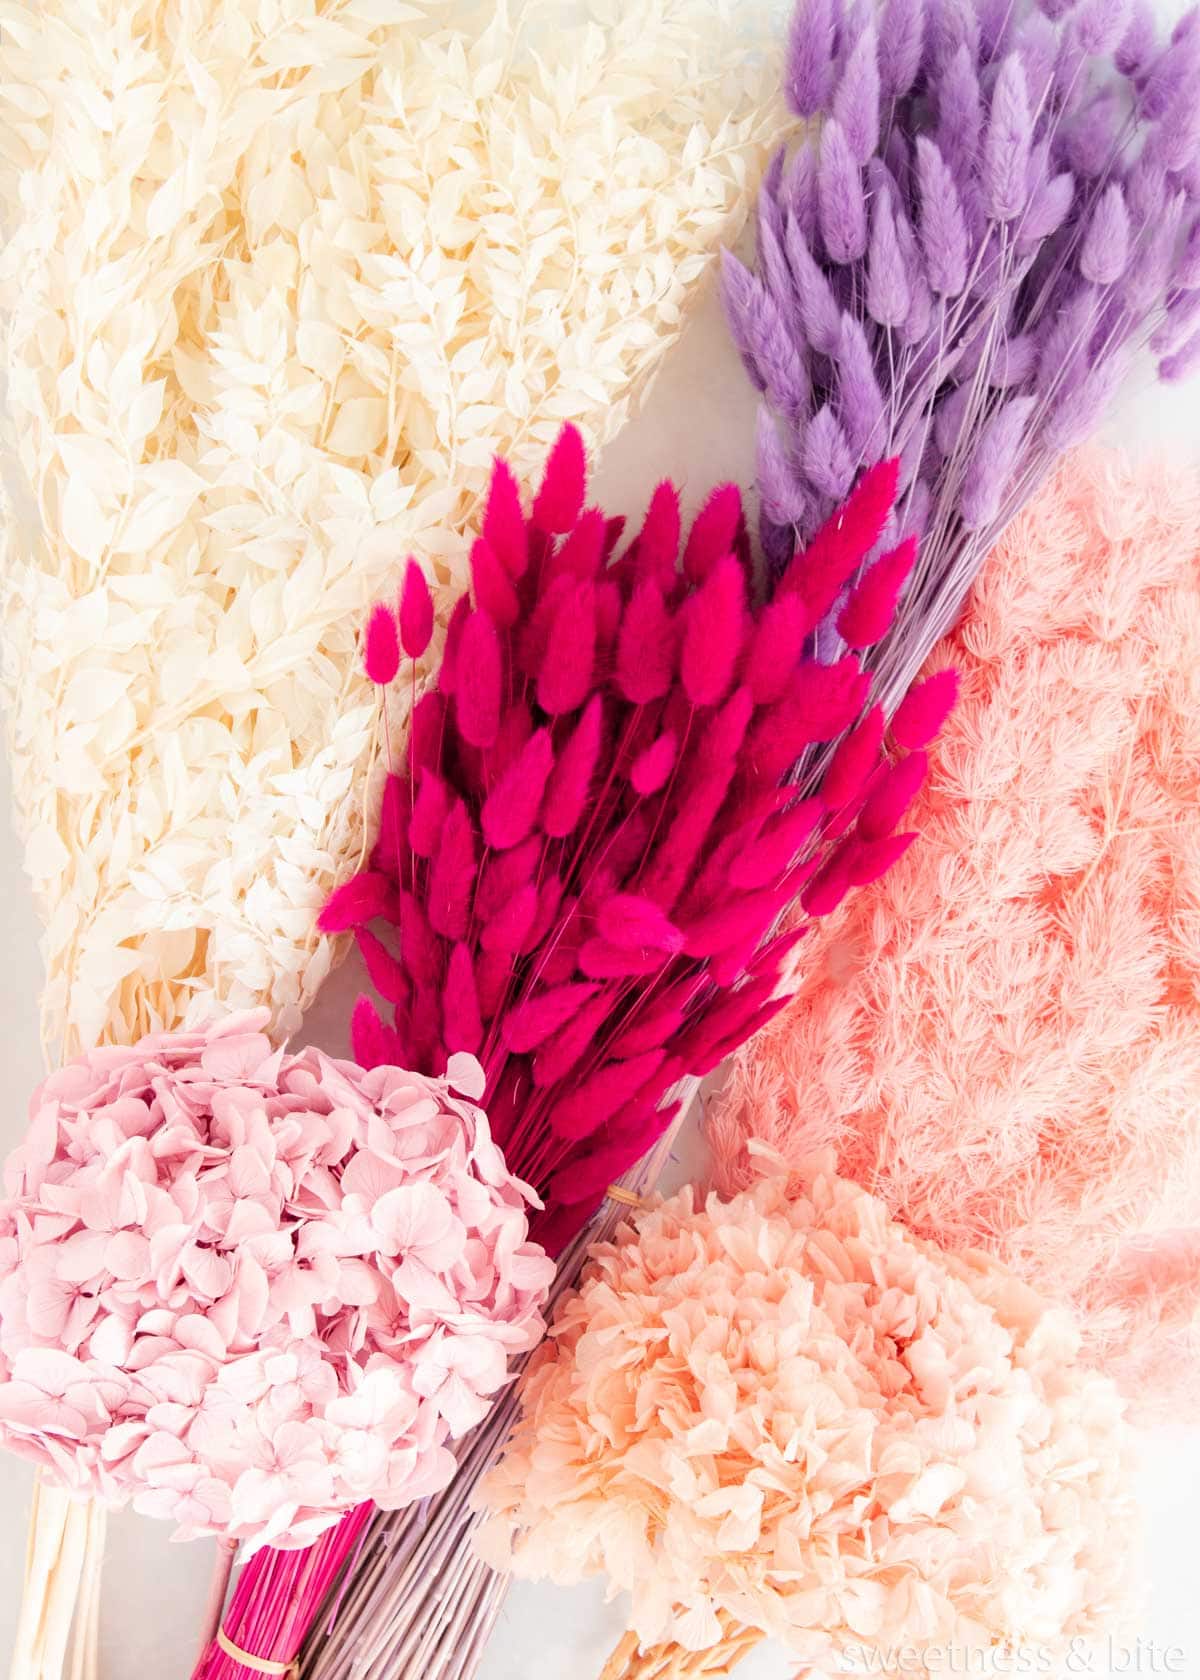
If you’re just going to be making one or two floral cake toppers, then I’d recommend buying small curated bunches, as you’ll be able to see that the colours work together, and you won’t have a ton of flowers left over. If you’re going to be making more hoops, or you have a very specific colour palette in mind, then wholesale flowers and leaves may be the way to go.
Make sure you’re getting a selection of both flowers and leaves. The leaves bulk out the hoop without having to attach more individual pieces, which saves time and also makes for a more interesting design.
For the first hoop I made, I also added in some feathers. These are just dyed feathers from a craft shop, which are often used in millinery for decorating hats and fascinators. They add a bit more interest and movement to the design, but you can skip them if you prefer.
Glue or Thread?
When I made my first hoop I was sure I was going to glue the flowers onto the hoop. But once I started, it became clear that my trusty hot glue gun was not the way to go. The glue set hard too quickly, the blobs were too big and it also leaves those annoying glue strings, which would have gotten tangled in the arrangement. And super glue and I are not friends.
In the end, I found that the best method of attaching the flowers was to tie them on. And the best thing to tie them on with was this – “invisible” thread.
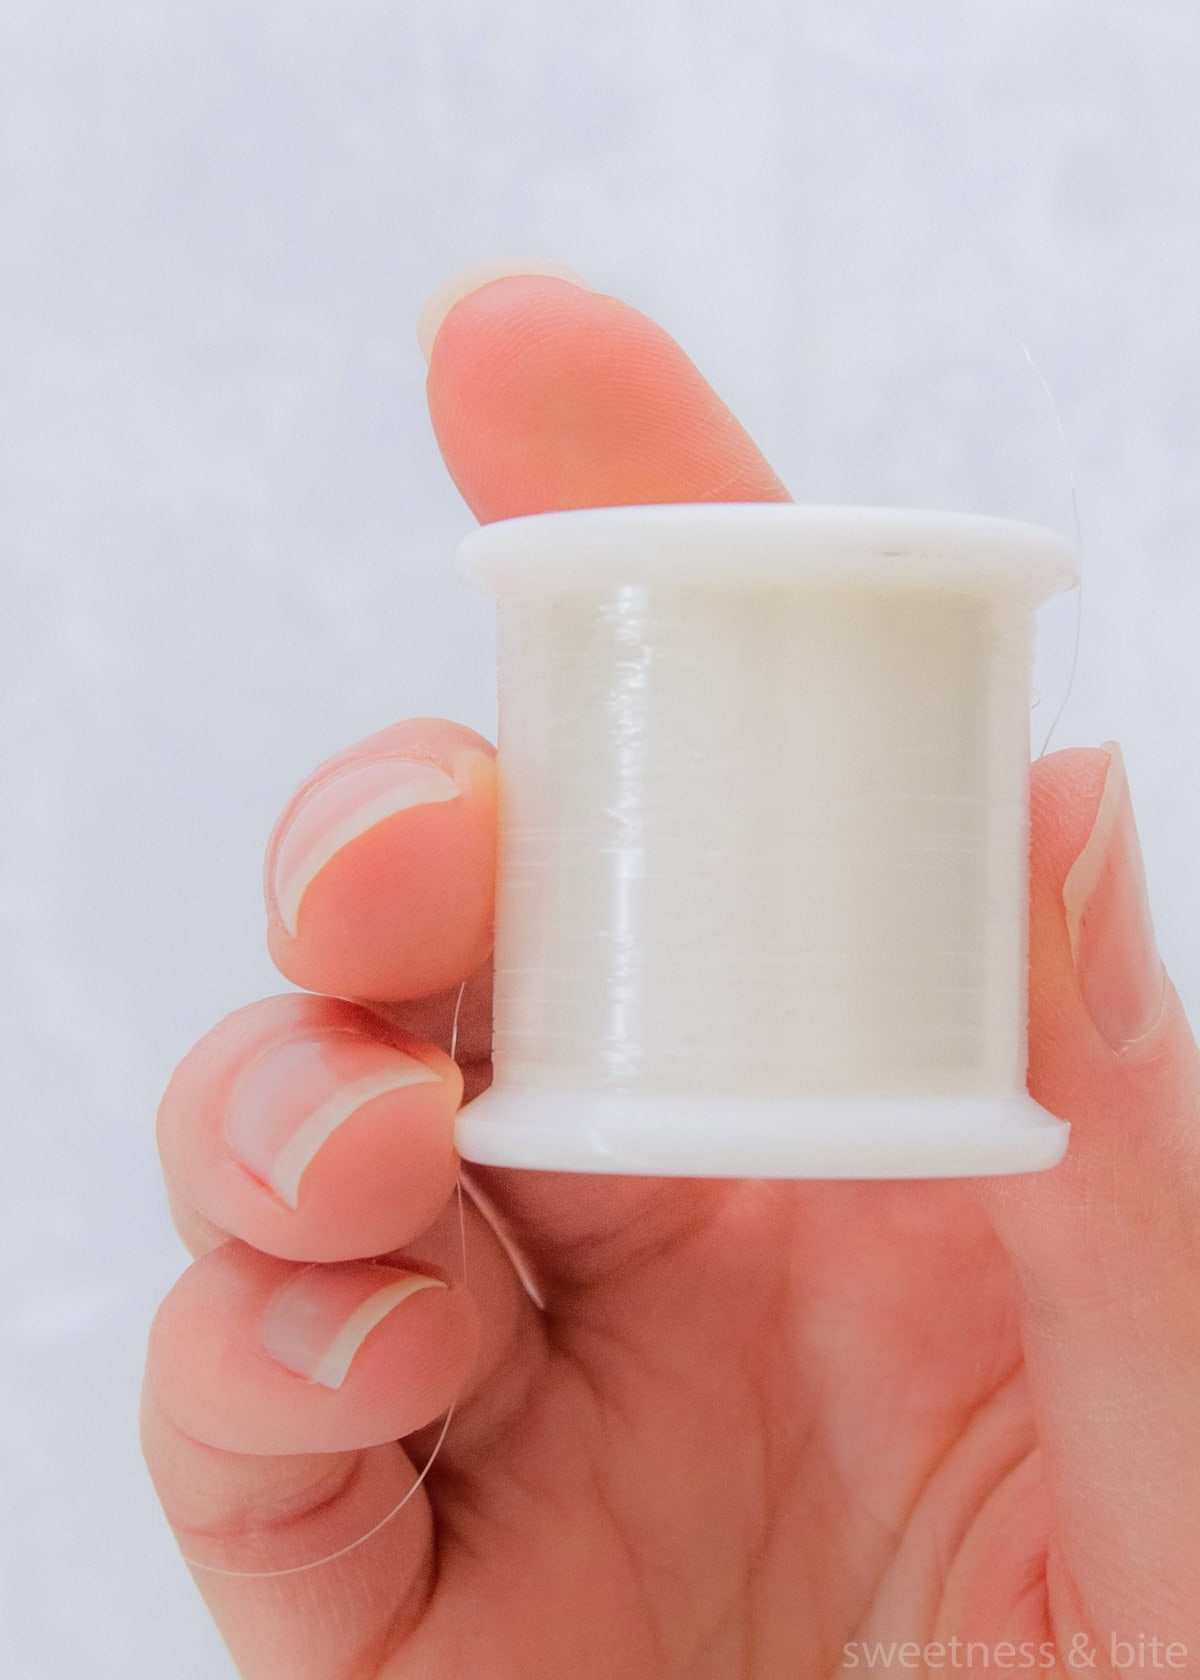
Invisible thread is a nylon sewing thread, used to fix seams when you don’t have a matching cotton thread. It’s almost like a fishing line, but much finer.
It’s great for this because once you tie the flowers on and cut the thread, it’s basically, well, invisible.
The thread should be easily available from sewing or craft stores or online. Mine was easily available by raiding my mother’s sewing box 😂
If you can’t find the invisible thread, you can use a cotton thread in a colour that matches some of your flowers and/or foliage. It will be a little more visible than the nylon thread, but if you try to tie the stems on underneath the leaves or flowers then those should hide the thread.
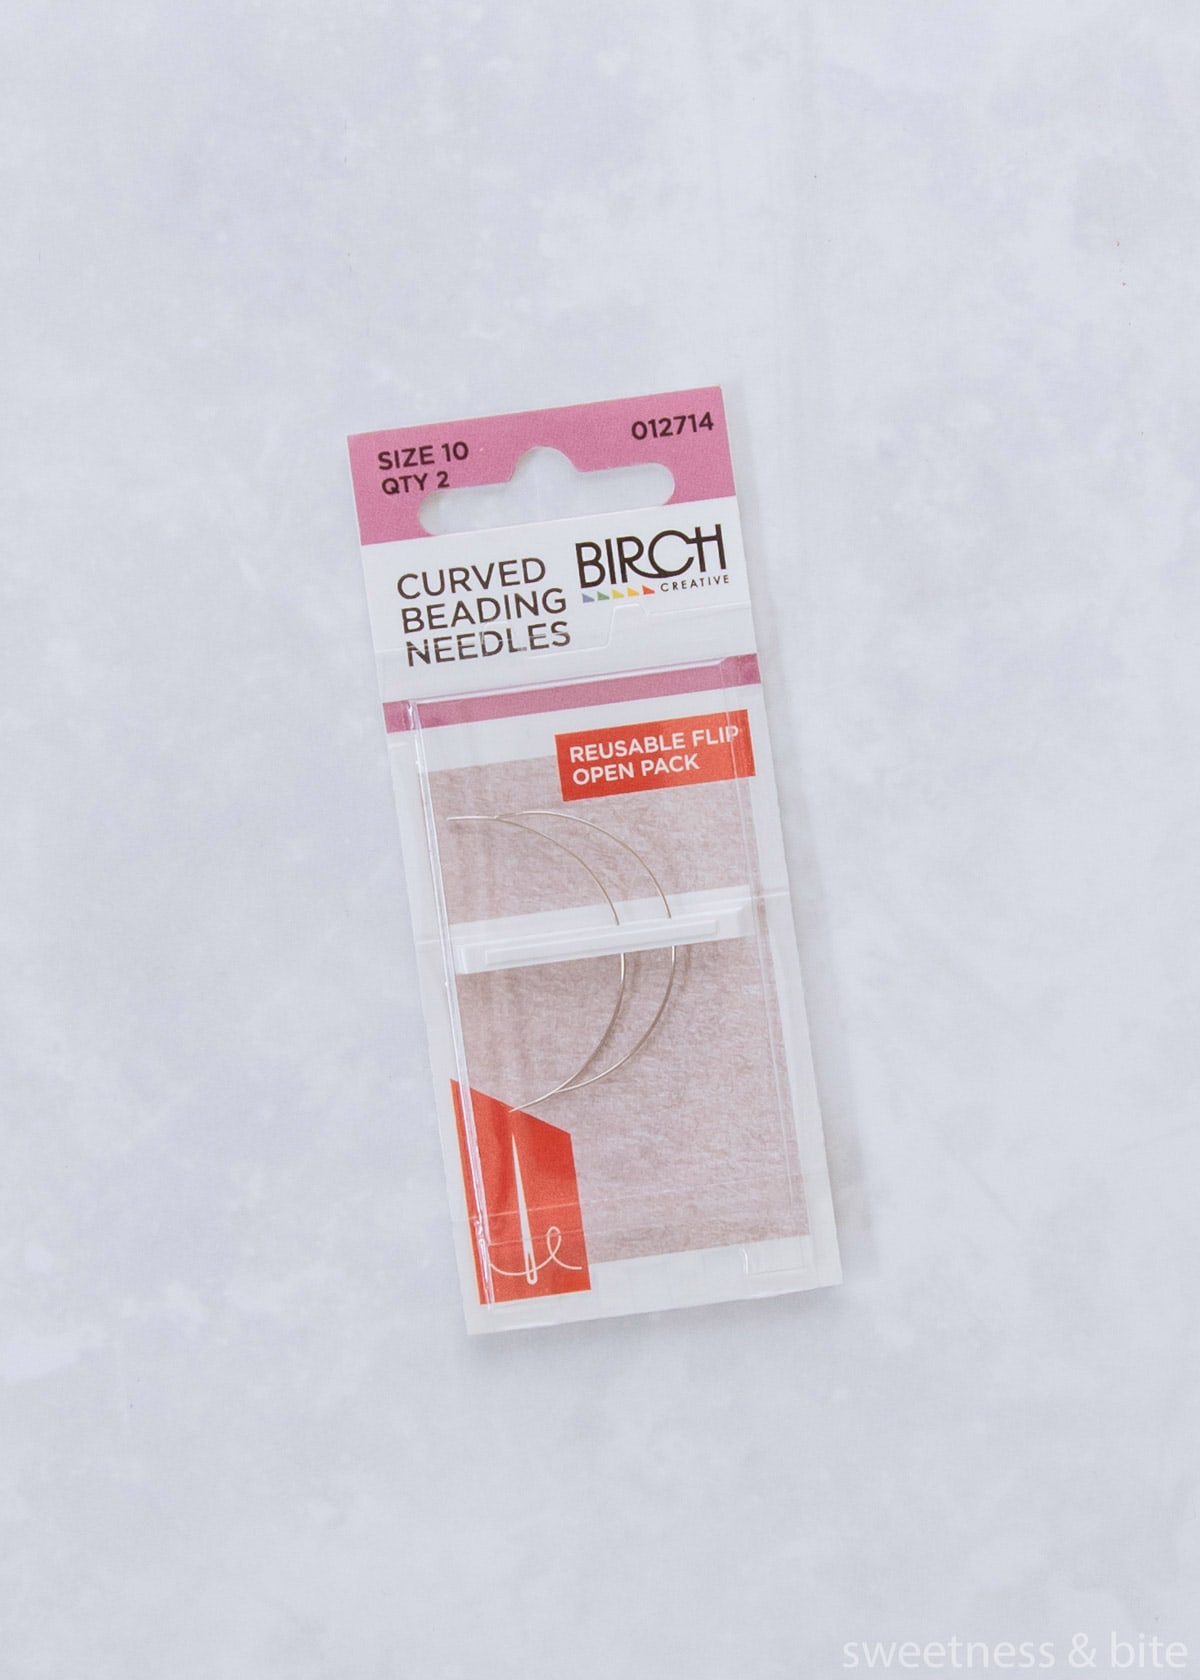
I also found that for tying some of the pieces on, particularly some of the later pieces, using a curved needle made it easier to manoeuvre the thread around the hoop and previously tied stems. This is just a curved beading needle, also from a craft shop. It’s not 100% necessary, but it sure is helpful.
I’m not going to lie, tying the stems onto the hoop is a fiddly job. So, if you don’t think you’ve got the hands for it, or you think you’ll find it too time-consuming, then I recommend getting some of this glue.
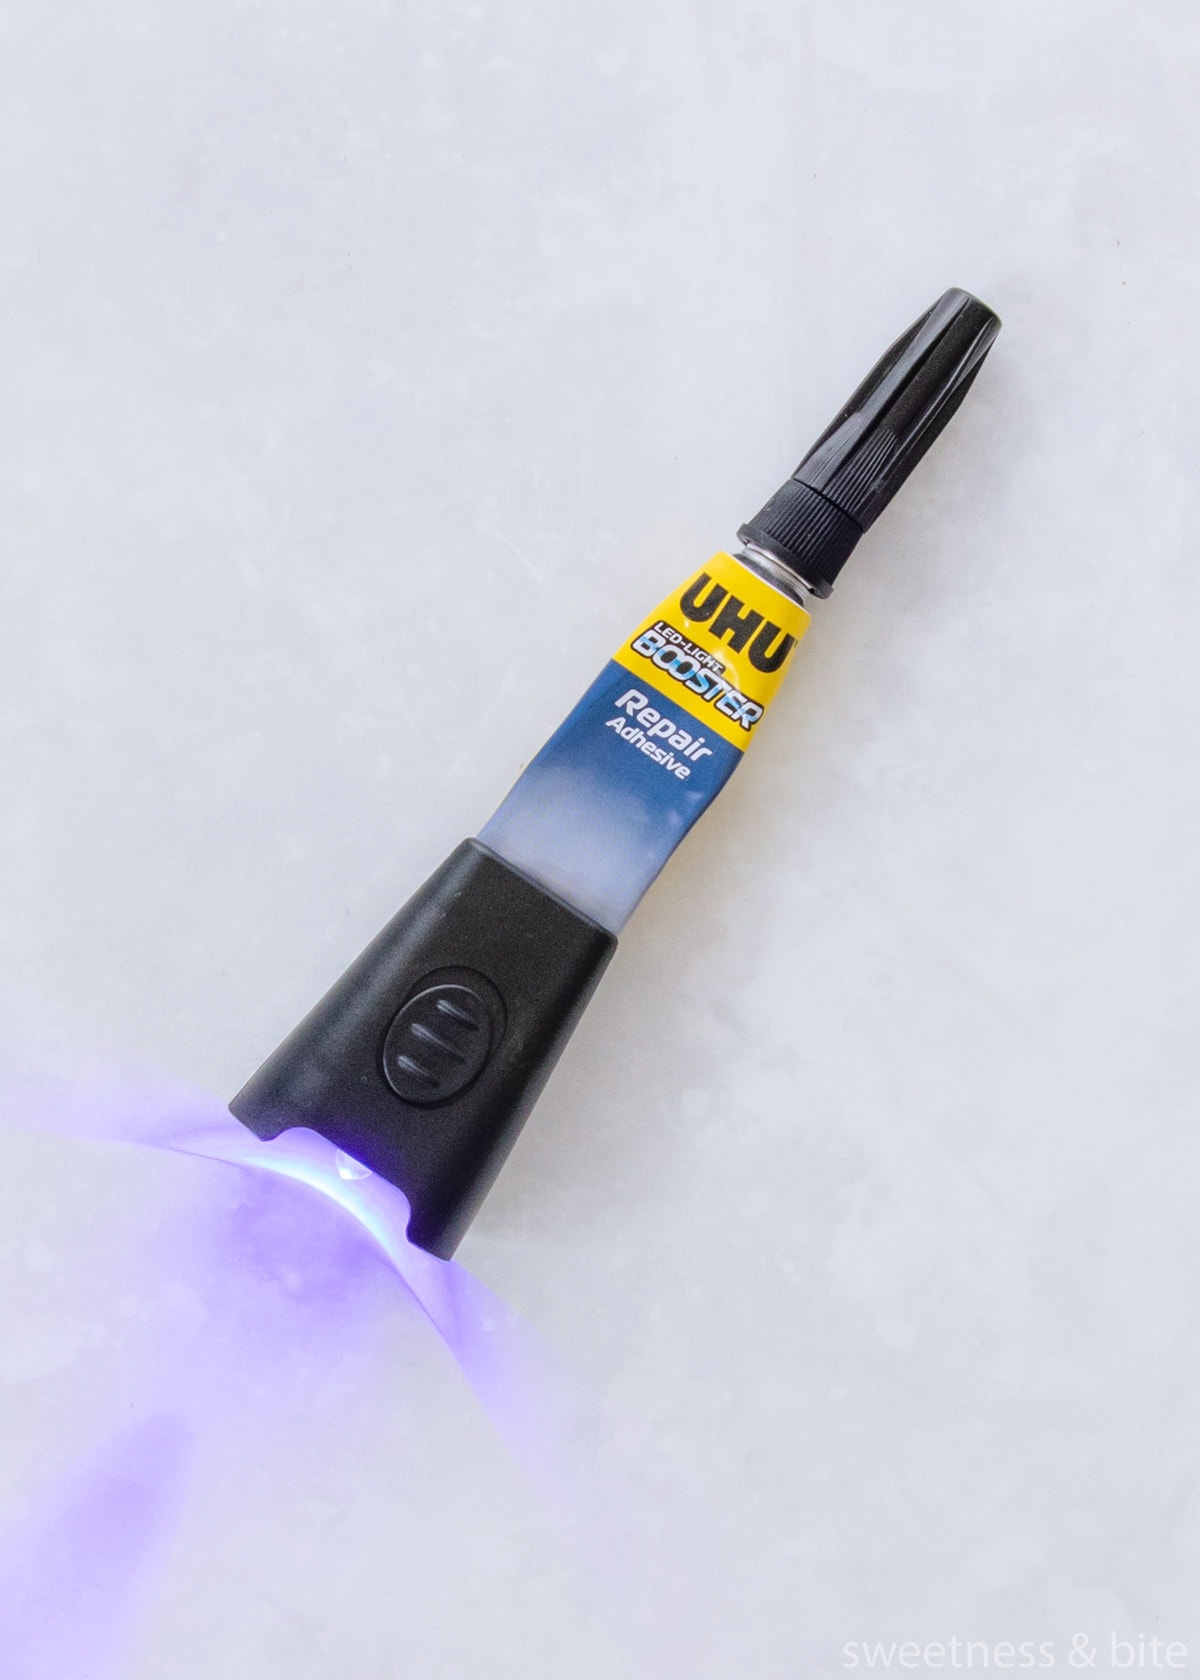
There are various different brands that make glues like this but the basic premise is the same – you apply the glue as normal, but doesn’t dry until you shine the accompanying blue light onto it. Then it dries rapidly, usually within 5 seconds.
This means you can apply the glue, hold the stem in place with one hand and shine the light with the other. You don’t have to wait for the glue to dry and hope that the stems don’t move in the meantime.
I still found it better and more secure to use the thread, but the glue is definitely an option to try if you prefer.
Here’s a full list of what you’ll need:
Supplies
- Preserved flowers and foliage
- A metal hoop
- Feathers (optional)
- Scissors ( I like to use a larger pair for cutting thicker stems, and a smaller pair for trimming leaves and cutting the ends of the threads)
- Invisible thread
- Curved needle (optional)
- Glue (optional)
- Tweezers – optional but very handy for tweaking flower placements
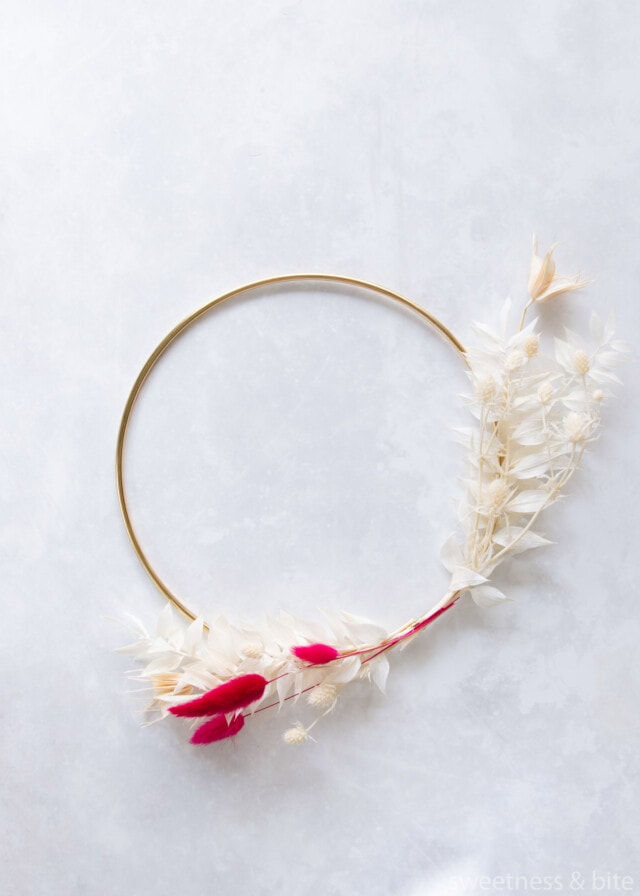
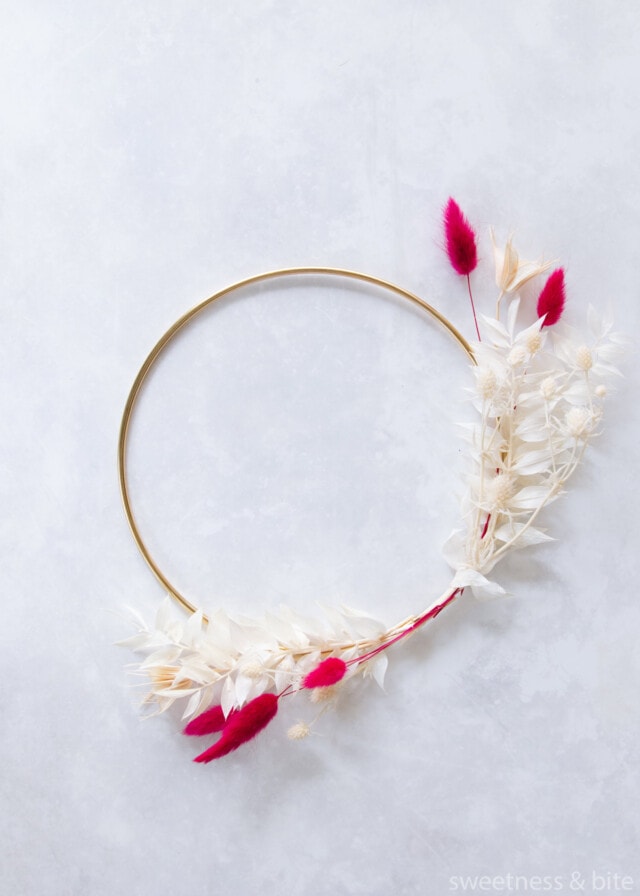
For this design, I have used white/cream ruscus, white eryngium, two white nigella Orientalis (octagon) flowers and hot pink bunny tails. The hoop I used here is 7″.
Assembling the Floral Hoop Cake Topper
The first thing I recommend you do is to pop the hoop down on your work surface and have a play around with the flowers and leaves to get a feel for how you want your hoop to look.
For these designs, I’ve placed more pieces along the right-hand side, and a little less on the left, with them meeting in the middle. But you could choose to have them going up one side of the hoop only, across the top, or you could do a full wreath.
Keep in mind that if you want your hoop to “float”, we will be securing it where the flowers are, so make sure that your arrangement will be in an area that will be resting against the cake.
So start by visualising what area of the hoop you want your design to go on. Then you can start building your arrangement.
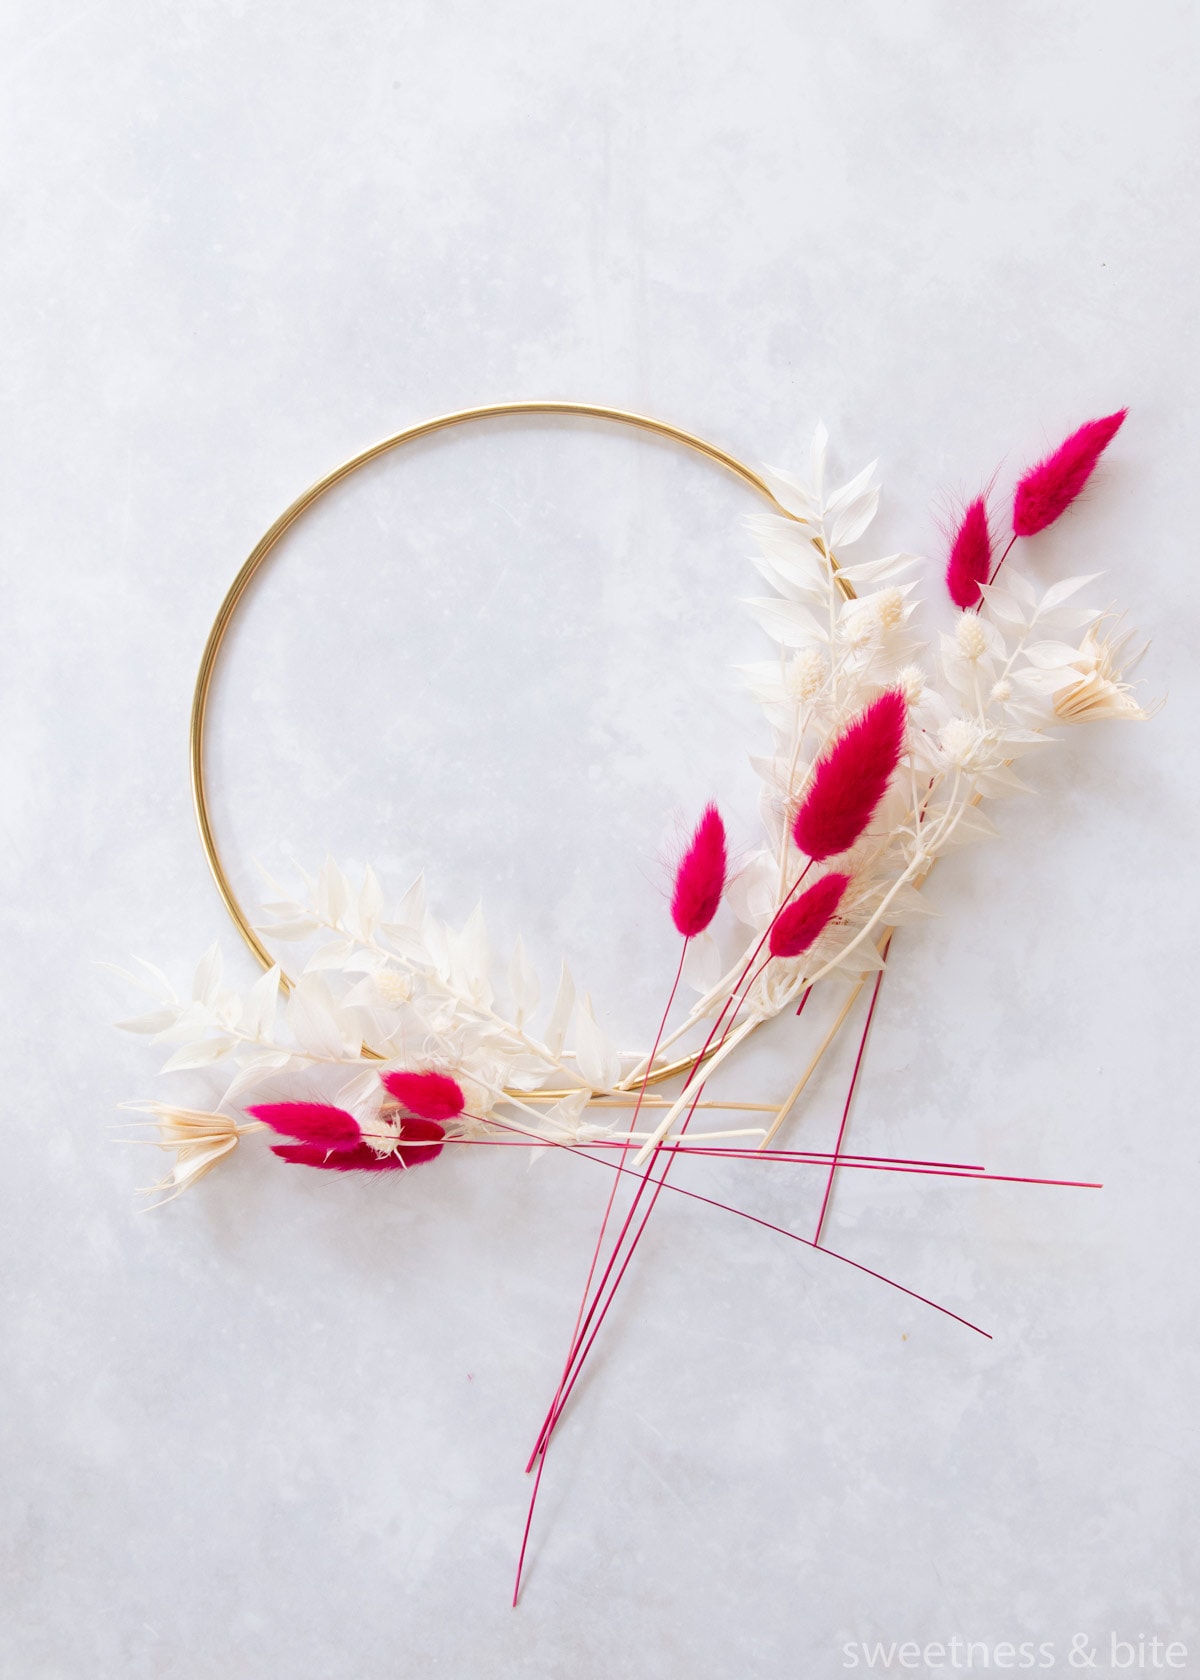
I like to start with some foliage, and I begin working at the top point of the design and working down, overlapping the stems as you go. Where possible, group pieces together so you can attach multiple stems to the ring with one piece of thread.
I’ll talk through how I made this particular hoop, but you can use the basic instructions to make a hoop with any design you like.
Here’s an example of how I tie the pieces on, I’m using pink thread in this image so you can see it – the “invisible” thread really is almost invisible in pictures as you’ll see (or not see) below.
I just tie a regular double knot. For thicker stems or pieces that want to curve a different way, I’ll tie a double knot, then loop the threads around again, and tie another knot.
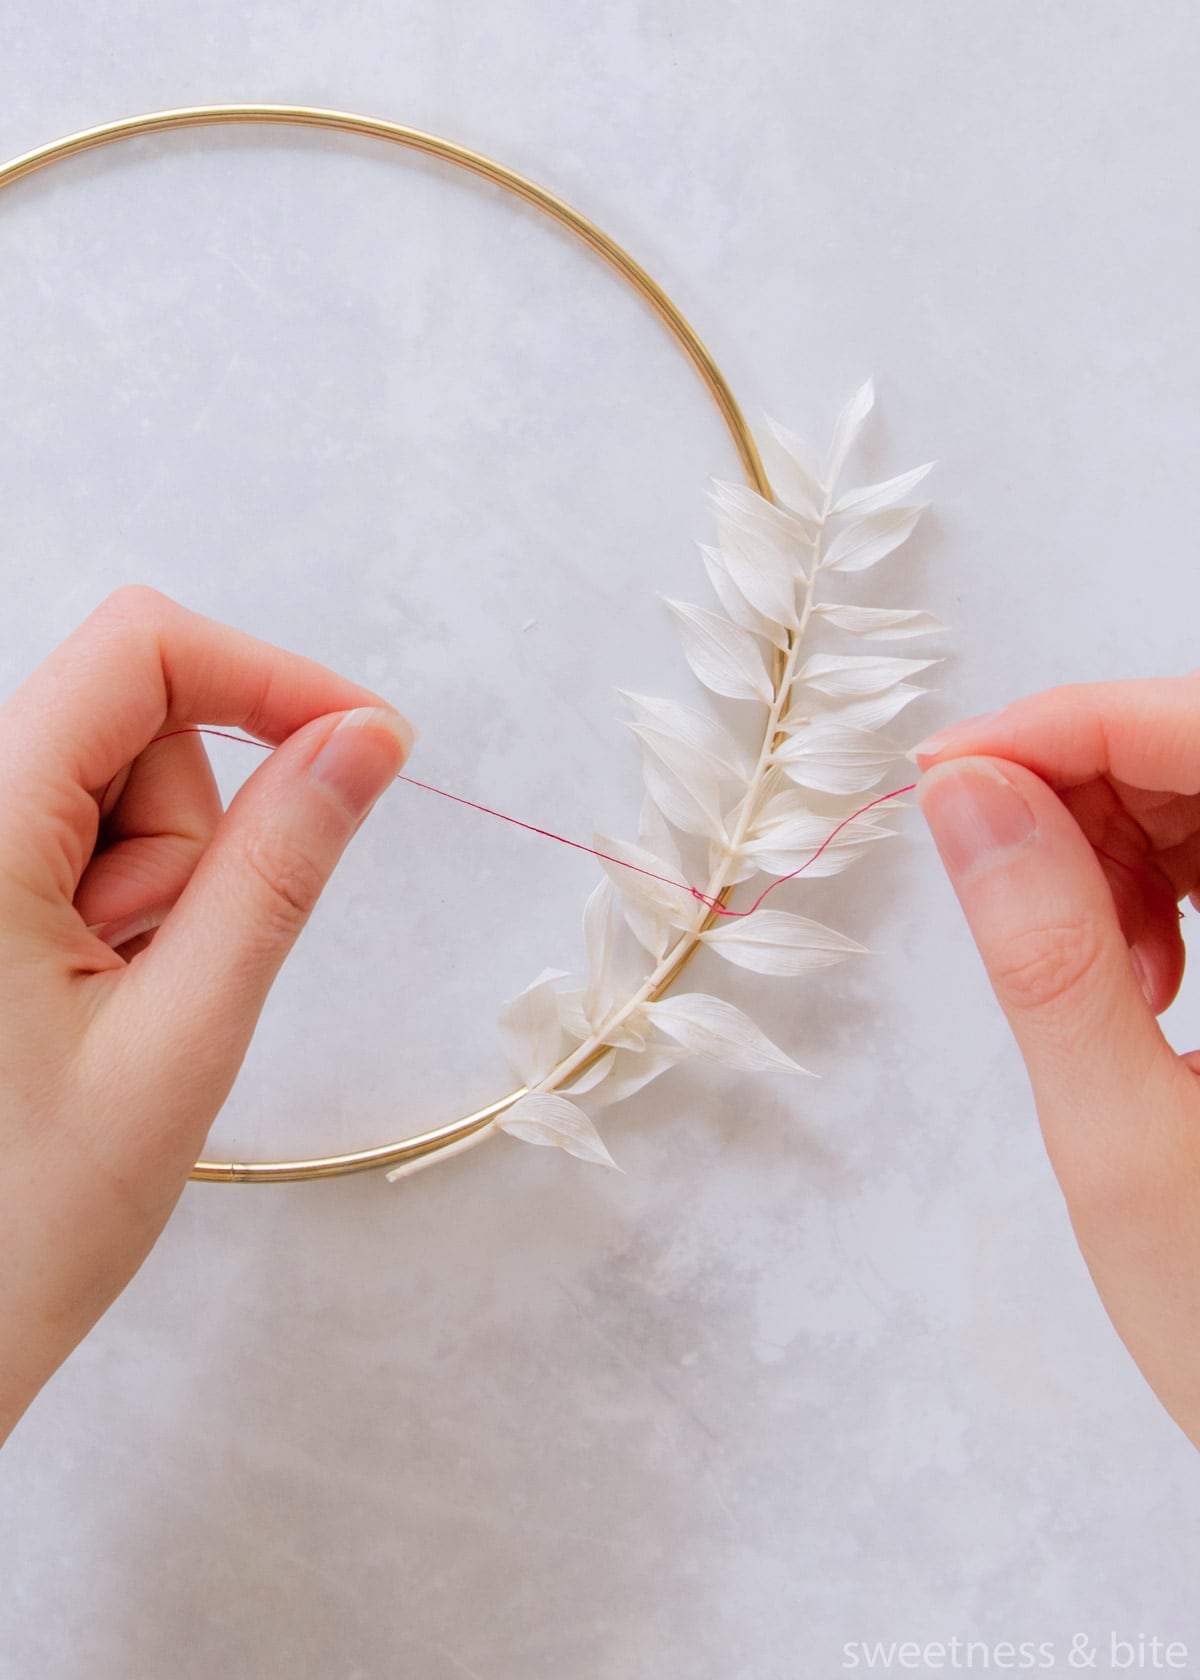
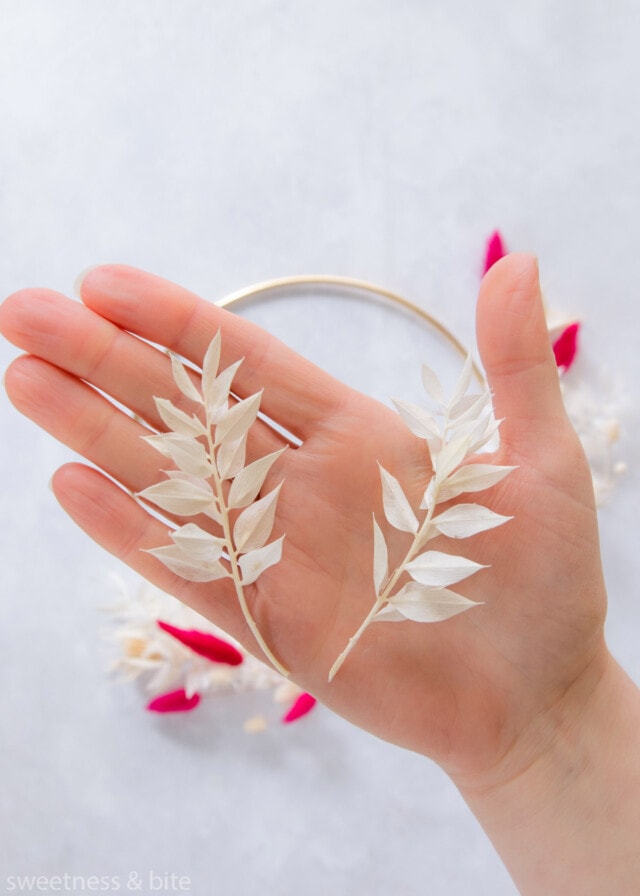
I like to start with the longest pieces of foliage first, at the back of the design.
Because of how they’re preserved, the stems are generally quite flexible, so you can bend them to conform around the ring.
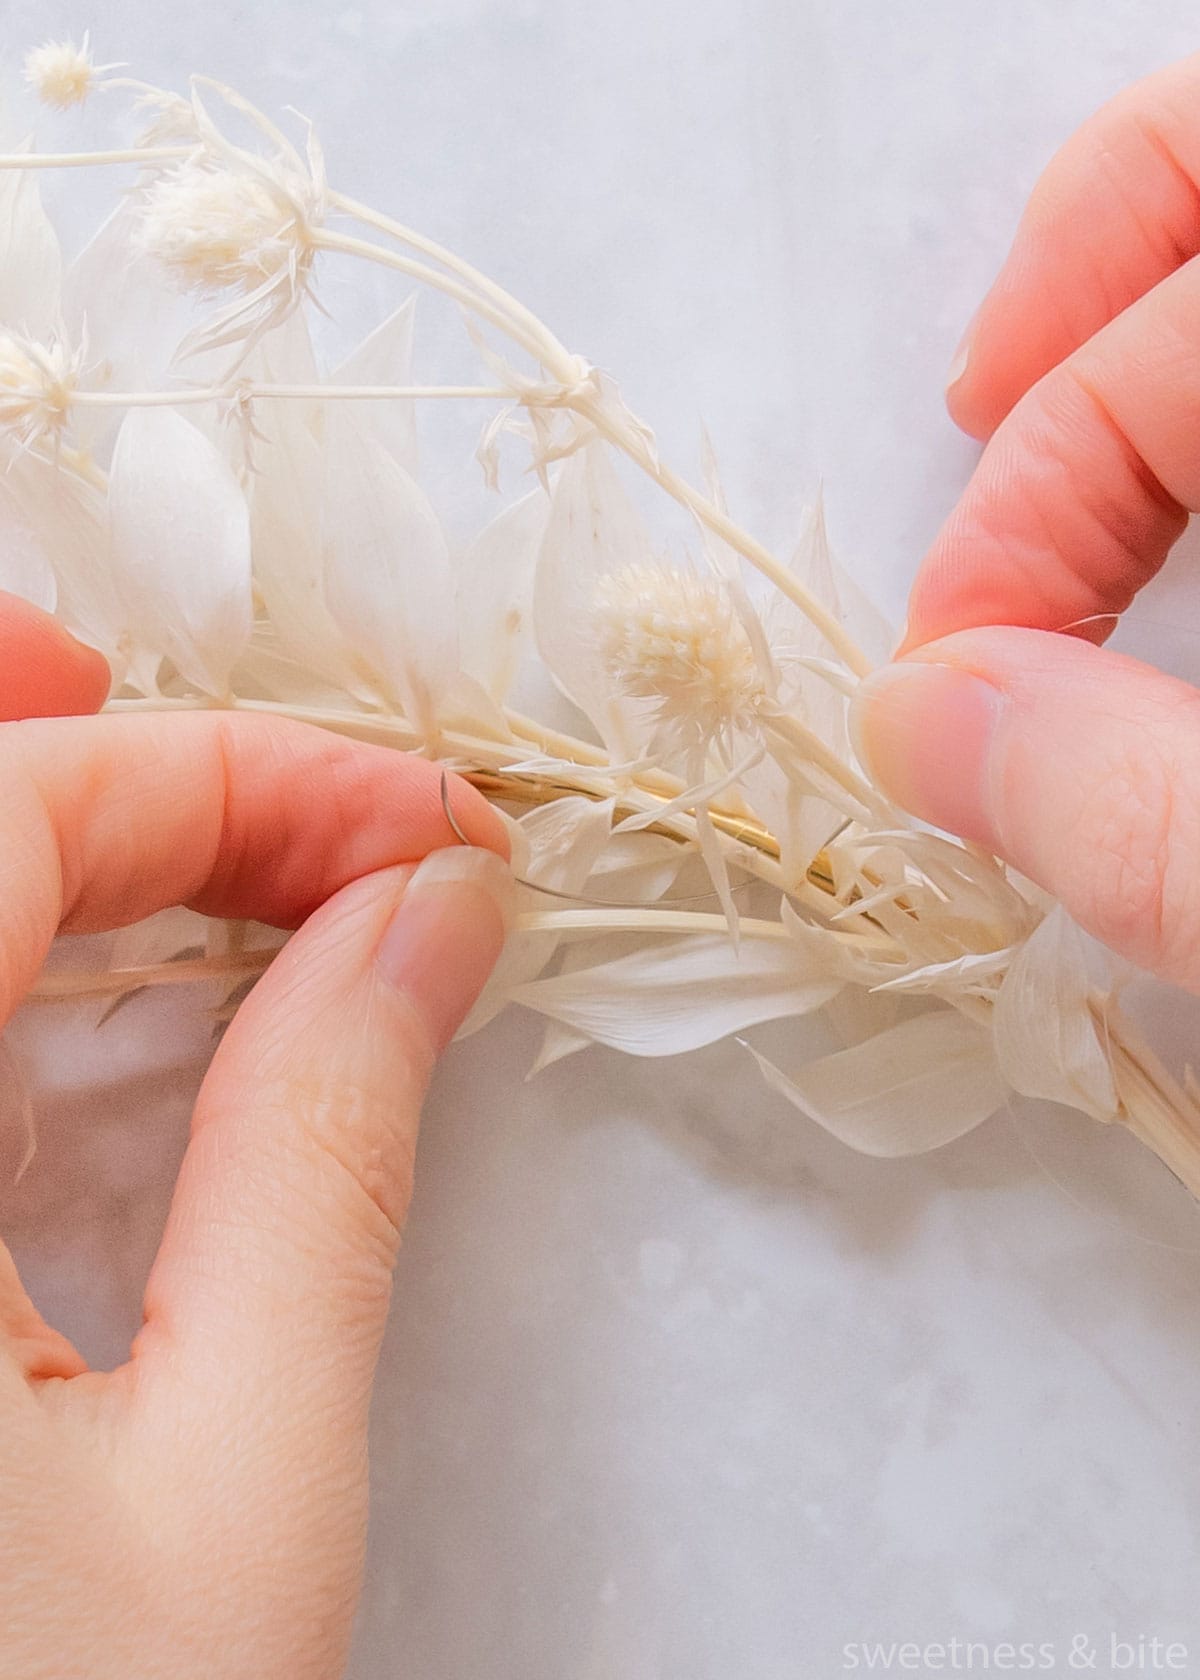
Once you have each piece where you want it, start tying it on with a piece of thread. Longer pieces of thread are easier to work with. Tie each piece and then cut the ends of the thread. I like to leave 1-2mm of thread on each end to make sure the knot doesn’t come undone.
You may be able to *just* see the thread in the picture below.
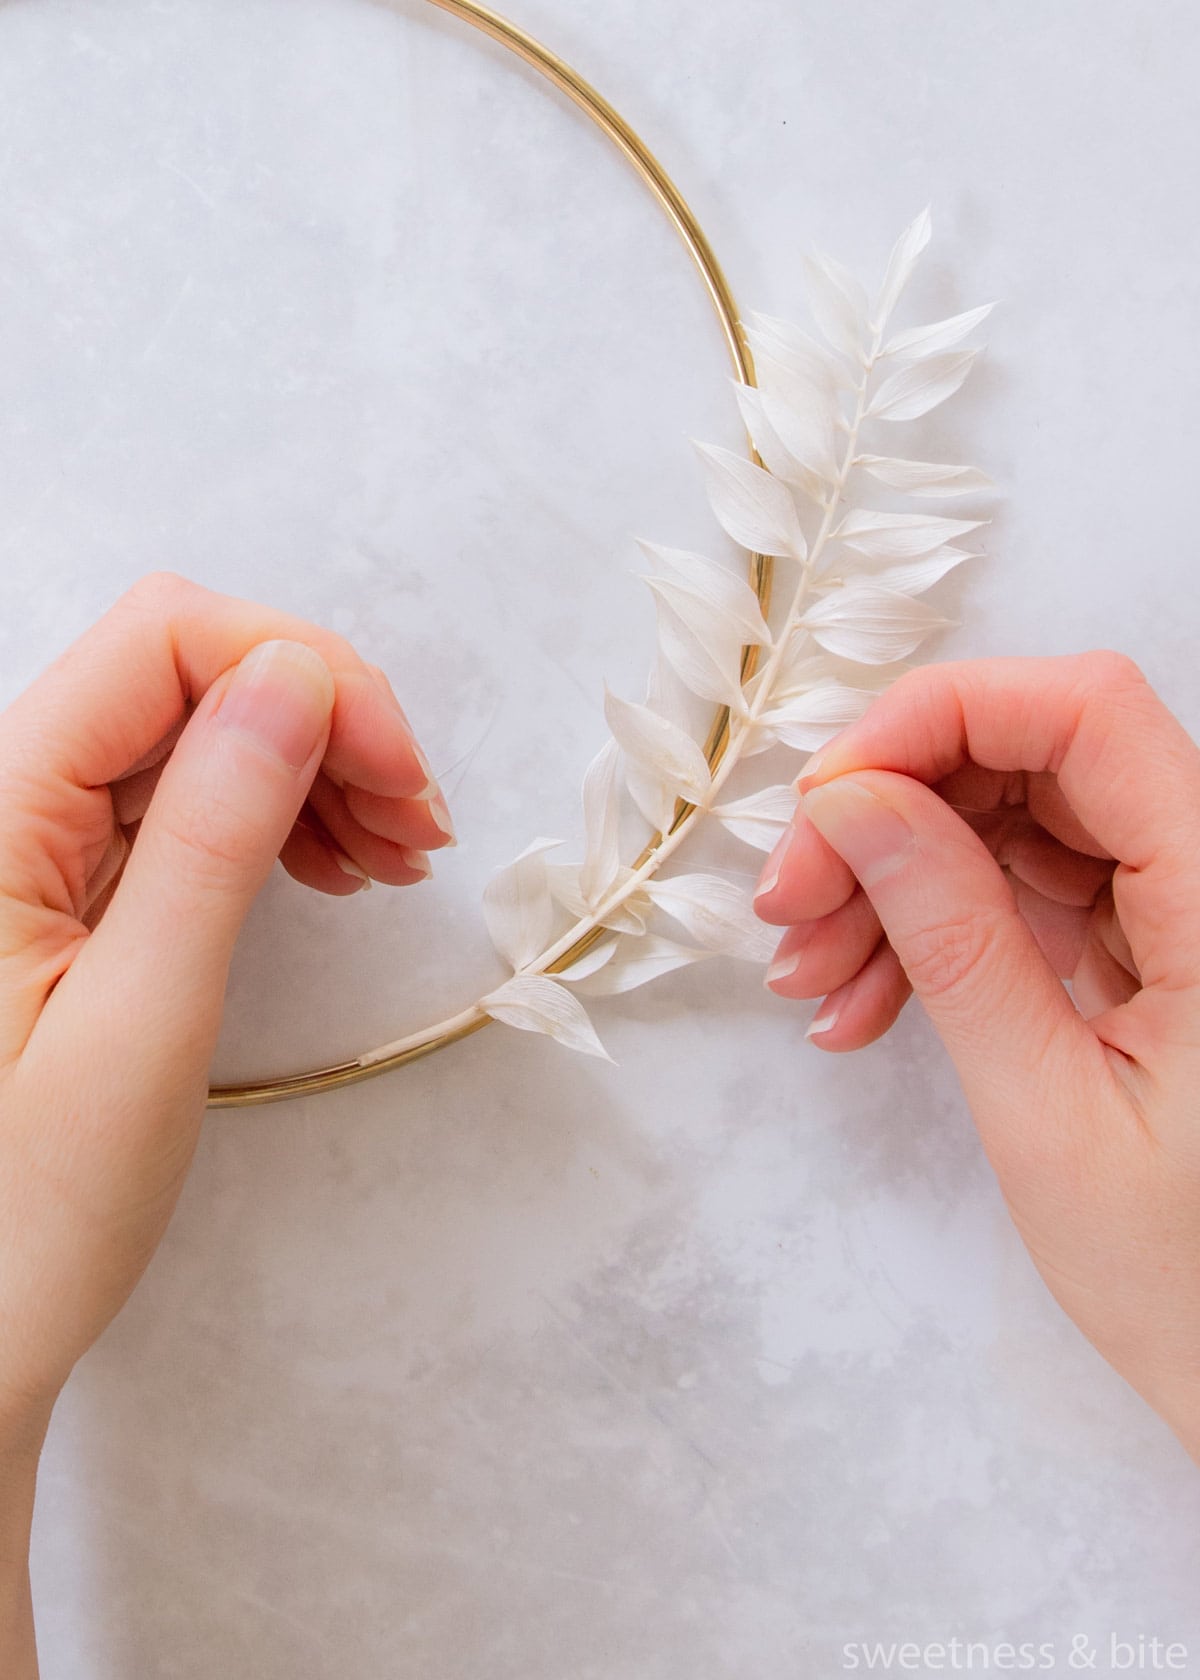
If you find it fiddly to tie the thread, a pair of tweezers can help. Much like suturing a wound.
I would imagine. From my vast surgical experience… *cough* watching Grey’s Anatomy *cough*.
Then cut the ends of the thread. I left about a 1-2mm tail on each end. Which you probably can’t see, so you’ll just have to trust me.
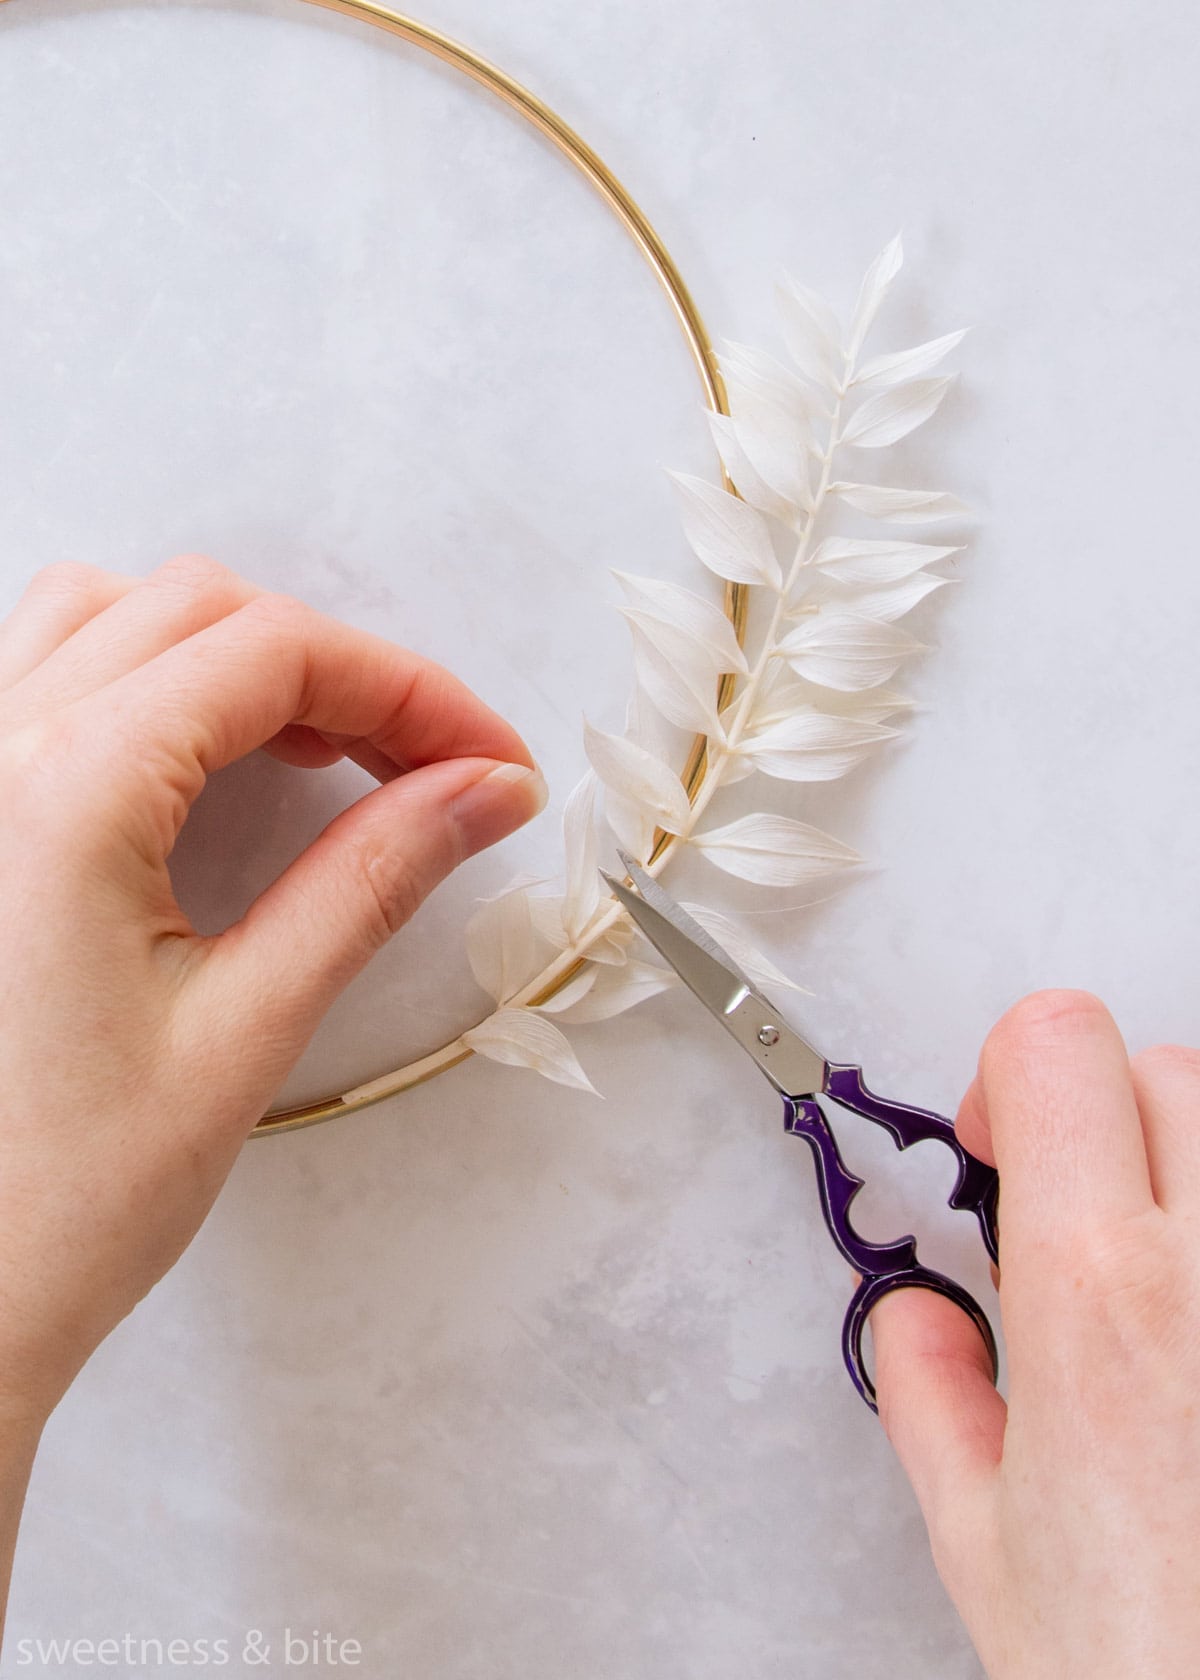
For longer stems, I tied them close to the thicker end of the stem, and then in 1-2 places along the length.
If you’re glueing your stems, the process is much the same, arrange the stem where you want, and then glue it in multiple areas to conform it to the ring.
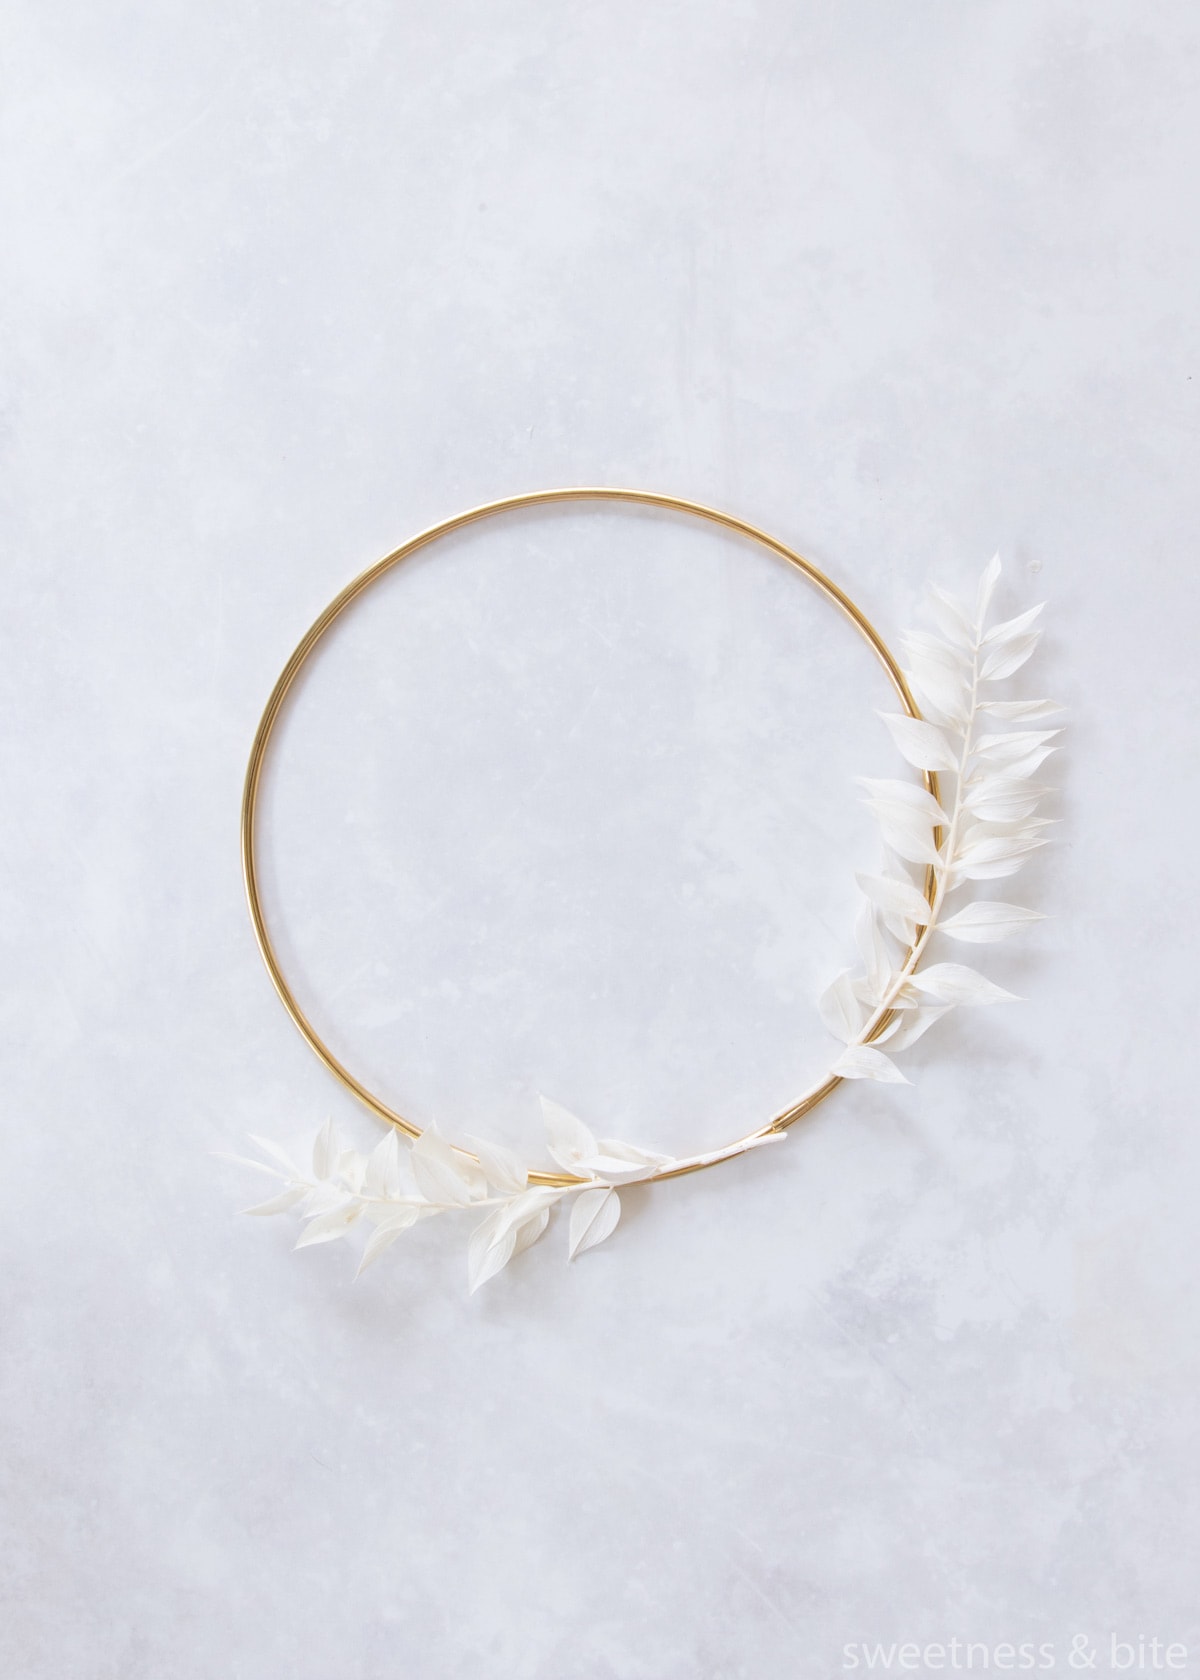
Then start filling in with flowers and other foliage.
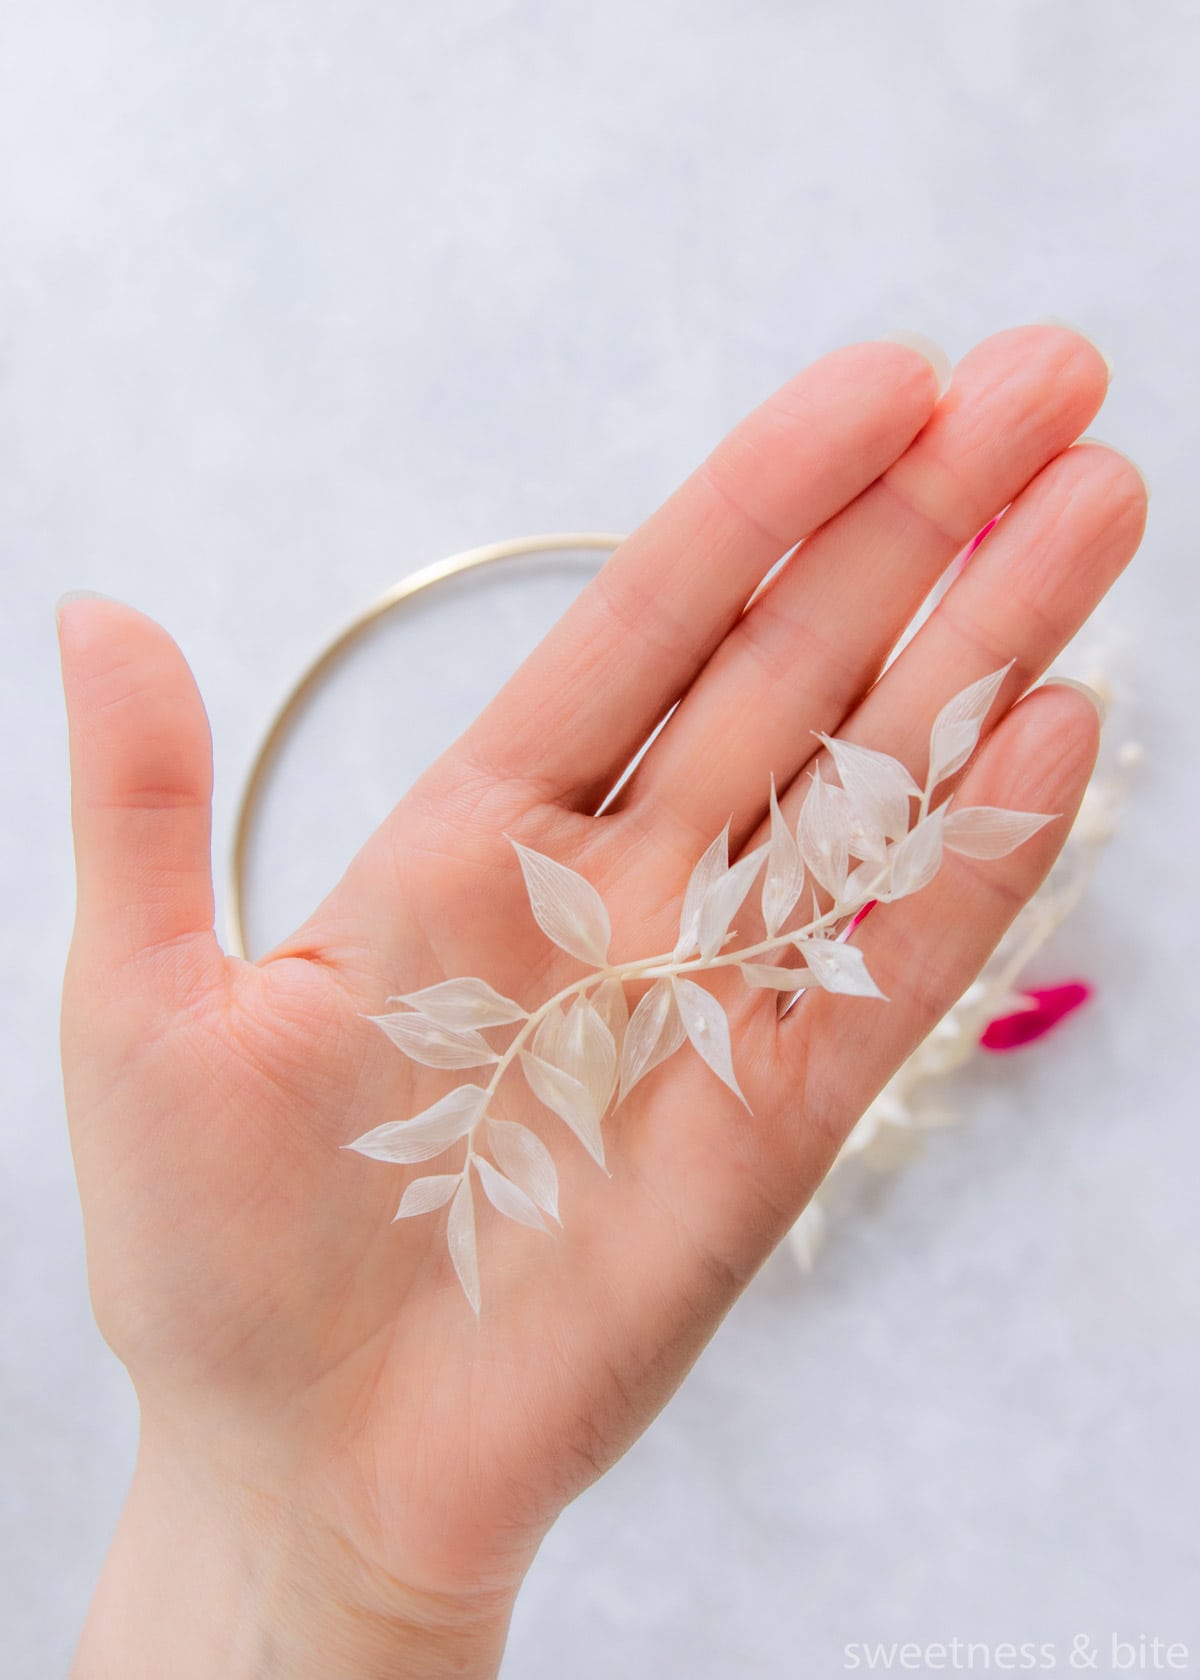
Here I added a couple more pieces of ruscus, choosing pieces that curved in different directions.
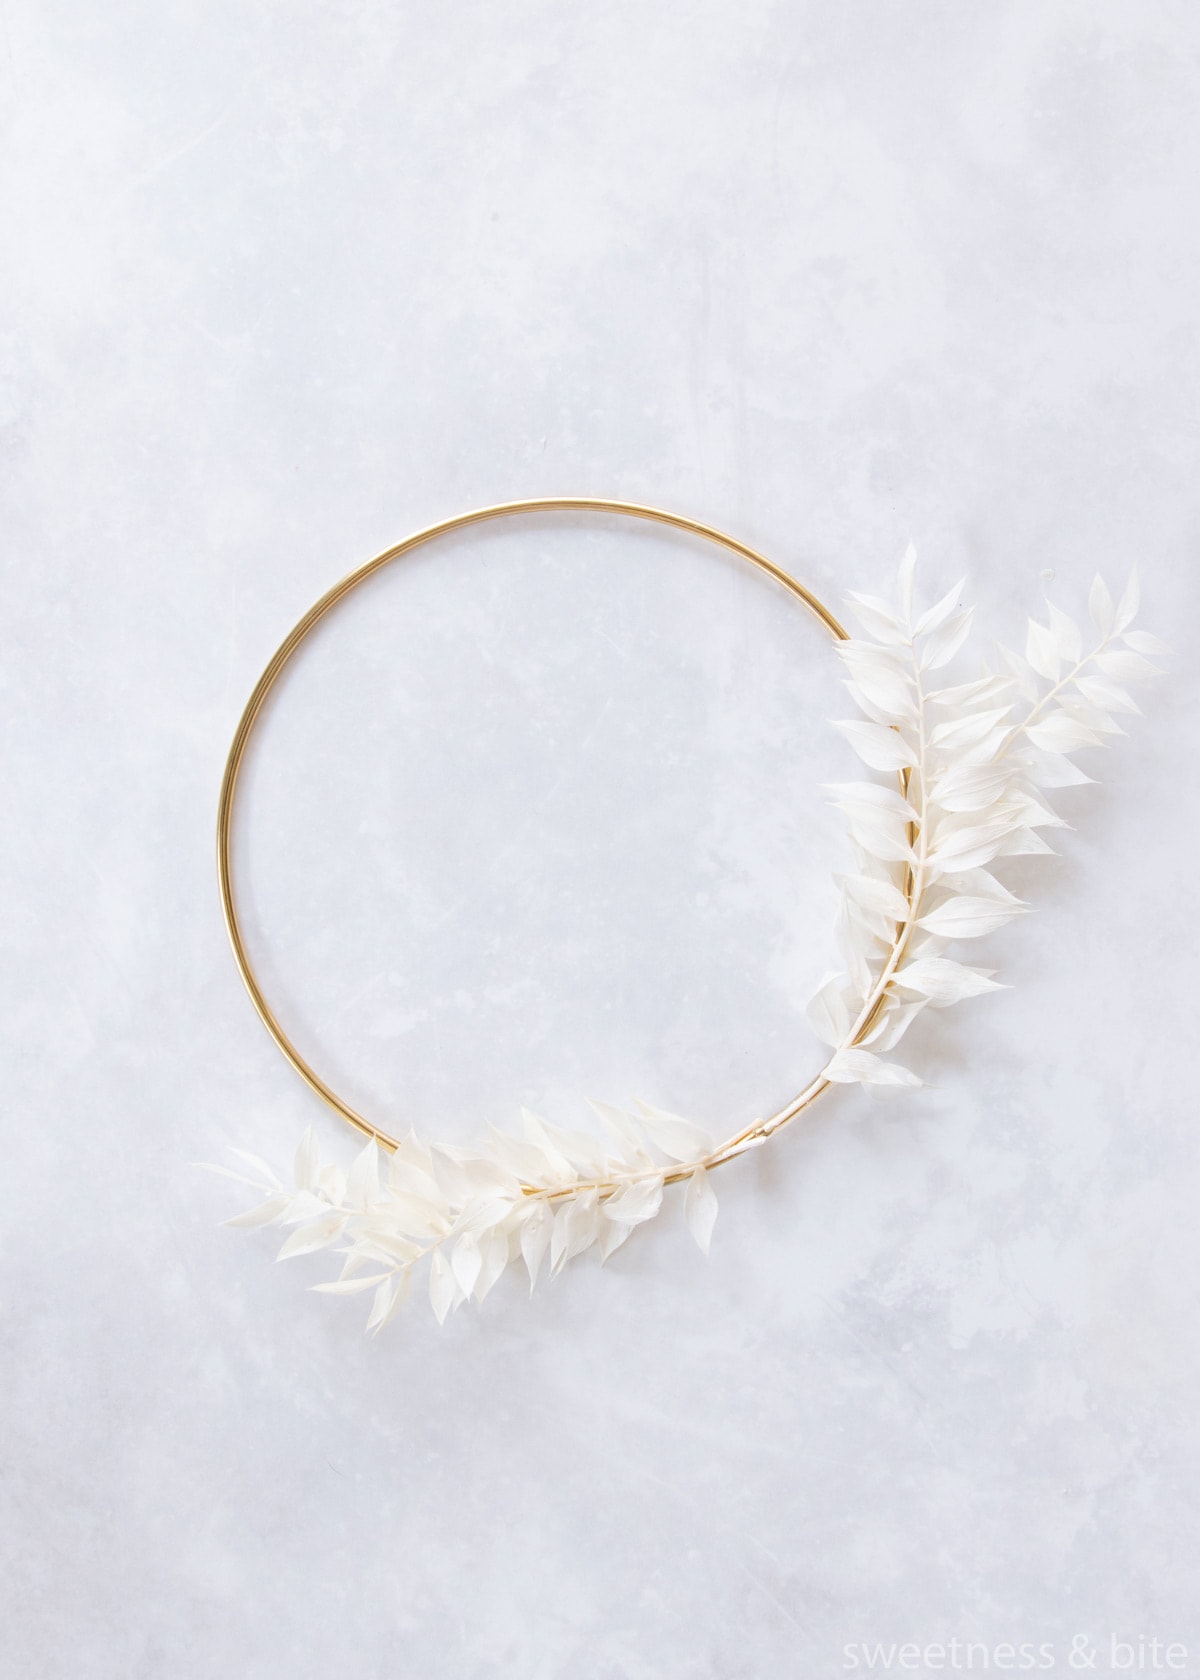
Then I added a couple of nigella flowers and some eryngium.
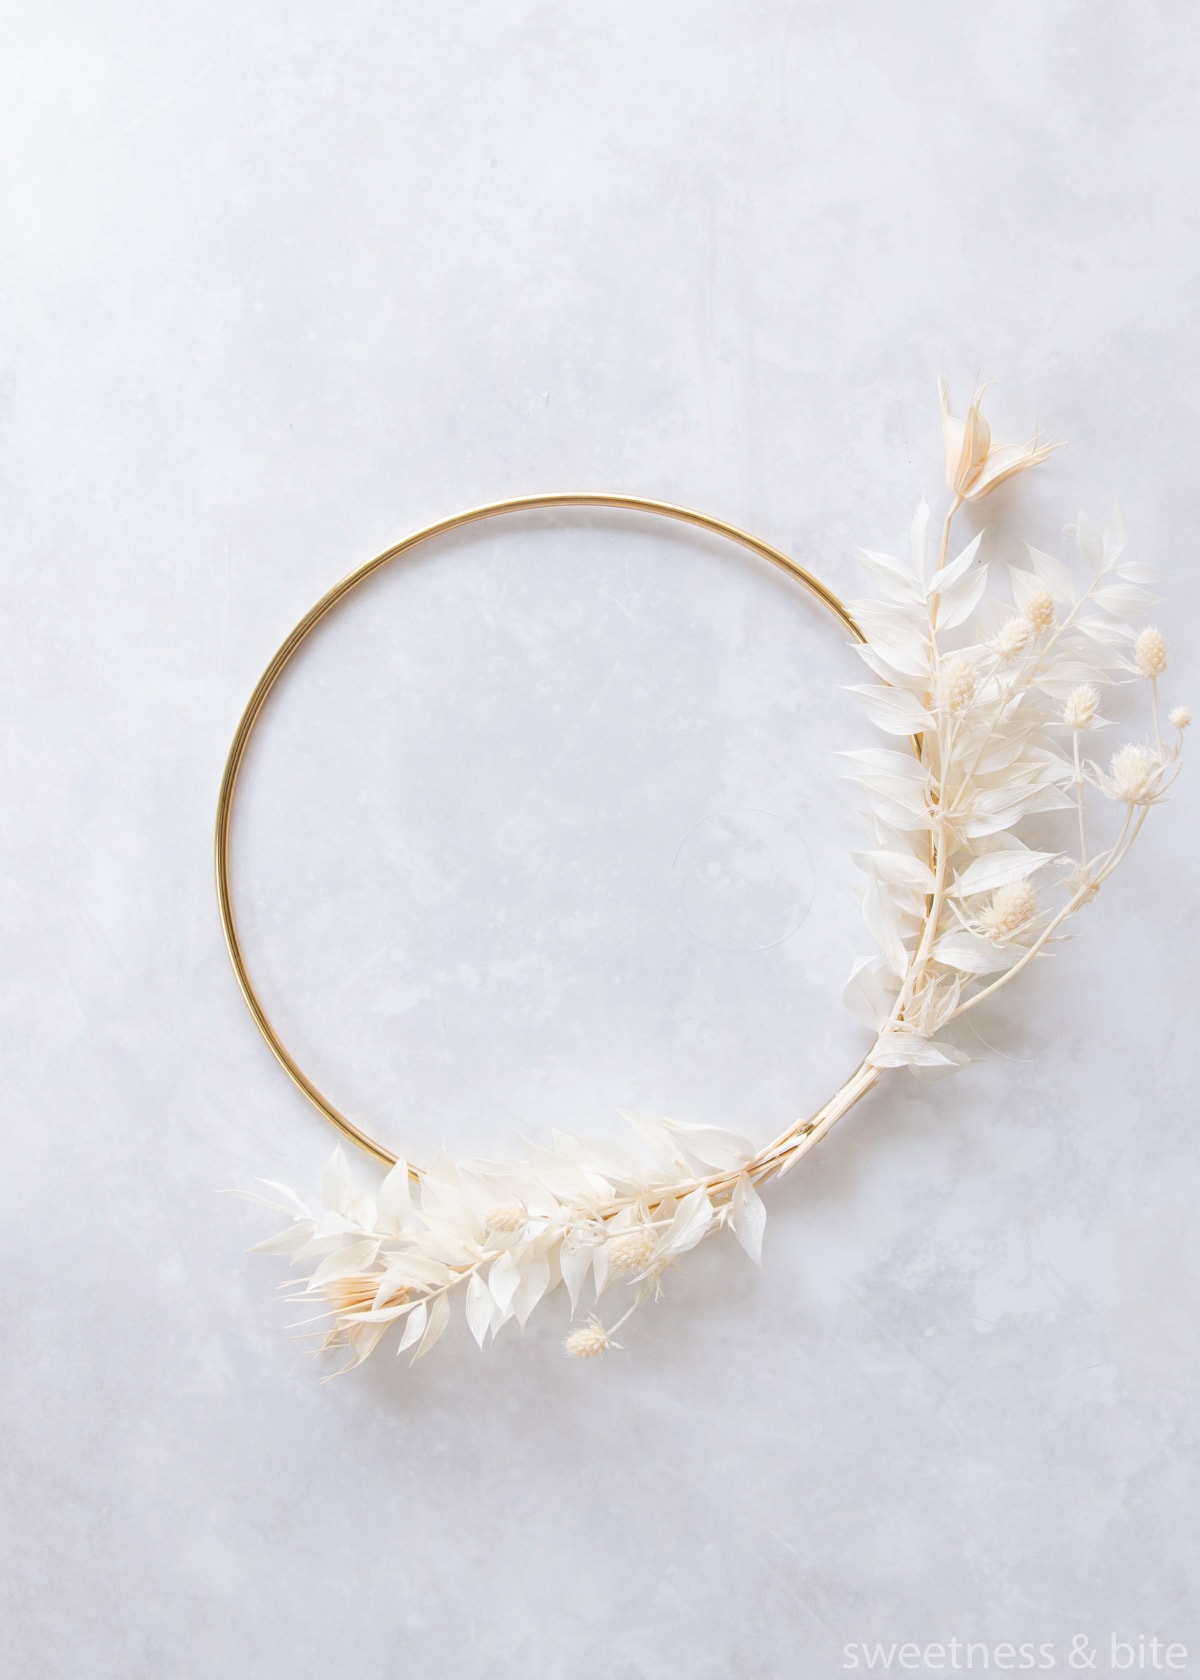
As you build up your design, you can attach the stems of the subsequent flowers and leaves to the already attached stems, if necessary. This is where I find the curved needle particularly helpful, for navigating the end of the thread around the stems.
Again, Grey’s Anatomy vibes. Just sayin’.
Here I grouped together some of the hot pink bunny tails and tied them onto the hoop as a bunch.
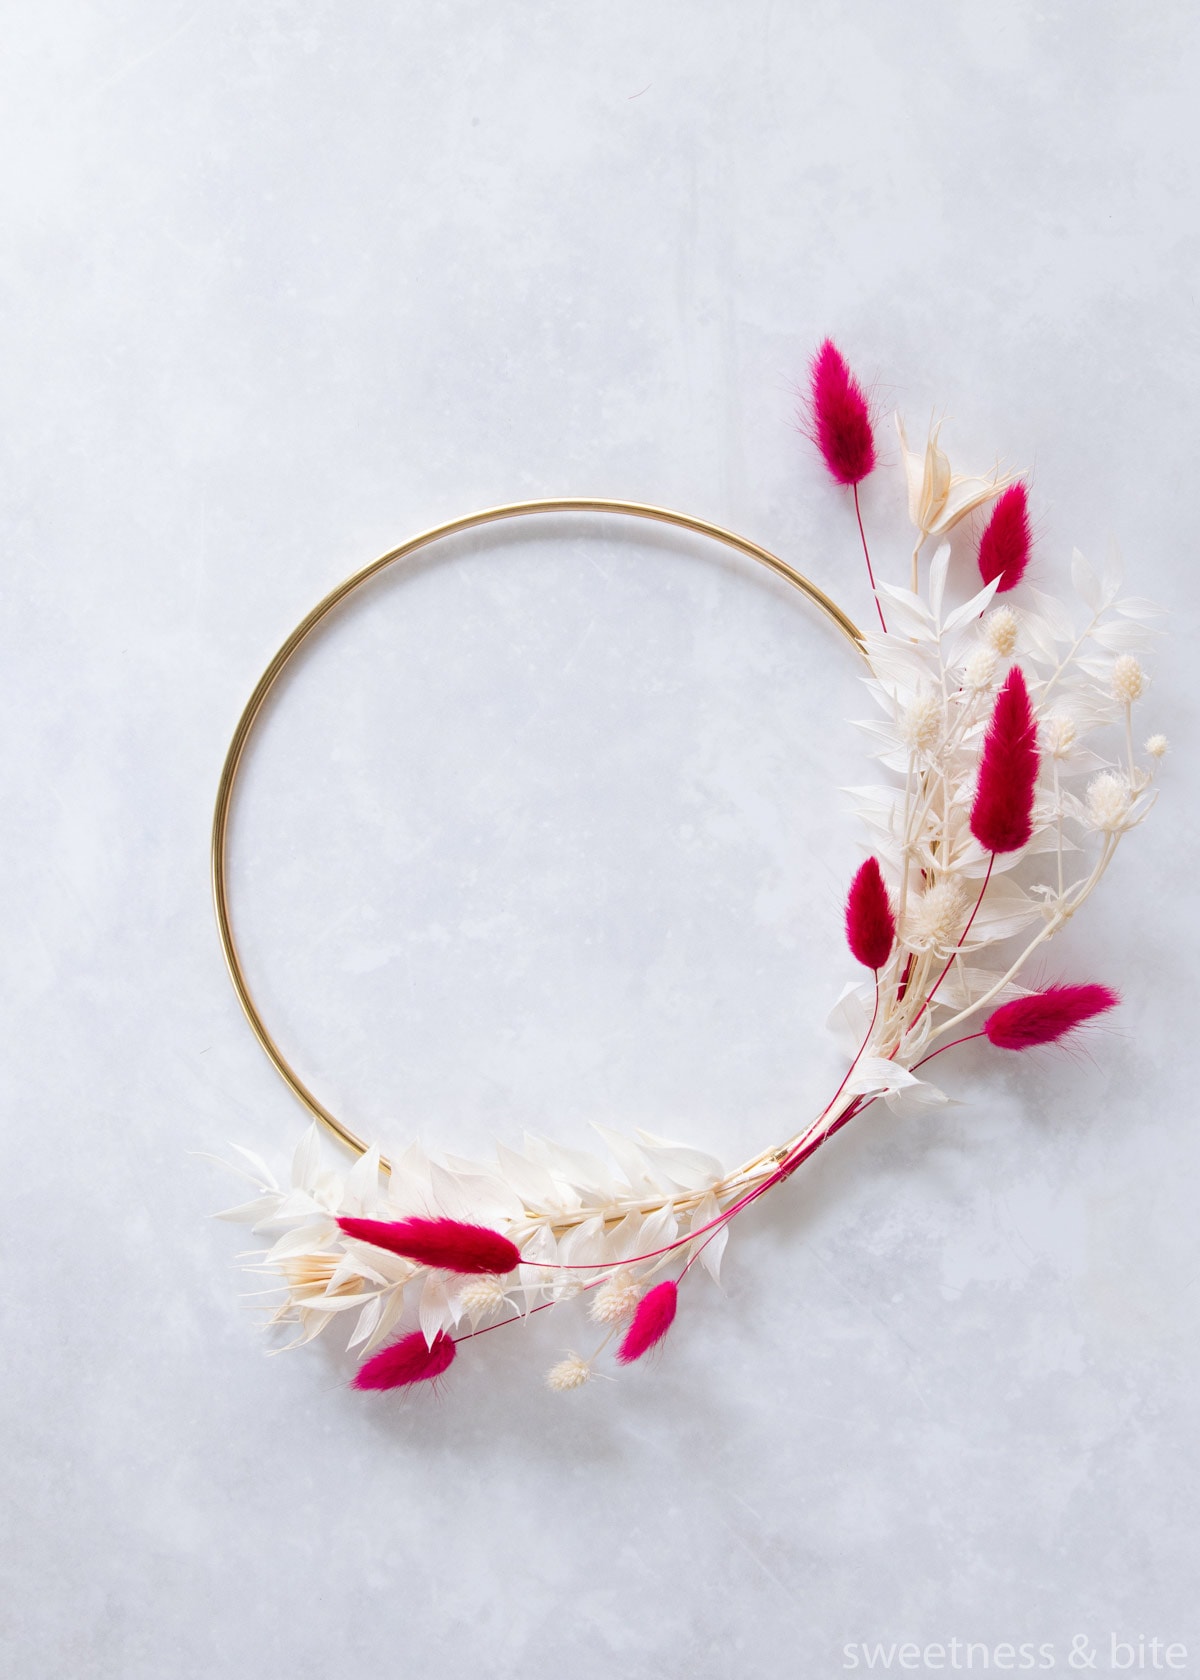
Now if you look at the above picture, you’ll see that in the middle where the ends meet, it’s looking both a bit empty and a bit messy.
For the first hoop, I used some pieces of hydrangea to fill the gap, as they’re nice and fluffy. For this one, I used some short pieces of ruscus, tucked the ends together, and tied them on.
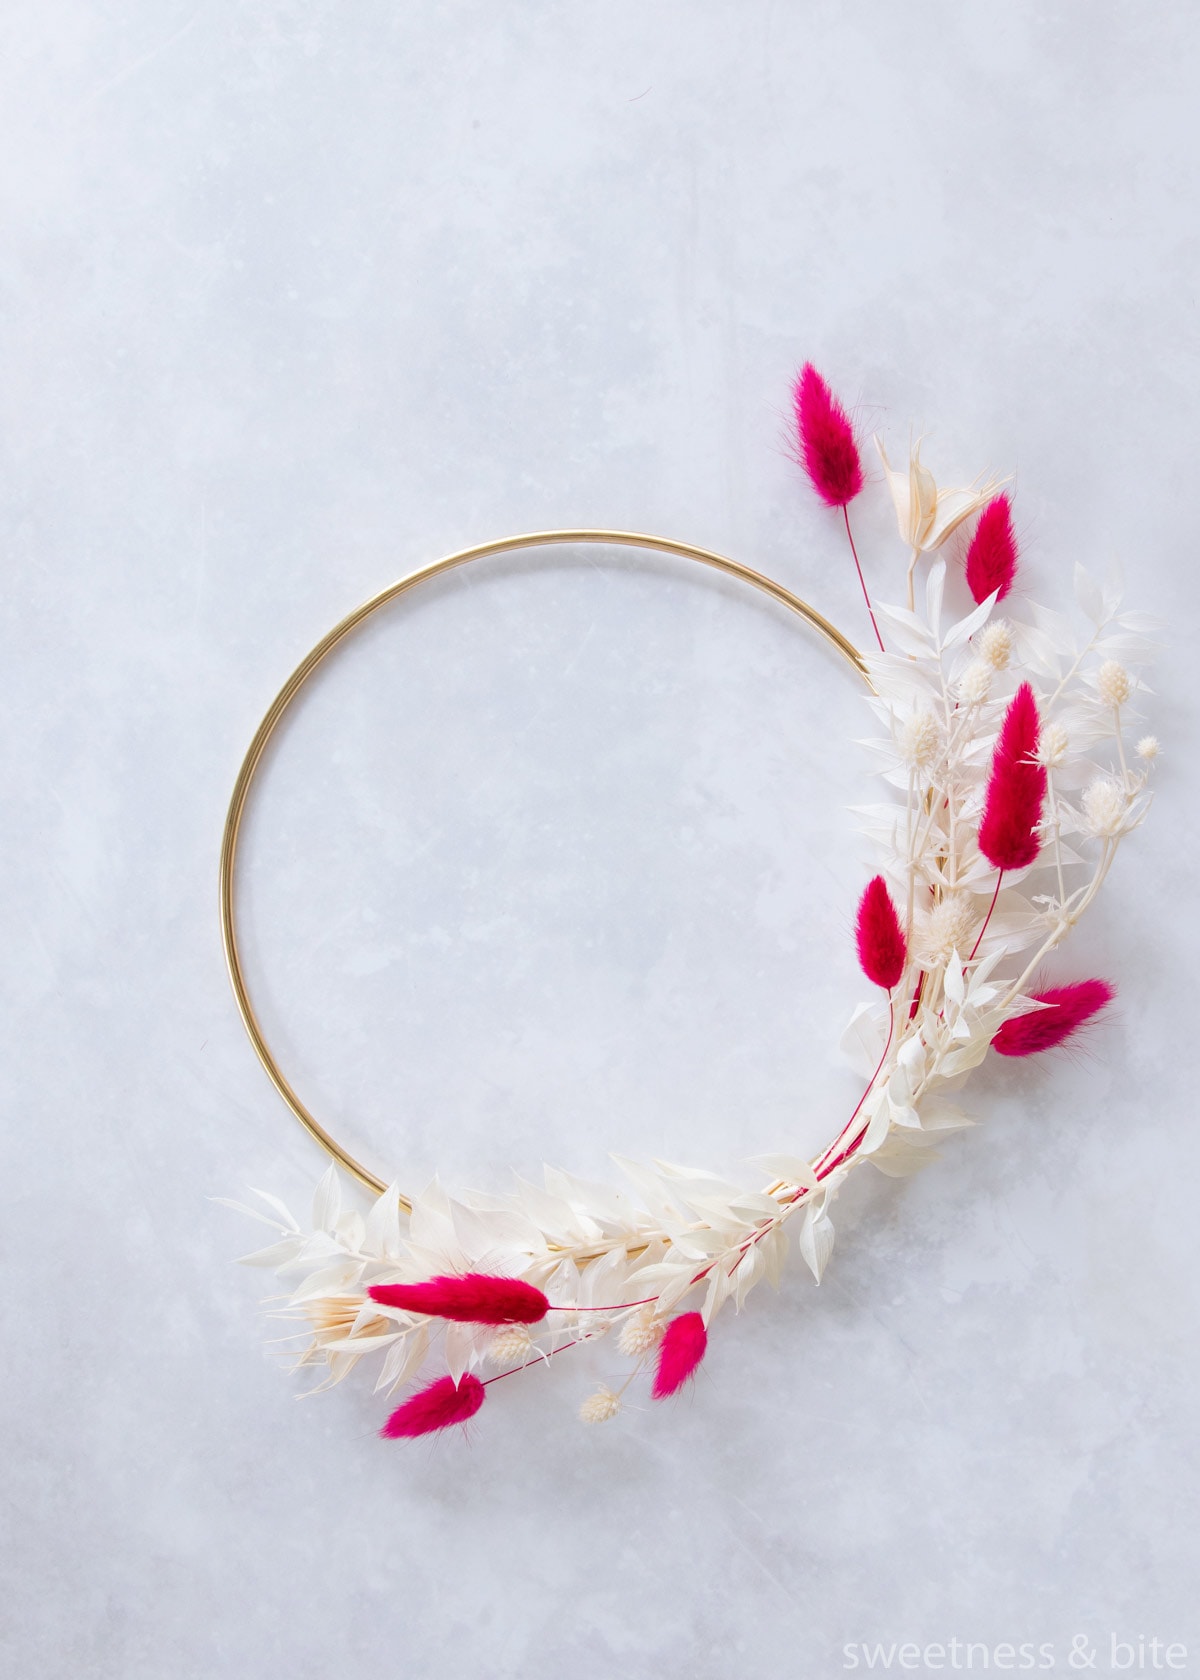
Then, for extra interest, I added two more short pieces across the middle.
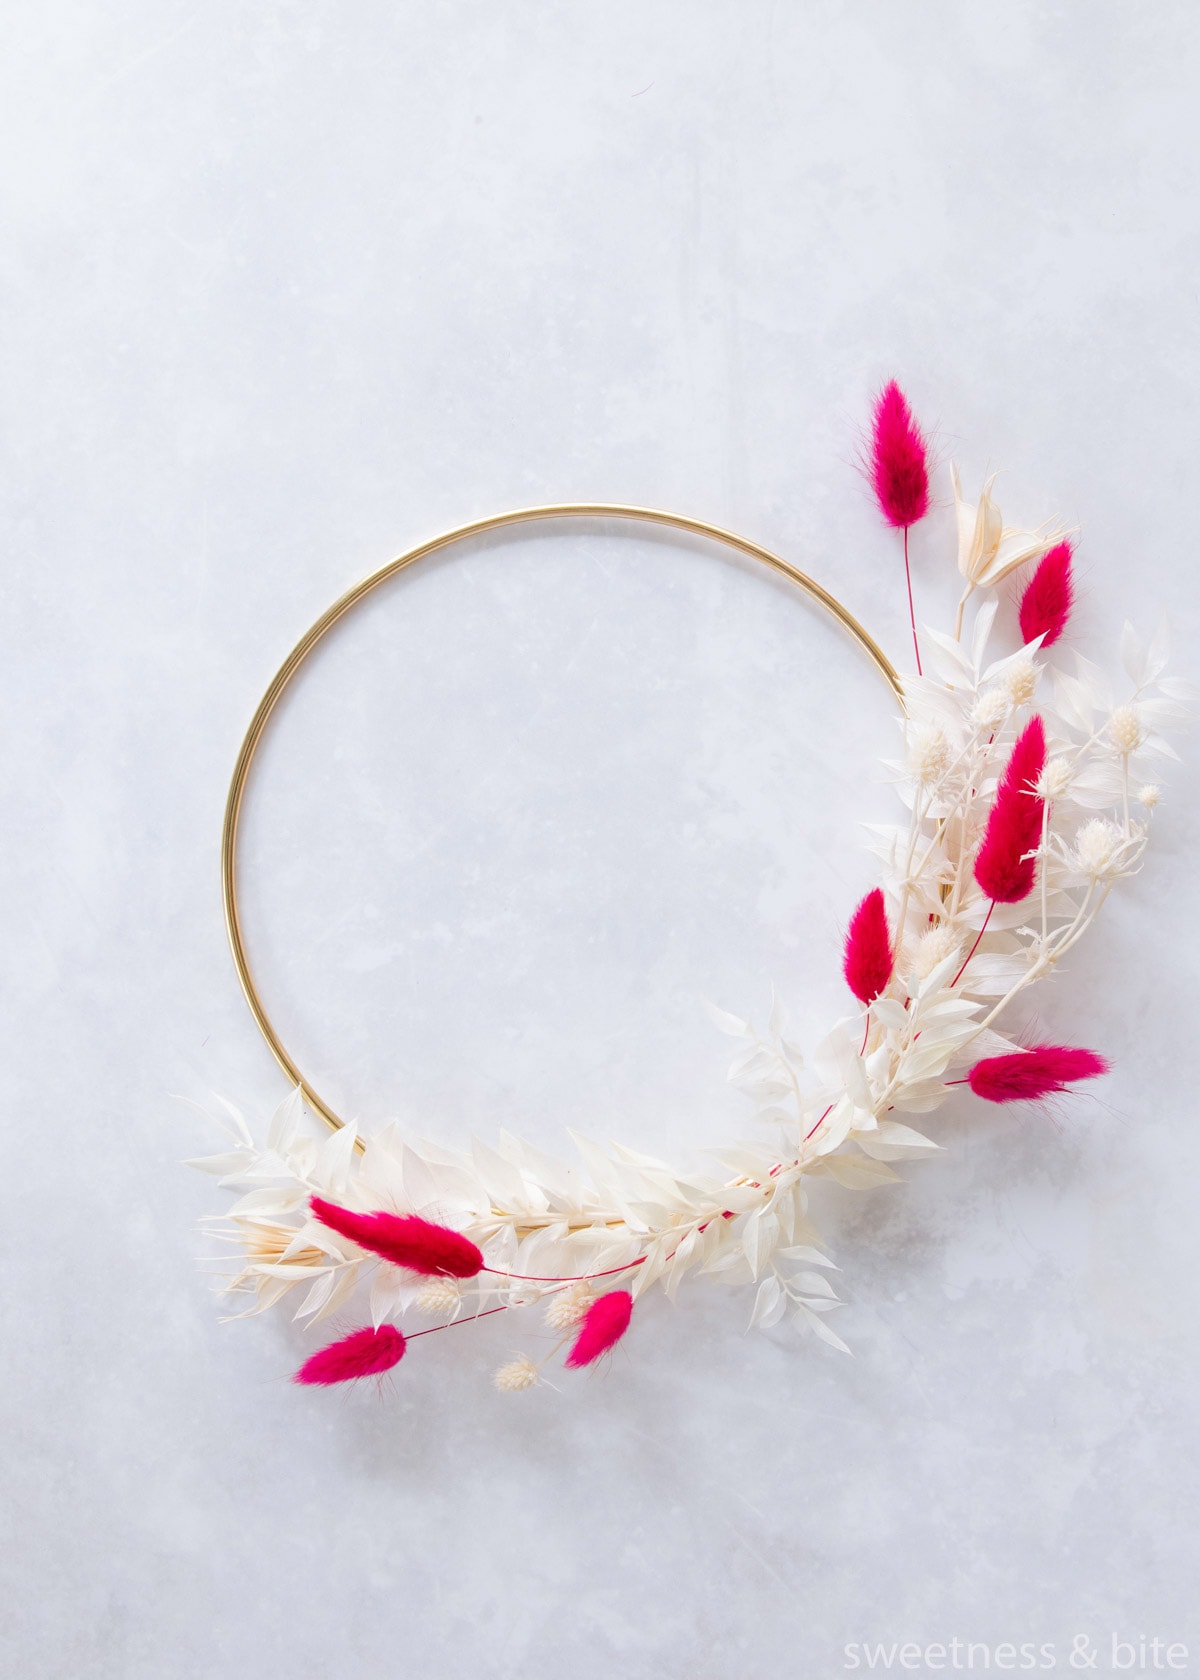
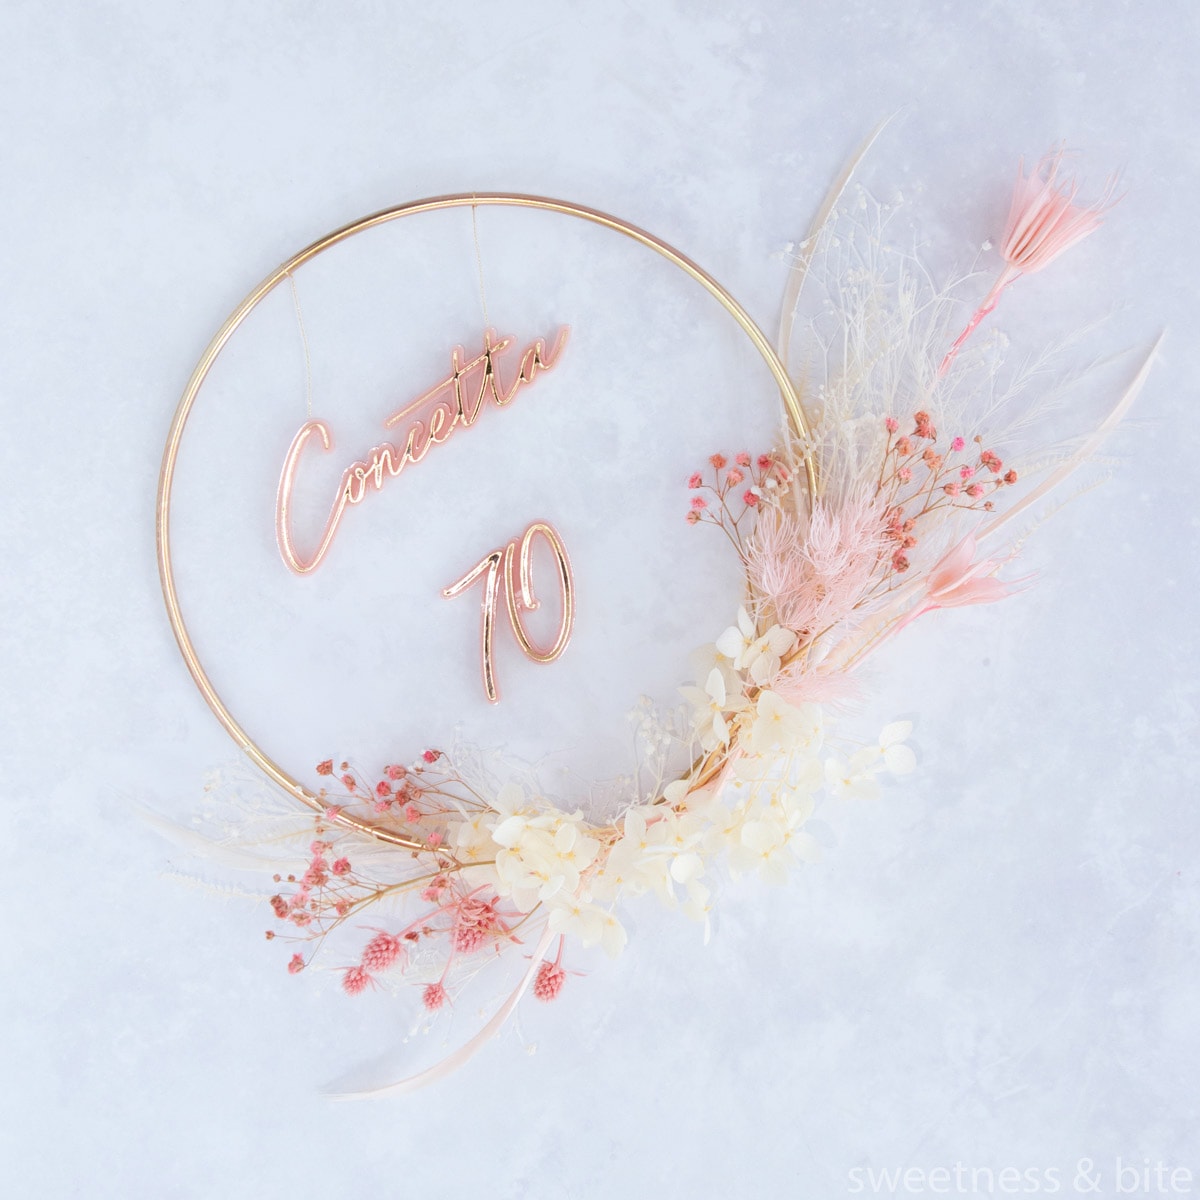
So there you have a finished floral cake topper.
Now, to a few specifics of my aunty’s birthday cake.
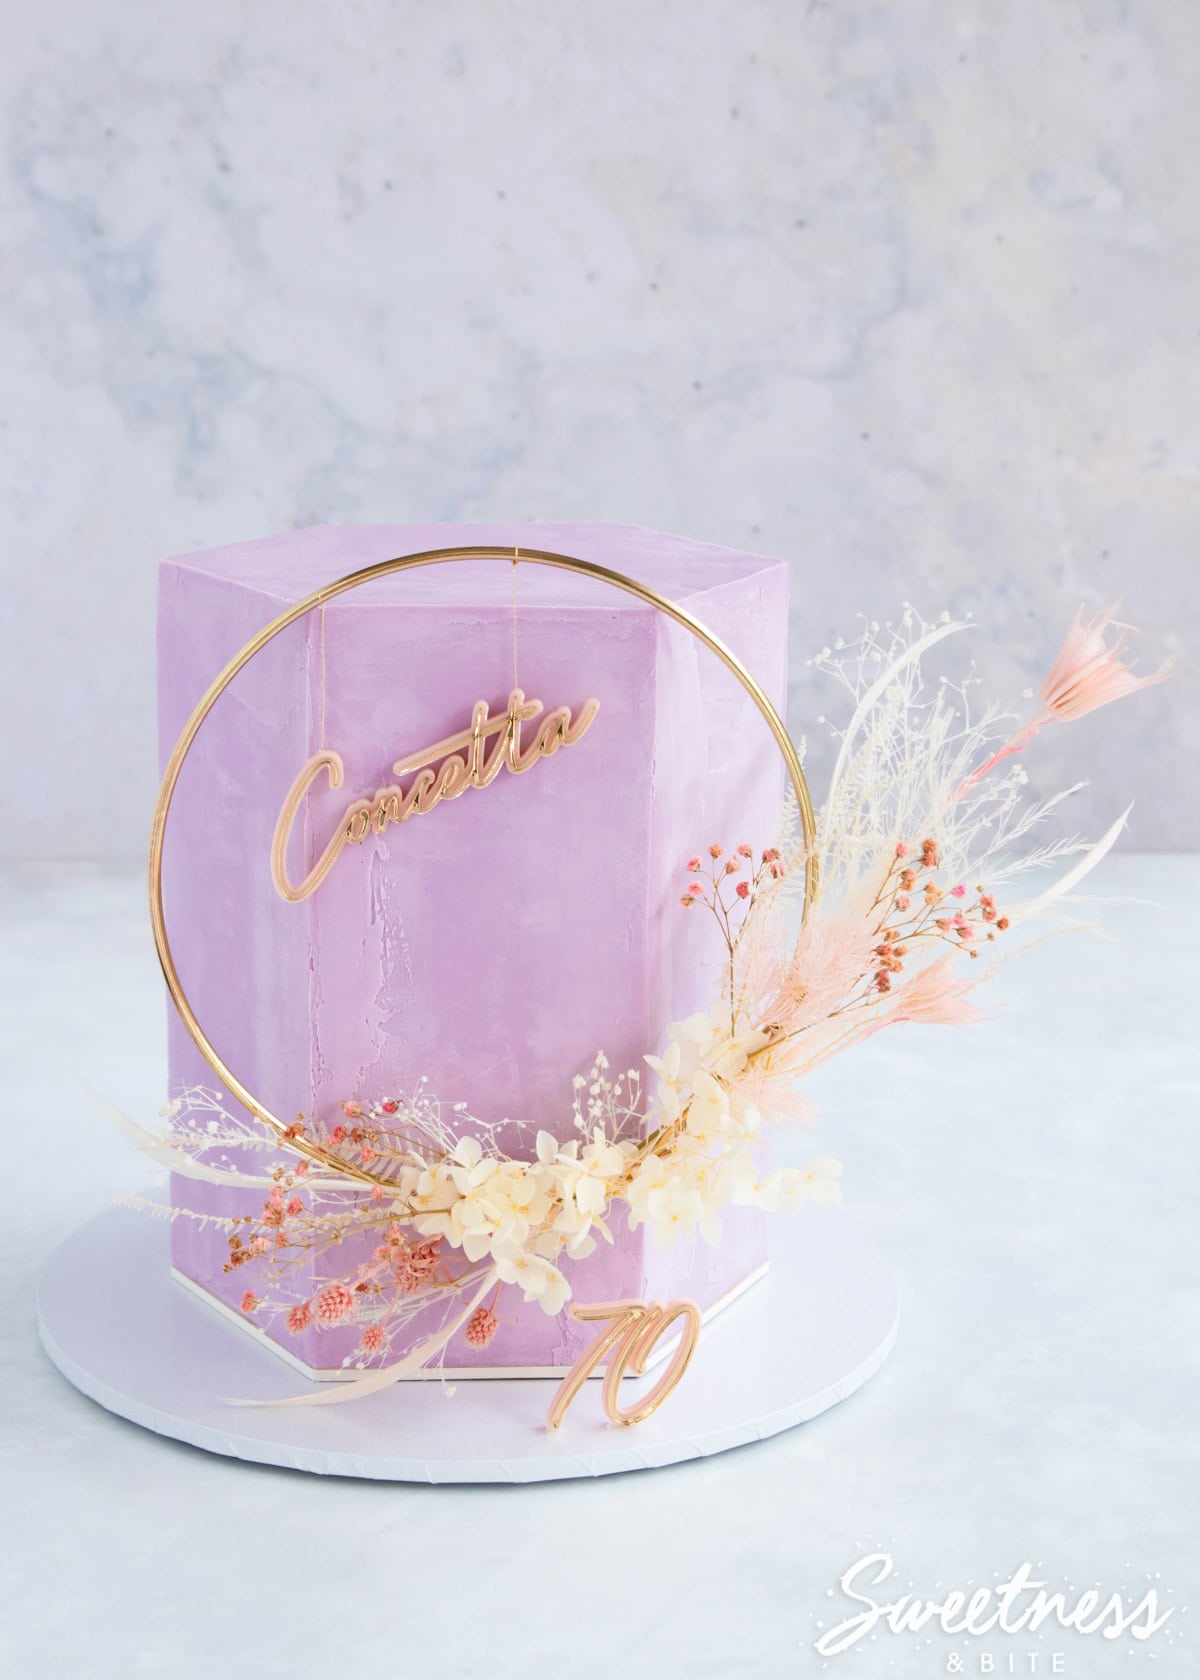
I carved each layer of the cake into a hexagon, much like I did for my chocolate box cake and covered it with lilac coloured ganache in a rough finish.
I also added an acrylic cut-out of her name to the cake topper. As always, I roped in my friend Stacey from Design at 409 to help me with the name and number, and she made a stunning job of them.
The name and number are both two layers of acrylic, pale pink on the bottom and gorgeous gold mirror on the top in a script font.
If you’re in NZ and you want to make one of these, I suggest checking if Stacey is available to do a custom topper, and tell her I sent you, she’ll know what to make. If you’re in the UK, I would check out Dotty Cards, who made the topper for the Elvie Bakes cake that inspired this one. And if you live elsewhere, I’m sure you’ll be able to show a picture and/or give a description to another cake topper creator and they’ll make you something equally lovely.
I decided I wanted the name to hang inside of the ring, so that my aunty could hang the whole thing on her wall afterwards. To do this, I just glued some pieces of gold thread to the back of the name, and tied it to the ring, hiding the knots at the back of the ring using a dab of glue to hold it in place.
How to make the Floral Cake Topper “float”:
Here are a couple of things to note:
I haven’t tried this on a round cake, but I’m 99.9% sure that it wouldn’t work. The hoop needs a surface to rest against so it doesn’t tip down to either side. It worked well on my hexagon cake, but I think a square cake would be even better.
I’m not going to lie – this is a fiddly job. But I thought the end result was well worth it. If you don’t want to have to fluff around with this, having the hoop sitting on the cake board and resting against the cake looks great too.
We’re using bamboo skewers to hold up the hoop. Because I didn’t take pictures of the first cake, and the fact I haven’t had time to make another cake, I’ve made the little diagram below to show you where to insert the skewers.
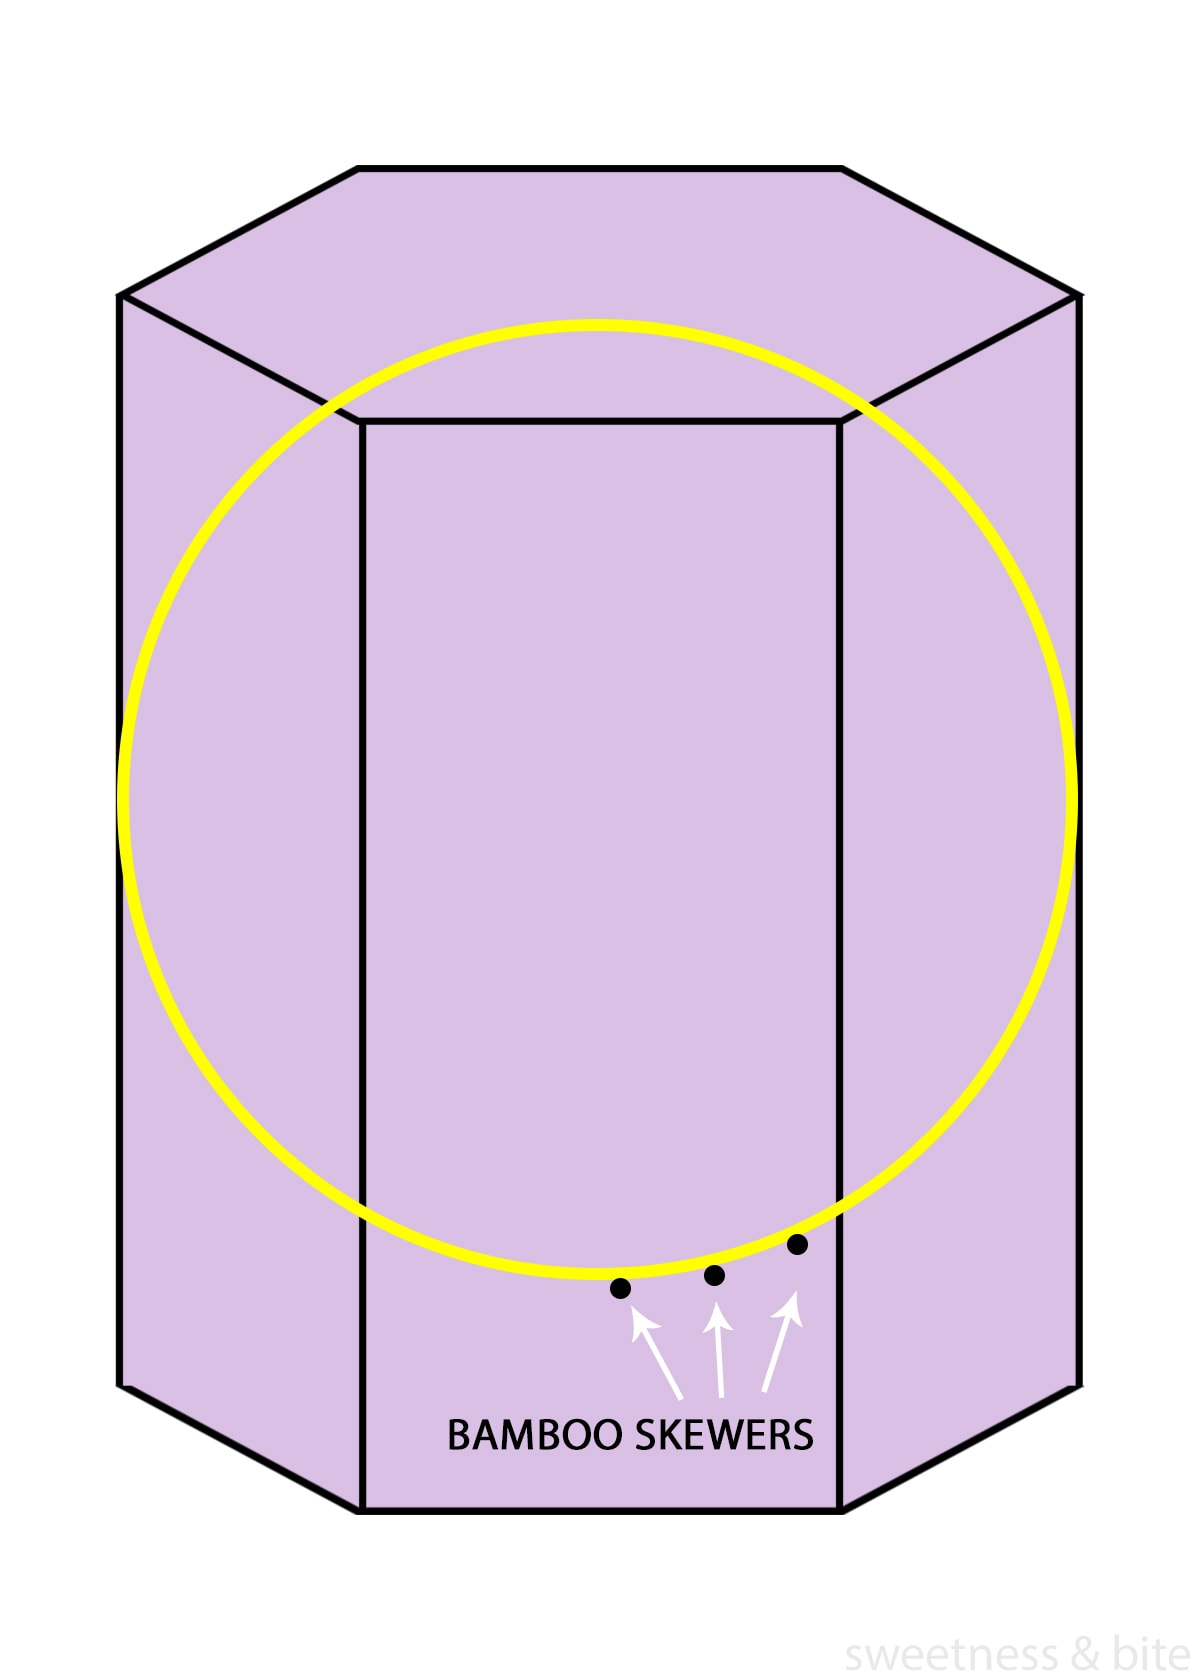
Note: this is where I inserted the skewers for the initial hoop design, and this placement would also work for the hoop I demonstrated in this post, but you may need to adjust the skewer placement if your flower arrangement is in a different area of the hoop. The skewers need to be hidden by the flowers.
Start by holding your hoop up against the cake where you would like it to sit. Keep in mind that the more of the hoop that is touching the cake, the more stable it will be.
Use the tip of a skewer to mark where you want to insert the skewers. The aim is to have the hoop sitting on the skewers, and the skewers pushed between the stems of the flowers and leaves to hold it all in place. This is hard to describe, but you will see what I mean when you’re making it.
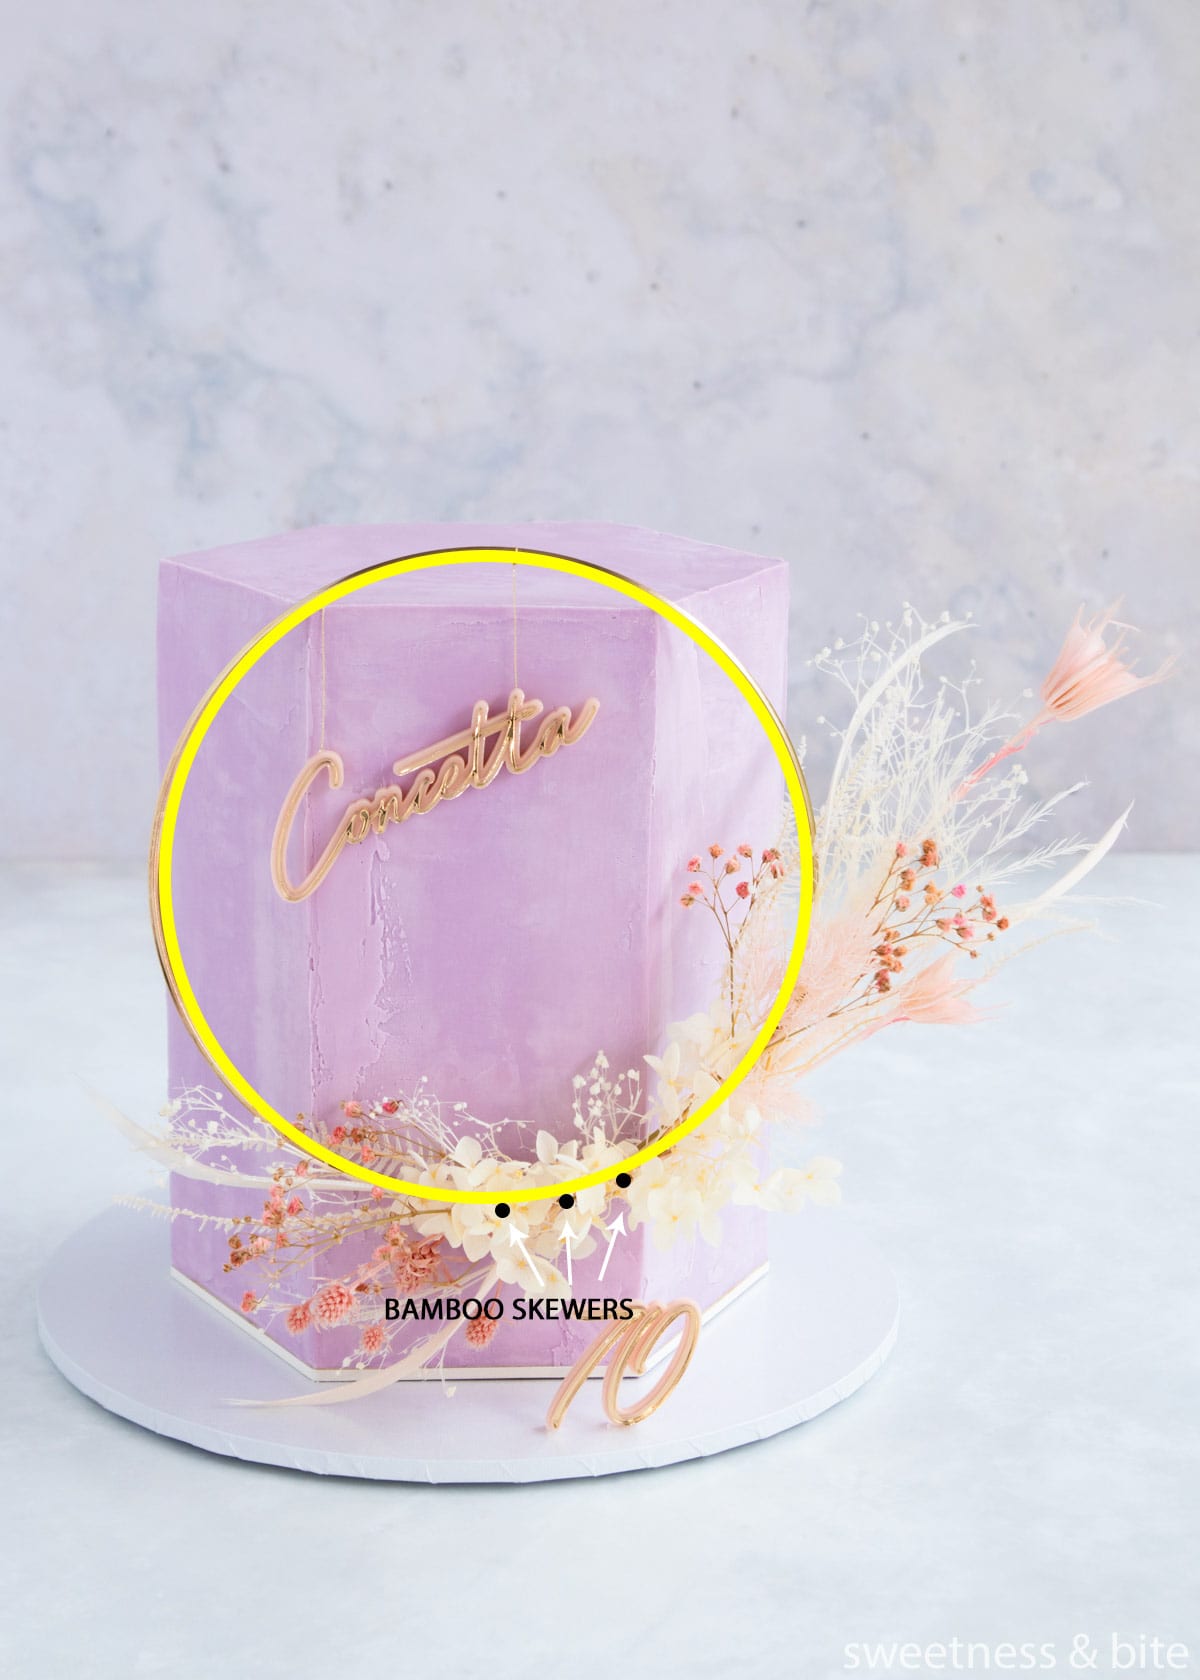
If your hoop is bigger, or you have a lot more flowers, you may need more than three skewers. If you have flowers at the top of the hoop as well as the bottom, you could also add some skewers at the top, which will help hold it up more securely.
Cut the skewers so that they are long enough to be pushed most of the way into the cake (but not so long they poke out the back!) and to have around 1cm protruding at the front.
Push them into the cake, leaving the 1cm sticking out at the front. I then added a bit of leftover ganache around them to help secure them in place.
To attach the floral cake topper to the cake, line it up with the skewers and gently push it against the front of cake, aiming to slip the skewers between the hoop and the stems. The tips of the skewers should be hidden by the flowers and leaves. If they’re still visible, you can add some more short pieces of foliage into the gaps. You may just be able to tuck the extra pieces into the stems that are already attached, without having to tie or glue them in place.
If you’re needing to travel with the cake, I recommend not attaching the hoop until the cake arrives at its destination. If you do need to attach it first, then it might be a good idea to use a few small dabs of icing (either ganache if your cake is ganached, or some royal icing or melted fondant in a matching colour) to the back of the ring in some inconspicuous spots. Make sure it’s dry before moving the cake.
And that brings us to the end of the tutorial!
If you make a floral cake topper of your own using this tutorial, I’d love it if you tagged me in your pics on Facebook or Instagram (@sweetness.and.bite) so I can see! 💜
As always, if you have any questions, feel free to ask them in the comments below.
Happy caking,
Natalie xx
