How to Stick Fondant to Fondant – A Guide to Edible Glue
This post may contain affiliate links to products I recommend. I receive a small commission at no cost to you if you make a purchase using my link.
Ever wondered how to stick fondant to fondant? Or what the best edible glue is? Let’s talk about edible glues, how to use them and how to choose which one you should use for different cake decorations.
Hey, I’m coming at you with a short (well, for me) but sweet (pun totally intended) tutorial today.
Fondant is a fun and versatile way to decorate cake and cookies and can be used in so many ways. At some stage, you’ll likely want to attach some decorations to fondant, or to make figurines, so in this tutorial, I’ll be talking about how to stick fondant to fondant, or gumpaste to fondant, or any combination of the two.
There are a lot of different ways to attach fondant to fondant, or to anything else, really, so I wanted to break down what all of the different “glues” are, how to use them, and how to choose the best one for your task.
Stick with me (sorry, I can’t help it) and I’ll tell you what my favourite sticking methods are, and what situations they are best suited to.
How to Stick Fondant to Fondant (or anything else!)
Let’s start with an easy one…
Water
Sticky Factor 2/5
This is an easy one, and handy because you’ll generally have some on hand in the kitchen. Water can be a great “glue” for fondant. It dissolves a little of the sugar in the fondant, making it sticky, and therefore, well, makes it stick to stuff.
Best for: Sticking flat pieces of soft fondant decorating to other soft fondant.
Also pretty good for: Sticking flat pieces of soft fondant to dry fondant.
How to use it: Use a small (clean!) paintbrush to paint a small amount of cooled boiled water onto one of the surfaces. For fondant decorations being attached to the side of a cake, I’ll generally paint a small amount of water around the edge of the piece, about 2-3mm away from the very edge, and a little squiggle around the middle. The water will naturally squish a bit towards the edge of the piece, so starting slightly inside the piece will help stop it from leaking out if you’ve used a little too much.
What to watch out for: Be careful not to get water anywhere that you’re not intending to stick. Water starts to dissolve the sugar in fondant or gumpaste on contact, so if you get it somewhere you don’t want it, even if you blot it immediately, there is a high chance you will be left with a mark. So use the water sparingly.
If you do get it somewhere you don’t want it, blot it as soon as possible with a paper towel or tissue, let it dry, and then if it’s a little shiny, sometimes dusting it with a tiny bit of cornstarch will tone down the shininess and make it less noticeable.
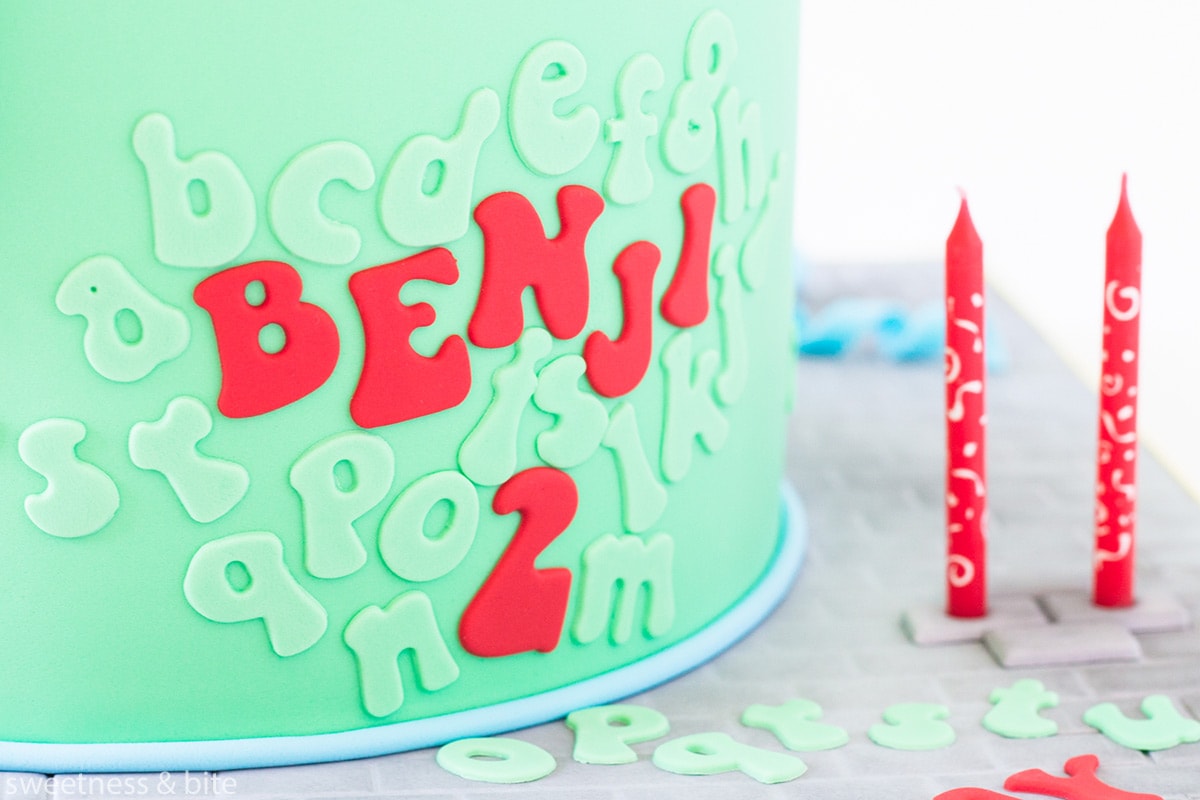
Vodka
Sticky Factor: 2/5
I personally love using vodka to stick fondant or gumpaste decorations together, anywhere where you might use water, vodka is a great alternative. It dries faster, and because of the alcohol content, it doesn’t dissolve the sugar in fondant as quickly, so if you drip some, or slip and touch the wet back of a decoration to another fondant or gumpaste item, the wet spot is more likely to dry (mostly) invisibly and not leave much of a mark. The alcohol and the alcohol smell will evaporate as it dries.*
Best for: Sticking flat pieces of soft fondant or gumpaste to other soft fondant or gumpaste. I also use vodka to help make fondant joins stick together when I wrap a cake with fondant.
Also pretty good for: Sticking flat pieces of soft fondant or gumpaste to dry fondant or gumpaste.
How to use it: Exactly the same way I described for water above.
What to watch out for: Shouldn’t be used on cakes for people who abstain from alcohol on cultural grounds.
*I also can’t guarantee to you that *every* trace of the alcohol will completely evaporate, so don’t use it if this is a concern for you.
Sugar Glue
Sticky Factor: 5/5
There are many types of sugar glue, but I’m specifically talking here about glue made with tylose powder+water (or another powdered gum ingredient like gum arabic), or commercially prepared sugar glues that contain any gum ingredient. They’ll usually also contain water and a preservative of some kind, but essentially are the same as homemade sugar glue.
As far as whether you should choose ready-made or homemade glue, it’s personal preference really. I find the ready made ones tend to be a bit runnier, so I like them for attaching lighter pieces, and I use thicker homemade glue for figurines and heavier pieces.
The sugar glue I have in my pantry right now is Rolkem Sticky Stuff. Some other popular sugar glues are Rainbow Dust Edible Glue and Wilton Dab-n-Hold.
Best for: Sticking dry fondant or gumpaste to dry fondant. Sticking modelled pieces of fondant or gumpaste together (for figurines and such). This is also what I use to stick flowers etc. to the sides of a cake.
Also good for: Sticking sprinkles or other small decorations to fondant. Attaching fondant or gumpaste pieces to wire or lollipop sticks etc. Assembling sugar flowers.
How to make edible glue: If you’re making your own glue from tylose powder or gum arabic, you’ll need to mix a small amount (about ¼ – ½ tsp) of the powder with a small amount of water. The amount of water you need varies between powders, but it’s better to start with a bit too little rather than too much, as you can thin it down afterwards. Mix them together in a small container with a lid, then leave them to sit and dissolve fully. You’ll know it’s ready when the glue is mostly clear (the exact colour and how clear it is will vary by the kind of powder too, but they’ll all be less opaque when they’re ready.) When you’re ready to use it, thin it down with a drop or two of water if necessary.
If you’re using ready-made glue, then it’s ready to go when you are!
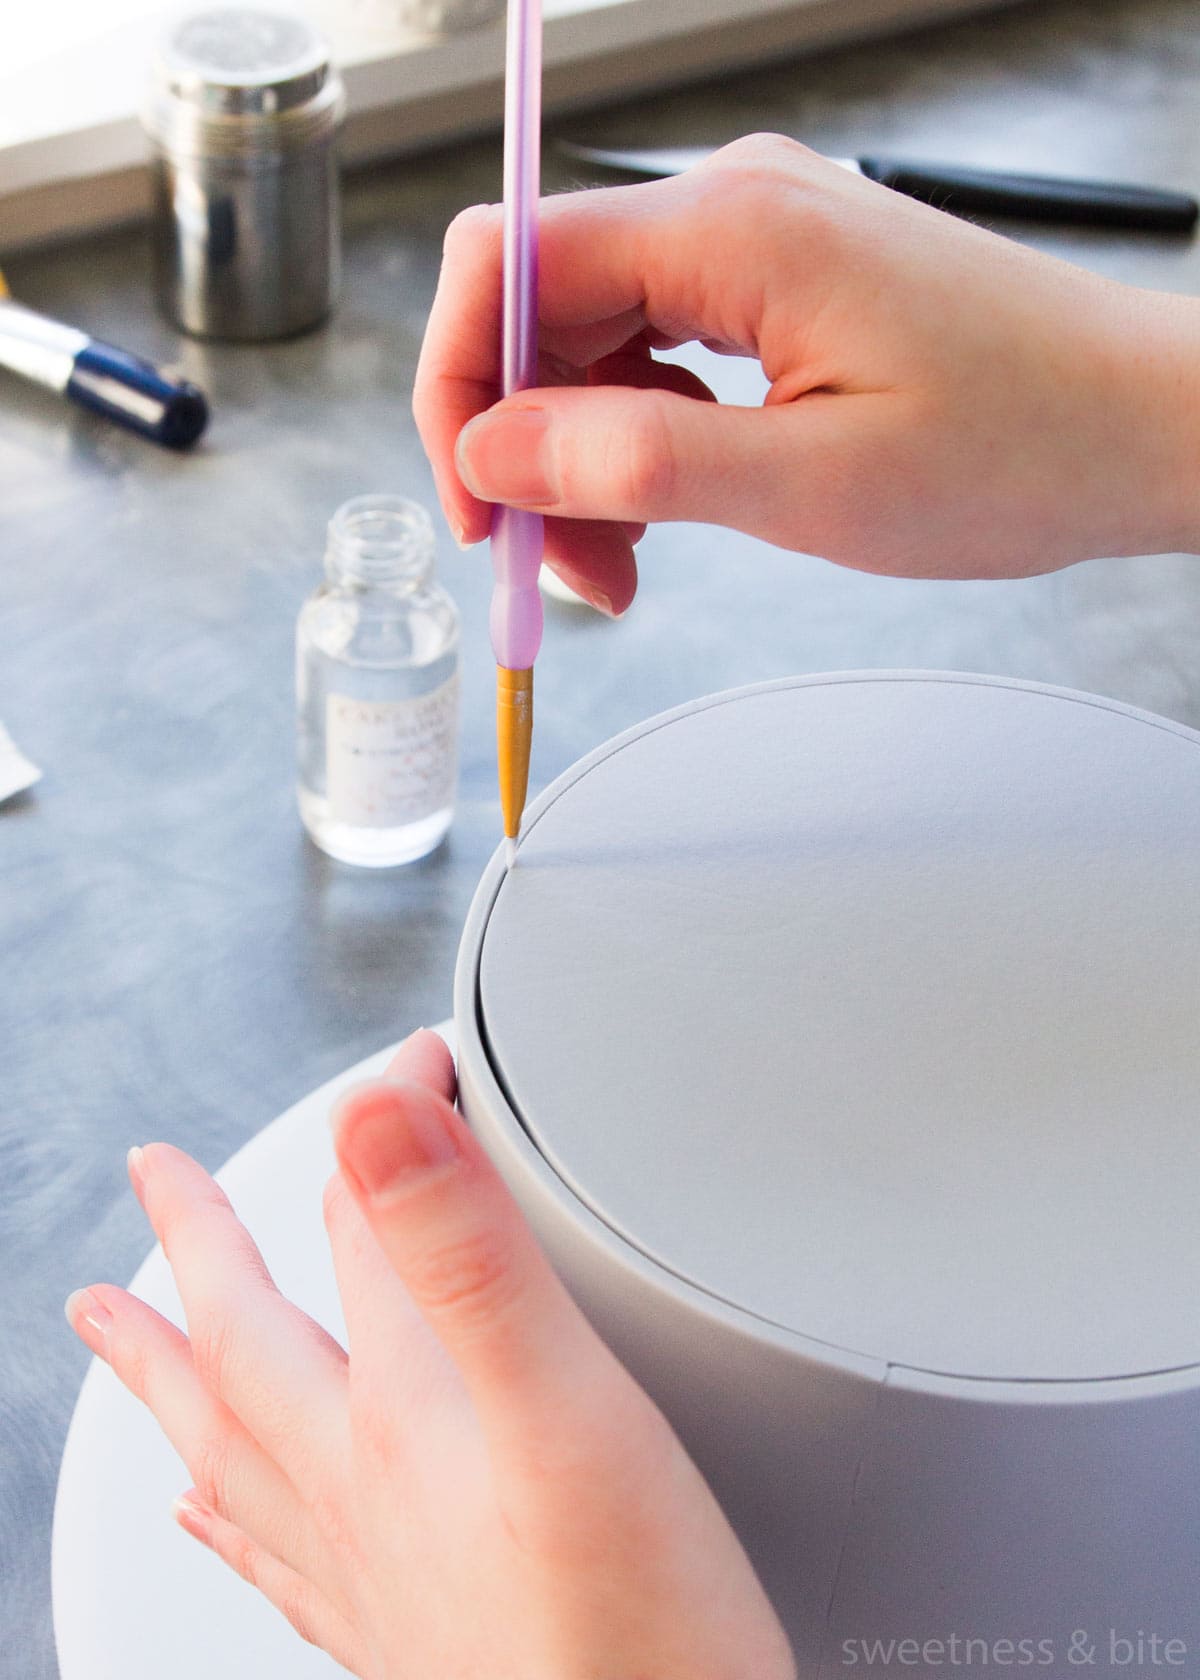
How to use it: Use a small clean paintbrush to brush a little of the glue around the surface you’re wanting to stick. If it’s a bigger or heavier piece, I find it helpful sometimes to let the glue dry a little and become tacky before I try to adhere it in place. Keep a small glass of water nearby to clean off your paintbrush, as the glue will dry quickly on the brush when not in use.
When attaching heavier dried pieces (such as small modelled or moulded shapes) to the sides of a cake, or anywhere that gravity might get the best of you, it’s helpful to prop up the pieces as they dry, to make sure they don’t fall off. Pieces of cotton wool or makeup sponges (new, never used for makeup!) are great for this.
What to watch out for: Make sure not to use too much glue, if it squishes out it can be difficult to clean up and it can also leave messy marks. Keep any leftover homemade glue in the fridge, as it will go mouldy after a while at room temperature.
Melted Fondant
Sticky Factor: 5/5
This is like the No More Nails of the cake world (if No More Nails isn’t a thing where you live, it’s a super thick adhesive and sticks like concrete). Melted fondant is as sticky as a sticky thing, and it sets quickly.
Best for: Sticking dry fondant or gumpaste to dry fondant or gumpaste. Attaching large or heavy items (it’s my favourite for attaching elements made from rice Krispie treats). Attaching things where there may be a small amount of movement or where glue could leak out – if you use the same colour fondant as at least one of the surfaces you’re adhering, then anything that squishes out will match and be less obvious.
Also great for: Sticking your cake tiers onto a fondant covered or plain cake board, and for sticking tiers to each other.
How to use it: Tear off some small pieces of fondant, and place them in a microwave-safe jug or bowl, with a small splash of water. Make sure the decorations you want to attach are ready to go – when the glue is ready, you need to be ready too. Microwave the fondant in short bursts in the microwave (this will depend on the power of your microwave) and then stir it until it is a sticky paste consistency. If it’s too thick you can add a few more drops of hot water. Be SUPER CAREFUL as the mixture will be hot.
Let it cool slightly (we don’t want to melt the thing we’re sticking things to), then use a small spatula (the end of a teaspoon works well for small items too) spread a small amount onto one surface, then quickly attach it to the other. The mixture should set within a minute or two.
What to watch out for: #1 thing to watch out for is to not burn yourself. I cannot overstate just how hot the fondant can get when it’s straight out of the microwave. Melted. Sugar. Gets. Hot. Be careful. No touchy. Also make sure you don’t get this anywhere on your cake that you don’t want it, because it does set fast and can be difficult to remove.
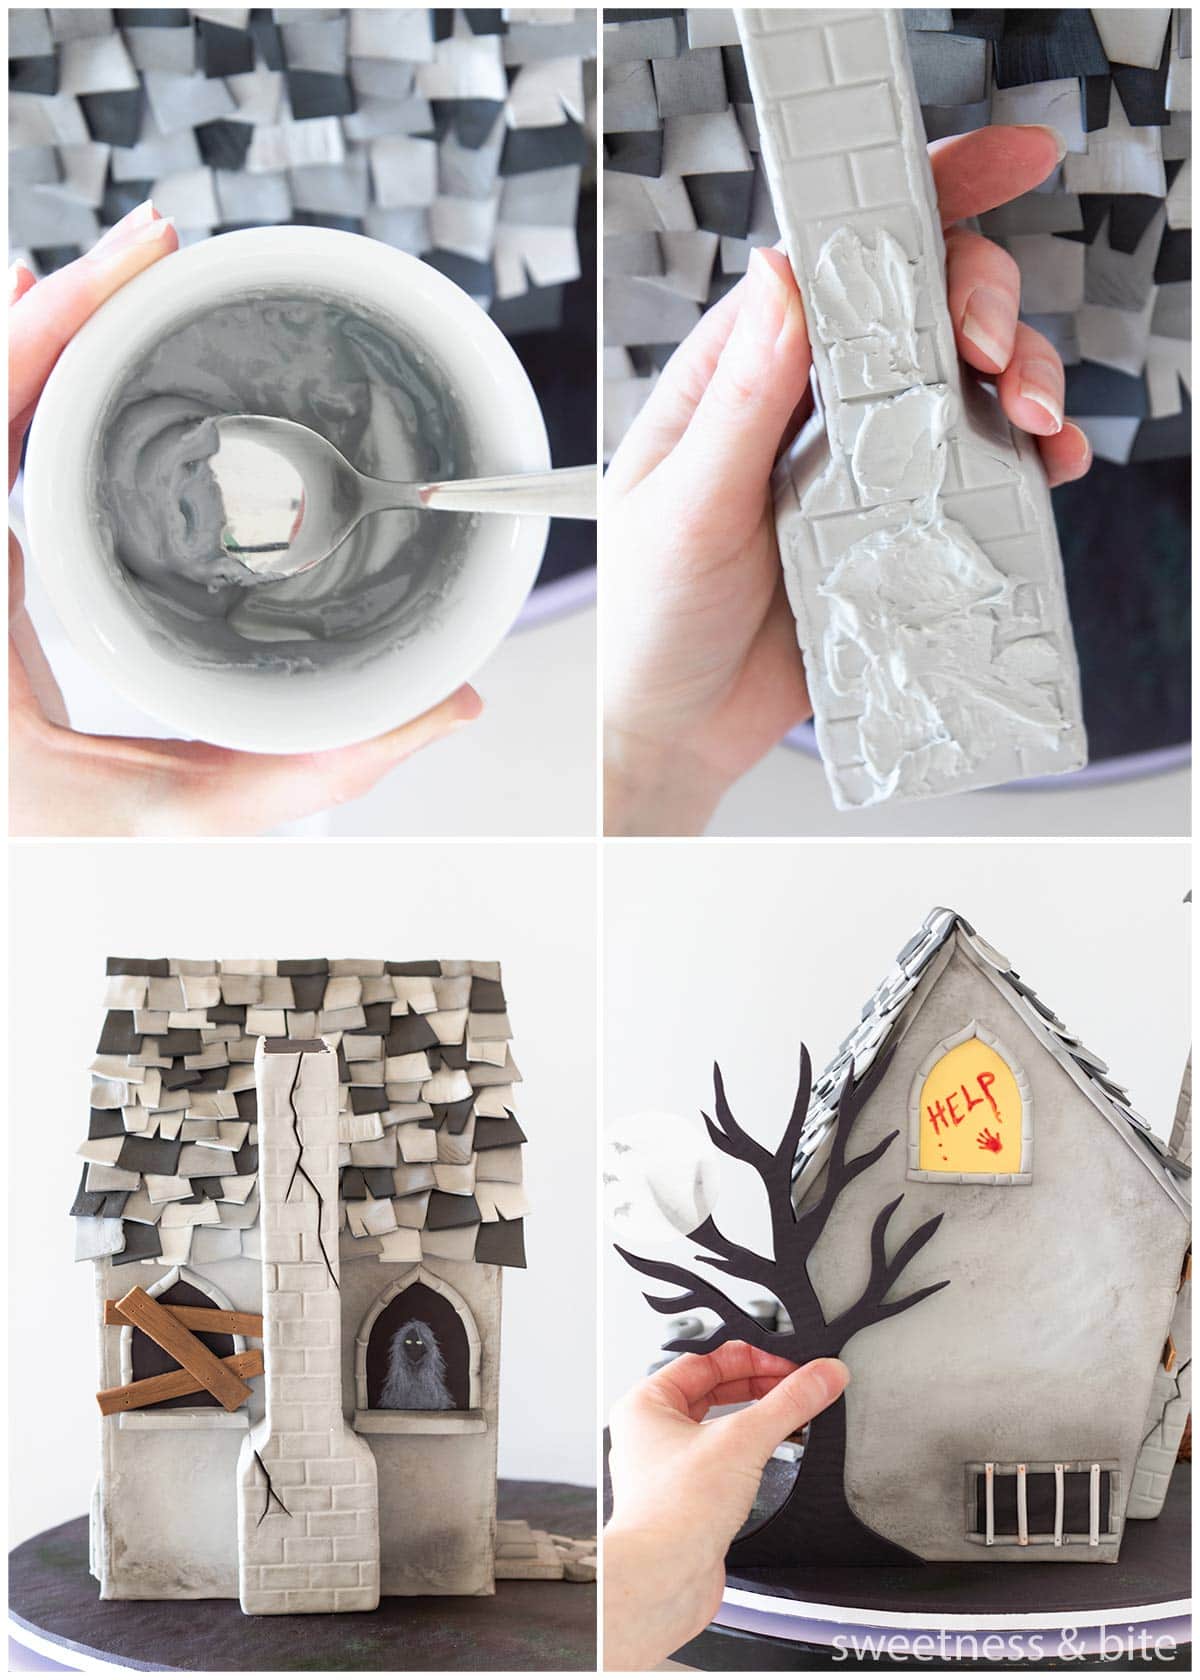
Melted Chocolate
Sticky Factor: 4/5
Melted chocolate or candy melts can make a great glue for heavier pieces, as it usually sets quite quickly (unless your room temperature is super warm). If you happen to have some chocolate cooling spray then you can make it set faster.
Best for: It pretty much works for anything you might use the melted fondant for, but generally I would choose the melted fondant option as it’s easier to match the colour to the decoration or to the cake.
How to use it: Melt some compound chocolate or candy melts, and use them to glue your piece in place. The piece may need to be held or propped up until the chocolate sets.
What to watch out for: I don’t suggest using real chocolate (chocolate made with cocoa butter) as it needs tempering in order to set firmly. Compound chocolate and candy melts don’t require tempering. As with the other options, try not to get it anywhere on your fondant that you don’t want it. If you do, and you can’t wipe it off immediately, let it harden completely and then use a scalpel or knife to very gently scrape it off.
Royal Icing
Sticky Factor: 4/5
I’m mentioning this even though I don’t actually use it very often for sticking fondant. But if none of the other suggestions above are an option for you and royal icing is, then we can work with that.
Best for: It can be useful for fixing figurines or flowers that have dried completely, but only if they can be reattached in a way that the royal icing won’t be visible, or if you can cover up the join with another decoration. I also like it for attaching lollies to a cake, as it is one of the nicer tasting glue options.
How to use it: Make some royal icing and tint it to match the colour of the pieces you’re wanting to join. Your icing consistency needs to be quite thick so that it doesn’t drip, but thin enough that the pieces will stick. Pipe or paint a thin line or blob (depending on the shape of the piece) onto one piece, and join them together. You will need to hold the pieces together with something until the icing dries. Cotton balls/pads or makeup sponges can be helpful for this, especially if you’re fixing a flower petal.
What to watch out for: If you live somewhere that getting salmonella from eggs is a risk, then make sure you either use pasteurised egg whites OR meringue powder (which is made with pasteurised egg white powder) to make the royal icing. Here in New Zealand, getting salmonella from eggs is generally very unlikely, but I tend to use meringue powder anyway.
Also, keep in mind that royal icing isn’t hard until it’s fully dry, so avoid moving the pieces you’re trying to join until they’re completely dry. This can take from an hour or two, to potentially overnight.
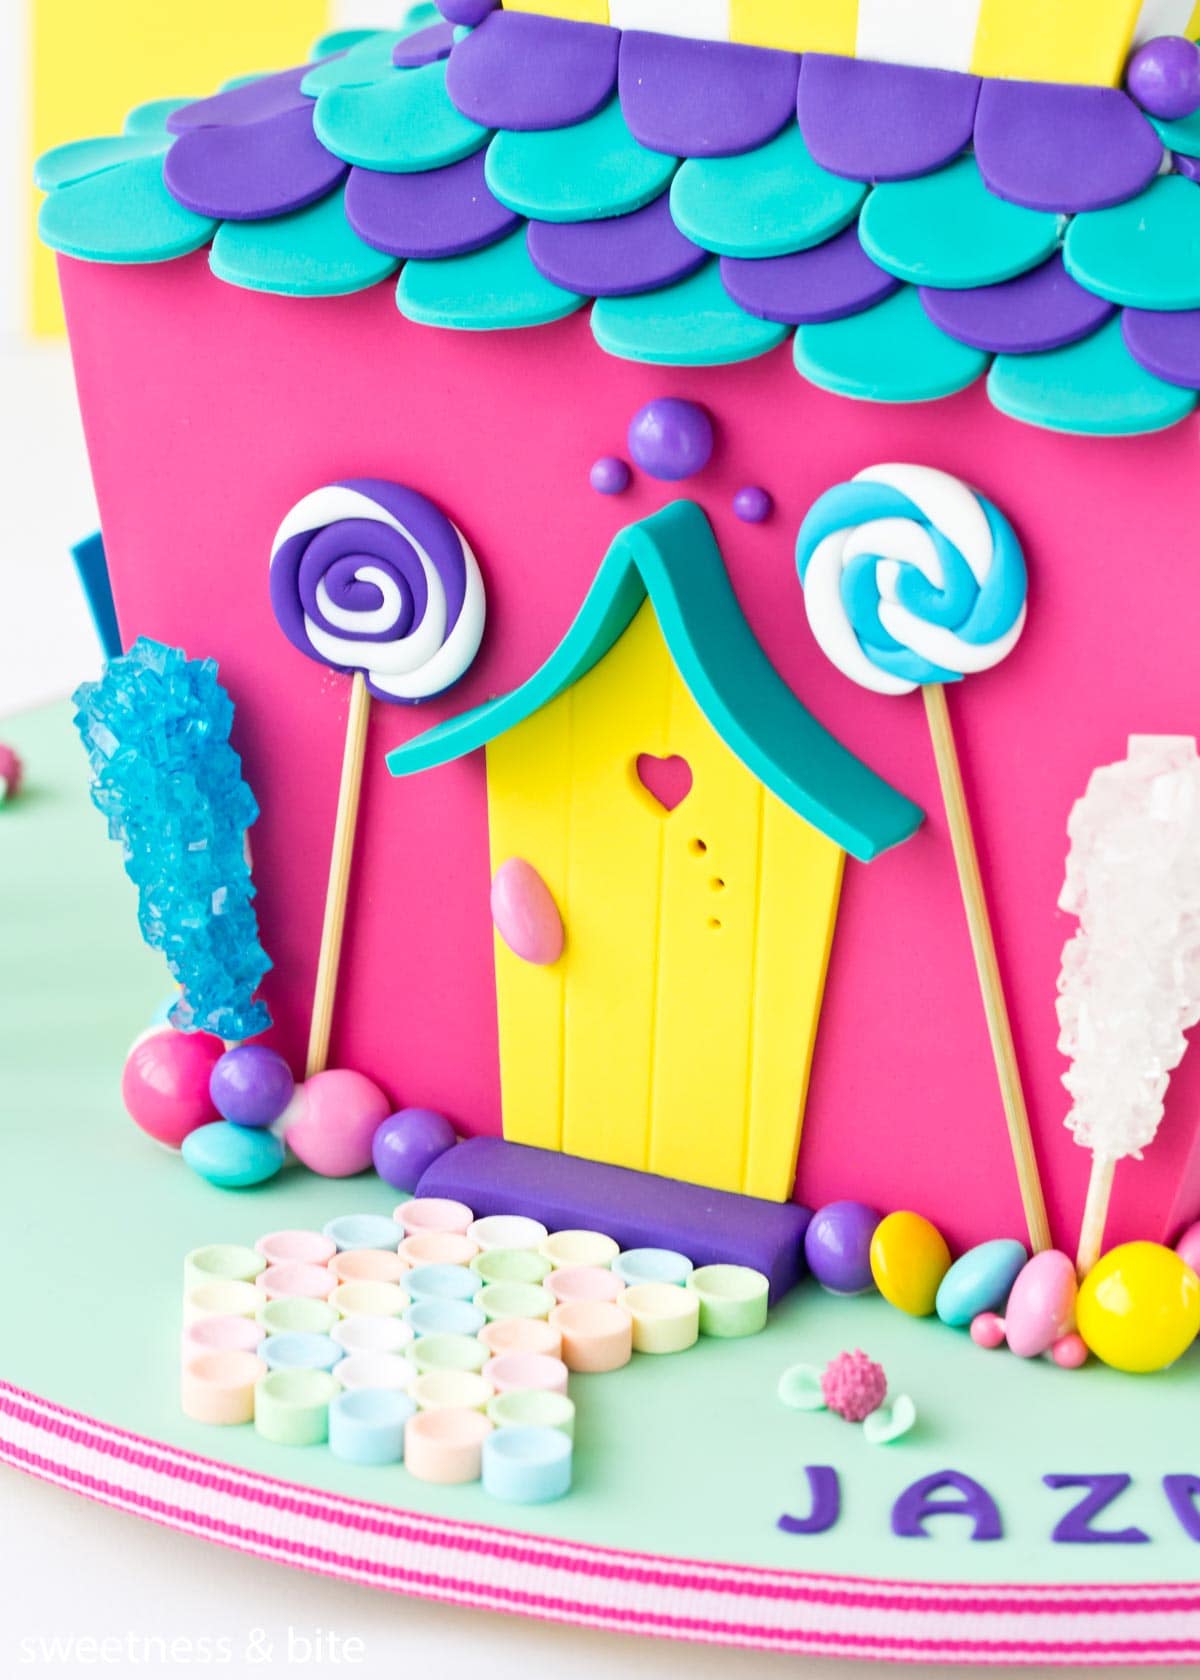
Shortening
Sticky Factor: 2/5
While I wouldn’t exactly call shortening a “glue” it can be good in certain situations for attaching pieces of fondant (it’s also my go-to for attaching fondant to a ganache-covered cake).
Best for: Shortening can be useful for attaching flat, soft pieces of fondant together (like fondant cut-outs on a fondant covered cake). It’s good for attaching things like fondant stripes where you might not be sure exactly where they need to go, as the pieces can be easily removed or adjusted without leaving visible glue marks behind. Any excess can be wiped off, and the residual shortening is basically absorbed into the fondant. This is really the only “glue” mentioned here that won’t leave sticky or super shiny marks behind if you have a placement whoopsie.
How to use it: Easy, just rub a thin layer of shortening onto the back of the pieces you want to attach and slap ’em on. It’s best to use a soft shortening like Crisco for this, as it will spread smoothly.
What to watch out for: As I mentioned, this isn’t the stickiest of adhesives, so if your pieces just aren’t sticking, you’ll want to try another method.
Liquid Glucose or Corn Syrup
Sticky Factor: 3/5
If you’ve used either of these before in your baking, you’ll know they’re sticky af. Thick syrups derived from corn or wheat, they’re generally interchangeable and used in baking and icings. Due to the fact they’re sticky, they can also make pretty good edible glues.
Best for: I don’t tend to use these for glueing figurines or different parts of decorations together because they don’t set fully, but they are great for things like sticking fondant to a cake board, or attaching soft, flat fondant decorations to the sides of cakes.
How to use: Thin the syrup down slightly with some hot water, to make a glue consistency. Use a paintbrush or pastry brush (if you’re putting it on a cake board) to brush it onto the surface.
What to watch out for: Keep in mind that these tend not to set completely, so don’t use them anywhere that might get bumped or that might slide off.
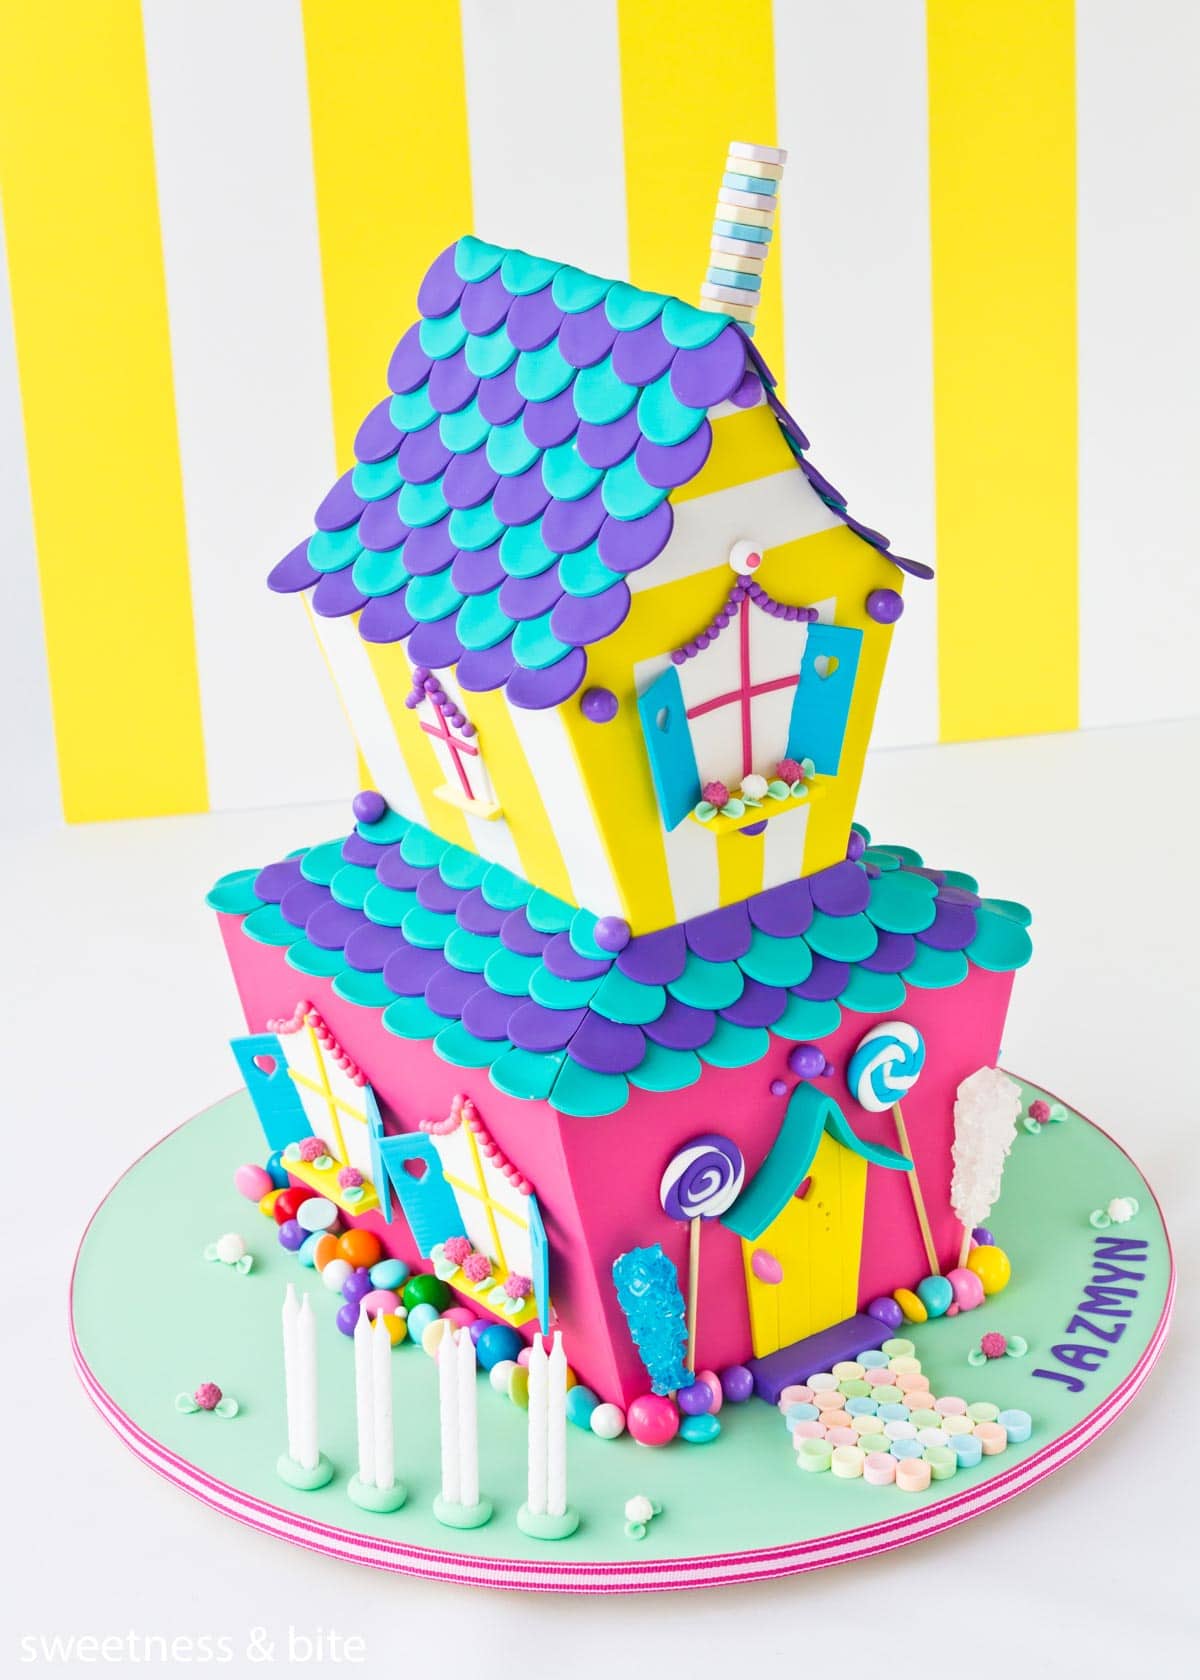
Here are a couple more final examples of cakes made with different edible glues.
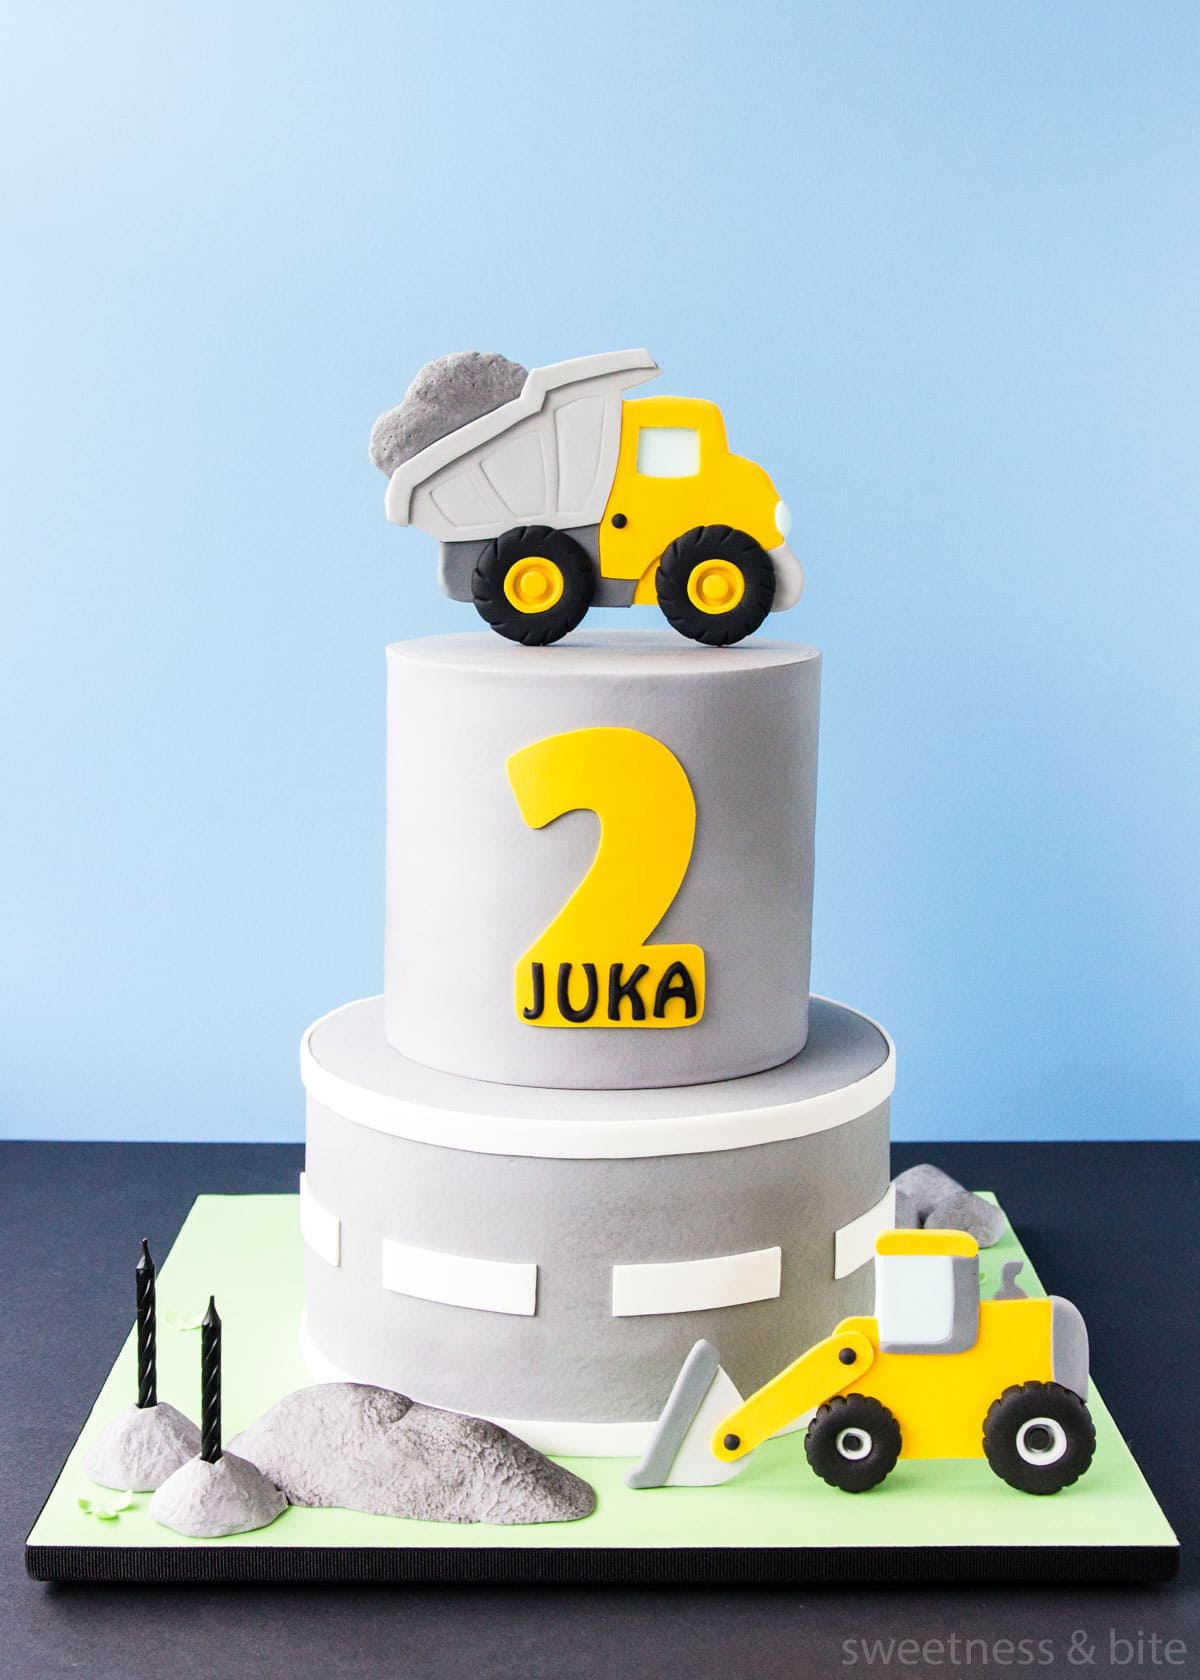
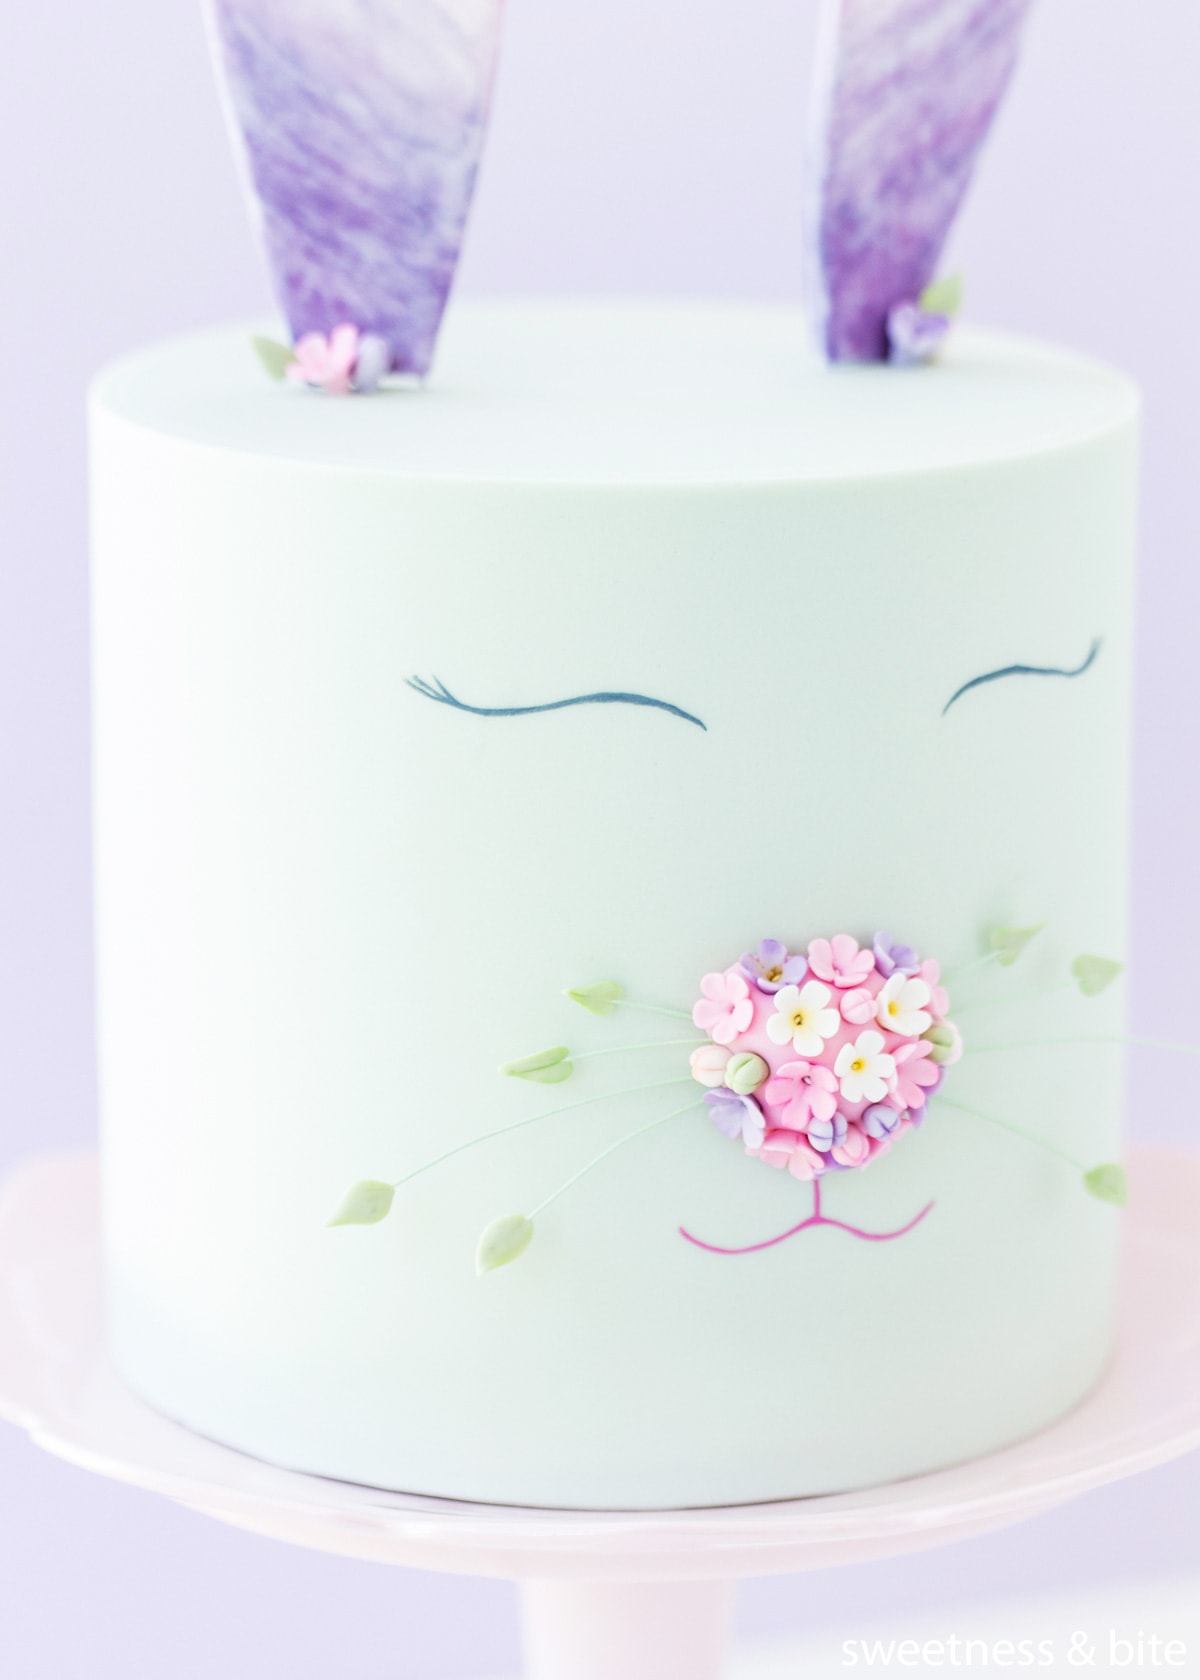
So there you have it, all the examples I could think of for how to stick fondant to fondant and any other adhesive needs you may have in your cake decorating.
What’s your favourite edible glue? Can you think of anything I’ve missed? Let me know in the comments!
Happy decorating!
xx Natalie

Thank you! Just made a fondant rainbow for my granddaughter’s birthday cake (Troll’s) and used royal icing to glue the different colors of rainbow together which left a small white line between & wasn’t very pretty, made another using edible glue I made and it turned out great!
Tricia
Hi Tricia, you’re so welcome! I’m glad it turned out better for you than the royal icing did. And I hope your granddaughter had a wonderful birthday! 💜
Hi! I’m about to use fondant to decorate the sides of my son’s cake and I’m wondering if I can premake them and use hardened fondant or if its best to make the fondant fresh so its soft? Thanks so much!
Hi there, I’m so very sorry, your question got buried in my spam comments folder and I’ve only just found it. I know I’m far too late now, but I wanted to reply anyway in case it is still of help to you, or others reading this in the future.
In general, if you want a fondant decoration to be flat, and stay flat, you can add a hardener and make the decorations in advance. If you’re placing them onto a cake that has a moist icing (buttercream, cream cheese frosting, etc.) then it’s best to place the hardened pieces on at the last minute, as they will start to soften with the moisture from the icing.
If you want your fondant decorations to curve against the sides of the cake, or conform to the shape of the cake in some way, then it’s always best to make them fresh and place them on the cake while the decorations are still soft (again, if you’re using a moist icing, it’s best to add them close to serving as they will get sticky with the moisture from the cake.)
For more information on storing fondant decorations that are made in advance, you might want to check out this post, which also talks about keeping fondant decorations soft for a little while, if you want to make them slightly in advance.
Again I’m so sorry for the incredibly delayed reply, and I hope your cake went well in the end! 💜