How to Colour Ganache
This post may contain affiliate links to products I recommend. I receive a small commission at no cost to you if you make a purchase using my link.
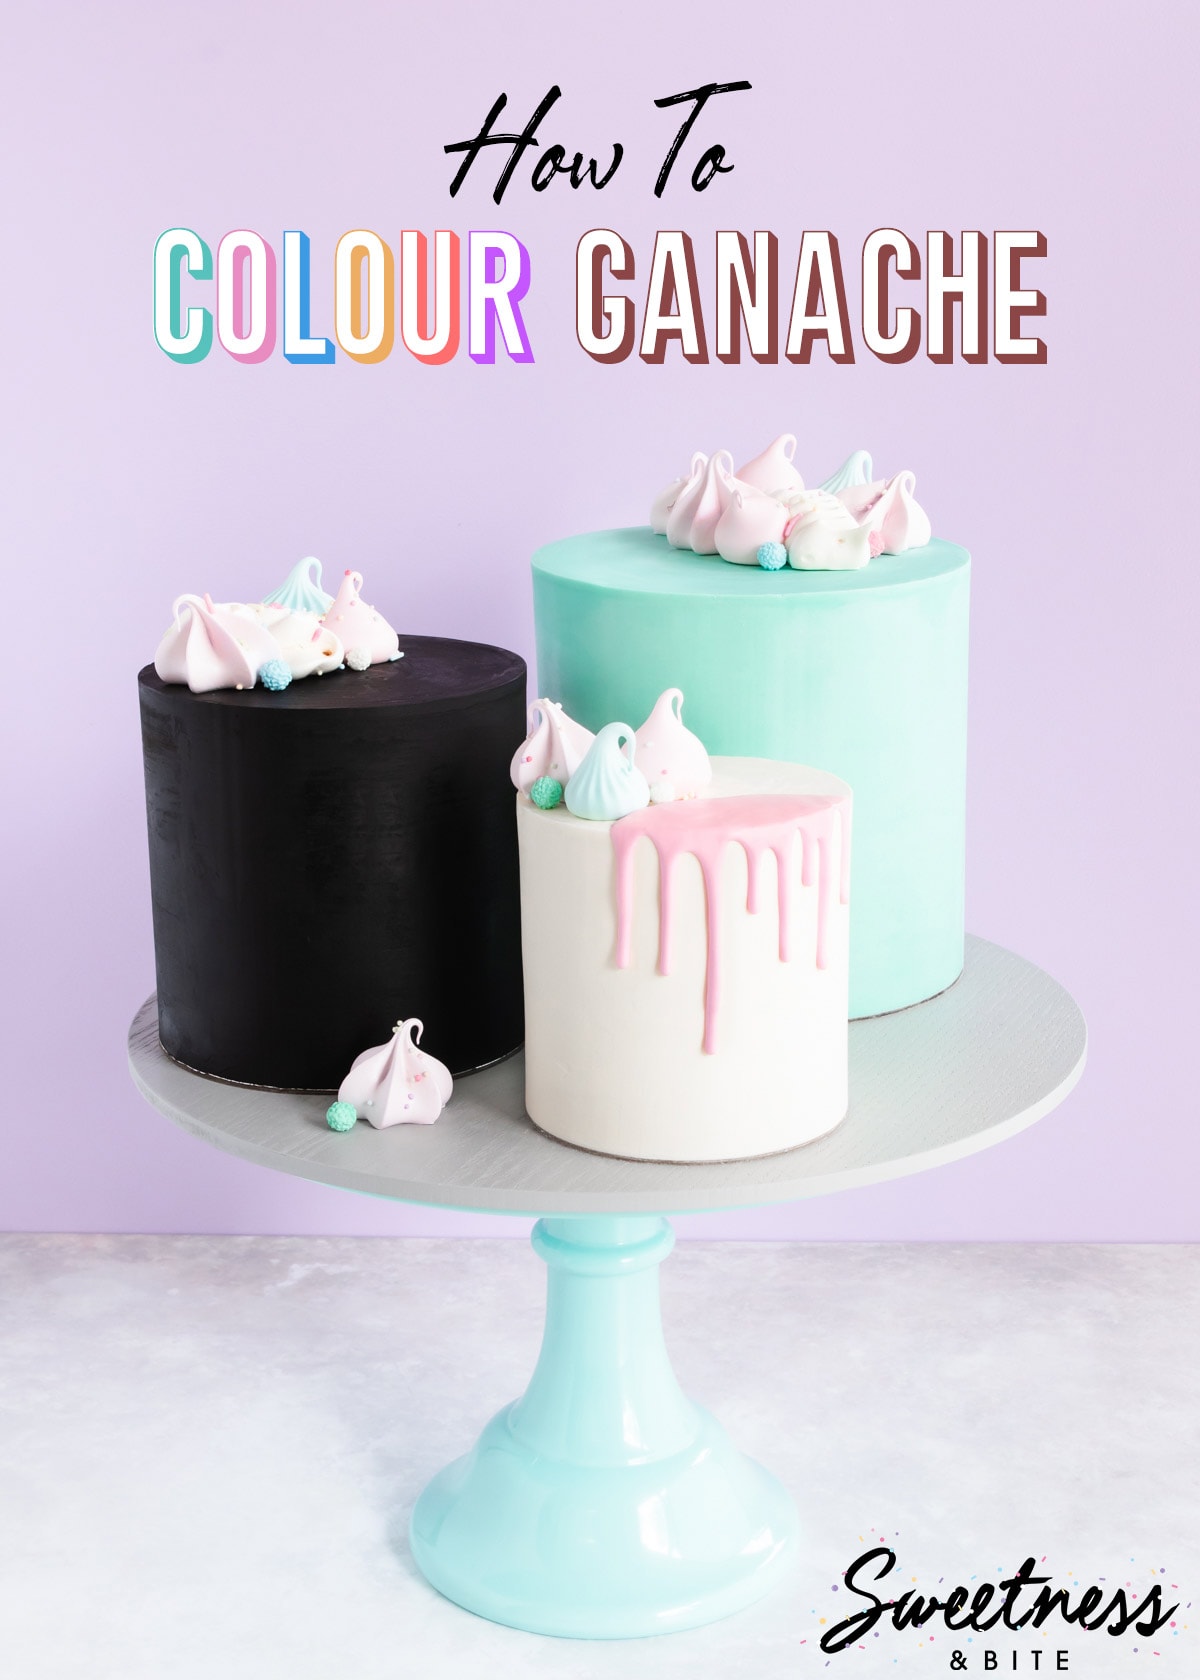
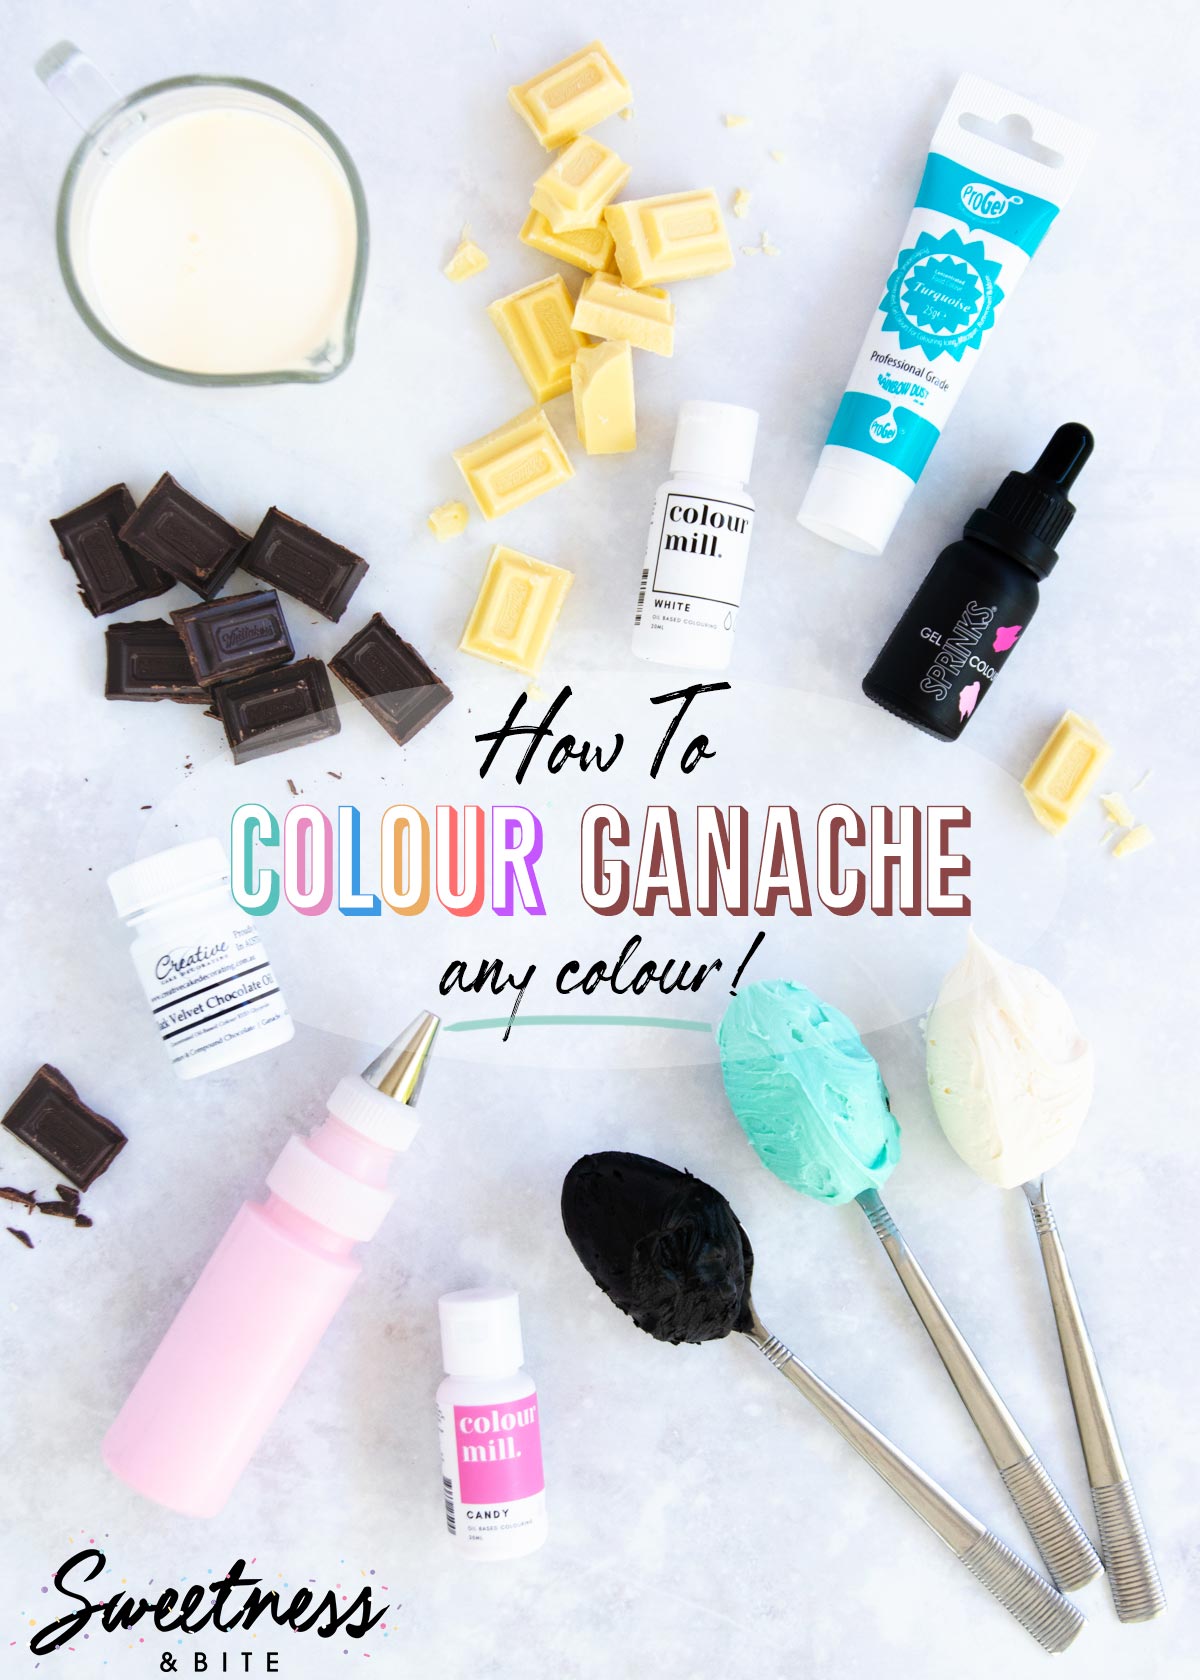
This is the ultimate guide to colouring ganache! Find out how to colour white chocolate ganache, how to make black ganache, how to make white chocolate ganache whiter, how to make a coloured ganache drip, and the best colourings to use in ganache plus so much more!
Years back, when I was in my early days of decorating with ganache, I wrote a weird little blog post about an experiment I did with colouring ganache. I tried a few different colourings just to see what would happen. I took pictures and put them together in a post, just in case anyone was interested. For reasons unknown to me, it still gets traffic, even though I had no idea what I was doing, and it was never intended to be a tutorial.
Now that I’ve been successfully colouring ganache for a while, it’s time to do a proper tutorial!
Because I don’t like to do things by halves, I’ve decided to cover a lot of different ganache colouring info in this post. So I’m adding a table of contents below in case there is one particular question you need answered and want to jump down to that.
If you’re new to making coloured ganache though, I highly recommend reading through the post first as you’ll get a lot of extra tips and info along the way!
Plus, for those who like to learn by watching, here’s a video showing you how I made each of the different colours of ganache covered in this tutorial.
Anyway, let’s get into it, shall we?
How To Colour White Chocolate Ganache
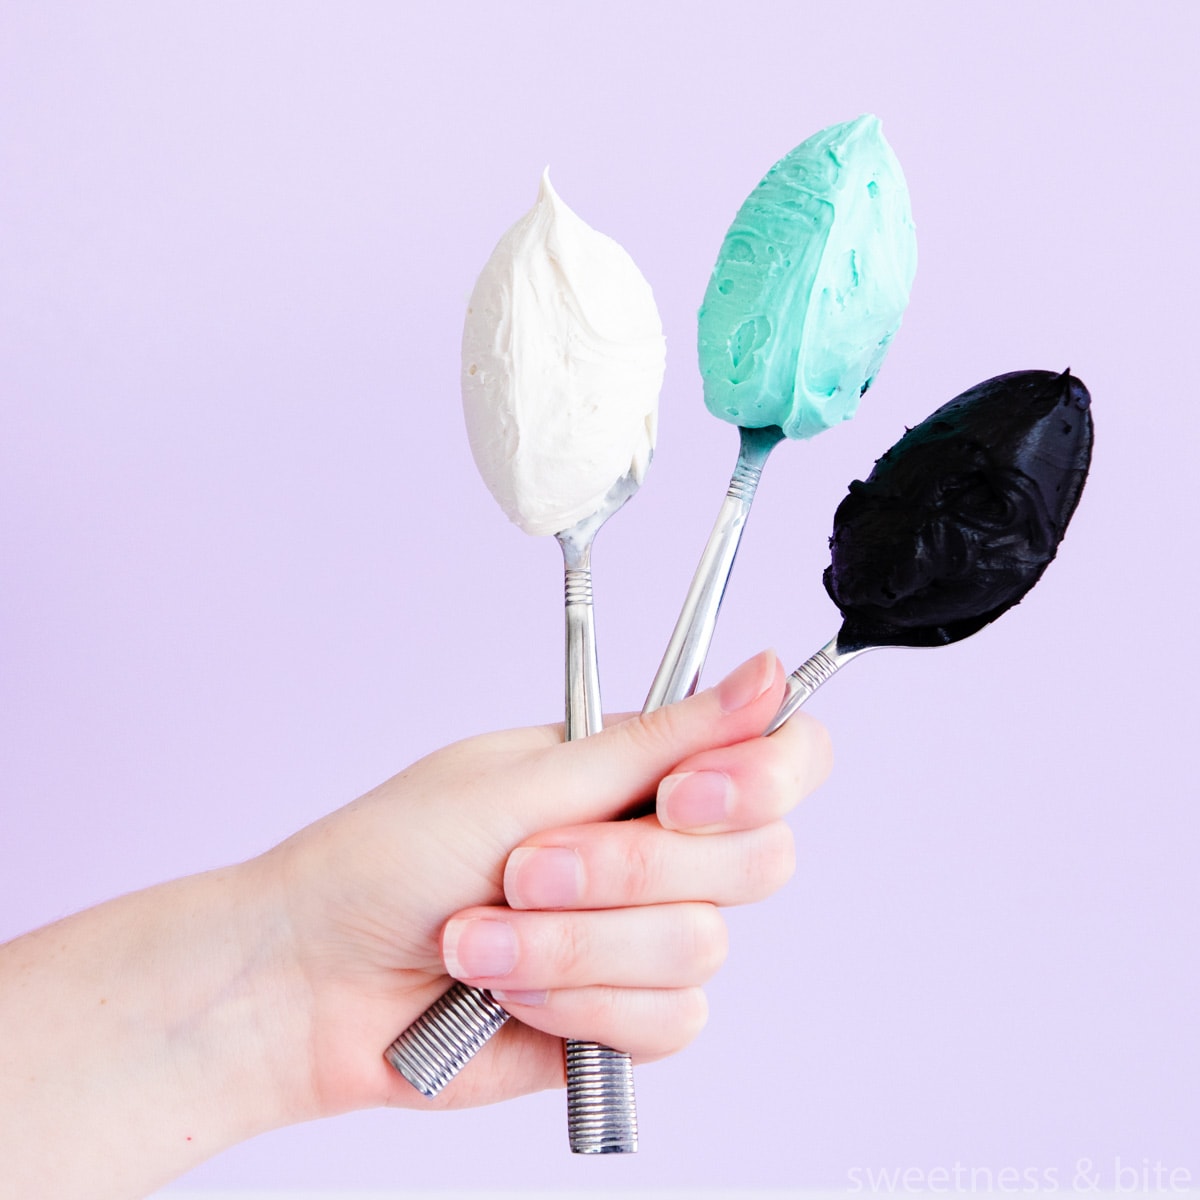
We’ll start out with a quick bit of background info before we talk about how to make the ganache.
What is the Best Type of Food Colouring to Colour Ganache?
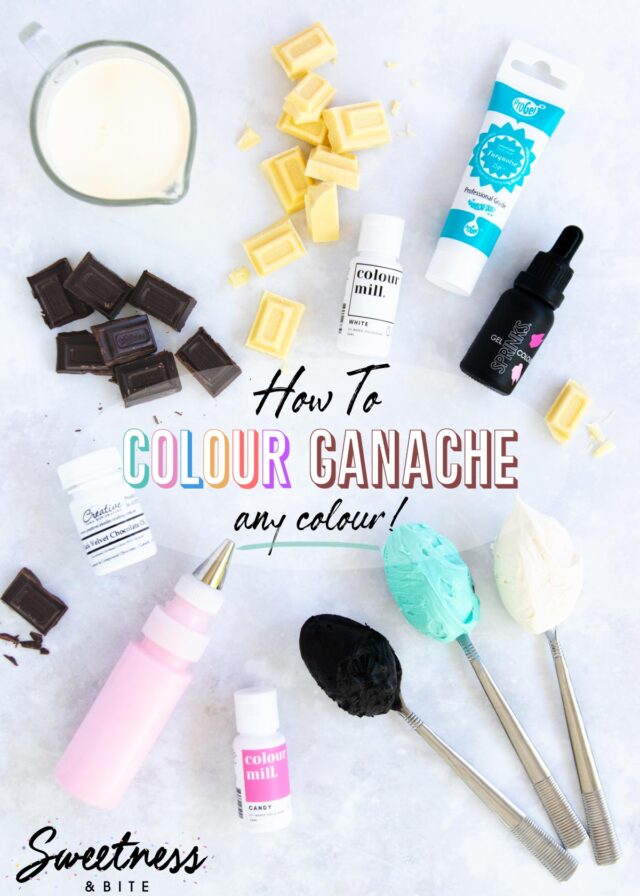
I have used water-based gel colouring, oil-based candy/chocolate colourings and powder colourings to colour ganache, and gel and oil based colourings are my preferred options. All three will do the trick though, so we’ll talk about the pros and cons of each.
Water-based gel or paste food colourings are colourings most often used in cake decorating for colouring buttercream and fondant. They are highly concentrated colourings in a gel or paste base, so you generally need only very small amounts to get an intense colour. They’re the colourings I use most often for ganache, as I usually have a good selection of colours on hand.
I’ve seen some people say they’ve had ganache split when using gel colourings, I haven’t had this happen to me personally, so there may be other factors at play here. While it seems like a no-no to add water-based colouring to chocolate, remember that’s only a rule for chocolate on its own. If you add a small amount of water to melted choc, yes it will seize. But ganache contains cream, which contains… water. Ganache is an emulsion of chocolate and cream, so adding a water-based food colouring won’t make it seize.
Popular brands of gel or paste colouring are Americolor, Chefmaster, Pro Gel Sugarflair and Sprinks. I have colours from all of these brands and you really can’t go wrong with any of them.
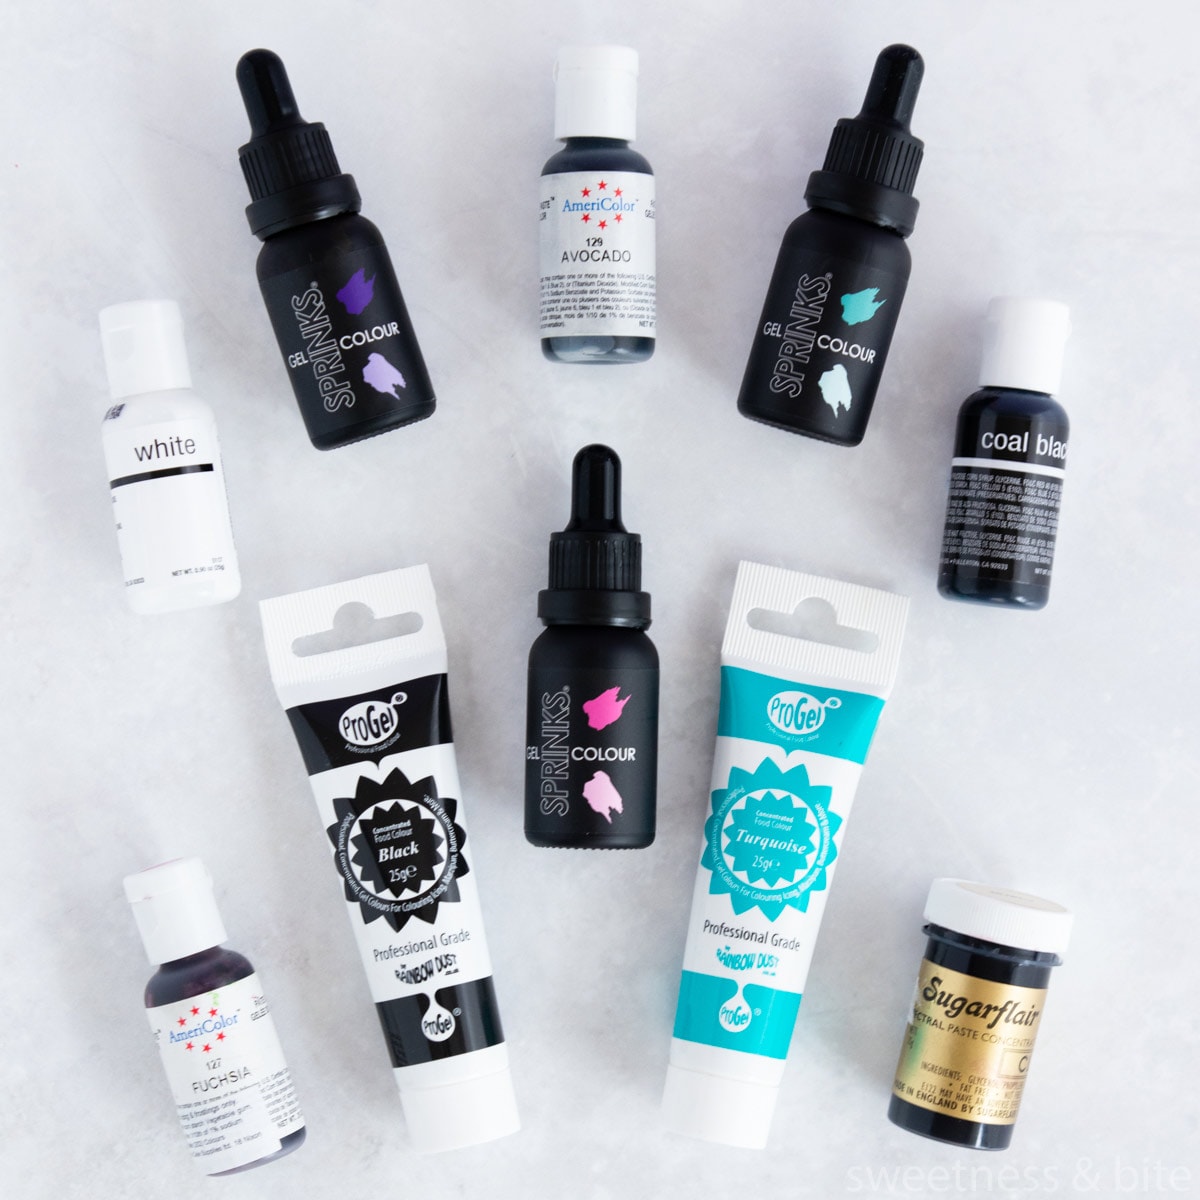
There are also water-based liquid food colourings, I don’t recommend these for colouring ganache as you would need to add a lot to get enough colour, and this will affect the consistency of your ganache. It can also cause the ganache to split as it will throw off the balance of water and fat. Definitely avoid liquid colours for your ganache!
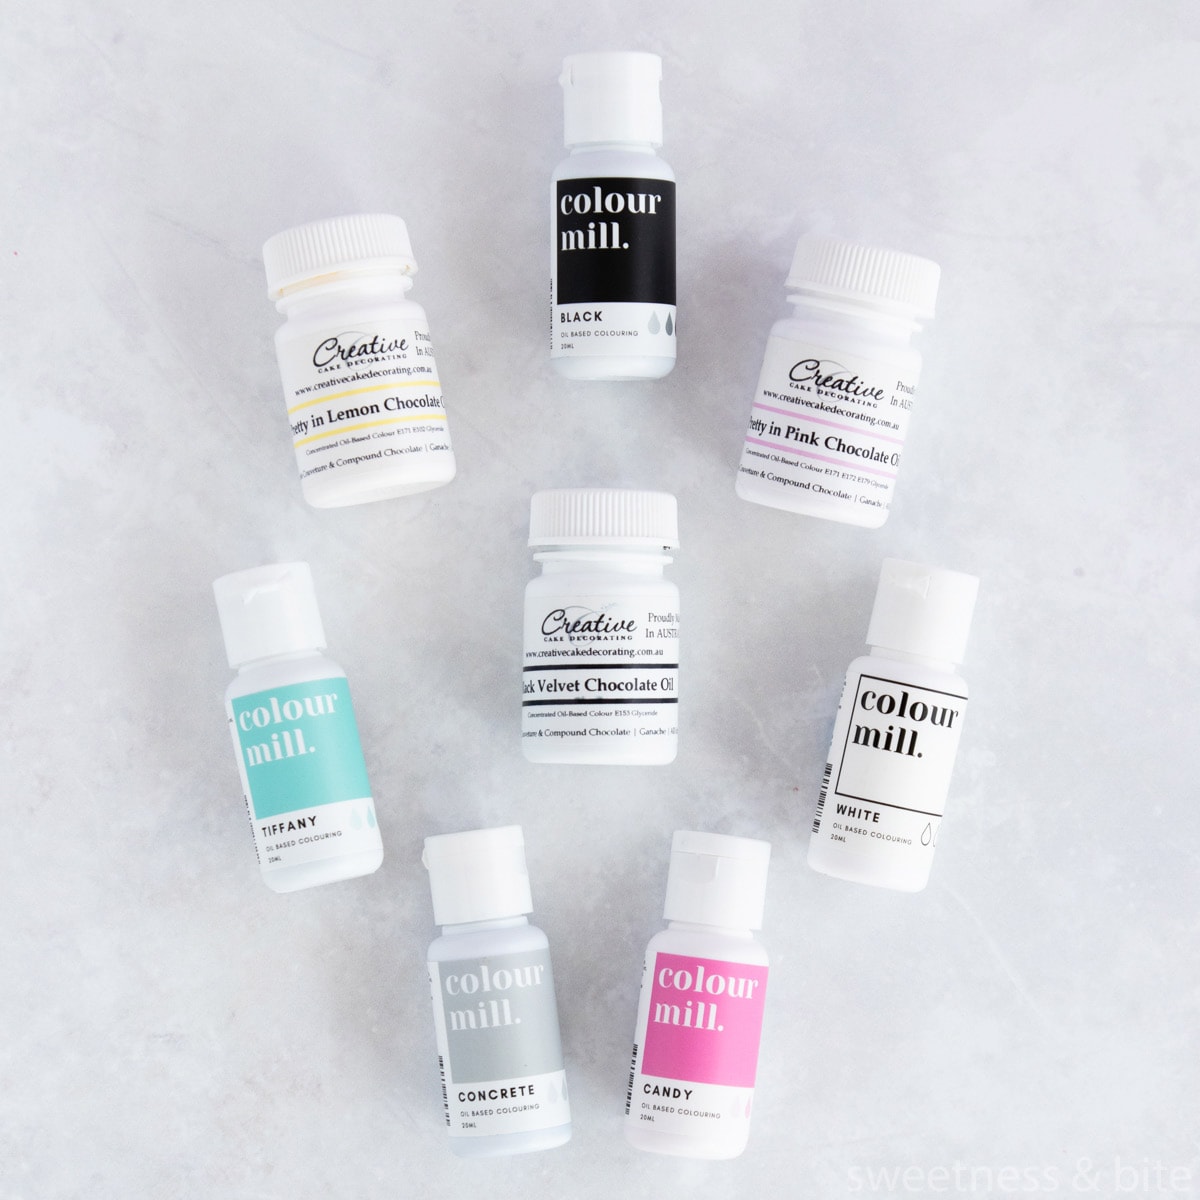
Oil-based colourings, also known as chocolate colouring or candy colouring, are a great choice for colouring ganache. They are, of course, colourings in an oil base, and I find that these colourings blend nice and easily into the ganache, and it tends to be easier to get more vibrant colours.
Some popular brands of oil-based colourings are Colour Mill, Creative Cake Decorating oil colour and Americolor Candy Colouring.
Powder colourings are often used in chocolate-making to colour white chocolate. They are also highly concentrated. To combine properly with ganache they need to be mixed into a small amount of cream first, to make a paste. Even then, I’ve found that some powder colours don’t dissolve fully and can leave flecks of colour in the ganache, so keep that in mind if you decide to use powder colours.
You will need to make sure you’re buying food-grade powdered colourings for this and not standard petal dusts that are used for cake decorating. Generally, those are intended for decoration only and not for edible items. Make sure the powder you’re using states that it is edible. Don’t just take the shop or seller’s word for it – check the packaging or the brand’s website to be sure. If you’re in the US, you’ll need to look for FDA-approved powders.
Some popular powdered food colouring brands are Rainbow Dust and ROLKEM.
(ROLKEM is not certified as edible in some countries, so check with the food authority where you live before purchasing).
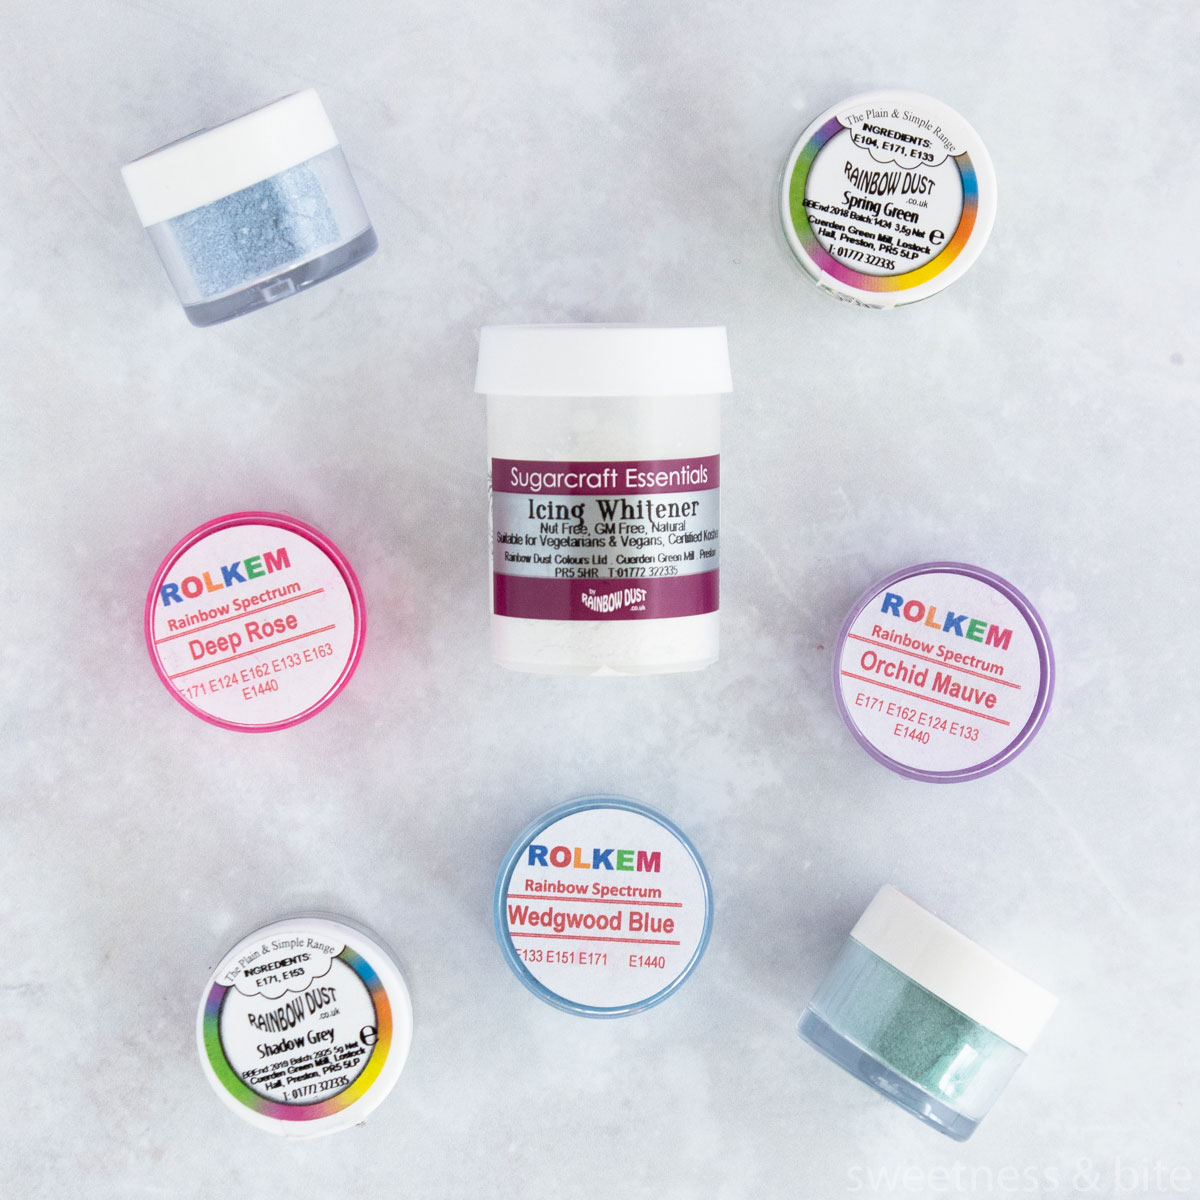
If you need to, you can mix the types of colouring you use. I sometimes use both oils and gels in the same batch if I’m trying to get a specific colour.
I haven’t tested out any brands of natural food colourings for colouring ganache, so that’s not something I can make recommendations on. Having said that, if you’re making a fruit-flavoured cake and using matching colours on the outside, you can experiment with adding freeze-dried fruit powders to your ganache, as they’ll give you a head-start on the colouring. Just make sure you pass the powder through a fine sieve to remove any seeds or lumps before adding it to your ganache.
Quick Ganache 101
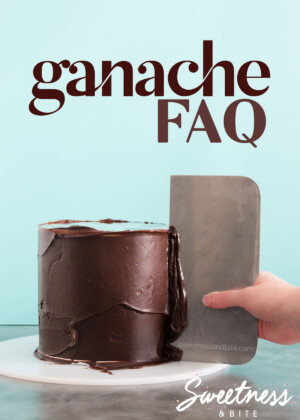
For a full rundown on how to make ganache and how to cover a cake with it, I recommend checking out my Ganache Tutorial and Ganache FAQ posts. They’re full of all the info a beginner to ganache will need to know.
For the sake of brevity (although, when am I ever brief? 😂) I won’t rehash it all here, but long story short, ganache is an emulsion of cream* and chocolate that can be used to cover a cake.
*To be precise, ganache can be made with other liquids, not just cream, but for the purposes of this tutorial, I’m talking about ganache made with cream.
The chocolate can be compound chocolate or couverture chocolate (or as I like to call it “real chocolate”). Couverture choc is made with cocoa butter, compound choc is made with various types of vegetable oil.
In my opinion, couverture choc tastes better, but compound choc makes a more stable ganache (less likely to split or separate). I often use a combination of both types of chocolate. I cover this a bit more in the ganache FAQ post.
The cream you need is known by different names in different countries. Here in NZ it’s just regular cream or whipping cream. In other countries, it may be known as heavy whipping cream, single cream or full cream. Basically, you need a pourable, unwhipped cream that is around 35% fat.
Ganache isn’t a recipe as such, but a ratio of chocolate to cream. For dark chocolate I use a ratio of 2:1, milk chocolate is 3:1 and white chocolate is 3 or 4:1. Ratios need to be adjusted depending on climate and room temperature, definitely check out my full ganache tutorial if you want to know more about that.
You can add flavourings to your ganache, but if you’re colouring it too then you’ll probably want to stick to colourless flavourings like oils and extracts so they don’t affect the colour of the ganache, or use coloured flavourings that match the colour you’re wanting to make.
Making The Ganache
When I’m using coloured ganache on the outside of a cake, I will generally use plain white chocolate ganache (or buttercream) as a filling, and then just use the coloured ganache on the outside. I’m not anti-food-colouring by any stretch of the imagination, but I do prefer to use less colouring when I can help it.
Generally, no one cares what colour the filling is, so I go with plain(er) on the inside, and pretty on the outside.
If I’m using ganache to both fill the cake and cover it with coloured ganache, I usually make one batch of ganache, then split it off into filling and covering amounts, and just colour the covering amount.
To work out how much I need for each, I use the Ganacherator. There used to be a Ganacherator spreadsheet, which unfortunately doesn’t seem to be available to download anymore, but the website I linked to has the basic function of the spreadsheet.
Use it to work out the total amount of ganache you’ll need to fill and cover the cake (by putting in the height of the cake, number of layers of cake, and size of the cake). This will give you the total amount of ganache you need to make (if you are also filling the cake with ganache).
Then change the number of layers to 0. This amount will be how much ganache you need to cover the cake, and this is the amount you will need to colour.
I’ll often round the amount up a bit because it’s better to have too much ganache than not enough. It’s tricky to colour match a new batch of ganache if you need to make more.
Please note: the Ganacherator will give you the amount of chocolate and cream that you will need to make your ganache, but it only gives a 3:1 ratio for white chocolate. In warm climates and during summer, you may need to increase the ratio of chocolate to 4:1 or higher to make sure the ganache sets firmly. For more info on ratios, see my ganache tutorial.
Making ganache is easy: all you need to do is heat the cream just to boiling point, add in the chocolate, and then once the chocolate has melted, stir it to create a lovely smooth ganache. If the chocolate hasn’t fully melted, you can put it back on the stove or microwave it in short bursts on medium power until it’s completely melted.
How to Colour The Ganache
Ok, this is (probably) the bit you’re here for and is the main point of this guide, so let’s get into it!
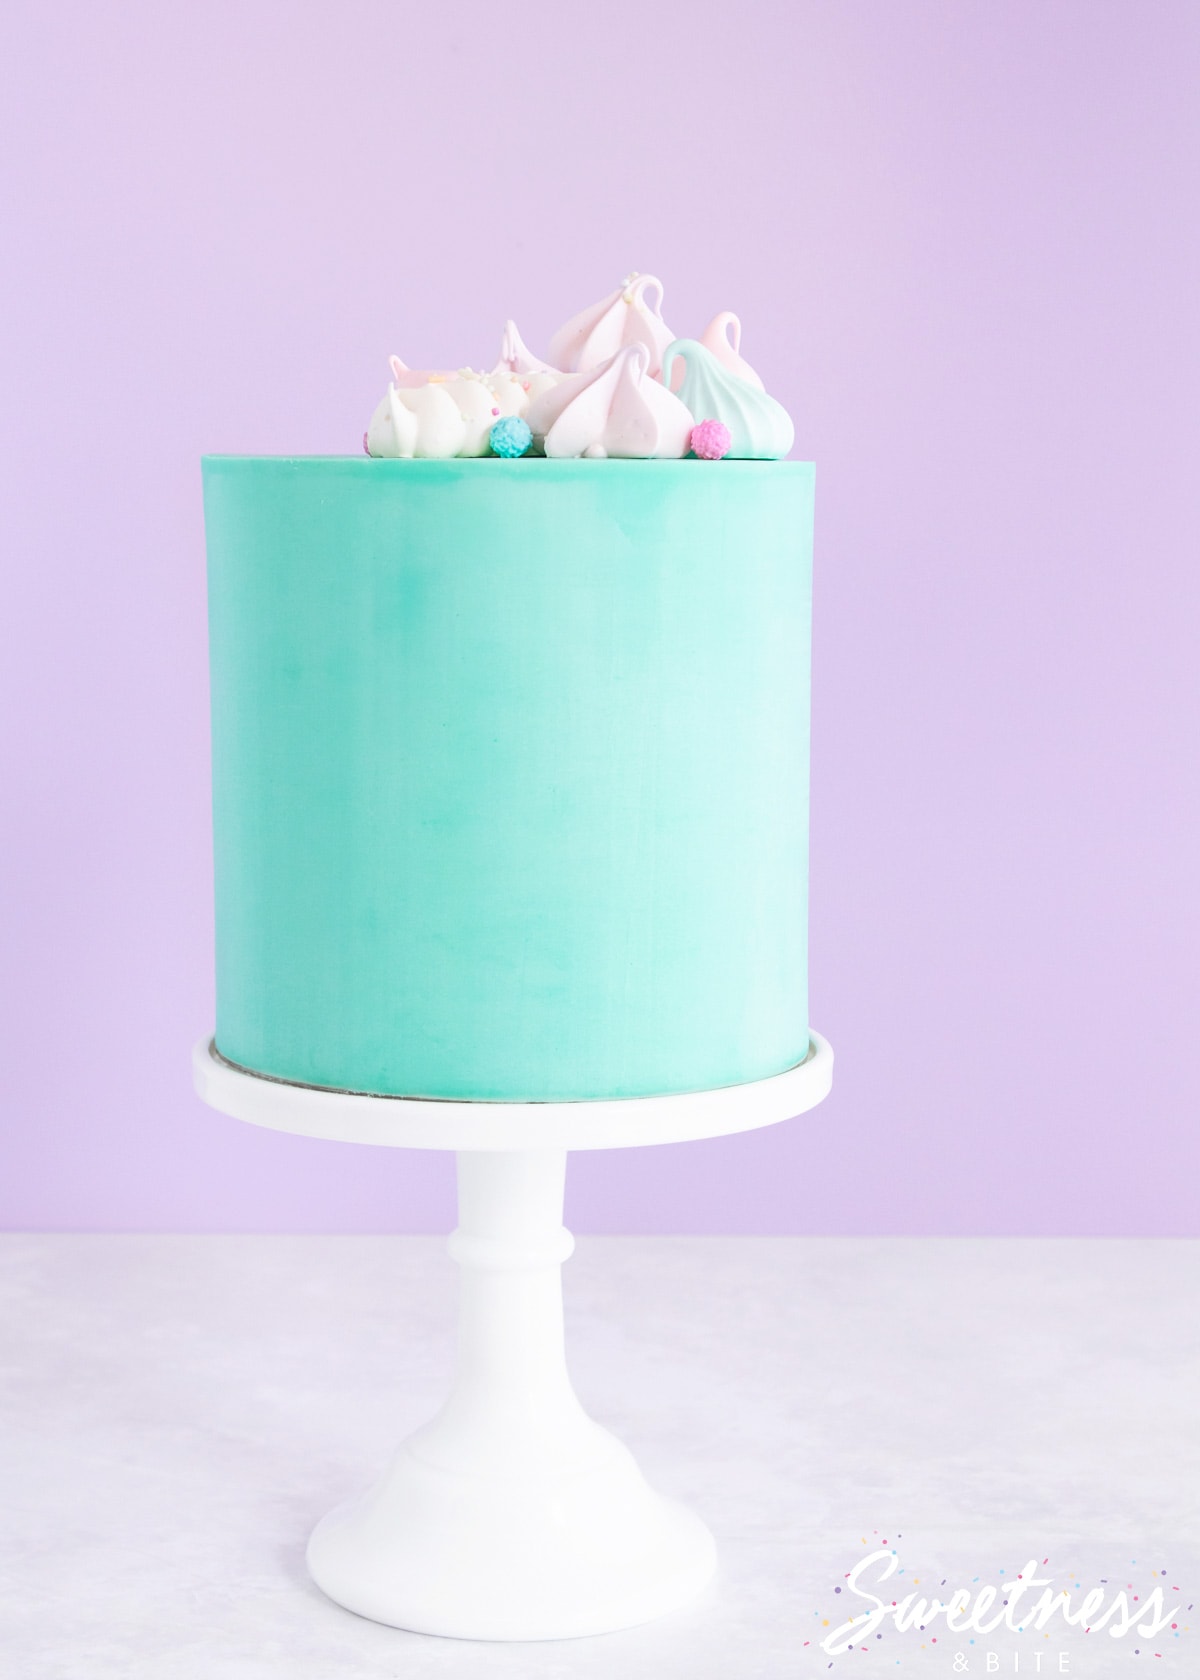
6″ round cake, 6″ tall
Filled with Swiss meringue buttercream
800g teal coloured white chocolate ganache to cover.
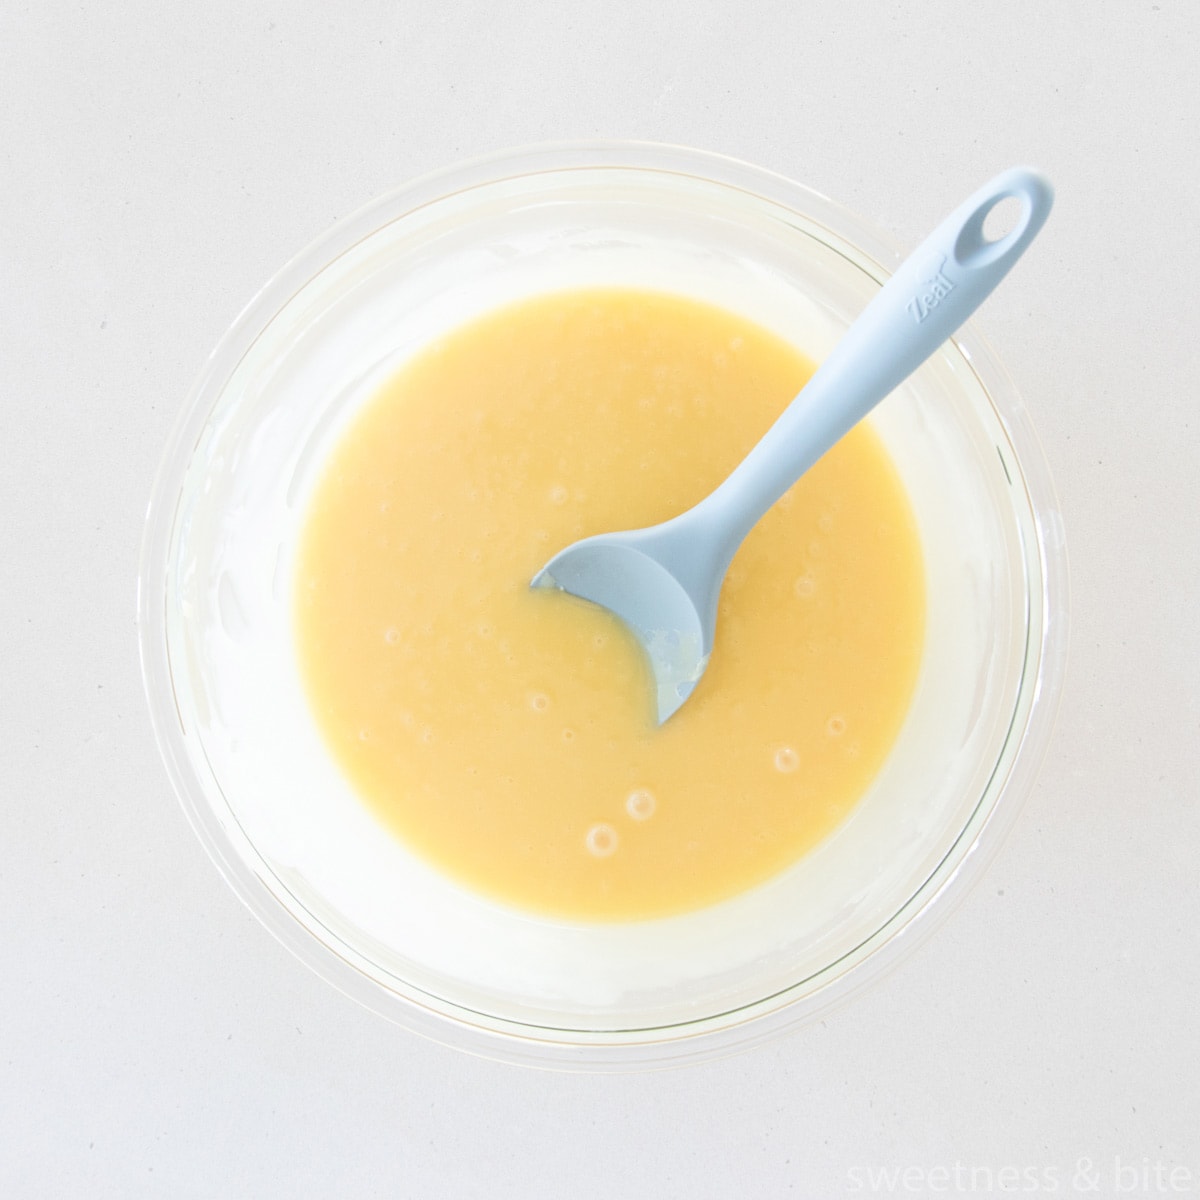
My preferred method for colouring ganache is to make the ganache, then add the colour to the finished ganache before it sets. Some folks find it easier to add the colour to the cream first, and that’s definitely an option, but as I mentioned above, you’ll have to guess how much colour to add, as the chocolate will change the colour once you add it in. So this is why I prefer to colour the completed ganache. Here’s what white chocolate ganache looks like when it’s just been made:
Start by adding a small amount of whitener (you can read more about that below in the section “how to whiten white chocolate ganache”). For this particular cake, I used Chefmaster white to whiten it and then Sprinks teal to colour it.
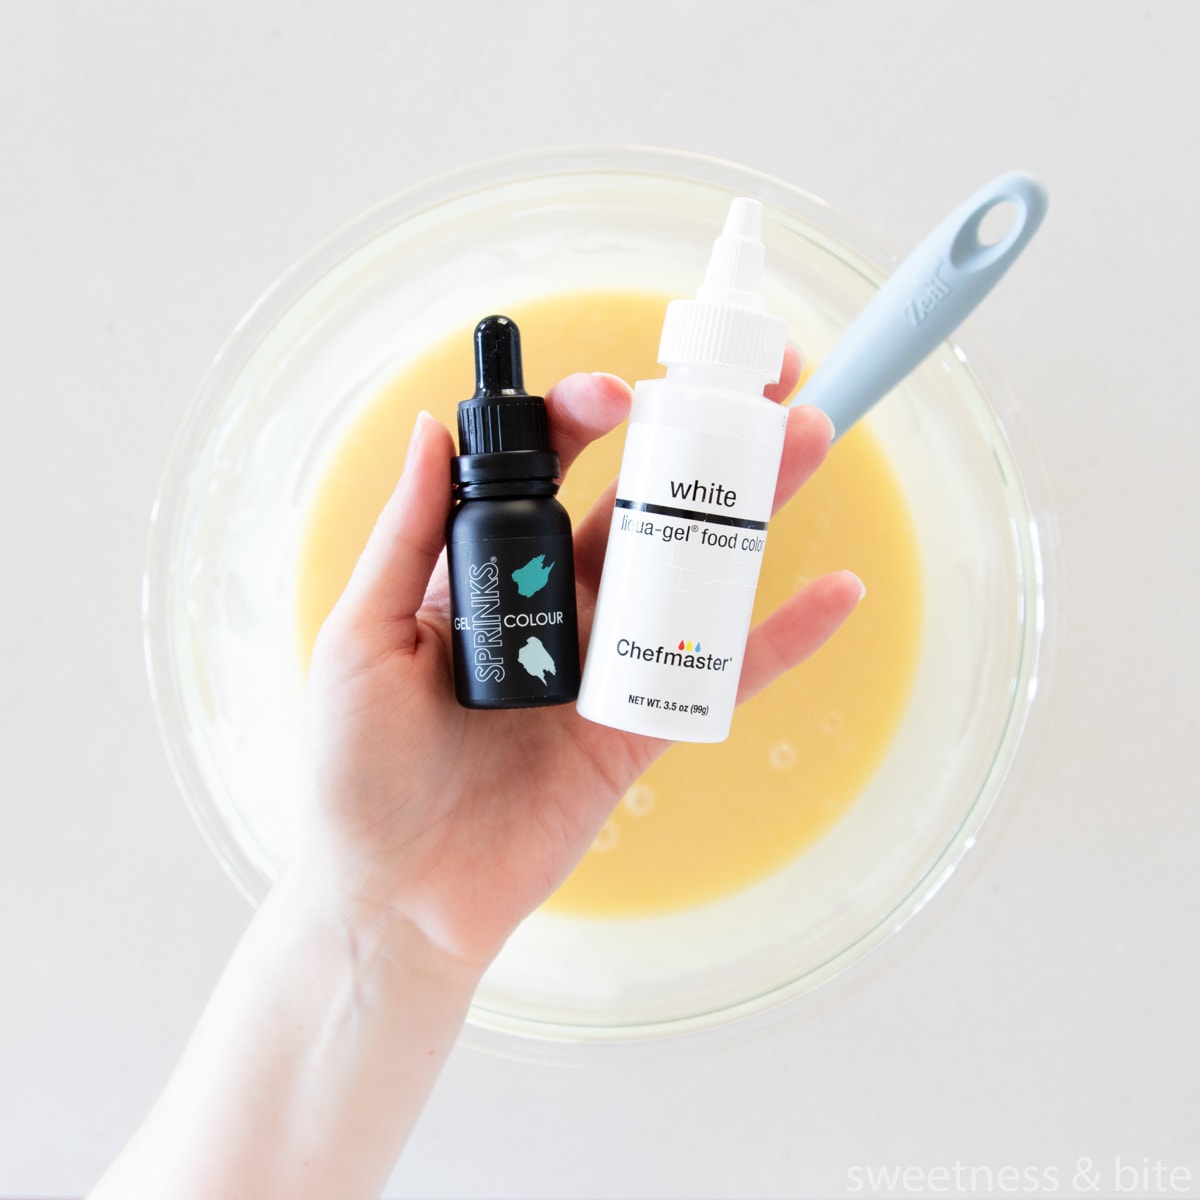
The colour you’re trying to achieve will dictate how much whitener you’ll need to add. For example, if you’re trying to make pink ganache, you’ll need to cancel out quite a bit of the yellow from the chocolate, otherwise, you will end up with a more orange or peachy tone. The same goes for blue, if you leave too much yellow, you will end up with green.
On the flip side, if you’re aiming for yellow, then hello, you have a head start! Other colours that contain yellow like orange and green (depending on the shade) will also be easier.
You’ll see below that I didn’t make this ganache super, super white – I’m aiming for teal ganache so a hint of yellow from the chocolate is fine in this instance.
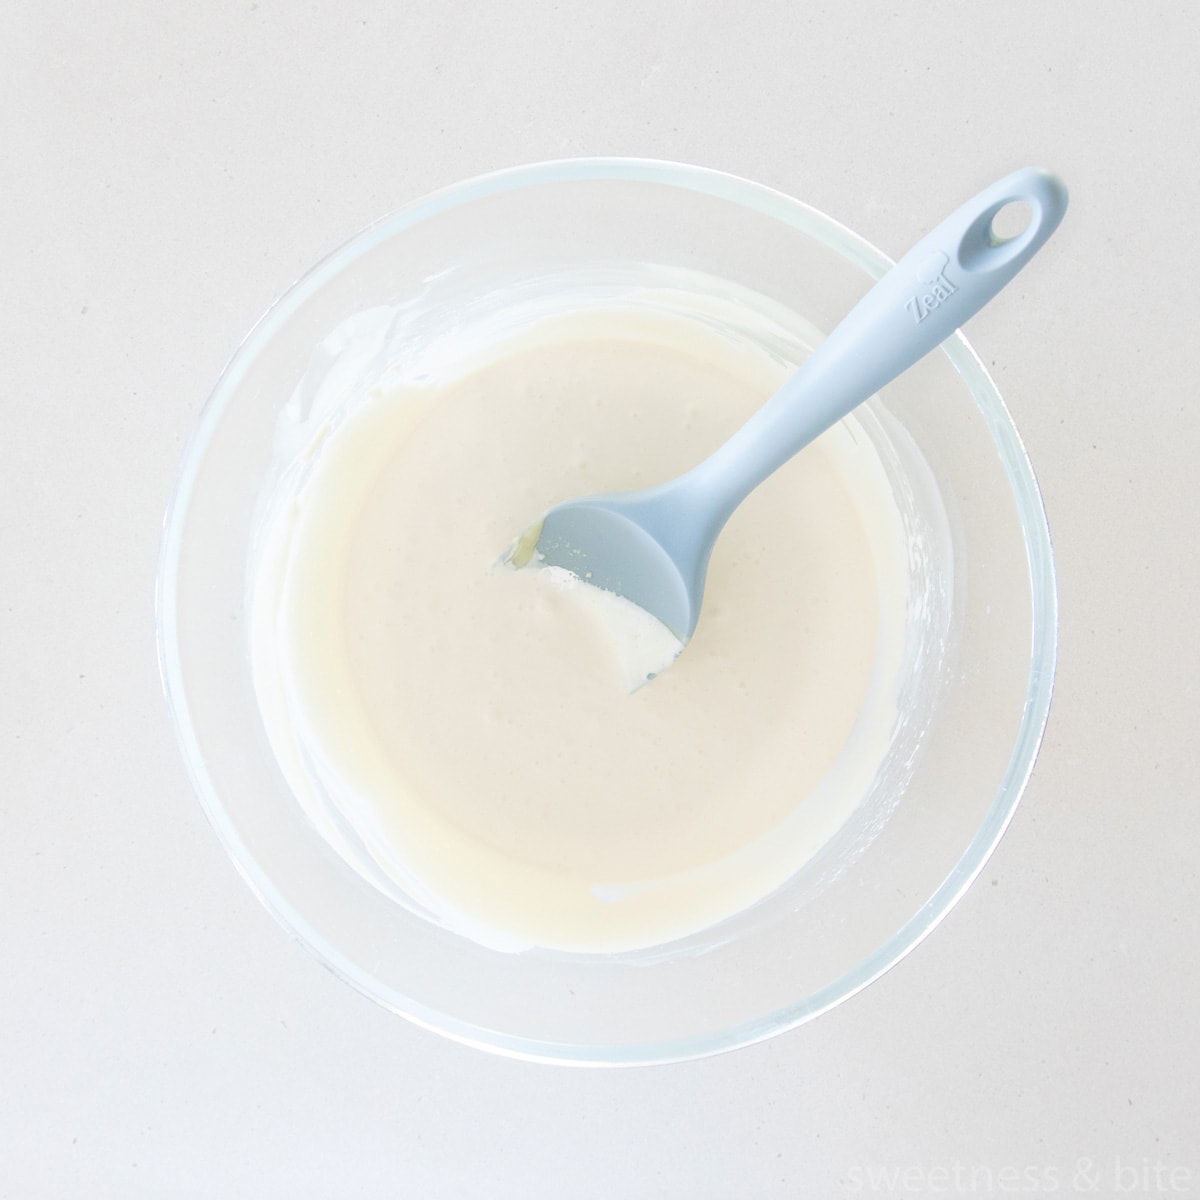
Once you’ve whitened the ganache, you can start adding your colour.
Start with a few drops of colouring, and add more as necessary to get the colour shade and intensity that you want. If you end up with a colour that is too dark, you can tone it down a little with more whitener (or add in some more uncoloured ganache, if you have some on hand), but as with most things, it’s easier to build the colour up than try and take it away.
If you’re nervous, or not sure how to get the colour you want, then start out by colouring a small amount of the ganache in a separate bowl. Once you’re happy with that, you can colour the rest to match, and then stir the initial small amount of ganache back in.
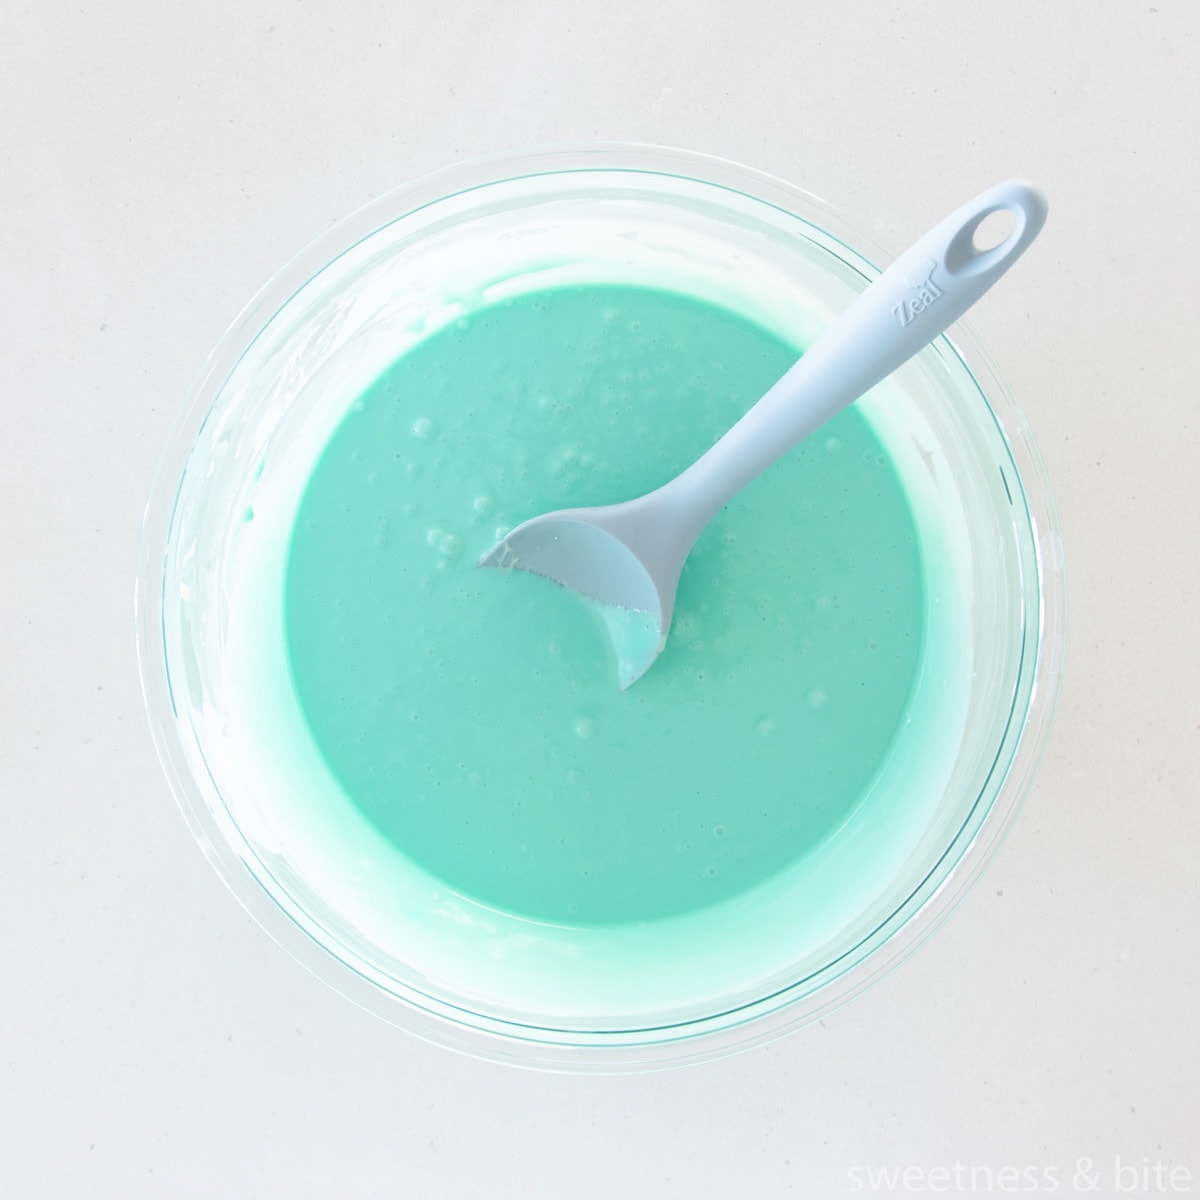
And there you have your coloured ganache! Now it’s time to let the ganache set, this helps with the consistency and also the colour sometimes deepens slightly overnight (generally not enough to make a noticeable difference, but I like to check it the next day anyway). Place plastic wrap directly on the surface of the ganache to stop a crust from forming.
Then you can soften the ganache to your preferred consistency, and get to ganaching your cake!
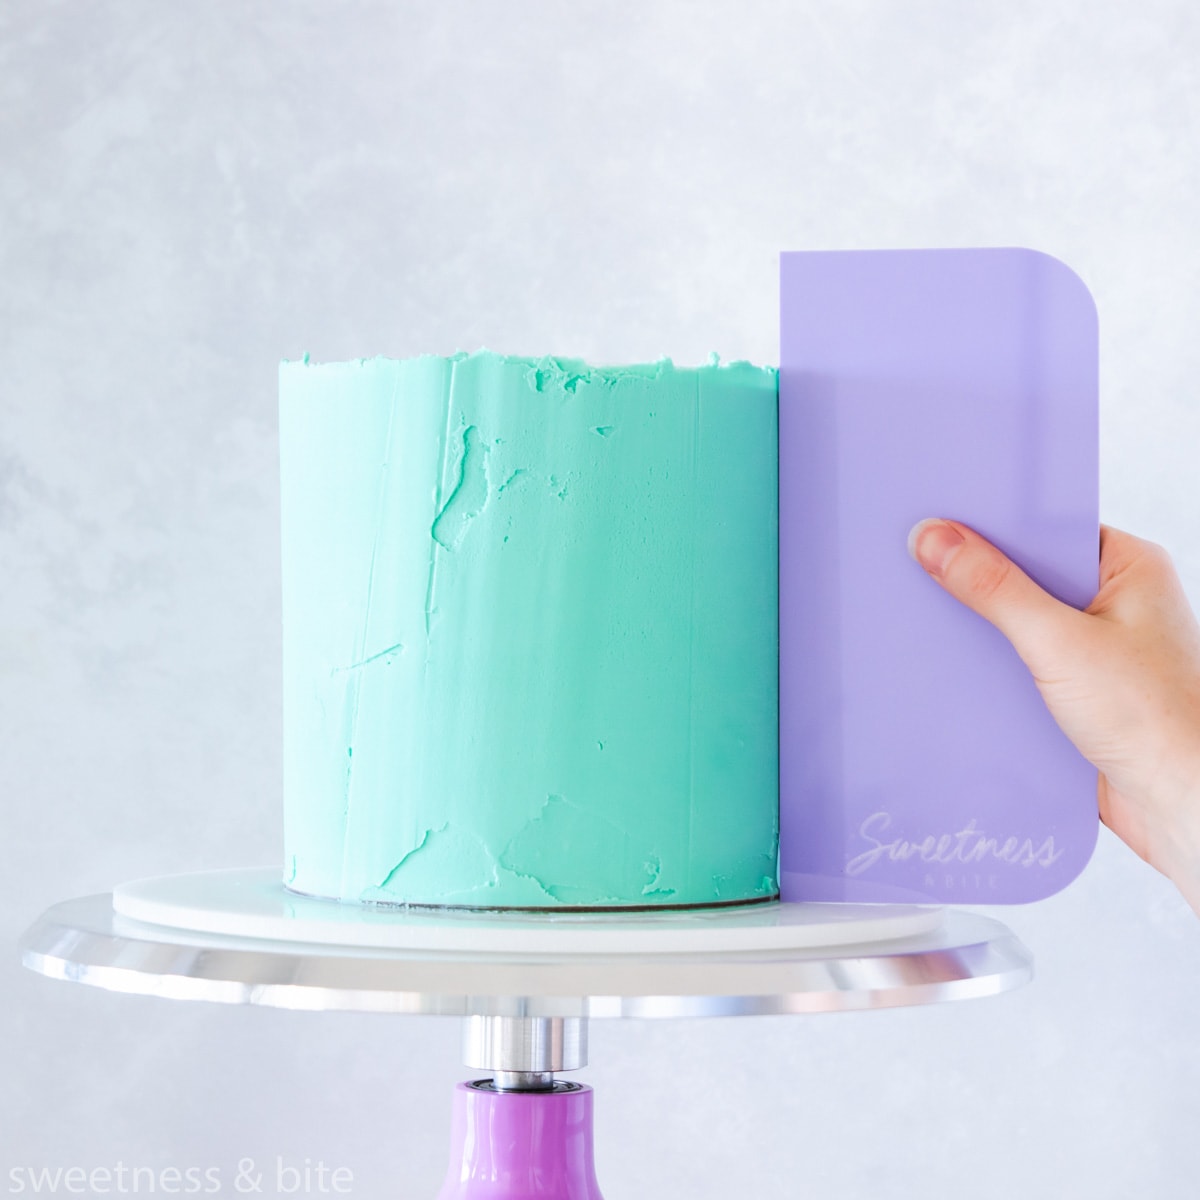
Here are a few more related subjects, for various ganache colouring needs:
How to Make White Chocolate Ganache Whiter
As we talked about above, white chocolate is white in name only and is generally a pale yellow colour. The shade of yellow varies depending on the chocolate, but often “real” white chocolate made with cocoa butter is more yellow than compound chocolate. To make white chocolate ganache truly white, you will need to add some white food colouring.
White food colouring is made using titanium dioxide, a widely used food additive used for whitening food. I personally prefer to use the smallest amount of whitener necessary to get an acceptable colour result, as using too much can make the texture of the ganache a little bit chalky.
My preferred whitener to use is Chefmaster ‘liqua-gel’ white food colour, which is titanium dioxide in a glycerine base, and it blends in easily into the ganache. It’s also very concentrated, so not much is needed to get a good result. Americolor “white-white” gel colour is another popular option. The Colour Mill white oil colouring isn’t quite as concentrated but is great for when you just need to lift the colour slightly.
Whitening the white chocolate ganache is easy, simply make your white chocolate ganache and then add in the white food colouring. Start with a small amount, mix it well, and then add more if necessary.
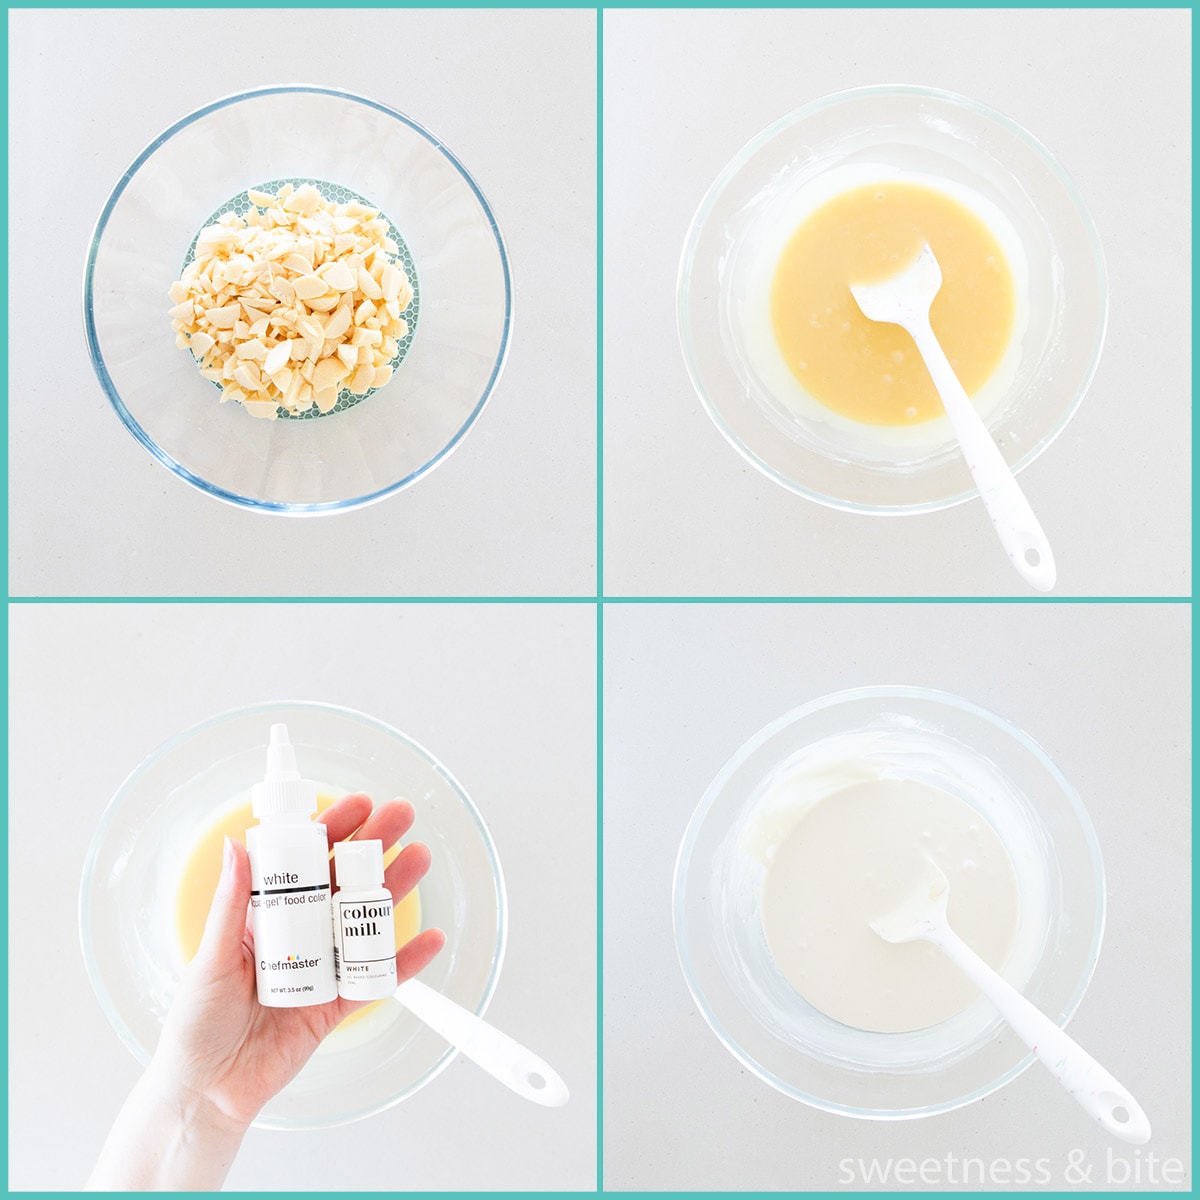
You can also add in a tiny drop of violet food colouring, as violet is the opposite colour of yellow on the colour wheel and will cancel out some of the yellow tinge. But you won’t get truly white ganache without a whitener.
Whipping your white chocolate ganache will also lighten the colour, but I don’t tend to use whipped ganache as it doesn’t keep as well (whipping incorporates air and can also incorporate bacteria) and it isn’t as stable or firm.
So that’s how you make white chocolate ganache less yellow, and you can have a cake that looks like this…
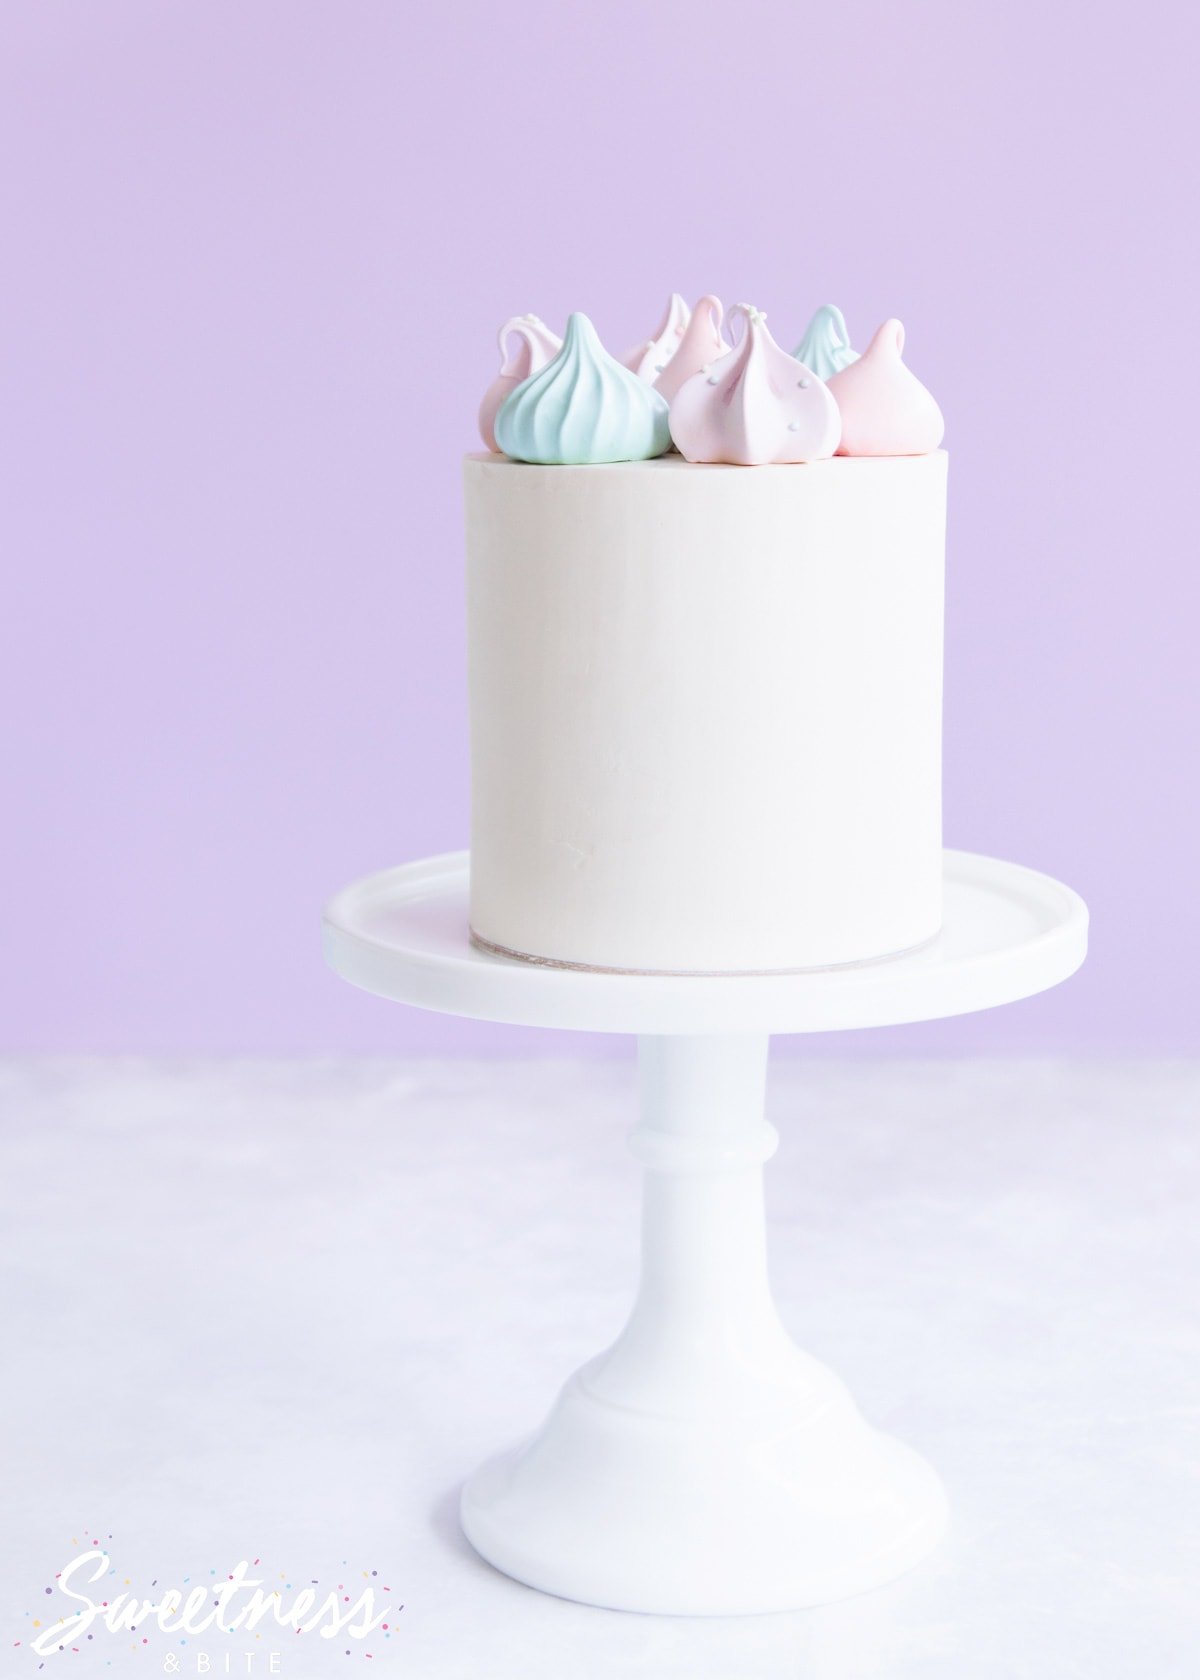
4″ round cake, 4″ tall
Filled with Swiss meringue buttercream
450g whitened ganache to cover.
How to Make Black Chocolate Ganache
When making black chocolate ganache, it’s best to start with dark chocolate ganache. If you start with white chocolate ganache you will need A LOT of black food colouring to make it black. You’ll also make people’s teeth black, you’ll make their poop black (yes, truly), it’ll be a whole thing and no one will be very happy.
Starting with dark chocolate ganache will mean you need to use much less colouring. The darker the chocolate you choose, the less black food colouring you will need to add.
To make the black ganache, make your dark chocolate ganache, then add black gel or oil colouring until the shade is as black as you need it. The colour will generally darken as the ganache sets, so you can add a little less than you think you’ll need.
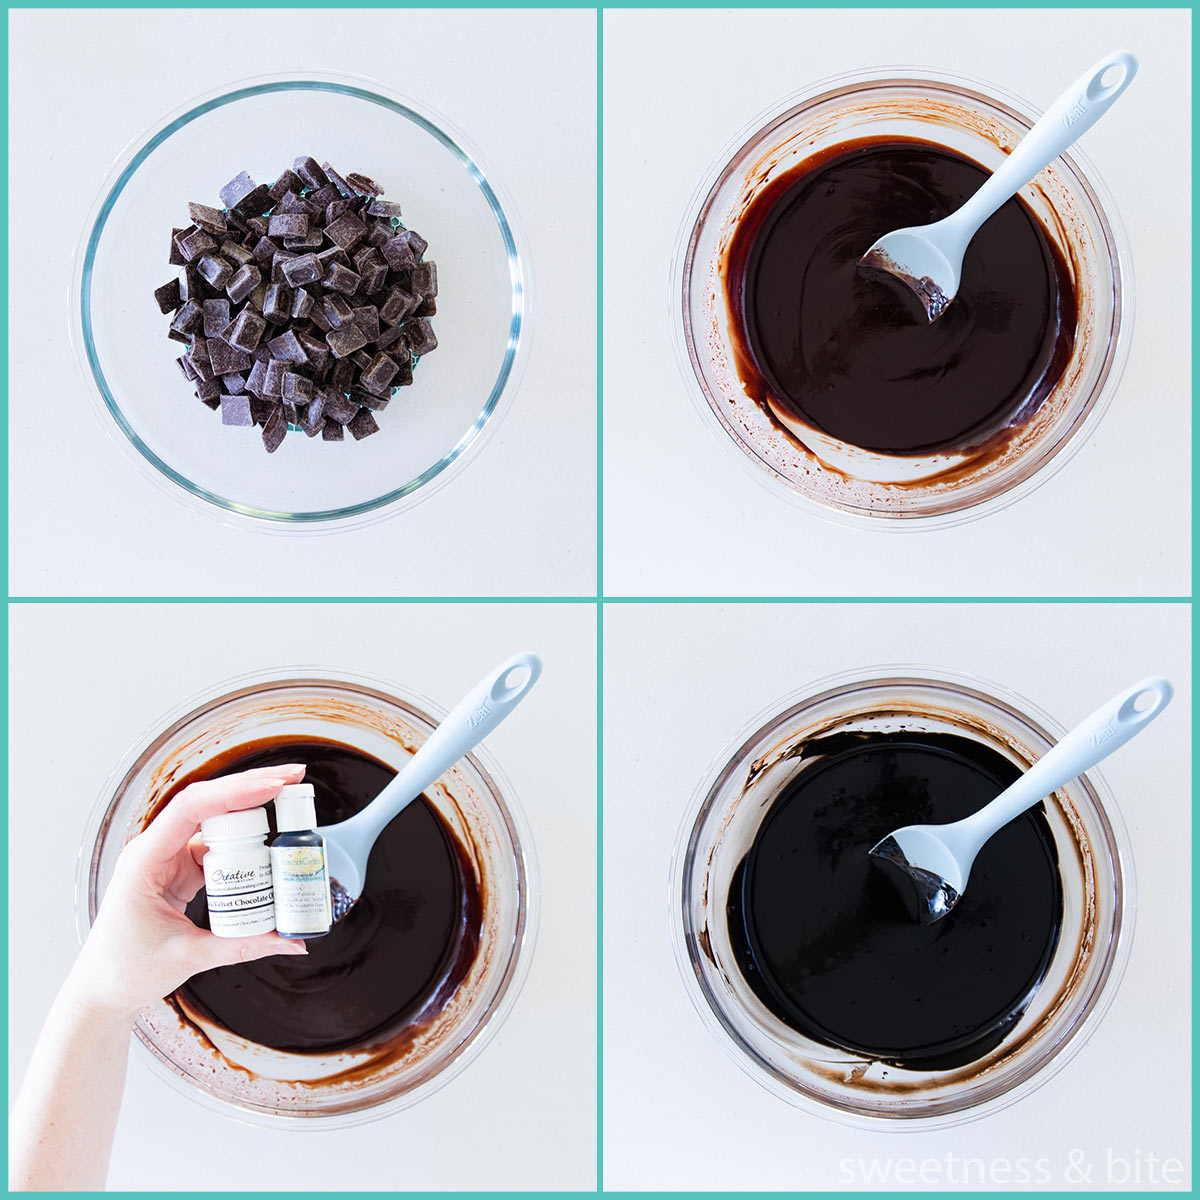
Again, as I mentioned above, I recommend you use the black ganache on the outside only and fill the cake with plain dark chocolate ganache or any other filling like buttercream etc.
I also recommend that if you’re making the cake for a client, you warn them that any black cake comes with the risk of guests getting black teeth and mouths. This risk is reduced when you start with dark chocolate ganache and only use the black ganache on the outside, but some staining is still likely, so it pays to make people aware of this when they’re choosing their cake colours. No one wants to get an upset email from a client after their event with pictures of all their guests smiling with black teeth.
Another great option for a black look on ganache with less colouring is to paint it with Sweet Sticks Edible Art Paint. You can do this on white chocolate ganache, but I would still recommend using dark as you’ll get better coverage with one coat. Use a wide flat brush to paint the cake and use long strokes. Popping the cake on a turntable will make the whole process much easier. Make sure you have some confectioner’s alcohol on hand for cleanup and to use to thin the paint down if it starts to dry out and thicken.
Sometimes I see people recommending using activated charcoal to make icing or ganache black. I don’t recommend this at all, as charcoal can interfere with the absorption of some medications. You don’t know what medications people may be taking, and how the charcoal will affect them.
Unless you’re making the cake for yourself and your family only and you know it’s safe for everyone who is eating the cake, please don’t use charcoal to colour your ganache.
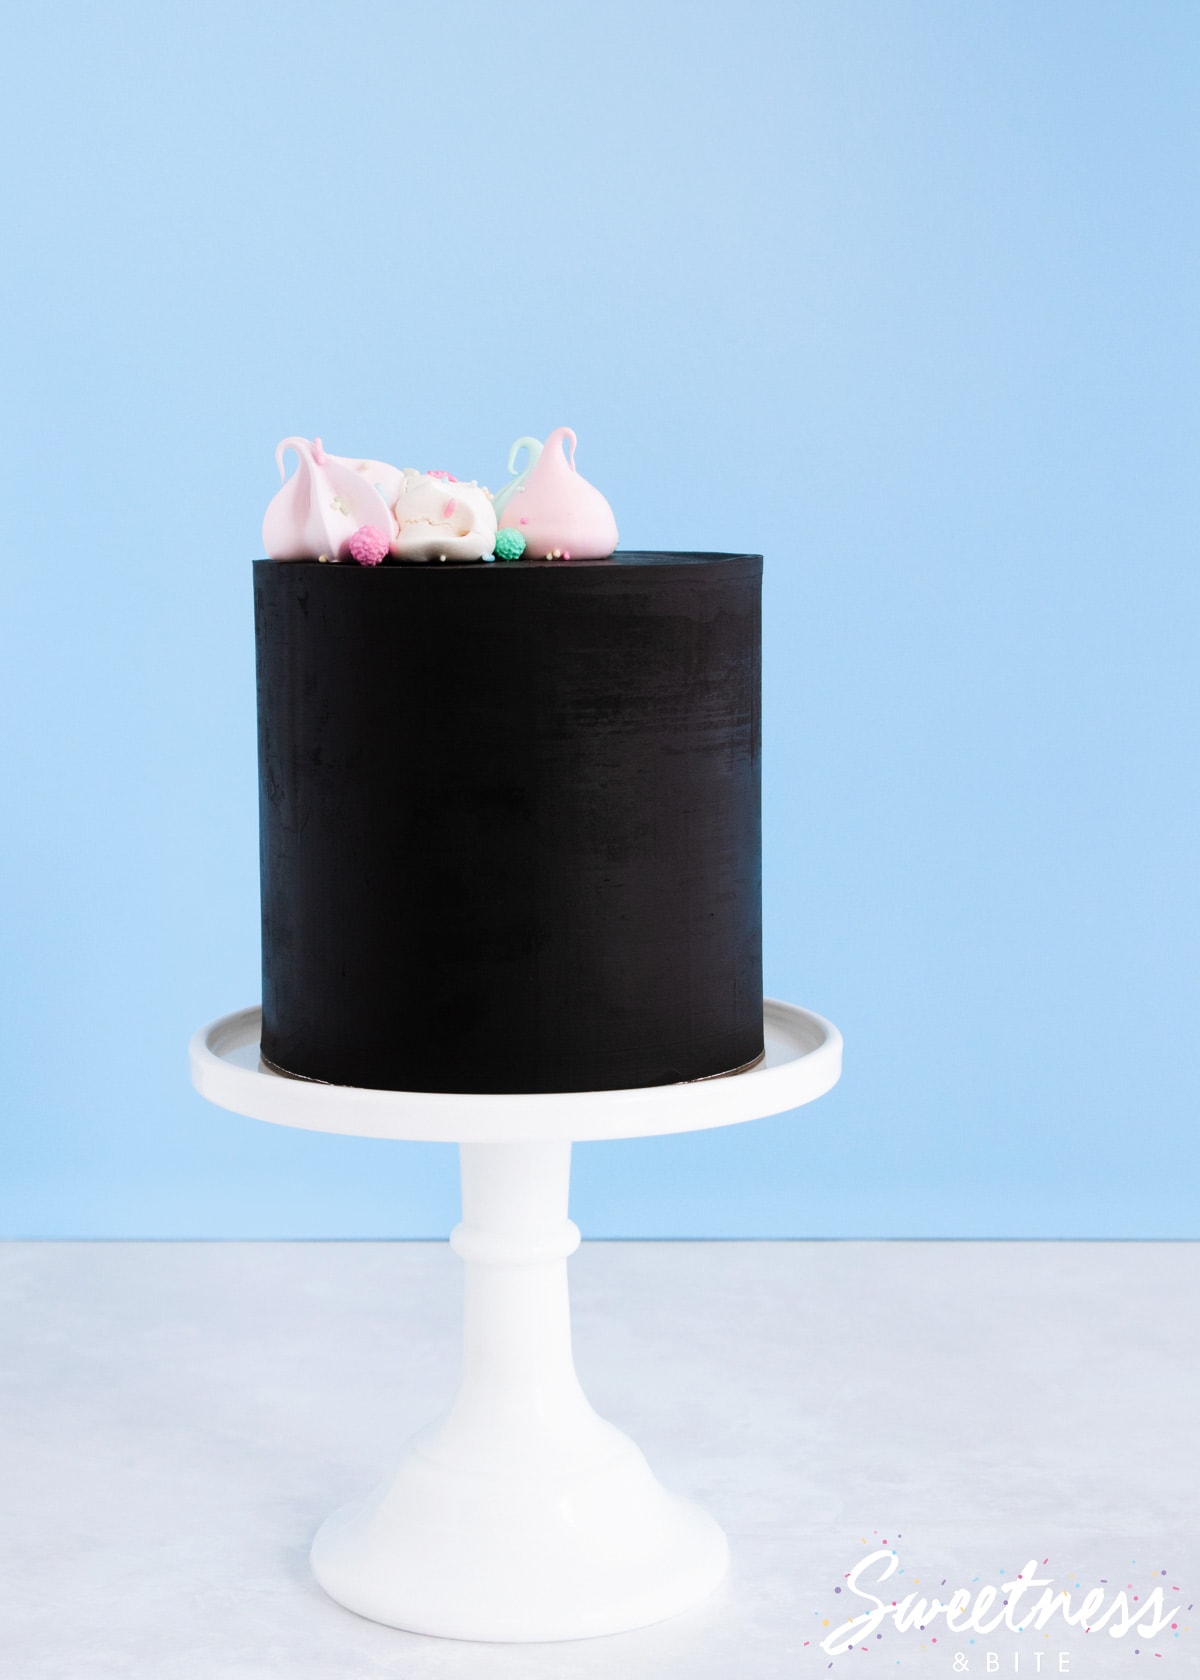
5″ round cake, 5″ tall
Filled with Swiss meringue buttercream
675g black chocolate ganache to cover.
How to Make a Coloured Ganache Drip
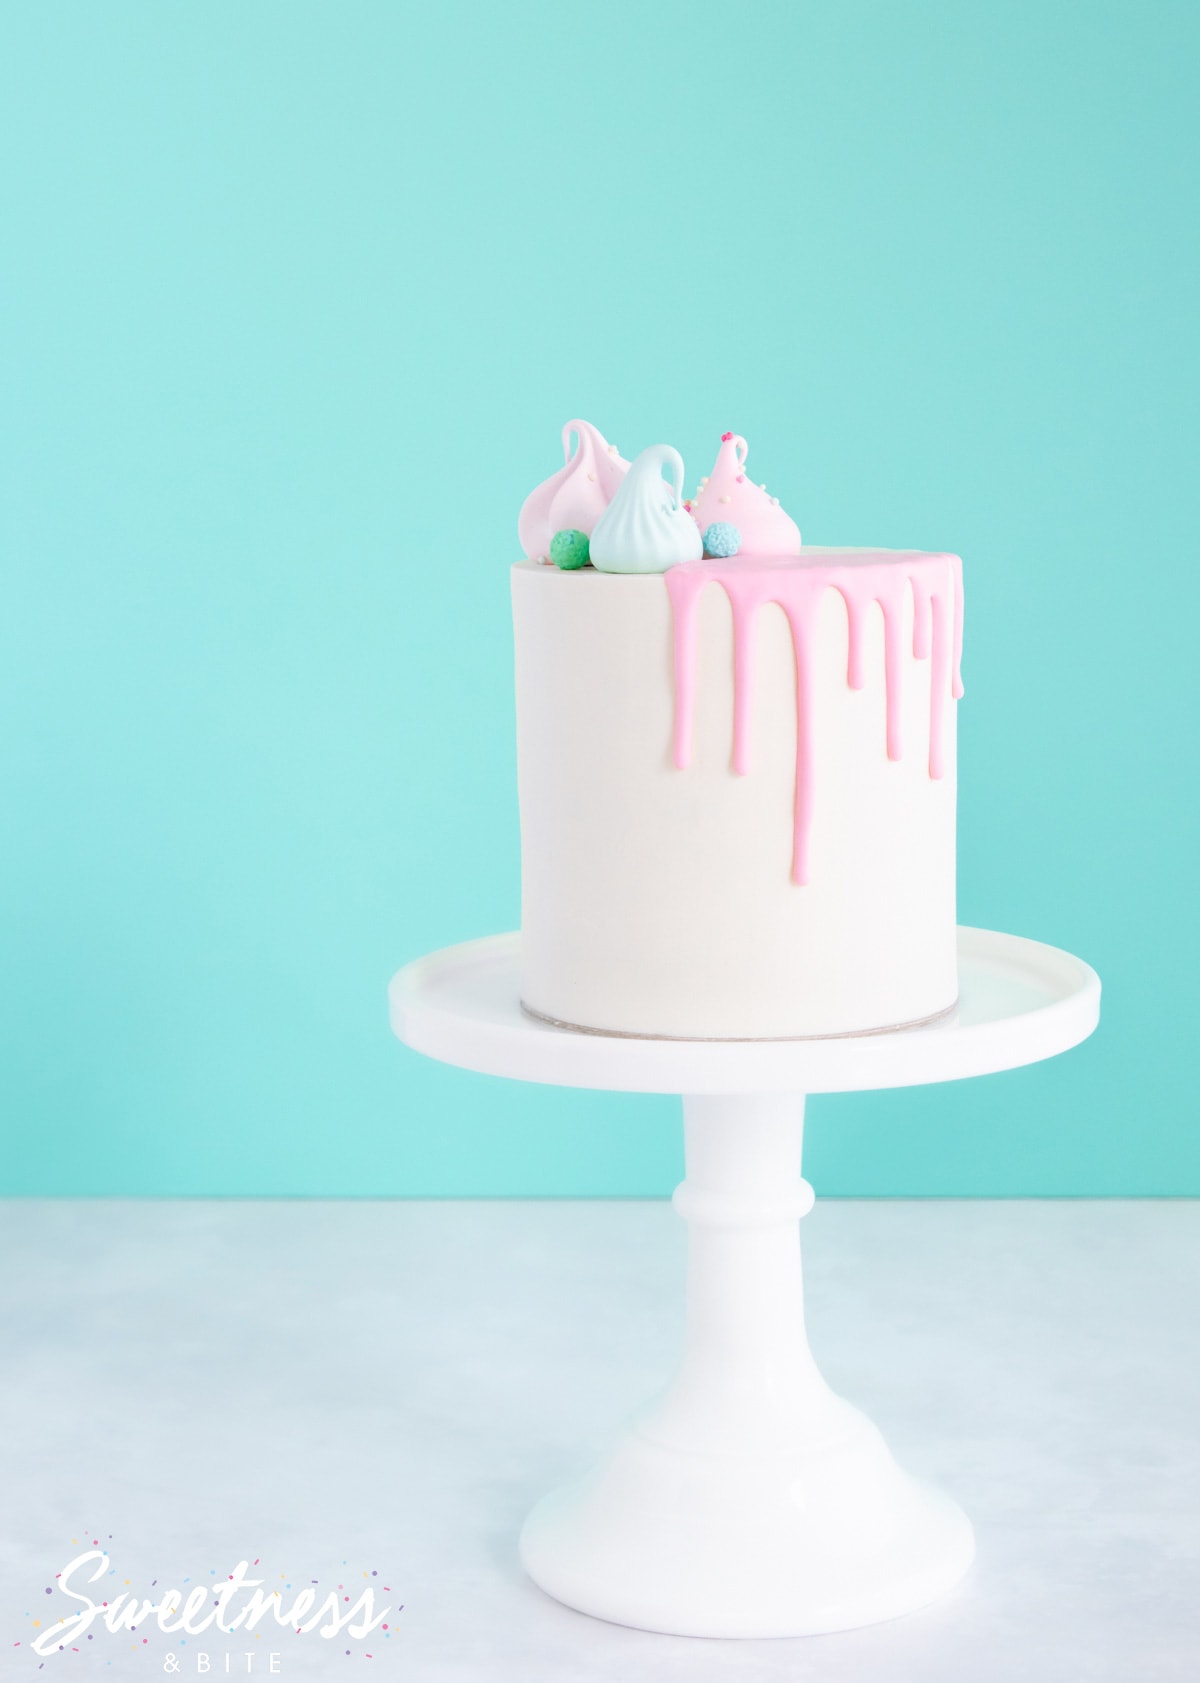
Chocolate drip birthday cakes are still insanely popular, and a coloured ganache drip is a fun way to add a bit more pop to a cake design.
When making ganache for a drip, I prefer to use compound chocolate or candy melts. You can absolutely do this with real chocolate, but I find the compound choc and melts set more firmly and more quickly (so they don’t continue to drip down the cake), plus they seem to stay a little bit shinier.
I also often add a small squeeze of corn syrup to the ganache drip, as it adds some nice extra shine. It’s totally optional though.
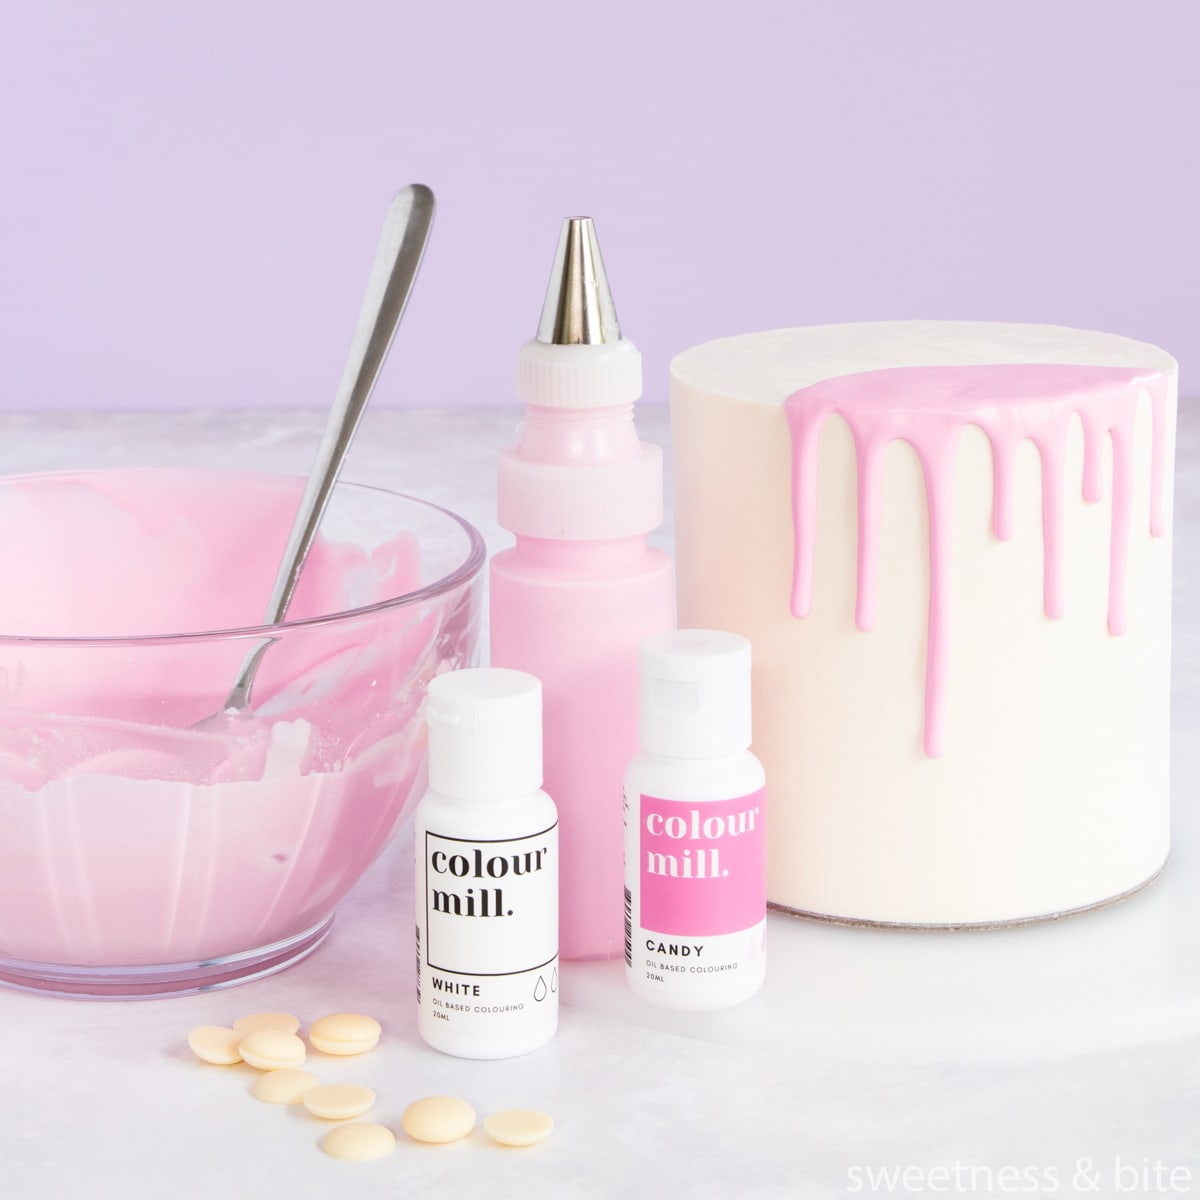
You can use any of the colouring options I talked about above to colour your ganache drip. For this pink ganache drip, I used Colour Mill white and candy pink oil-based colouring.
If you’re using white candy melts, you may not need to use any whitener as the melts are often already very white.
Coloured Ganache Drip Recipe
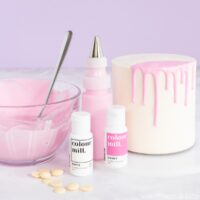
Coloured Ganache Drip
Ingredients
- 120 g white chocolate or white candy melts
- 40 g cream
- ½ – 1 teaspoon corn syrup or liquid glucose optional
- Gel or oil-based food colouring
Instructions
- I use a ratio of 3 parts white chocolate to 1 part cream for my drips (3:1 ratio). The amount of ganache you’ll need to make for your drip will depend on the size of your cake and how much of a drip you want to do, but a good place to start is with 120g of chocolate or candy melts and 40g of cream. Adding corn syrup will give the ganache a little more shine when it sets, but it is completely optional.
- Bring the cream to a boil (I usually just do this in a heatproof jug in the microwave).
- Add in the chocolate (and corn syrup, if using). Let it sit for a minute or two for the chocolate to melt, then give it a stir until smooth. If it hasn’t quite melted, give it another 10-20 seconds in the microwave. Be careful not to overheat it – white chocolate can burn quickly and you will get sad.
- Once it’s all melted and smooth and lovely you can add in your food colouring. Start with a small amount, mix well, and add more if needed. You may need to add a little whitener first to counteract the yellow in the chocolate, depending on the colour you’re aiming for (see the sections above on whitening ganache and colouring ganache).
- Once the colour is the shade you want, let the ganache cool and thicken slightly.I like to transfer the ganache to a squeeze bottle to do the drip, but you can drip from a spoon if you prefer.
Notes
Nutritional Disclaimer: Any nutritional information provided is a computer generated estimate and is intended as a guide only.
Coloured Ganache Drip Tips
Test the consistency of the ganache before you start on your cake, to do this I usually drip some down the side of a drinking glass. You want the ganache to be runny enough to drip down the side of the glass, but not run right down the bottom and form a puddle. If it’s too thin, let it cool some more (or melt in a bit more white chocolate), if it’s too thick, then warm it up slightly in the microwave in short bursts. I’m talking 10 seconds at a time, and then check it, because it doesn’t take much to warm it up and make it runny!
Also, take into account the temperature of your cake. If you chill your cakes, then your drip will set faster because your cake is cold. If your cake is at room temperature and the room is warm, it will take a while for your ganache to set, so your drip will drip further.
When I’m covering the whole top of the cake in the drip ganache, I like to do that first, then do the drips. Don’t add too much on top, just enough to cover the top of the cake in a thin layer – use an offset spatula to spread it just to the edges. Then use the squeeze bottle or a spoon to add your drips.
Start at the back of your cake (we hide any dodgy drips here 😂). By the time you get to the front of the cake you should have worked out your ganache consistency and how it drips, so you’ll have prettier drips at the front. Always drip slightly less than you think, it will usually continue to drip further before it sets.
If I’m just doing a partial drip like this cake, then I do the drip first and then just spread some ganache on the top.
Black Chocolate Ganache Drip Recipe
Just do everything I said above for the coloured white chocolate drip, but start with dark chocolate ganache (use a 2 or 2.5:1 ratio) and add black gel or oil colouring. Alternatively, you can just do a dark chocolate ganache drip, and once it’s set, paint the drip with black Edible Art Paint.
Ok, so that’s all I have in my brain right now that you may want to know about how to colour ganache!
As always, if you have any questions, drop them down in the comments below, or flick me a message on Facebook.
You May Also Like…
