Easy White Chocolate Mousse
This post may contain affiliate links to products I recommend. I receive a small commission at no cost to you if you make a purchase using my link.
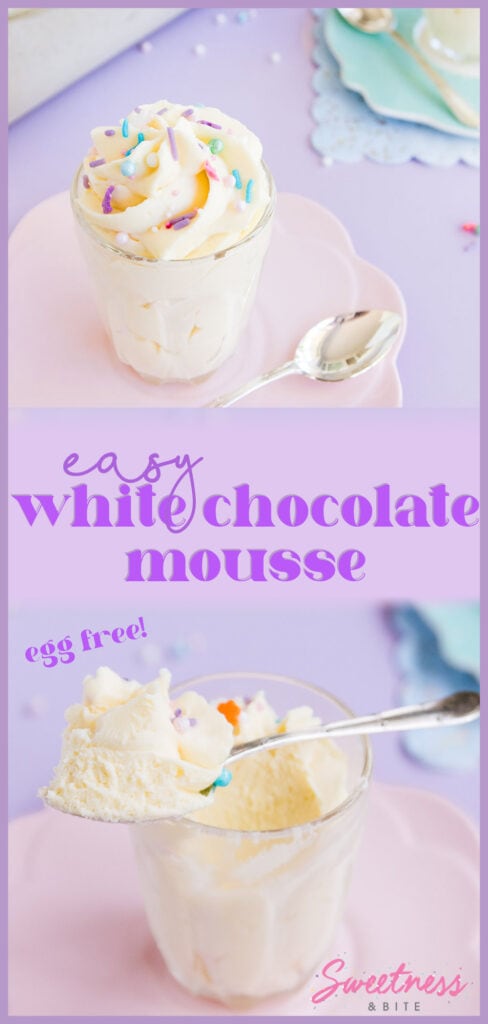
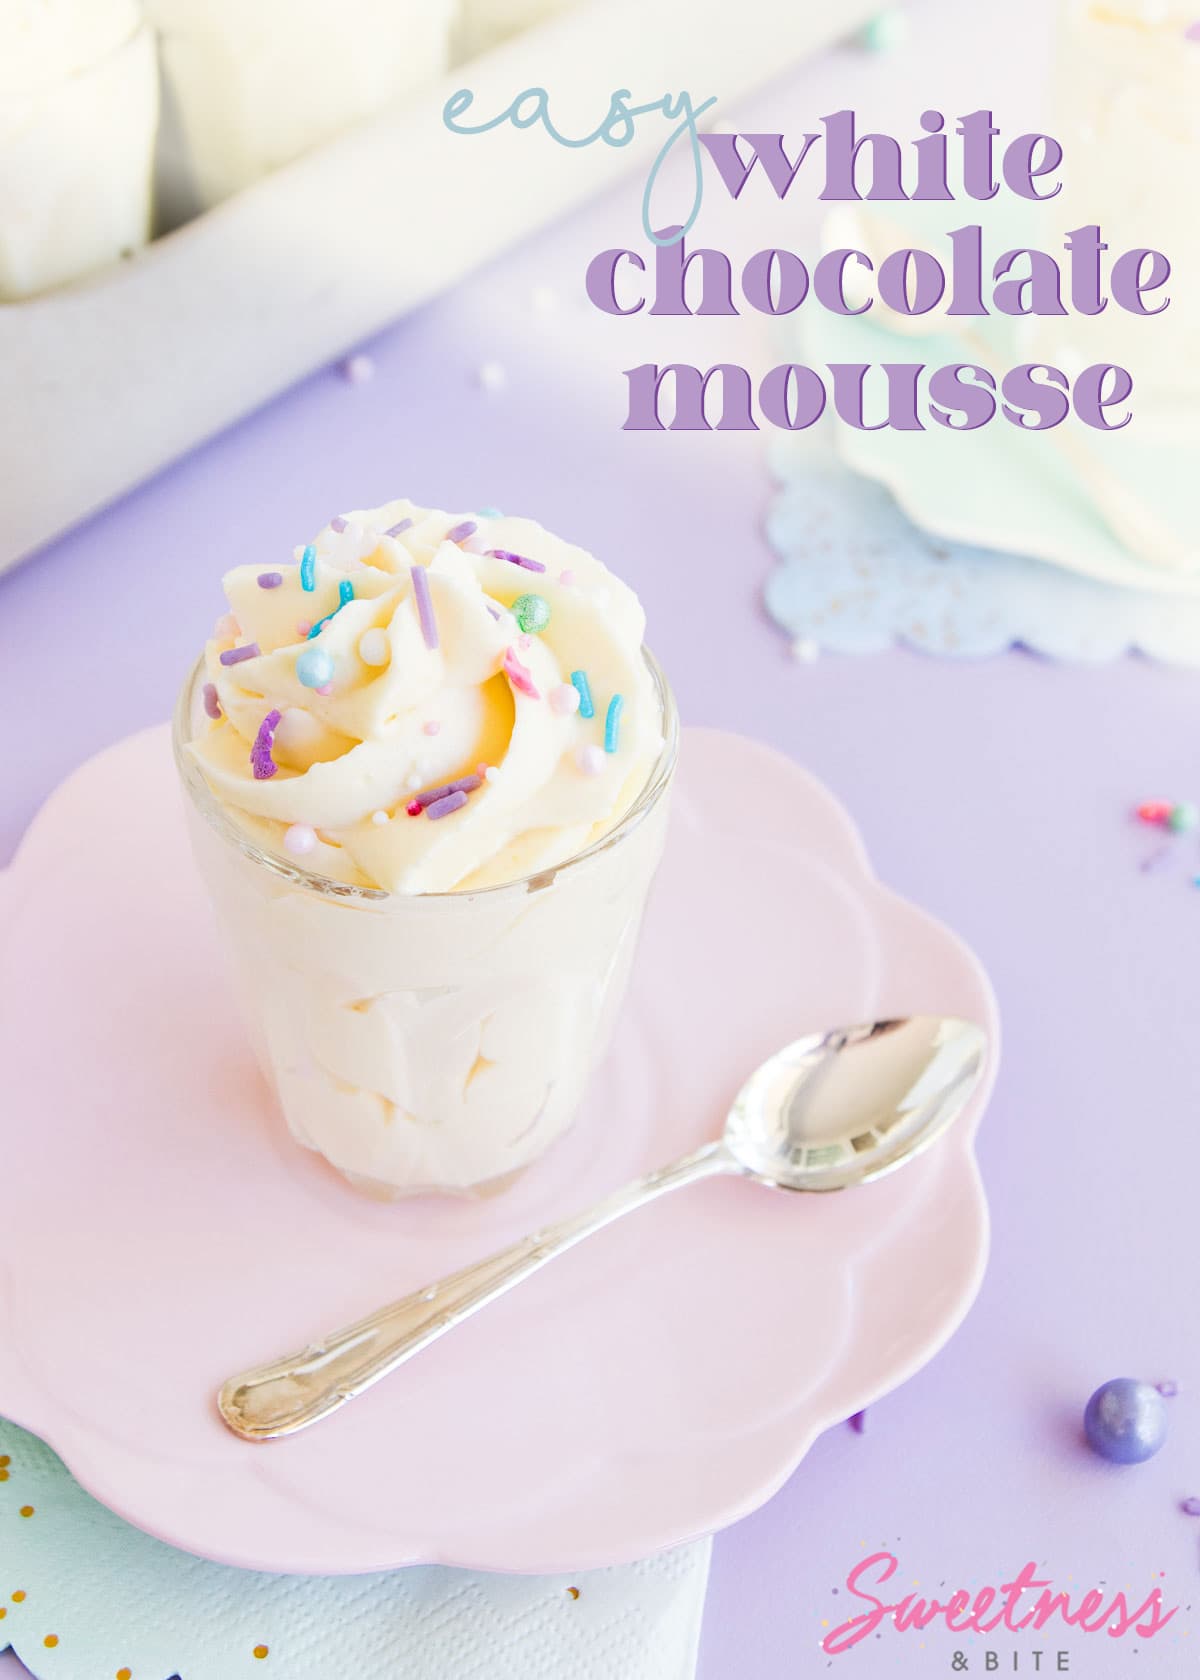
This easy white chocolate mousse requires just 3 ingredients, no eggs, just a bit of heating, some chilling and some whipping. It’s the easiest homemade white chocolate mousse ever!
If I can be remembered for one thing in this life, I hope it’s that I taught people that making chocolate mousse can be easy, and that you don’t need eggs or gelatine to do it.
Sure there are probably more important things to be remembered for, but I would argue that dessert is important, so here we are.
When I published my first easy chocolate mousse recipe, one of the questions I was asked the most was “Can I make it with white chocolate”.
The answer is “You sure can!”
Just like the original, this easy white chocolate mousse recipe is such a simple dessert to make, only needs three ingredients, and you can dress it up or down however you like (we’ll talk more about that below.)

What you’ll love about this Recipe:
Scroll down to the recipe card for the full printable recipe, or keep reading for some ingredient tips, serving suggestions and troubleshooting advice.
Ingredients
White chocolate – Choose a high quality white chocolate, since that’s the main flavour of this mousse. Make sure you use real white chocolate (that contains cocoa butter), not compound chocolate. I prefer to use a block of chocolate (I use my favourite Whittaker’s white chocolate. Don’t use white chocolate chips unless they say on the packet that they’re suitable for melting. Chocolate baking chips will definitely not work, as they have a coating that stops them from melting.
Cream – The cream you need for this recipe is known by different names in different places. Here in NZ, it’s usually called standard cream or whipping cream, in other countries, it may be known as full cream, heavy cream or heavy whipping cream. Double cream is usually too thick for this recipe as it contains a lot more fat (although the fat content can vary by country.) “Lite” cream and low-fat cream will not work. For the best results, choose a pourable, unsweetened cream that is around 35% fat. Make sure that it says on the bottle/carton that it is suitable for whipping.
Vanilla – This is optional, you can leave it out if you prefer. If you’re using it, choose a good quality vanilla extract or vanilla paste (keep in mind that you’ll see the vanilla seeds if you use an extract or paste that contains seeds).
Equipment
Aside from the obvious things like a bowl, silicone or rubber spatula, whisk, etc. you will also need a set of kitchen scales and an electric mixer.
The ingredients in this recipe need to be measured by weight (there is no accurate way to measure chocolate in cups) and the ingredient ratios need to be right in order for the mousse to set. If you don’t already have a set of scales, you can buy inexpensive kitchen scales online, or in most homewares stores and even some grocery stores.
You’ll need an electric mixer to whip the mousse. An electric hand mixer is sufficient, but if you have a stand mixer you can use that, with the whisk attachment. If you don’t have an electric mixer, you can use a whisk and whip it by hand, but you’ll need a strong arm and a lot of patience!
How to make easy white chocolate mousse
When I say that this mousse is easy to make I’m not exaggerating.
You’ll heat half of the cream until *almost* boiling, then pour it over the chopped chocolate in a large bowl (or the bowl of a stand mixer) and leave it to melt for a minute or two. Then whisk until smooth, add in the other half of the cream and the vanilla (and a pinch of salt, if you want) and whisk until it’s all combined.
Adding the cold cream helps cool the mixture down faster so it can go straight into the fridge, but I didn’t start doing that until after I’d filmed the video for this recipe, so if you watch the video and notice I didn’t do it, this is why 😂
Then you just need to chill the white chocolate mixture until it is very cold. The best way to do this is to cover it and chill it in the fridge overnight.
But if you’re in a hurry you can chill it in the freezer for an hour or so, making sure to stir it every now and then to make sure it doesn’t freeze around the edges.
The chilling bit is really important, the mixture will get much fluffier and be less likely to split when the mixture is well chilled.
Once it’s ready, whip it until it’s a little firmer than soft peaks, but not quite stiff peaks.
Be very careful not to overwhip the mousse mixture. If you’re nervous, err on the side of under-whipping rather than risk over-whipping. Overwhipping will make the mousse grainy. If this happens, see my troubleshooting tips below.
If you are using a stand mixer, don’t use the highest speed, and keep a close eye on it while it’s whipping. It can go from perfectly whipped to overwhipped in a few seconds.
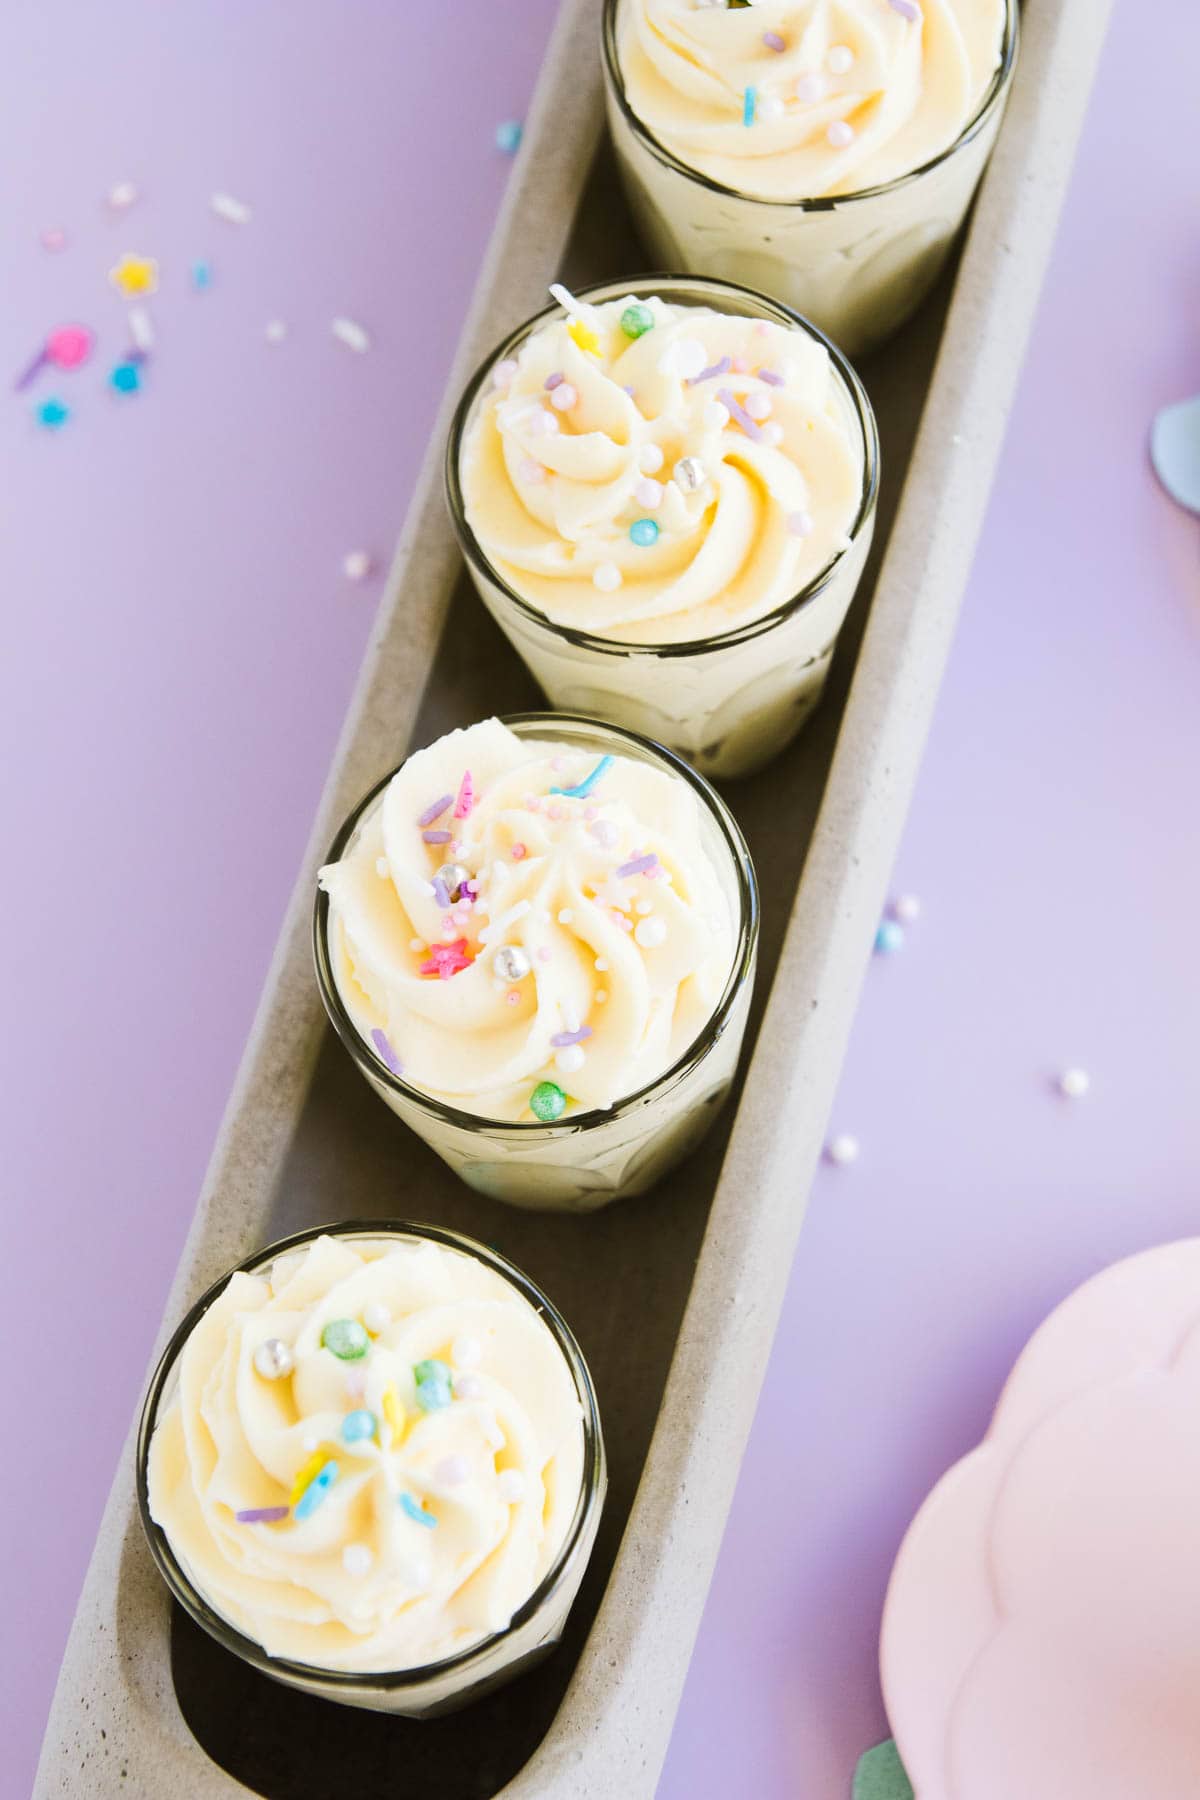
Spoon or pipe the mousse into dessert glasses or serving bowls.
For a creamy white chocolate mousse, you can serve it immediately. For a more fluffy texture, chill for an hour or so to set.
I topped this mousse with sprinkles, but I have more serving suggestions below.
Storing the Mousse
The white chocolate mousse mixture can be made 1-2 days in advance. Store it in an airtight container or covered bowl in the fridge before whipping it.
Once whipped, the mousse can be stored in the fridge for several days. Cover the individual glasses or dishes with plastic wrap, or place them all into a large airtight container.
Troubleshooting
Mixture split when whipped – This is usually because the mousse mixture wasn’t chilled enough. Next time, make sure it’s thoroughly chilled before whipping. To save it, reheat it in a saucepan over low heat, stirring with a whisk, until it melts and becomes smooth again. Then chill it thoroughly, and rewhip. The mixture can also split if the fat content in your cream was too high.
Overwhipped – If you overwhip the mousse and it turns grainy, you can save it by reheating it as described above. Then re-chill and whip (a bit less than you did last time 😉).
Mixture too thin and won’t whip – You likely used a type of cream that was too low in fat or not a type that is suitable to whip. Make sure the cream you use says that it is suitable for whipping and that it has at least 35% fat content.
Serving Suggestions
- Top with whipped cream and white chocolate curls or shavings.
- Drizzle with some melted chocolate (any kind!)
- Fold some crushed freeze-dried berries or freeze-dried fruit powder into the whipped mousse mixture.
- Serve with fresh raspberries, or any other fresh berries or fruit.
- Swirl through some chocolate caramel sauce (or any other dessert sauce)
- Serve the mousse in one large bowl (family style!) instead of individual glasses.
More Easy Mousse Recipes
If you like this recipe, you should definitely also try this Peppermint Mousse, which uses the same white chocolate mousse recipe, with added mint extract (and cute peppermint-rimmed serving glasses if you’re feeling fancy.
Likewise, white chocolate and strawberry mousse dresses up the simple mousse with delicious vanilla macerated strawberries.
Or if you prefer milk chocolate, try my easy milk chocolate mousse instead.
FAQ

Easy White Chocolate Mousse
Ingredients
- 500 g whipping cream (see notes)
- 300 g white chocolate
- 1 teaspoon vanilla extract
- pinch of salt optional
Instructions
- Chop the white chocolate and place it into a large heatproof bowl.
- Heat half of the cream in a small saucepan over medium-high heat until bubbles begin to form around the edges.
- Pour the cream over the white chocolate, and leave to sit and melt for a couple of minutes. Add the salt, if using.Stir with a wire whisk until all of the chocolate is melted and the mixture is smooth and well combined. Whisk in the remaining half of the cream and the vanilla.
- Cover and chill the mixture until it is very cold. This can either be done in the fridge or freezer.Fridge – refrigerate for several hours or overnight.Freezer – place in the freezer for 1 hour, stirring every 10 minutes to make sure it doesn't freeze around the edges.Chilling overnight in the fridge is the best option, but sometimes we just want mousse in a hurry, so the other options are there if you need them.
- Whip the mousse mixture with an electric hand mixer just until peaks begin to form. It won’t take very long, be careful not to overwhip it.
- Pipe or spoon into glasses or small bowls. If it’s a little too soft to pipe, you can refrigerate the bowl of mousse again until it firms up some more, and then transfer it to a piping bag to pipe.
- Serve the mousse immediately, for a softer texture, or chill for 30 minutes for a fluffier texture.The mousse will keep well in the fridge for several days. Cover individual glasses with plastic wrap, or pop all of the glasses into an airtight container.The unwhipped mousse can be kept in the fridge for 1-2 days before whipping, in a covered bowl or airtight container.
Notes
Nutrition
Nutritional Disclaimer: Any nutritional information provided is a computer generated estimate and is intended as a guide only.
Enjoy!
~Natalie
xx
You May Also Like…
