Gluten Free Dark Chocolate Mud Cake
This post may contain affiliate links to products I recommend. I receive a small commission at no cost to you if you make a purchase using my link.
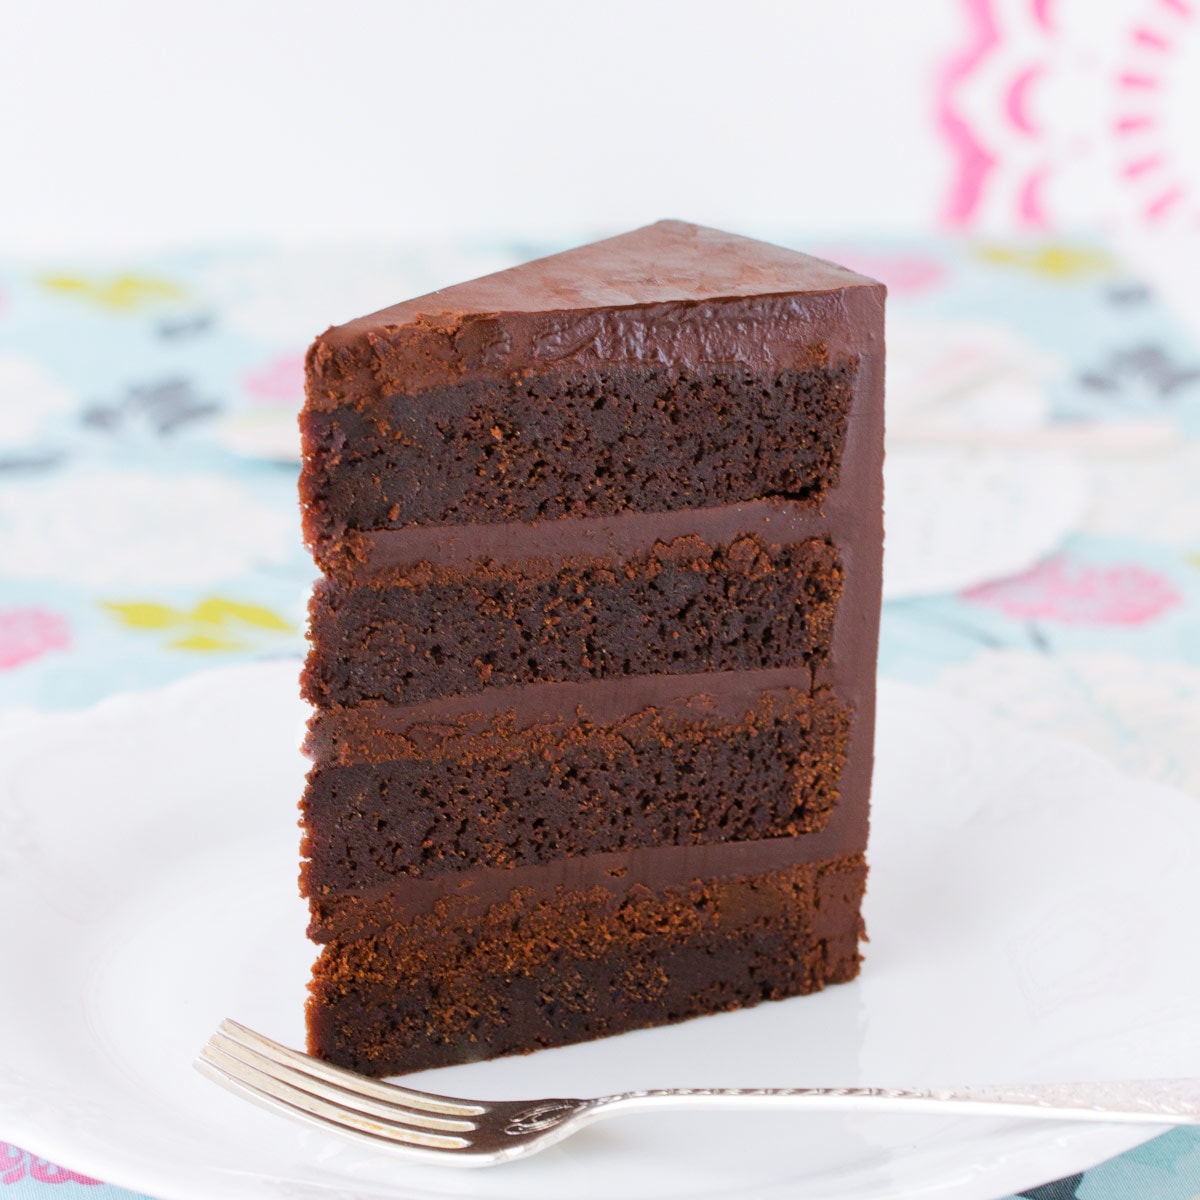
A moist, dense, gluten free dark chocolate mud cake. Perfect for covering in fondant, tiered cakes, carved cakes, and decorating using the 3 day timeline.
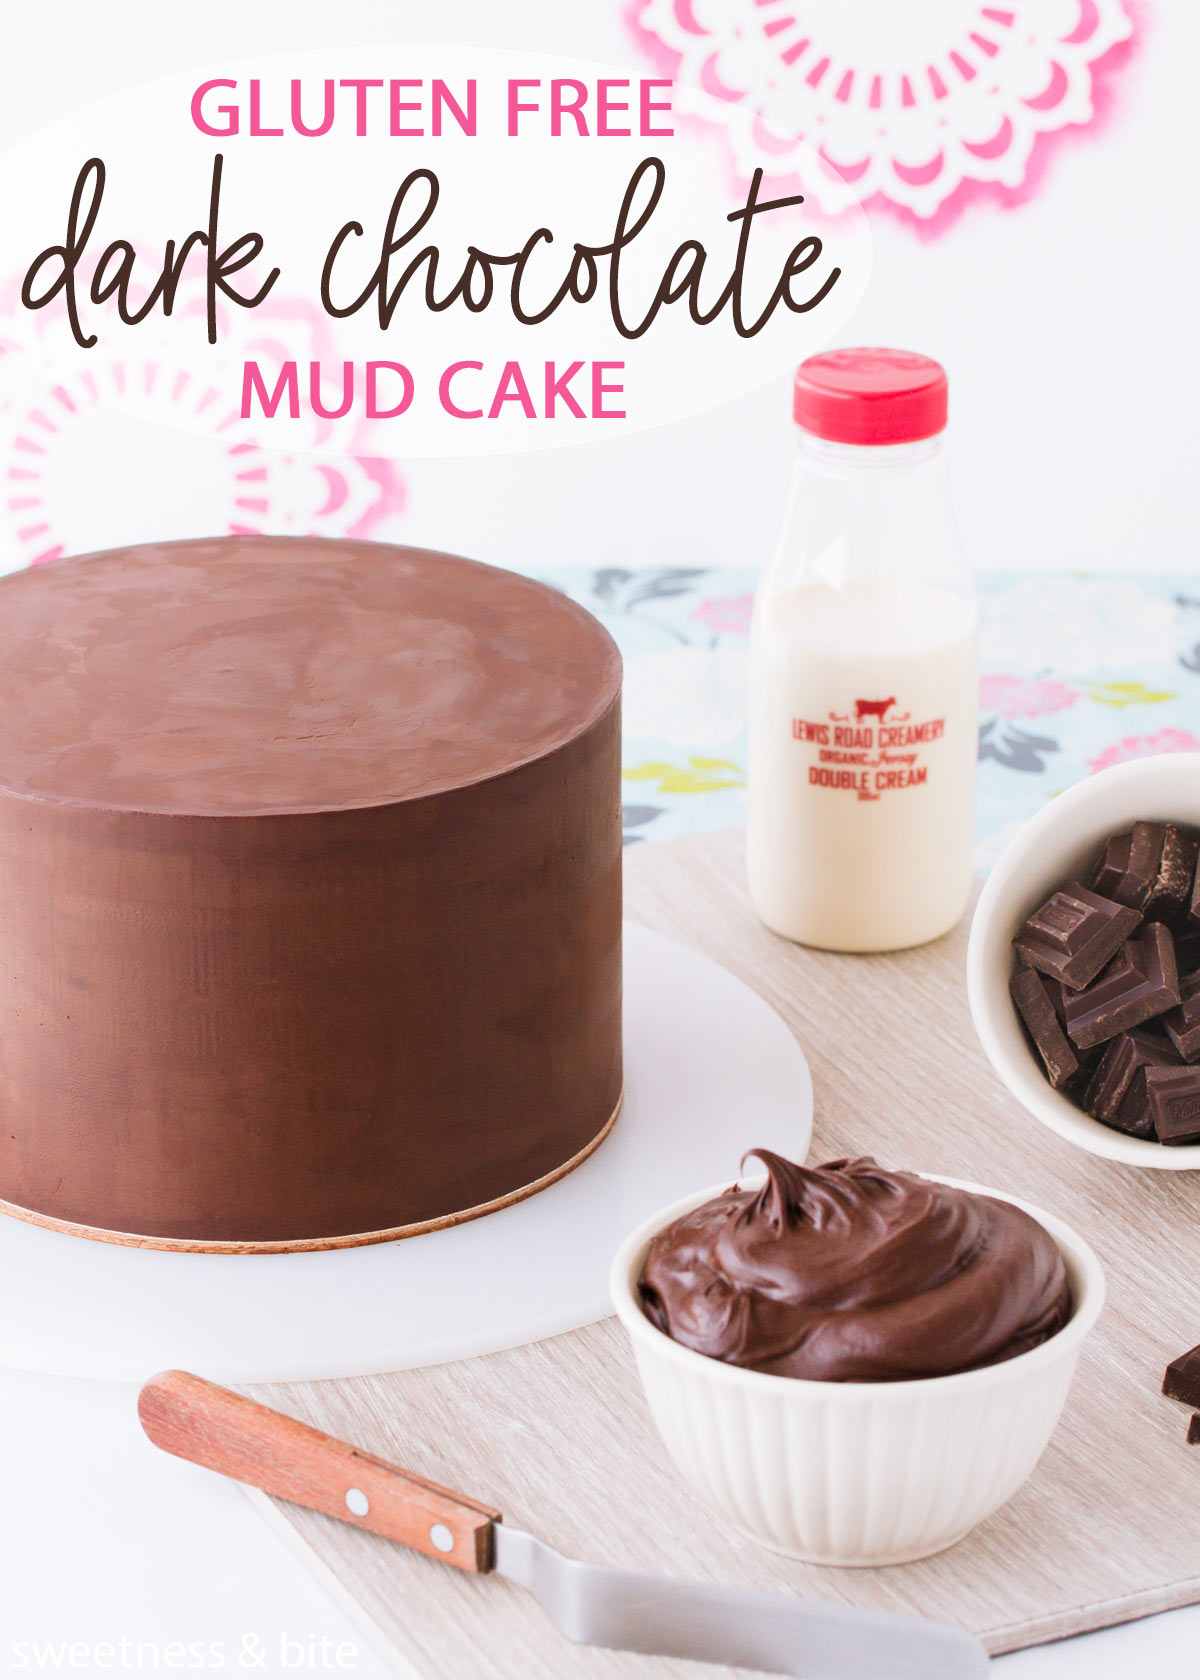
I have this thing about wanting life to be fair. You know, if someone throws their rubbish out the car window, it’s only fair that later that afternoon they should slip on a banana peel that someone else has dropped and bruise their right butt cheek, y’know?
So on the flipside, to me, it’s really only fair that people who can’t eat most cakes should be able to have a cake that they can, in fact, eat. And darn well enjoy. And in this particular instance by ‘people’, I mean Coeliacs and those who are sensitive to gluten.
Making a gluten-free cake isn’t hard, even making a GOOD gluten-free cake isn’t that hard. Not when you have a good recipe. And I’ve got one for you.
Well actually I have a few, but right now we’re talking about this one – gluten free dark chocolate mud cake.
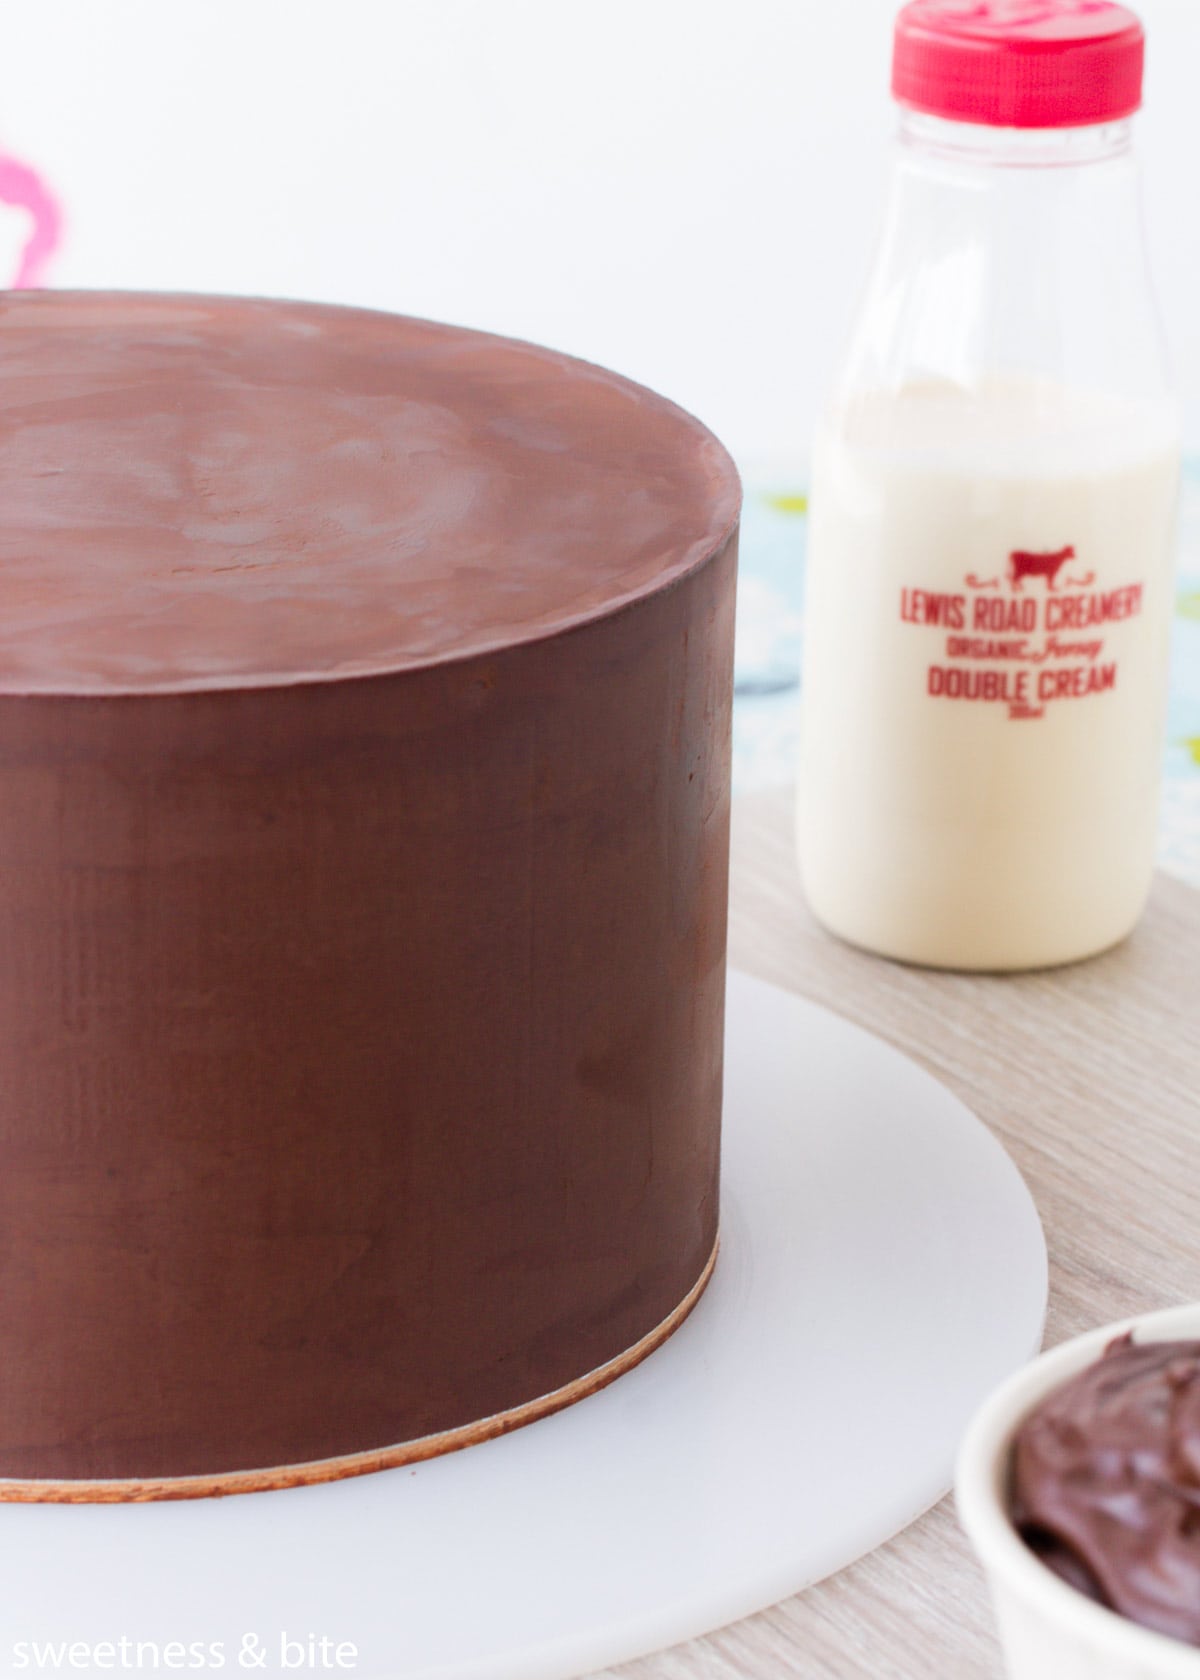
I know when a lot of people think “gluten-free cake” they think of a sorry excuse for a slice of cake, 2″ tall and basically just a bunch of crumbs held together by a drunk cake fairy’s last wish before she passes out.
But they don’t have to be, and they don’t have to be plain and undecorated either. You’ll see.
What You’ll Love About This Recipe:
Gluten Free Mud Cake Ingredients
Here’s what you’ll need to make this recipe:
- Gluten free flour – I use my homemade gluten free flour blend in this recipe, but you can also use a storebought gluten free flour blend instead. Keep in mind that different flour blends can change the texture of the cake, however mud cakes are pretty forgiving so you shouldn’t notice too much difference with other blends. If you need to carve the cake though, I recommend testing the cake out first with the flour you’re going to use, and checking that the texture will be ok for the shape you need to carve.
- Cocoa – You can use regular or Dutch-processed cocoa in this recipe.
- Baking powder – Just a little, to stop the cake being tooooo dense.
- Xanthan gum – This helps bind the cake together and stop it from crumbling. If you are using a storebought gluten-free flour blend, it likely contains a gum ingredient or binder of some kind, so you can omit the xanthan gum from the recipe.
- Milk – I use regular full-fat cow’s milk in this recipe, however, reduced-fat milk and lactose-free milk will also work, and many readers have also made this with dairy-free milk alternatives with great success ( see more on this below).
- Butter – You can use salted or unsalted butter in this recipe. If you use unsalted, you may wish to add a pinch of salt to the dry ingredients, as the salt enhances the chocolate flavour.
- Dark chocolate – Use good-quality dark chocolate with 50-70% cocoa solids for the best results. The higher the cocoa content, the richer the cake will be. I usually use Whittaker’s 50% dark chocolate.
- Instant coffee powder – This is optional, it enhances the chocolate flavour (you don’t taste the coffee in the finished cake) but you can leave it out if you like.
- Sugar – Use caster sugar if you have it, as it dissolves faster, but regular granulated sugar will work fine, too.
- Vanilla extract – I just like vanilla 🤷♀️
- Eggs – Use large eggs. I use (NZ) size 7 eggs, depending on where you live the sizing may be different.
Gluten and Dairy Free Dark Chocolate Mud Cake
Since I first shared this recipe in 2014, many readers have written to me to tell me that they’ve successfully made this recipe gluten free.
To make the cake dairy free, you need to make swaps for the milk, butter and dark chocolate. The brands you have available will be different depending on where you live, but here’s what I recommend looking out for when choosing products:
- Non dairy milk – Use a neutral-flavoured “milk” such as almond or rice milk. Using brands that are thicker/creamer (such as “barista blends”) will likely give you better results. Coconut milk will also work, but your cake will likely have a slight coconut flavour.
Please note that in Australia and New Zealand, oat milk is not recommended as a suitable alternative milk for those with Coeliac disease as oats are not considered to be gluten free. However, this may be different in other countries. See more about that in this post. - Non-dairy butter – Choose a solid non-dairy butter, margarine or vegan butter alternative that says on the packaging that it is suitable for baking. Liquid vegetable oils and coconut oil are not suitable alternatives in this recipe.
- Dark chocolate – Many good-quality, high cocoa content dark chocolates are made without dairy, so check the ingredients list to see. Generally, the higher the cocoa content, the less likely it will be to contain milk.
If you scroll down and have a look through the comments at the bottom of this post, you’ll see some recommendations for products that readers have used.
As always, when making a cake for someone with Coeliac disease and/or an allergy to dairy (or anything, really), make sure you check with them what they can and can’t safely eat. See this post for more details on that.
How to Make Gluten Free Chocolate Mud Cake
Mud cakes are ridiculously easy to make, you’ll start by melting the butter and chocolate into the milk…
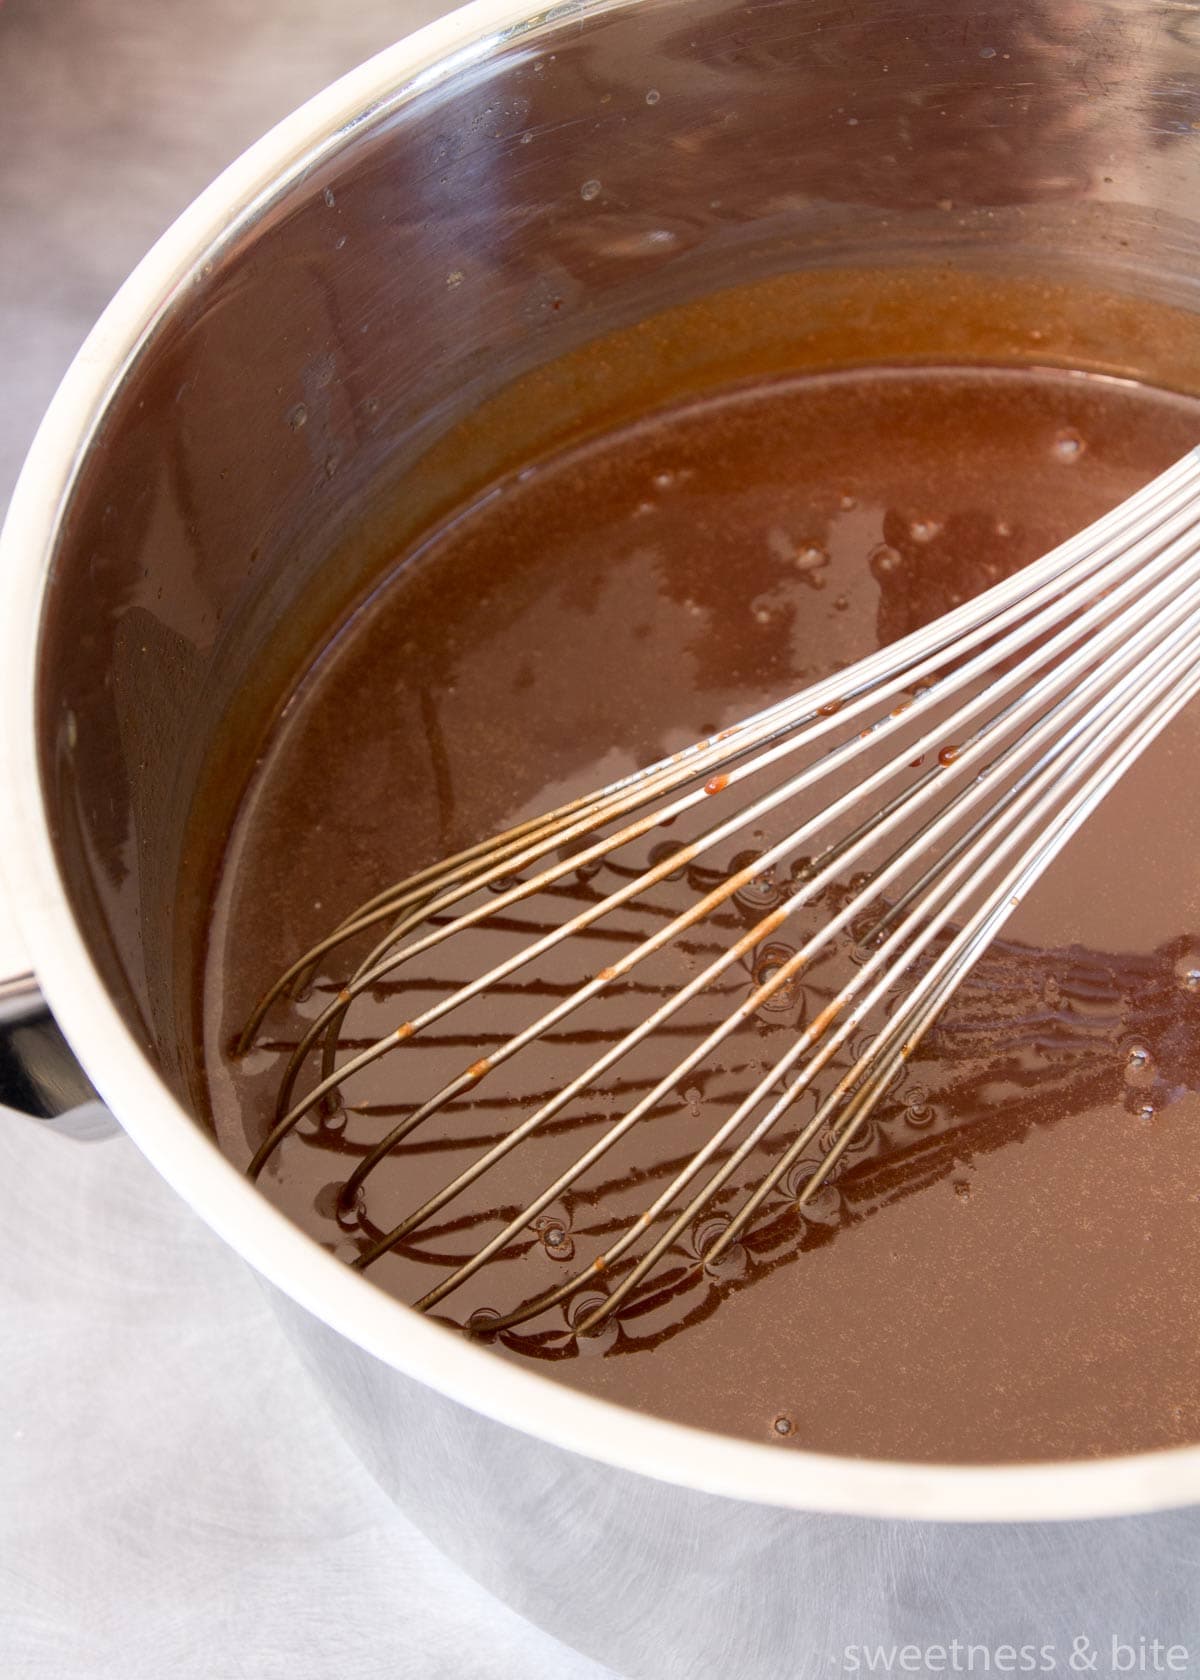
…dissolving in the sugar, then whisking in the dry ingredients and eggs.
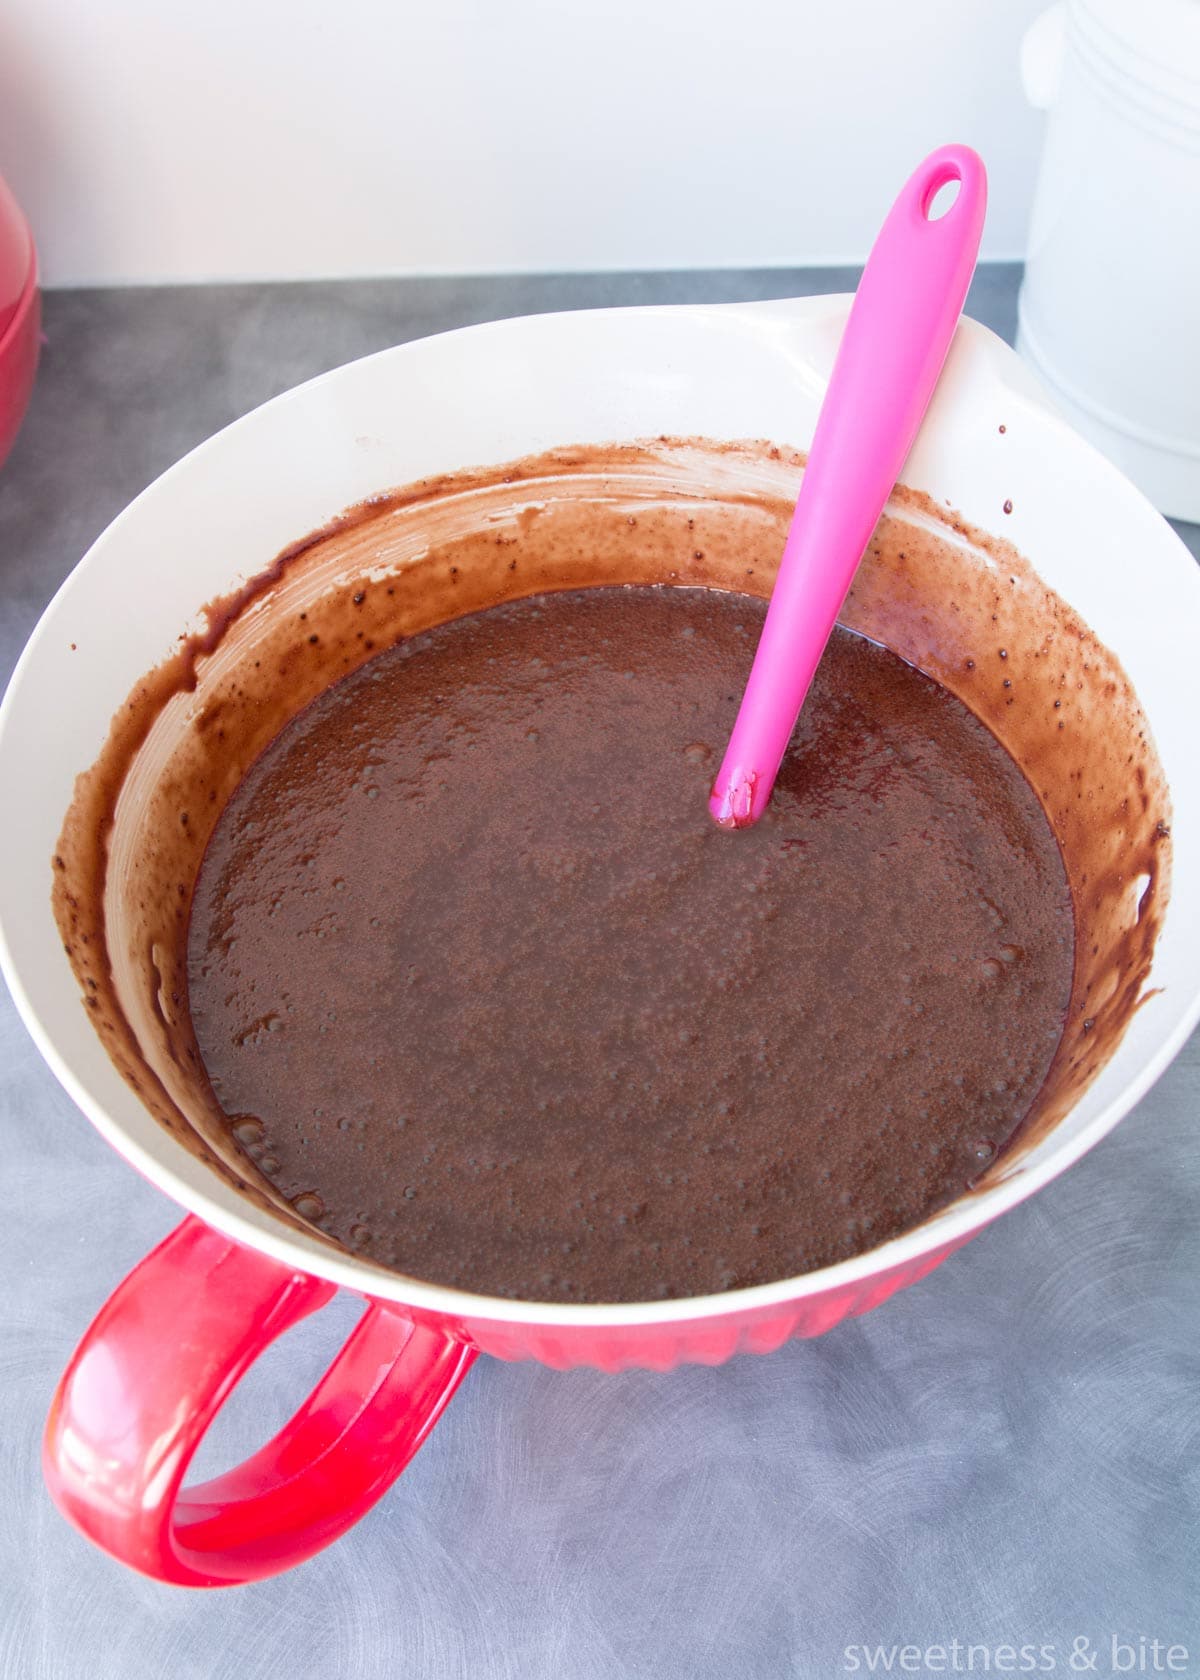
Then trying not to be tempted to drink the batter through a straw. Or maybe that’s a special instruction just for me.
I highly suggest making DIY cake strips for your cake tin to help it rise evenly and avoid a really tough dry crust. (If you didn’t just gag at the words ‘tough dry crust’ and run off to make some baking strips, then we may have to rethink our friendship. Well I’ll still hang out with you, but let’s just say if you invite me over for a homemade afternoon tea, I will probably be busy playing Scrabble with my cat that day.)
Now if you look at my cake, you will see that even with the baking strips and foil lid, the top is cracked. Not the end of the world, but still not ideal. I totally decided that showing is the best way to teach, so I purposely had the oven too hot to make the top crack, just for you. *cough*
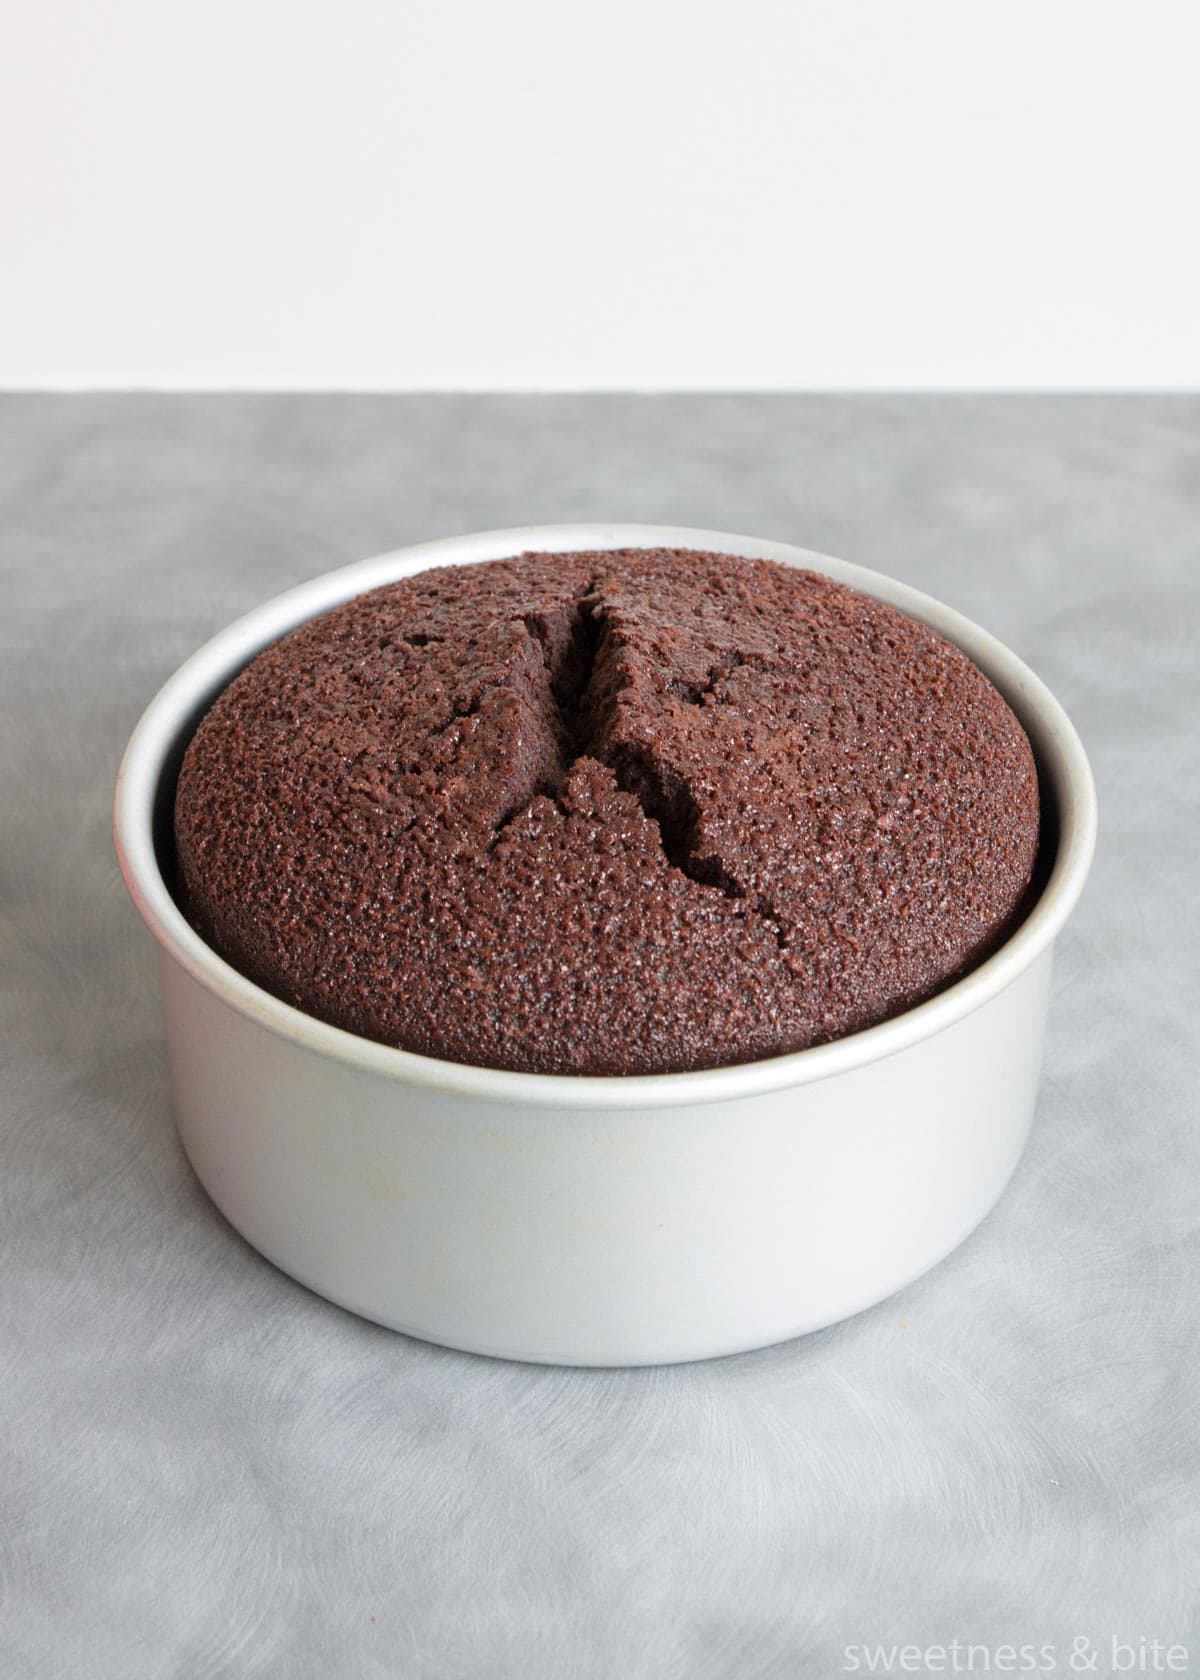
Ok maybe it wasn’t on purpose, I actually just didn’t check the oven temperature and it was too high, but at least we can talk about why it happened and how to avoid it next time. Short answer – lower the oven temperature. I know, I know, you’ve already got the oven on for three hours and lowering the temperature will make the cake take even longer to cook. But if you’re looking for a cake with a flat top, it’s the way to go.
Icing and Decorating the Cake
You can ice and decorate a gf mud cake pretty much however you like.
It’s hard to go past filling and covering a mud cake in chocolate ganache, I mean really, look at the stuff…
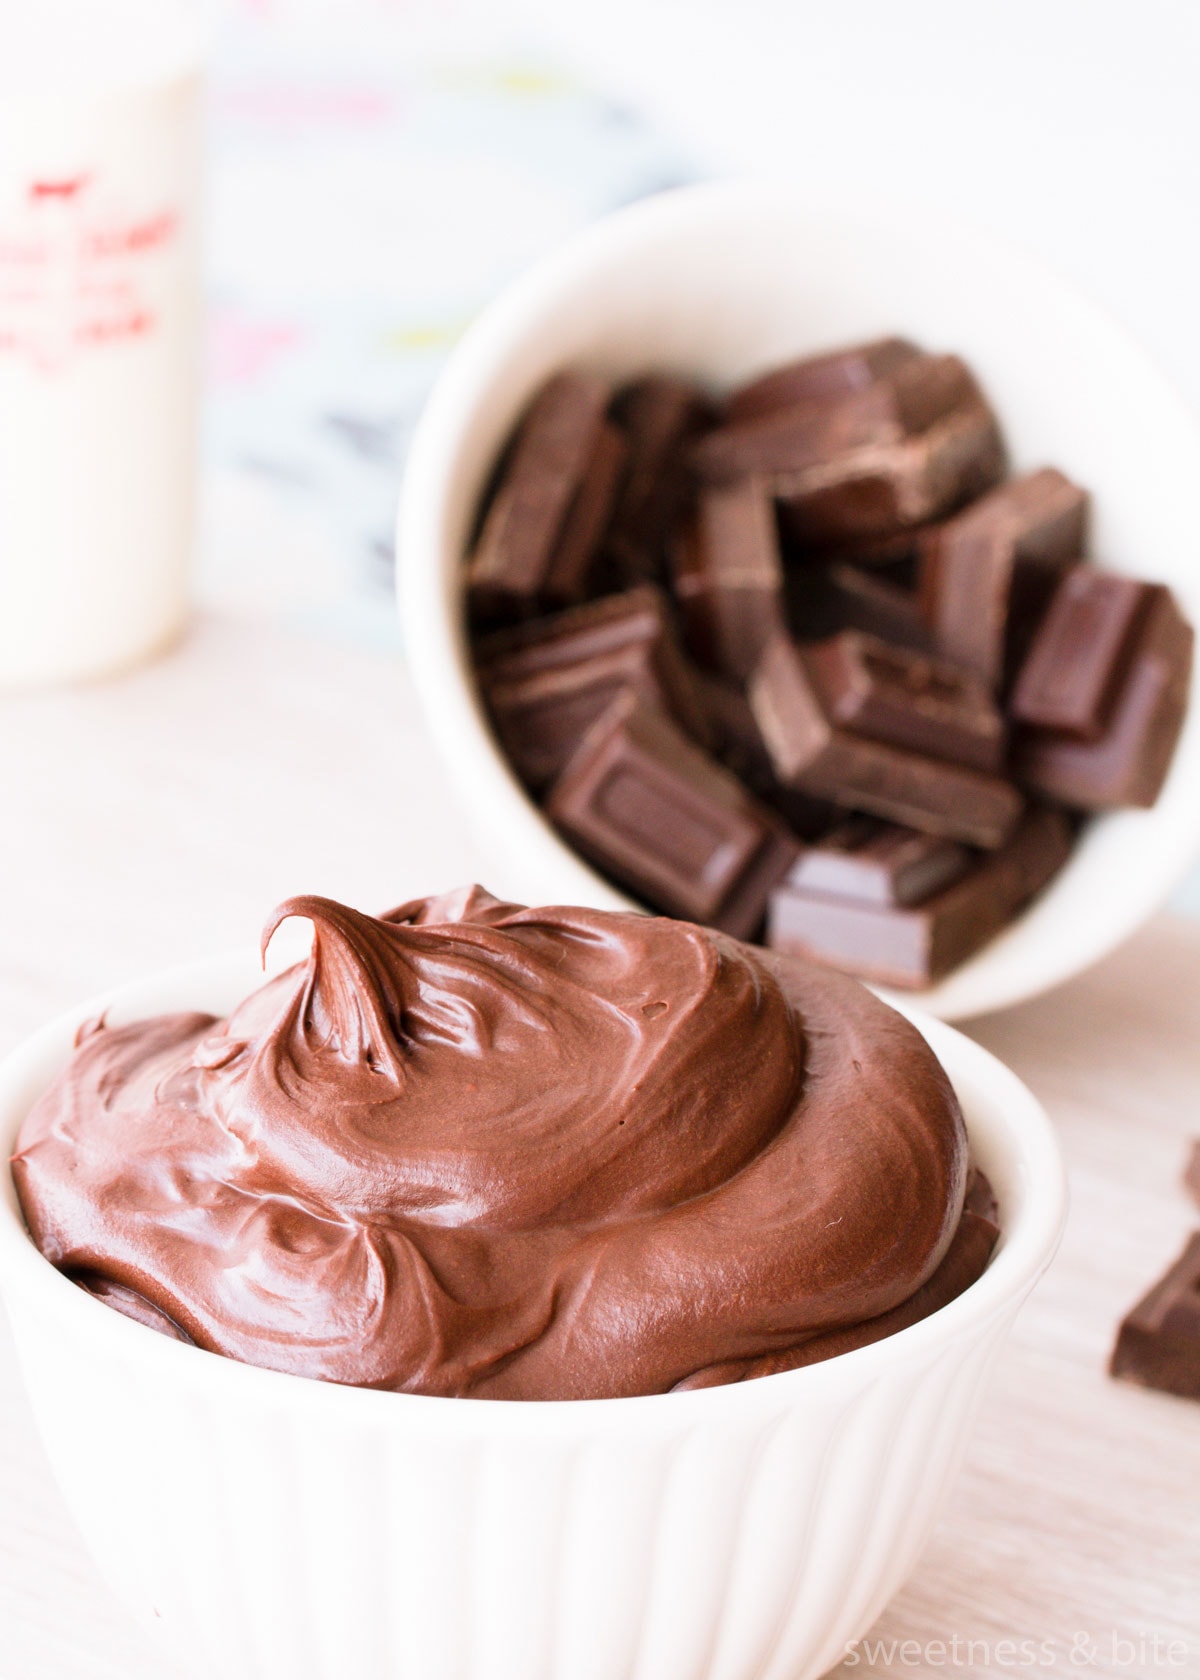
I could seriously dive into that. Well, belly flop, I never did learn how to dive properly. But belly-flopping does sound appropriate.
Carving the Cake
The same rules apply to carving this cake as carving any cake – if it seems a bit soft (or crumbly, depending on the gf flour you used) try chilling it first, and for optimum stability (sounding like a car advertisement much?!) use chocolate ganache rather than buttercream, and make sure to use support dowels and cake cards where necessary.
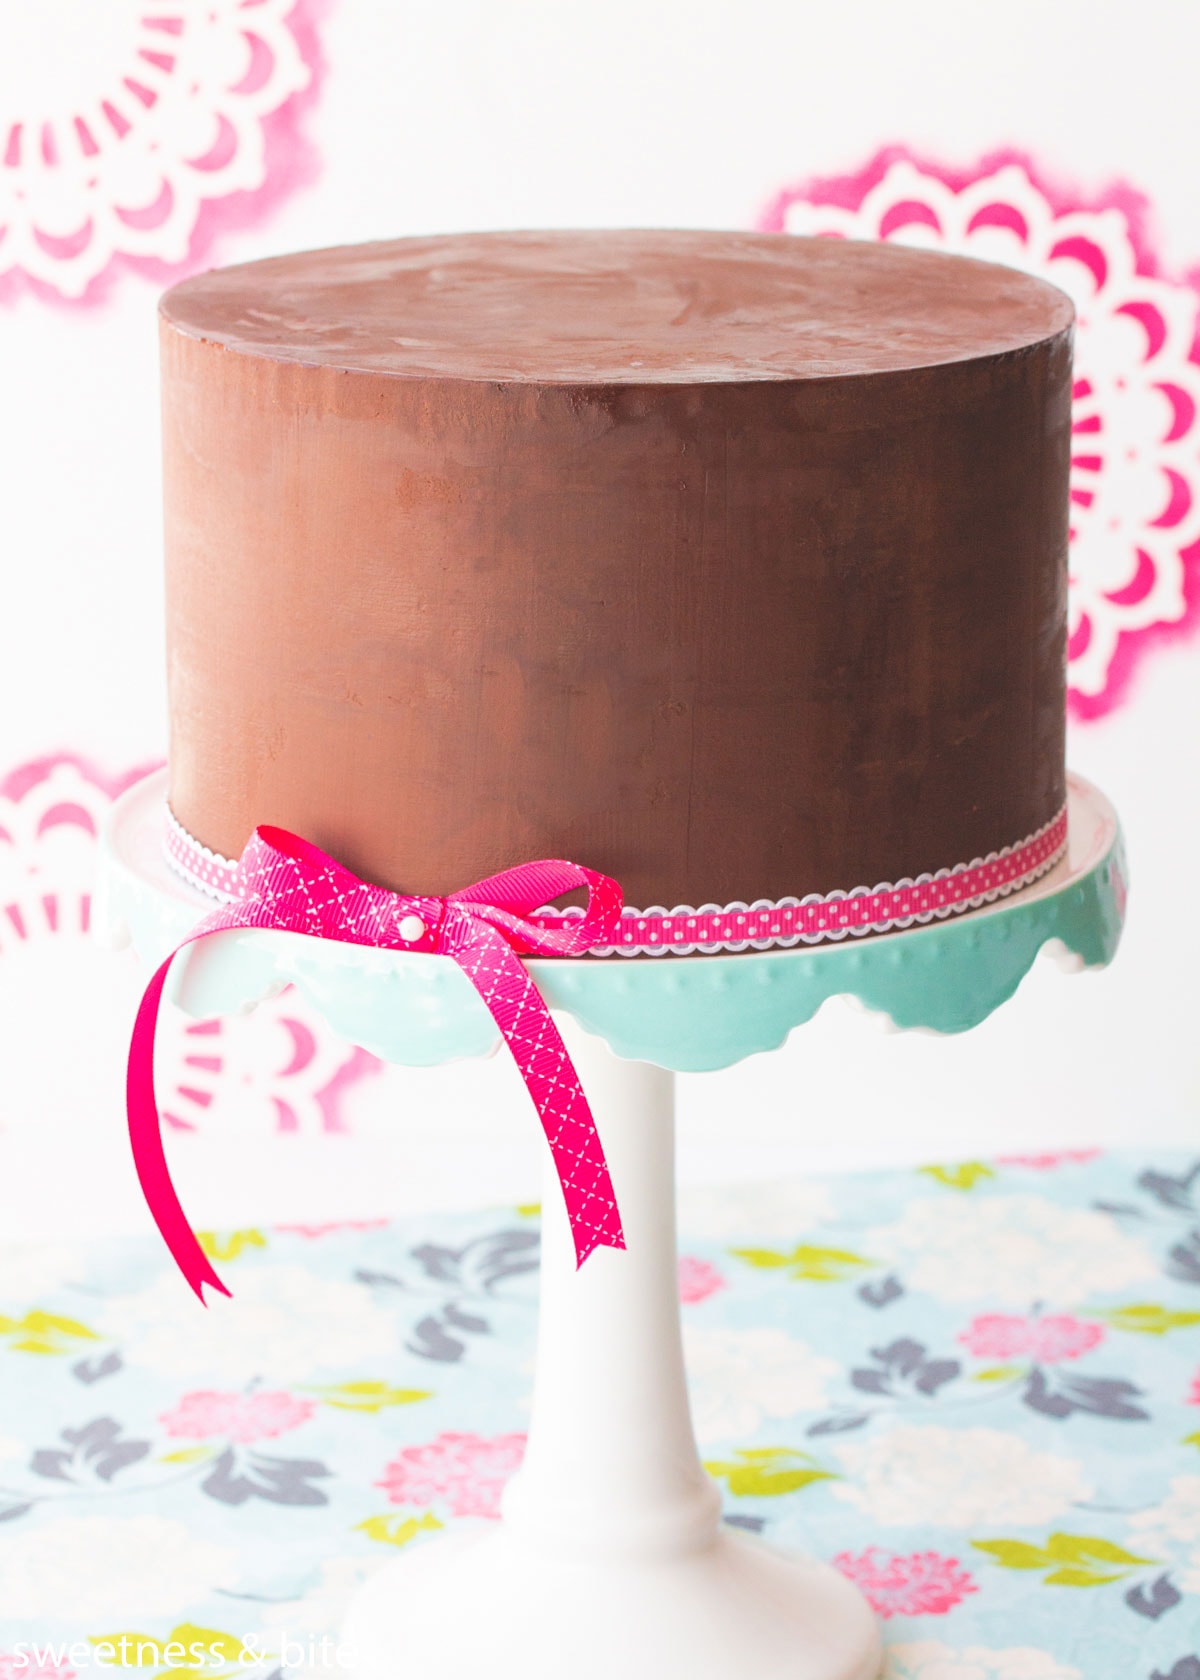
And I know the whole point of this is you can decorate it any way you want, but sometimes you just can’t go past some smooth ganache and a ribbon.
Storing the Cake
To store the cake before icing and decorating it, I recommend wrapping the whole cake in plastic wrap and storing it in an airtight container at cool room temperature. You can also split the cake into layers first, and wrap each layer individually, then pop them all in a container.
Freezing the Cake
To freeze the mud cake, wrap as mentioned above, pop it into an airtight container or zip-lock bag and freeze. When ready to decorate, remove it from the freezer several hours in advance, and allow it to come to room temperature, still wrapped and in the container or bag. This will keep the moisture inside the cake.
If you’re making the cake for someone else, make sure you tell them the cake has already been frozen, and that they won’t be able to freeze the leftover cake, as cake should only be frozen and defrosted once.
Who says gluten free cakes have to be dry, crumbly and nasty?
Make sure you check out my gluten-free cakes for decorating post before you start baking!
Gluten Free Dark Chocolate Mud Cake
Ingredients
- 330 g gluten free flour
- 60 g cocoa Dutch or regular
- 1 teaspoon baking powder make sure it's gluten free
- 1 teaspoon xanthan gum
- 440 ml milk
- 330 g salted butter cut into cubes
- 200 g dark chocolate 50-70% cocoa solids, chopped
- 1 teaspoon instant coffee powder optional
- 450 g sugar caster sugar if you have it
- 2 teaspoons vanilla extract
- 3 large eggs
Instructions
- Heat oven to 160°C (320°F). Line the base and sides of a 7” round (at least 3” high) cake pan, and make a baking strip and foil lid.
- In a medium bowl, sift together the flour, cocoa, baking powder and xanthan gum. Whisk to combine well.
- In a large, heavy-based saucepan, heat the milk and butter over a medium-low heat, stirring occasionally until the butter is melted.
- Add the chocolate and coffee powder, and stir until the chocolate has melted.
- Add in the sugar and stir again until the sugar has dissolved. Remove from the heat and stir in the vanilla extract.
- The liquid mixture now needs to sit until it's cool enough that you can comfortably hold your finger in it. You can either transfer the mixture to a large heatproof bowl to cool it faster, or you can leave it in the pot and wait a bit longer for it to cool.
- When cool, add the dry ingredients in three additions. Mix with a whisk, but use a folding rather than whipping motion to avoid excess air bubbles forming. Whisk the eggs together with a fork and add to the batter, folding again with the whisk until combined. Leave the batter to sit for a minute to allow bubbles to come to the surface. Swizzle the whisk around the top of the batter to pop them.
- Pour the batter into the prepared pan, place the foil lid over the top and bake for 2.5 – 3 hours. To test if the cake is done, use a thin skewer. When the skewer comes out clean, insert a thin-bladed knife into the middle of the cake. When that comes out clean or with only a few crumbs attached, the cake is done. If you have an instant-read probe thermometer, the centre of the cake should be at least 99°C.
- Remove the foil lid and allow the cake to cool in the cake pan for half an hour or so, then cover the top with foil (either unfold the edges of the foil lid and use that or use a fresh piece of foil), securing around the edge of the pan. Leave the cake overnight to cool completely before removing from the pan.
Notes
Nutritional Disclaimer: Any nutritional info provided is a computer generated estimate and is intended as a guide only.
Happy baking!
~Natalie
x

