Homemade Vanilla Extract
This post may contain affiliate links to products I recommend. I receive a small commission at no cost to you if you make a purchase using my link.
Let’s talk about homemade vanilla extract! Learn how to make vanilla extract, what alcohol to use and why it’s a great idea to make it.
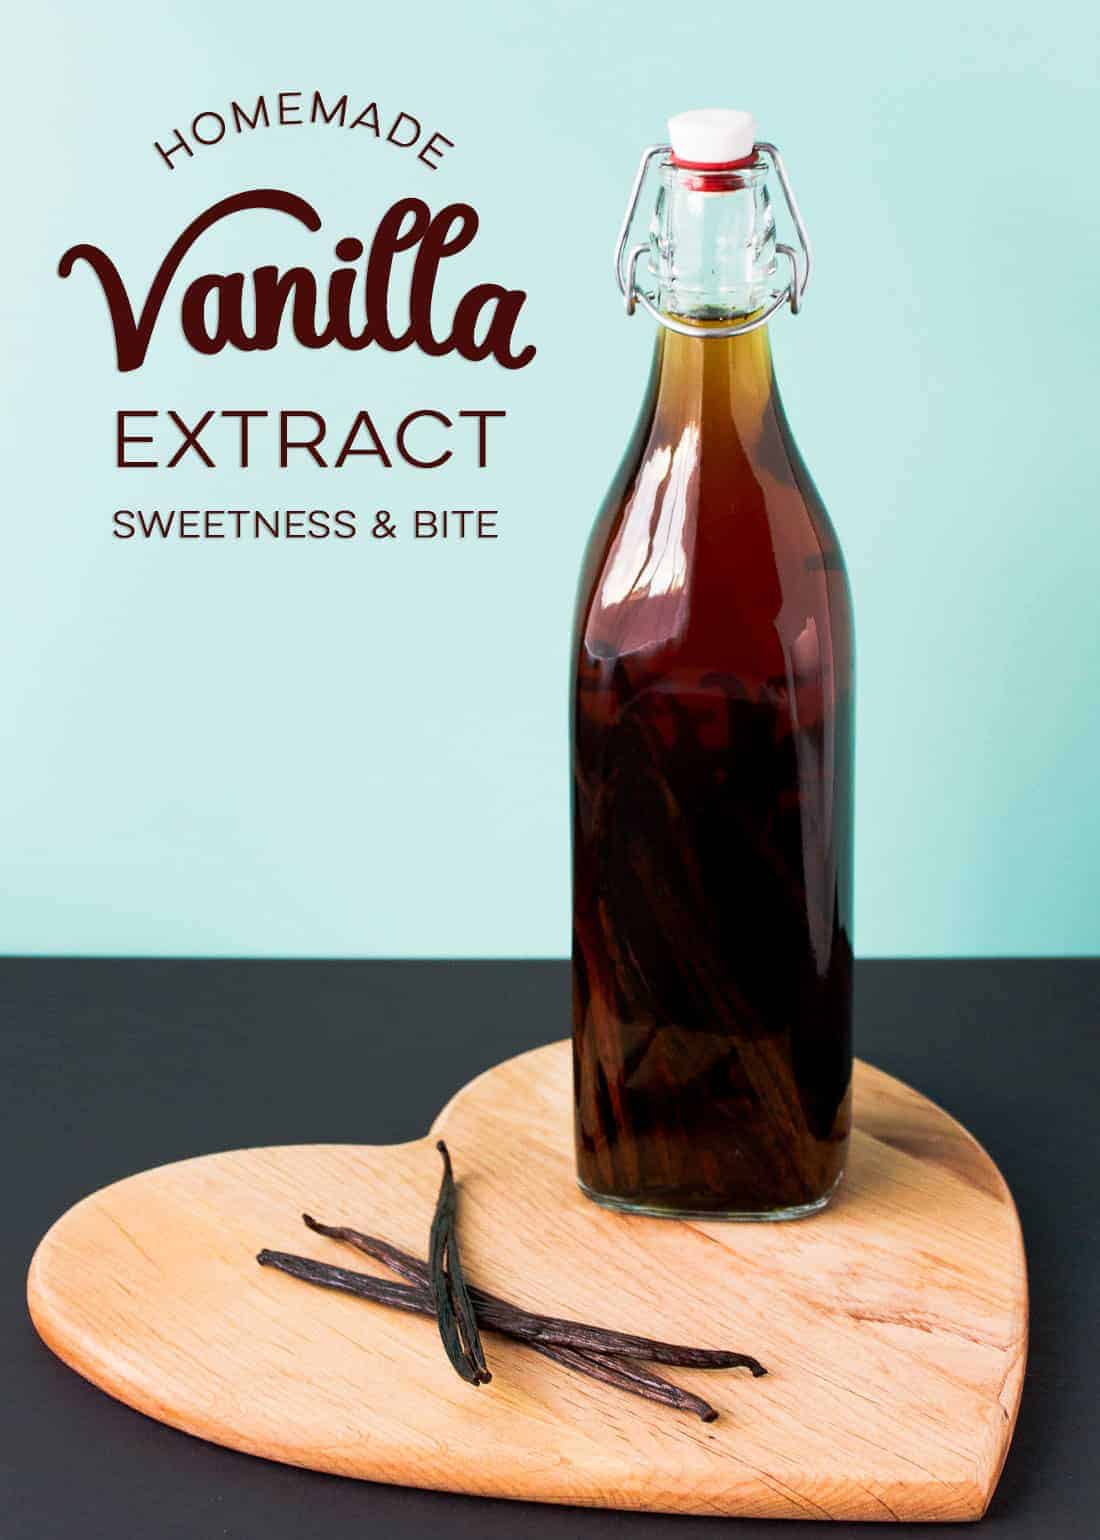
There is something about the taste of vanilla that brings together all kinds of other flavours. Like a super smooth blank canvas, it provides the perfect backdrop to any flavour masterpiece you choose to create on top.
Good quality extracts can be pretty pricey, but if you can get a good price on alcohol and have access to vanilla beans, it can be considerably cheaper to make your own vanilla extract.
Making your own homemade vanilla extract is also one of the best ways to know that you’re getting a high-quality product that will make your baking sing like Beyoncé in the shower.
(I had to specify a particularly good singer since my singing in the shower is more “imitation vanilla essence” than “vanilla beans hand-picked-by-virgins under a rainbow and delivered by unicorns to a factory where leprechauns and fairies make them into extract”.)
I’ve been making vanilla extract for several years now, after I complained to a friend that I was going through little bottles of vanilla extract like it was tap water, and she suggested I try making my own. I loved the result so much that I’ve been making it ever since.
It’s easy to make, but I have some tips and tricks to help you along the way, plus an extra not-so-secret ingredient that I like to use to make my extract super rich and flavourful.
Have I talked you into wanting to try it yet? Yes? Ok then, let’s talk details!
Vanilla Extract Ingredients
There’s a short ingredient list here for this vanilla extract recipe: You’ll just need vanilla beans and your choice of alcohol (we’ll talk more about the alcohol below).
What Kind of Vanilla Beans Should I Use?
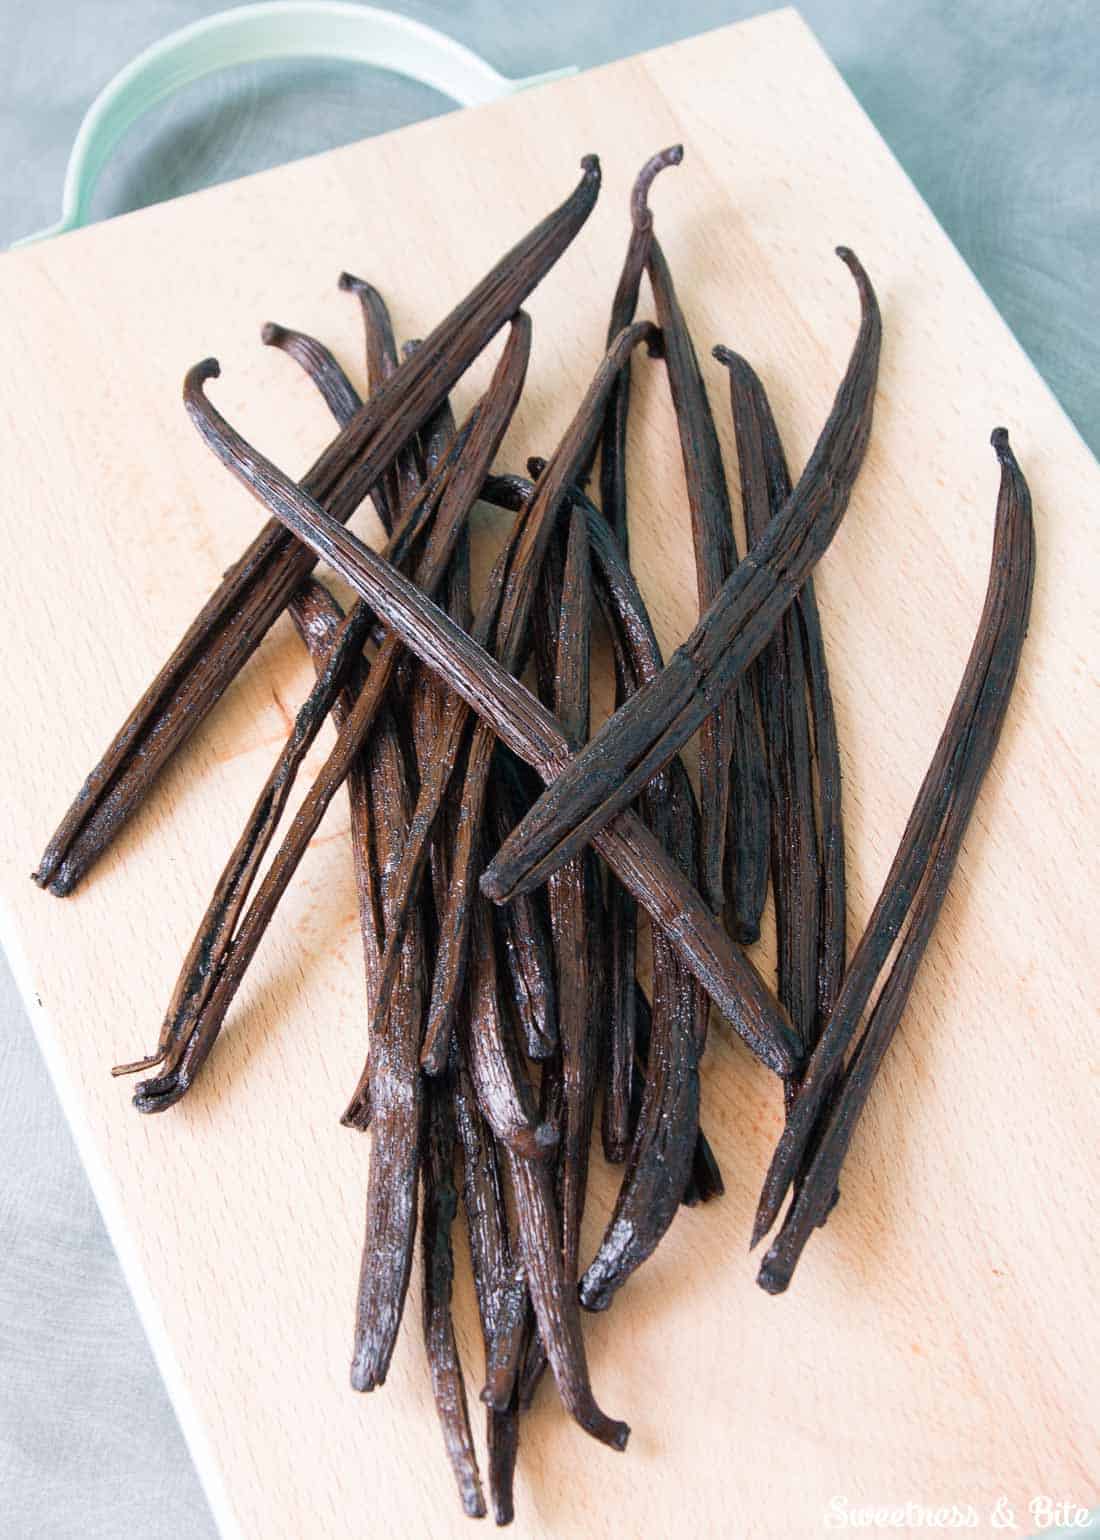
While I recommend using good quality vanilla beans, keep in mind that you don’t need to use super-plump, Instagram-worthy beans to make vanilla extract. In fact, it doesn’t matter too much if your beans are pretty dry.
This is why some vanilla suppliers sell what’s known as “Grade B” or “extract quality” vanilla beans. These are beans that are drier, sometimes smaller, and they usually don’t look as pretty.
But these somewhat shrivelled little babies still pack the same flavour punch, and once they’ve soaked in alcohol for a while they plump right back up and start infusing their flavour into the alcohol.
I have started buying Grade B Madagascar vanilla beans from Beanilla in the USA. Even with the shipping cost to New Zealand, these were cheaper than buying beans here. It’s worth having a look around to see what’s available.
What Kind Of Alcohol Should I Use to Make Vanilla Extract?
To make a basic homemade vanilla extract, you can simply buy a bottle of vodka, pour a little out, shove in your beans, top it back up, and be done with it. This will give you a very “pure” vanilla flavour, and that’s why many recipes only call for vodka.
But let’s be honest, I like to be a bit extra sometimes, and my extract is no exception. So I add a not-at-all-secret-anymore ingredient – Rum.
Dark rum has a smooth, sweet scent, owing to the fact that it is made with byproducts of the sugar making industry, such as molasses, which are fermented and distilled. The sweet and almost caramel-like flavours are what give rum its distinctive taste.
Adding some rum to the extract takes it to a whole other level, with the sweet notes of the rum rounding out the vanilla.
You can pretty much experiment with any liquors you like though. I also really like using bourbon in place of the rum. I’ve also been known to pop some beans into a bottle of Kahlua to make vanilla bean Kahlua.
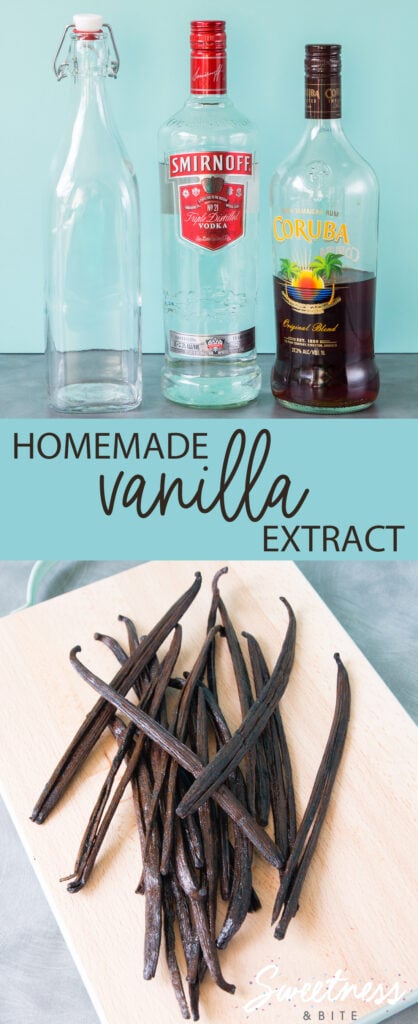
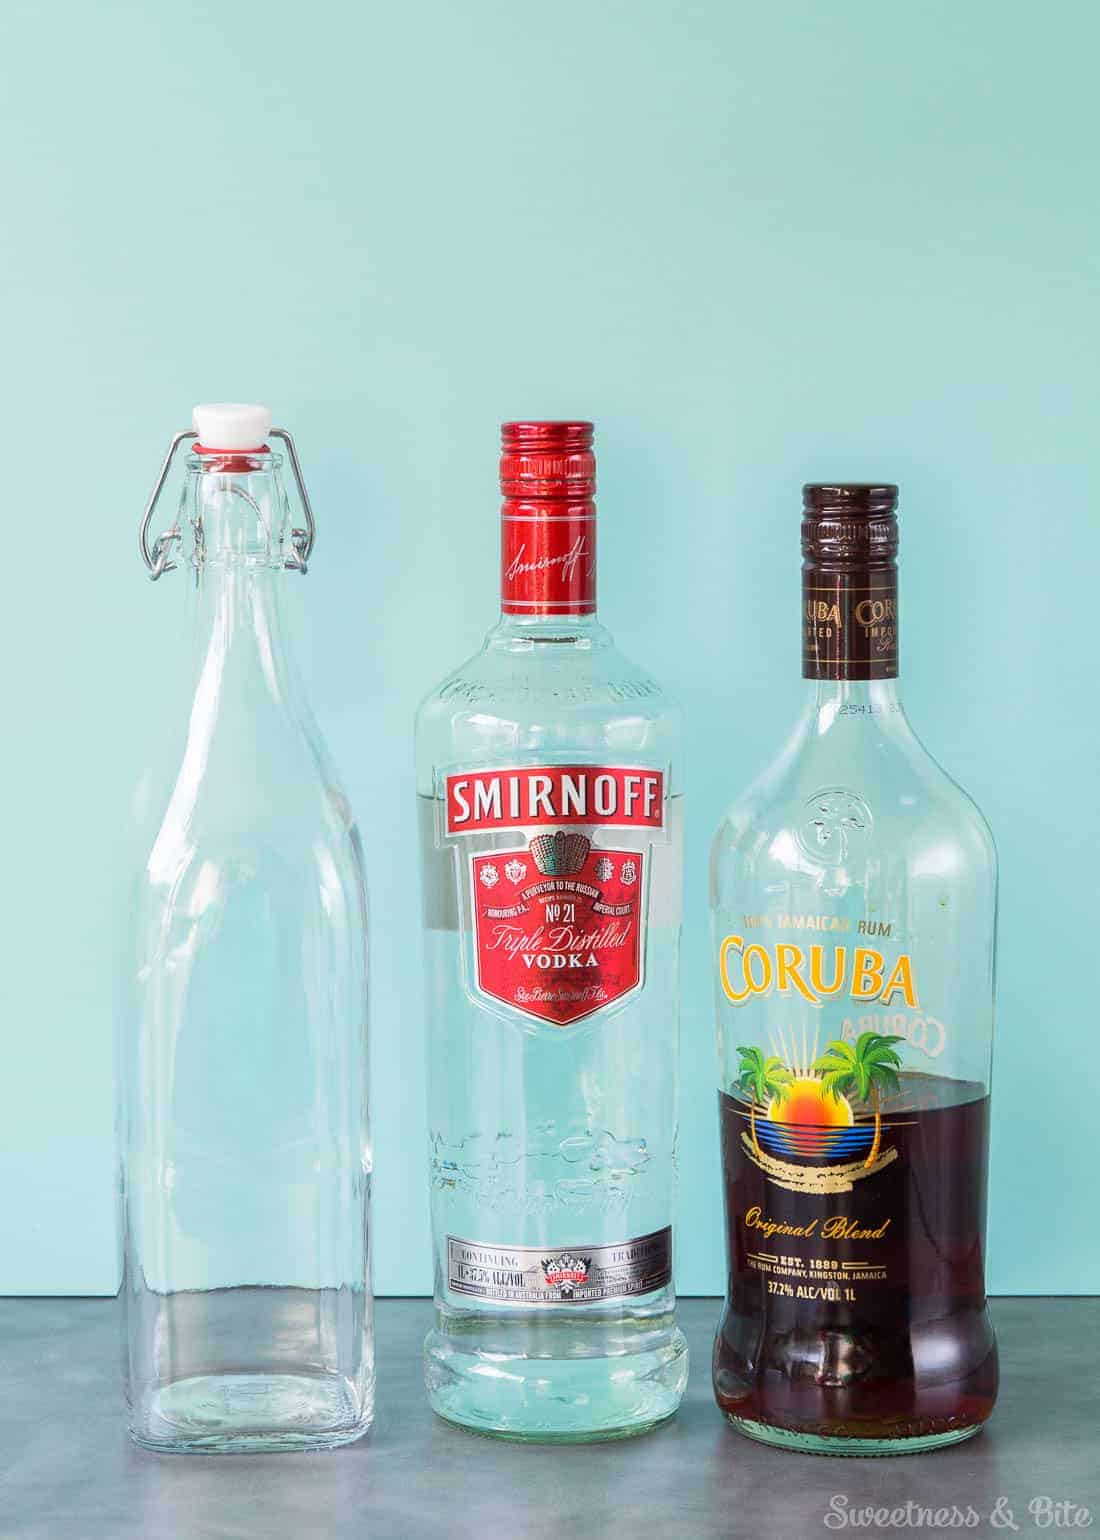
Wondering what brand of alcohol you should buy to make your extract? To be honest – any good-quality brand should do the trick. I tend to use Smirnoff vodka and Coruba rum. When using bourbon I usually use good old Jim Beam.
Just check the alcohol content on your vodka as these can vary, around 37% – 40% is ideal. Very cheap vodkas may have a much lower alcohol content, and these aren’t good for making extracts.
To make my homemade vanilla extract more cost-effective, I buy the alcohol when it’s on special or from duty-free shops if we’re travelling. This can considerably lower the price.
For a continuous supply of homemade vanilla extract, I like to make a new bottle every six months or so, so that by the time I have finished one bottle, I have another that is dark, delicious and ready to use.
And considering how easy it is to make, making it regularly isn’t too much of a hardship.
How to Make Vanilla Extract:
All you need is:
- A glass bottle that holds roughly 1 litre (you don’t have to get a pretty one, you can recycle an old vodka bottle, that’s what I usually do, I used this slightly more attractive bottle purely for aesthetic reasons.)
- Vodka
- Rum
- Vanilla Beans
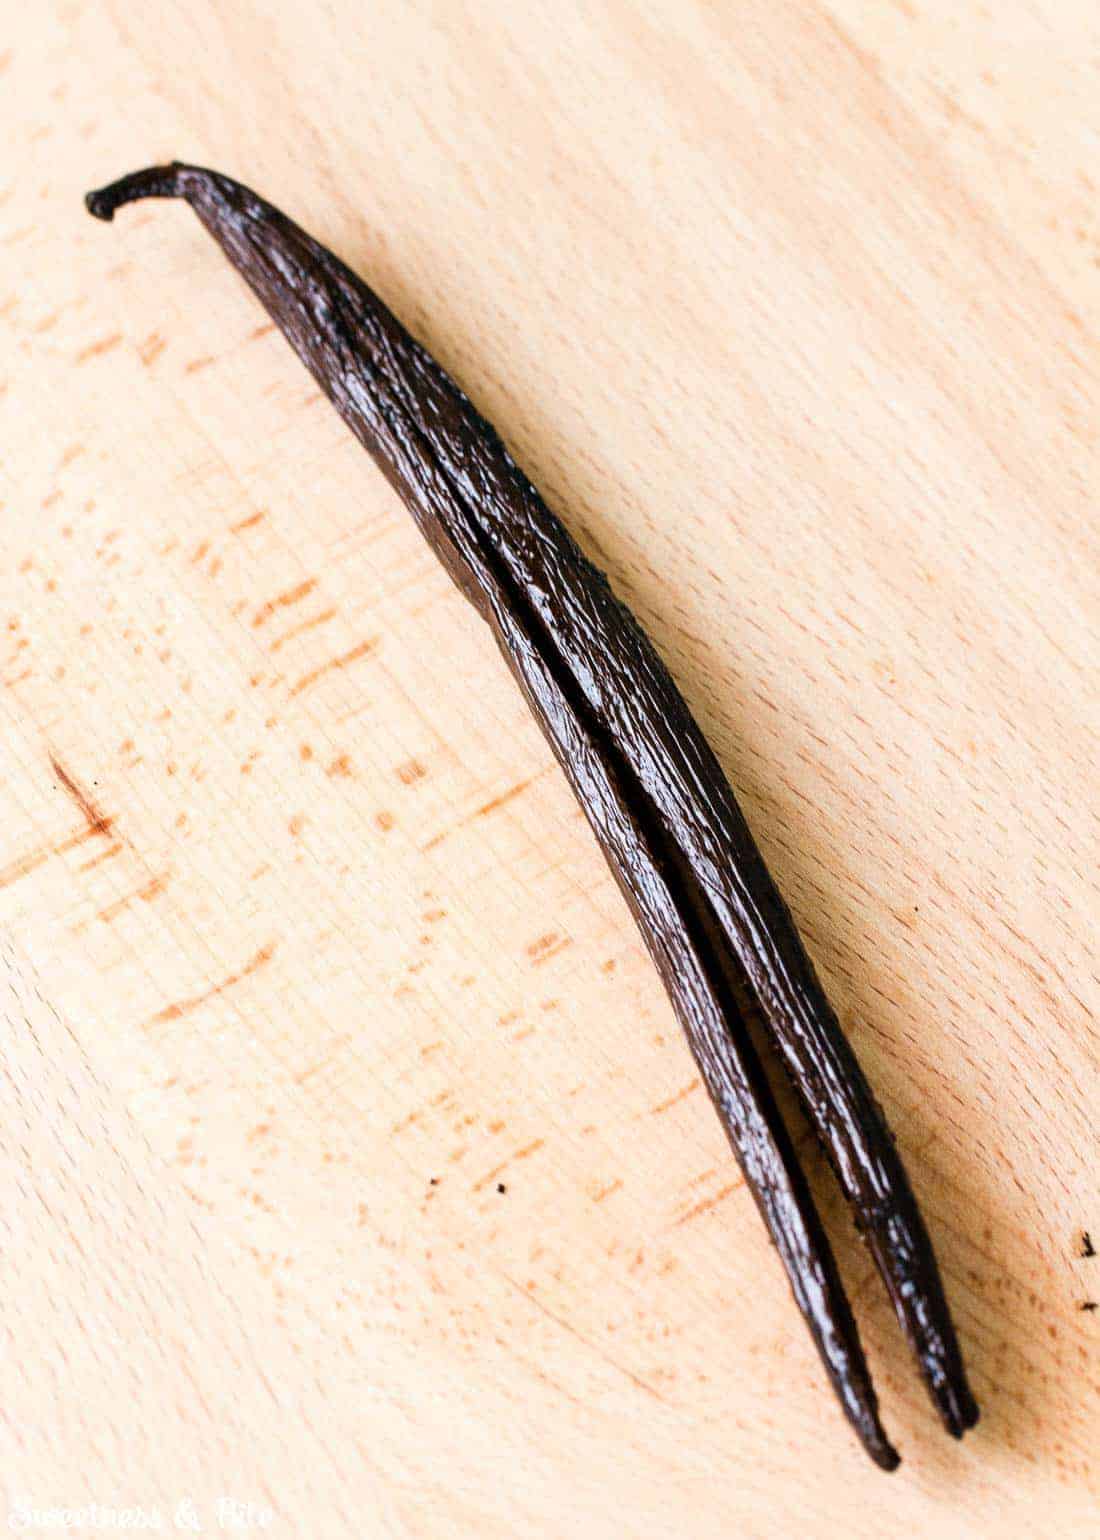
Split the beans down the middle, leaving one end attached. Now’s the time when you have a big decision to make. How “seedy” do you want your extract?
If you love to have vanilla seed flecks in your baking, then scrape the seeds from the bean with the back of a knife and pop the seeds into the bottle. If, like me, you prefer to choose when you want seeds (and achieve that by adding prepared vanilla paste) then don’t worry about scraping the beans, just split them.
Some seeds will, of course, escape their pods, but this is a good thing. Seeds = flavour. But they will settle to the bottom of the bottle and you can decant your extract into smaller bottles, leaving most of the seeds behind, or strain out the seeds using a fine sieve once your extract is ready.
You could make extract without splitting the beans and therefore not have seeds, but it will take longer for the flavours to develop. If you really, really don’t want any seeds, you’re much better off having the seeds in it, and then straining the extract to remove the seeds.
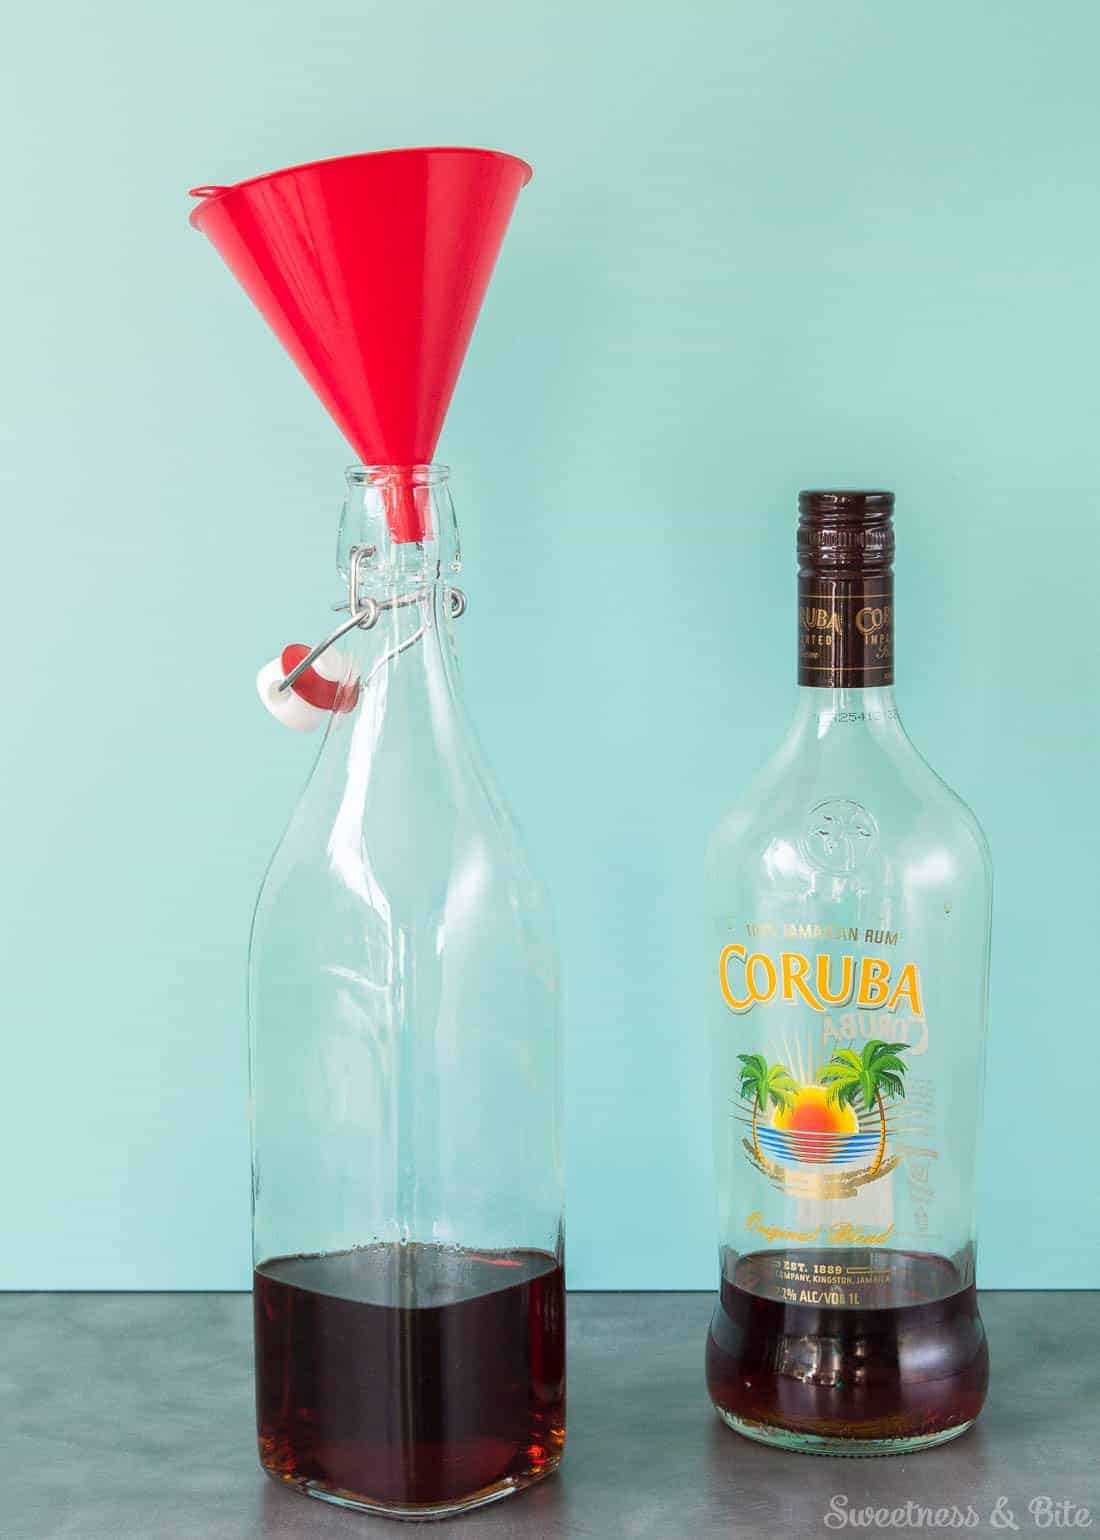
Fill your bottle up about 1/4 of the way with rum. Rough measurement is fine if you don’t want to fuss around with cups and whatnot.
Pop your vanilla beans into the bottle, split-end down. This will make it easier to remove the beans from the bottle when you’re done with them.
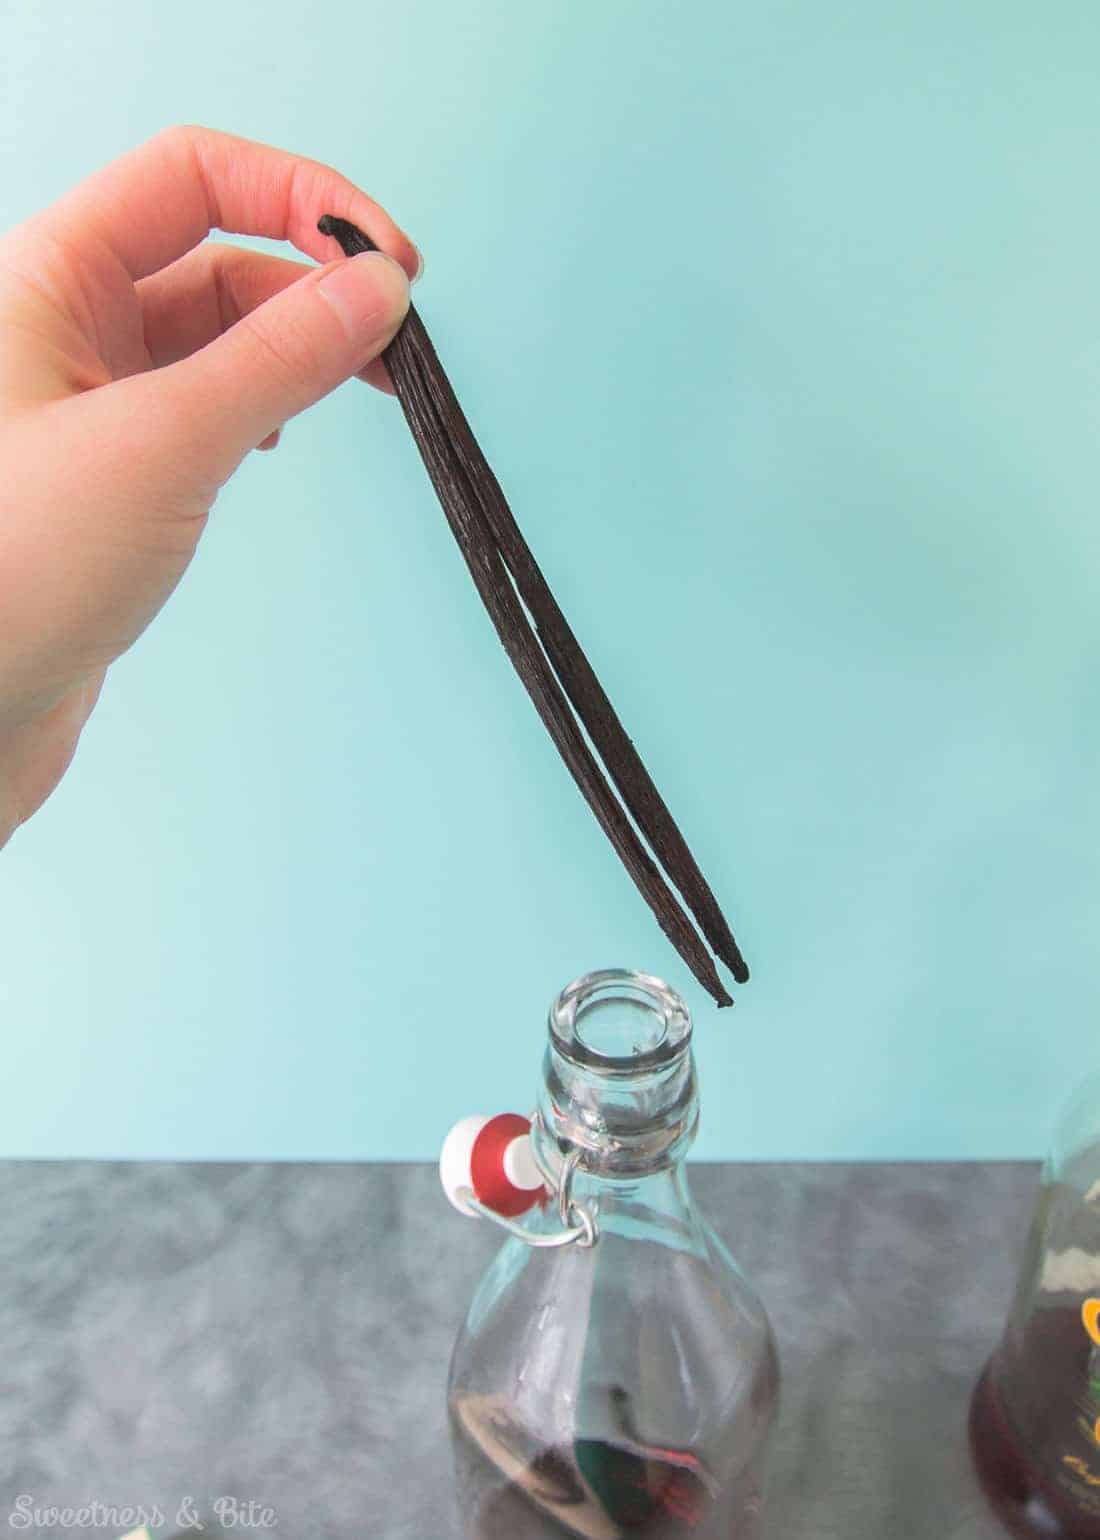
Shove ’em all in.
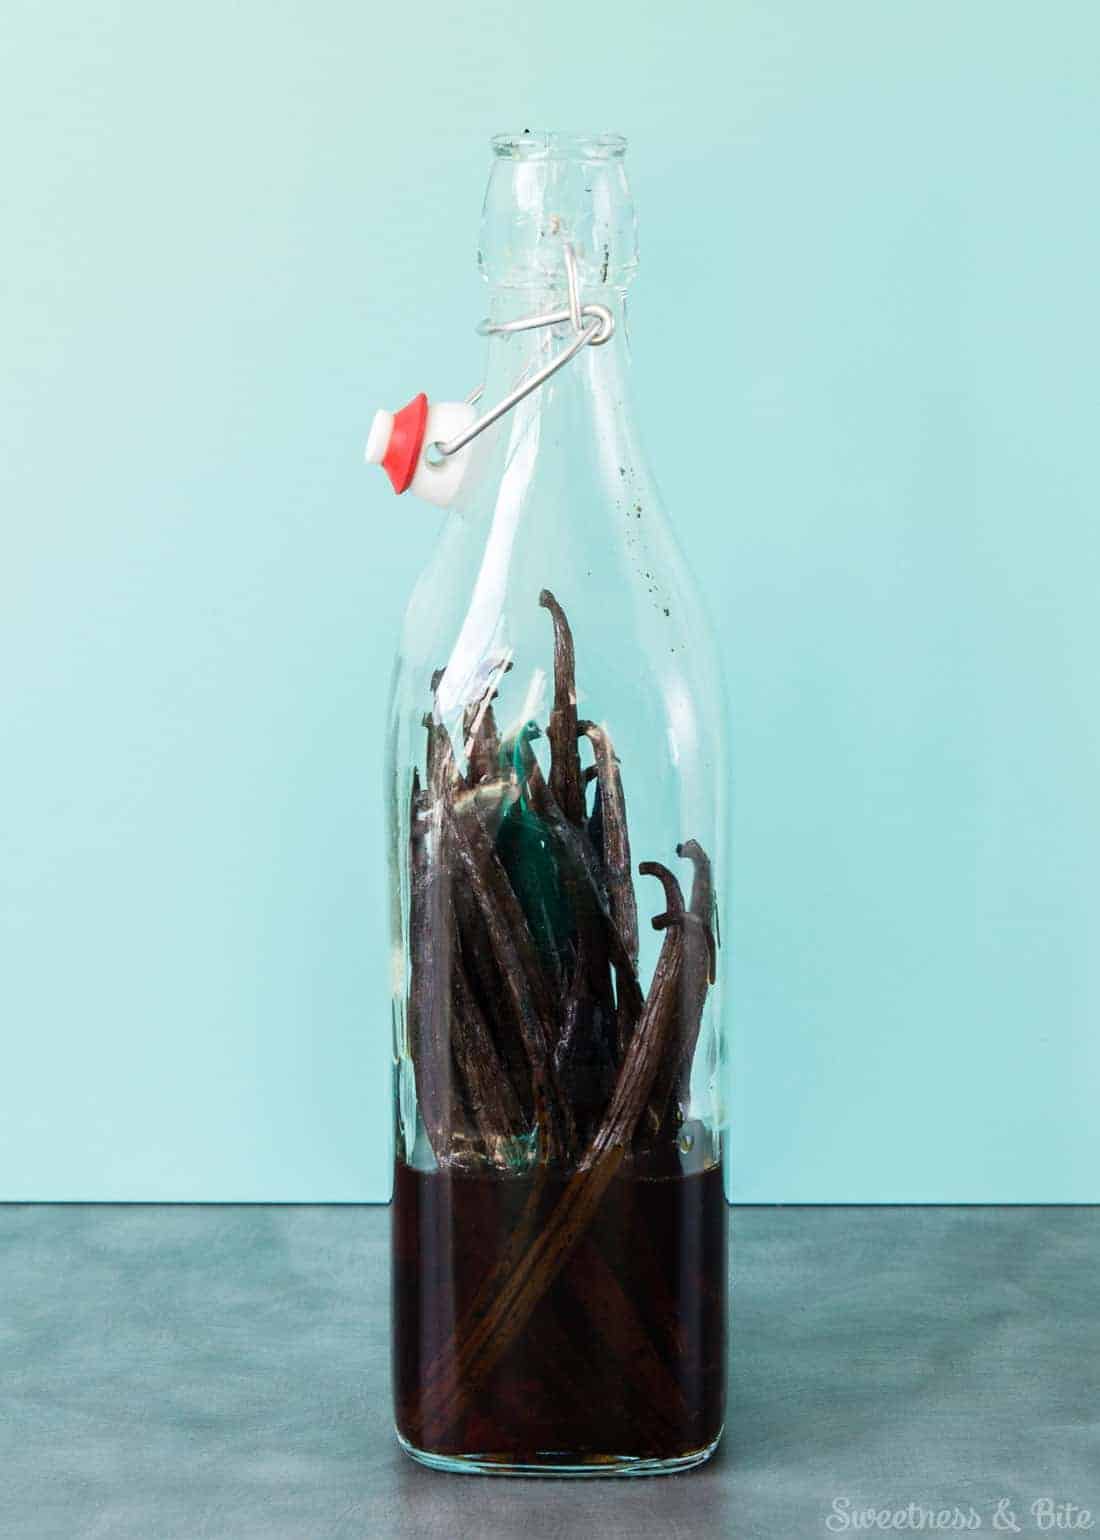
Then top up the bottle with vodka.
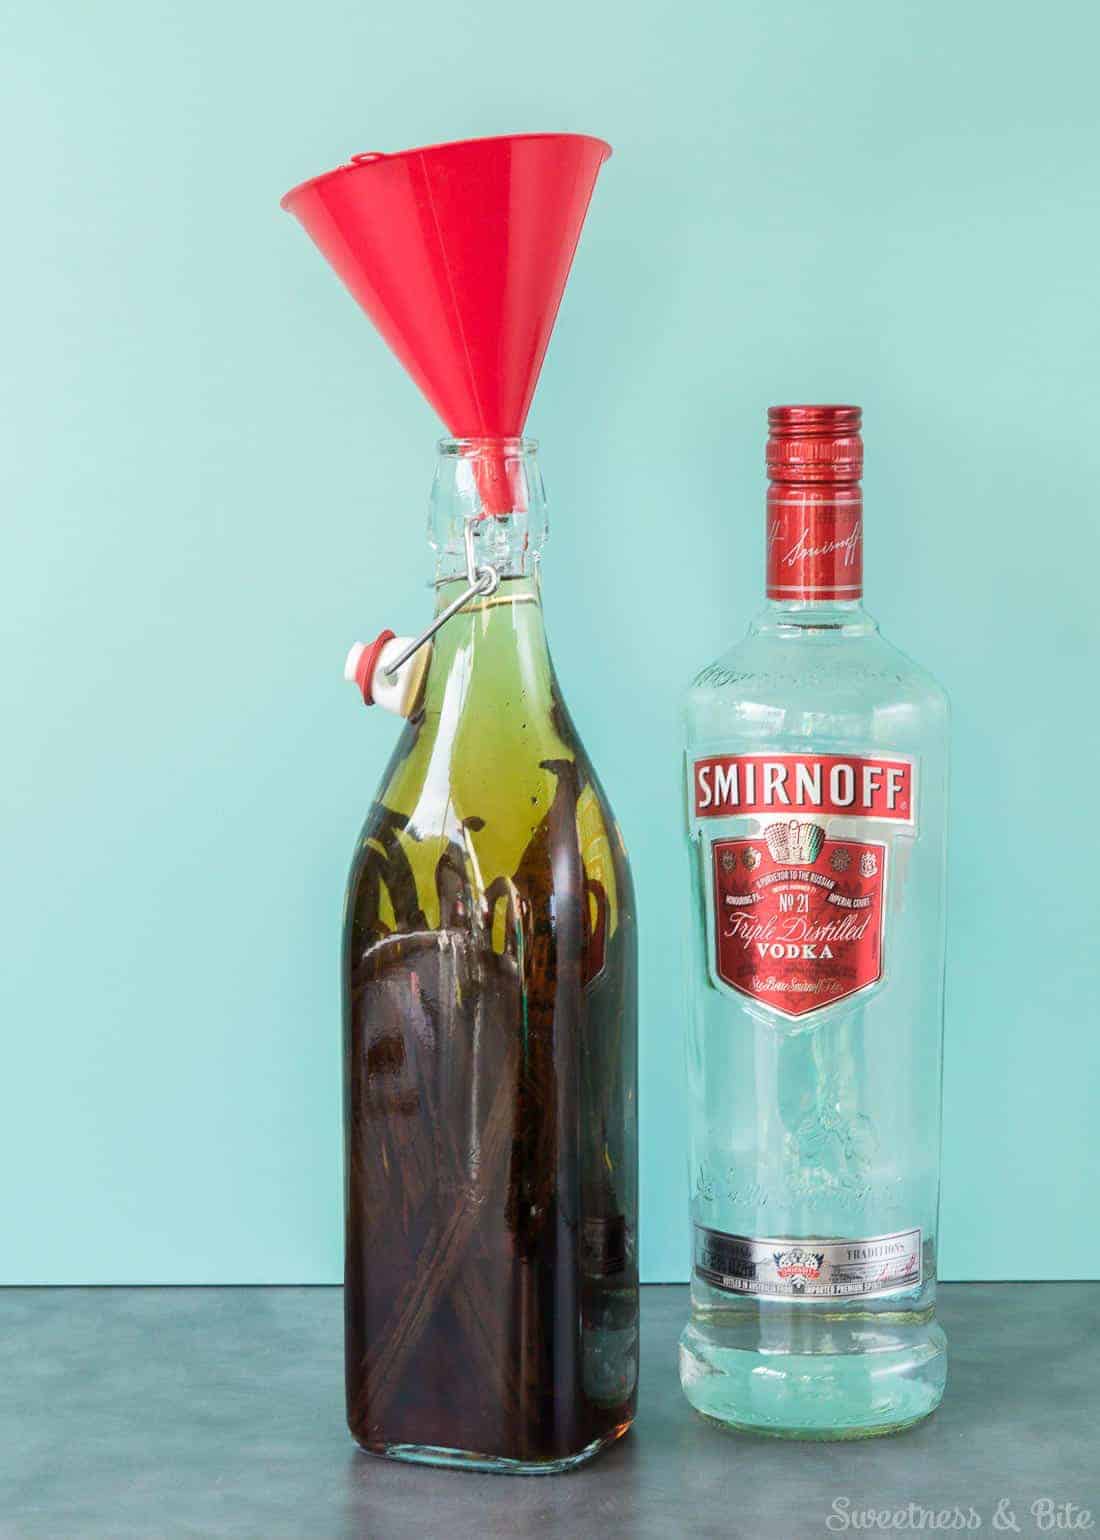
Then all that’s left to do is clean off any seeds from around the top, and put the top on the bottle.
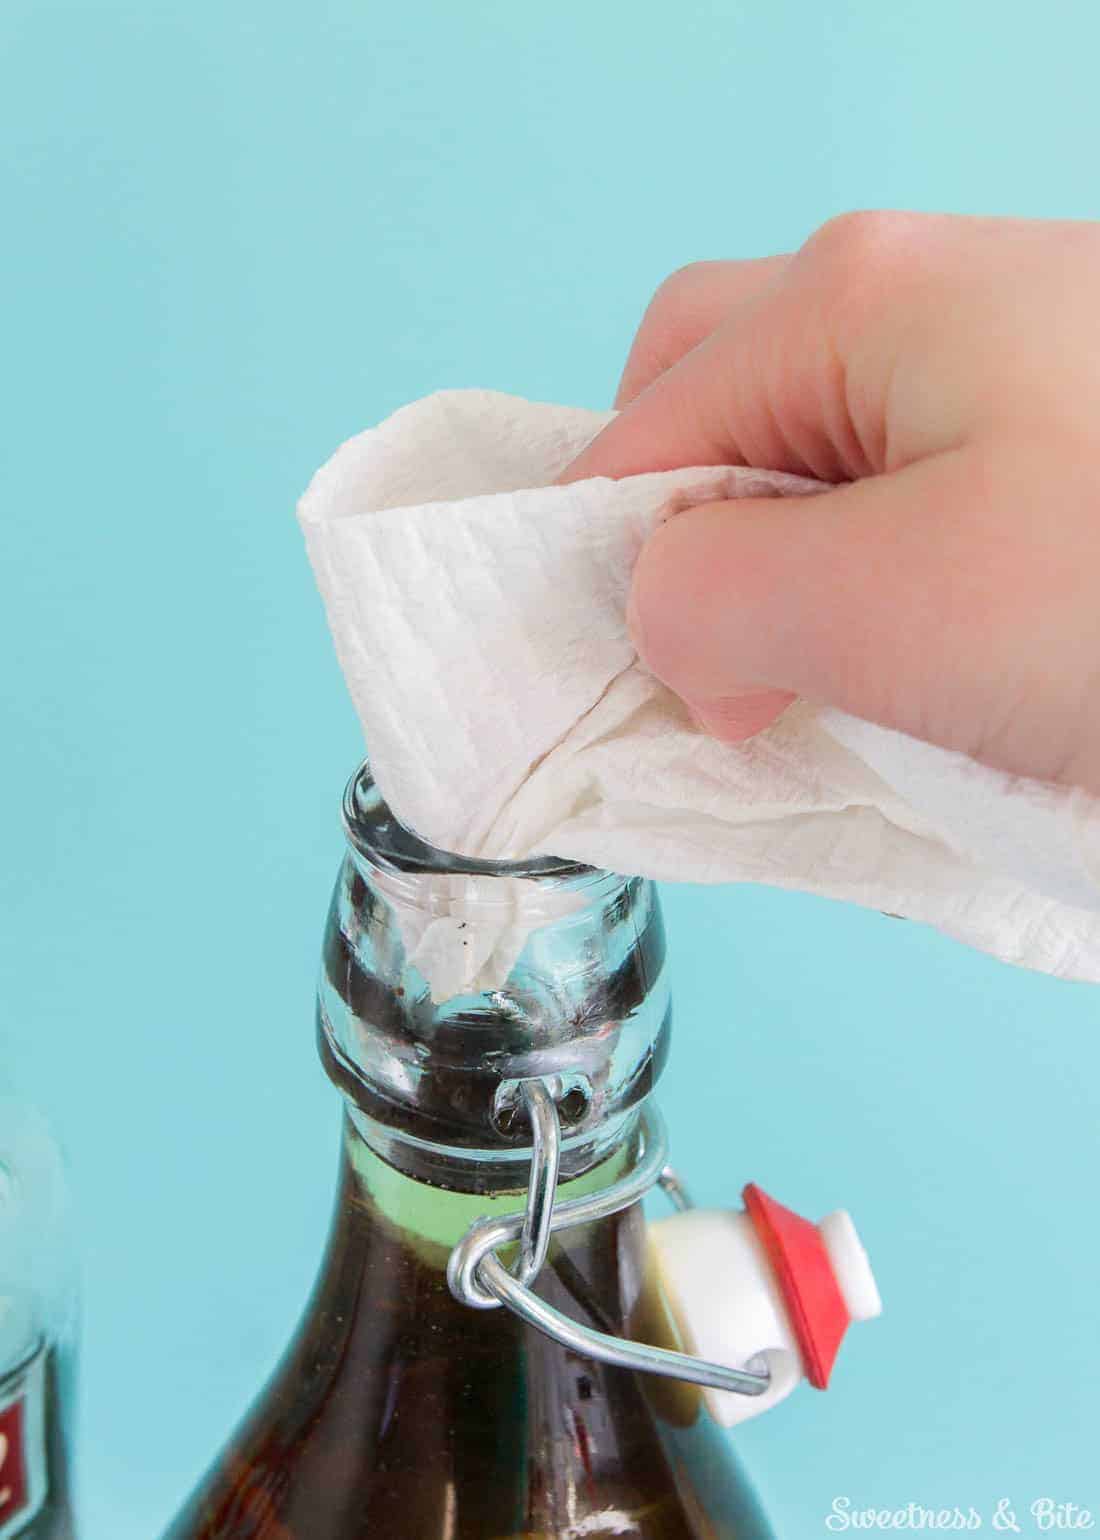
Give it a good shake, then pop it in a cool dark place. Shake it as often as you remember to. Once a week is ideal, but if you forget then don’t worry, it will be fine.
Now is the hard part, waiting for it to be ready.
Some extract recipes say you can use it in as little as 6 weeks. I personally find that the flavour is nowhere near developed enough at this stage, the alcohol smell is still pretty overwhelming, with the vanilla smell trailing way behind.
In my opinion, it needs to sit for a couple of months, minimum. Give it a sniff after this time and if the vanilla scent is the one that hits you first then it’s ready to use. If not, wait a bit longer. I like it best when it has sat for 4-6 months.
If you want to give some extract away as a gift before it has had sufficient sitting time (hello last-minute gifts), then simply pop a note on the label to say when it will be ready.
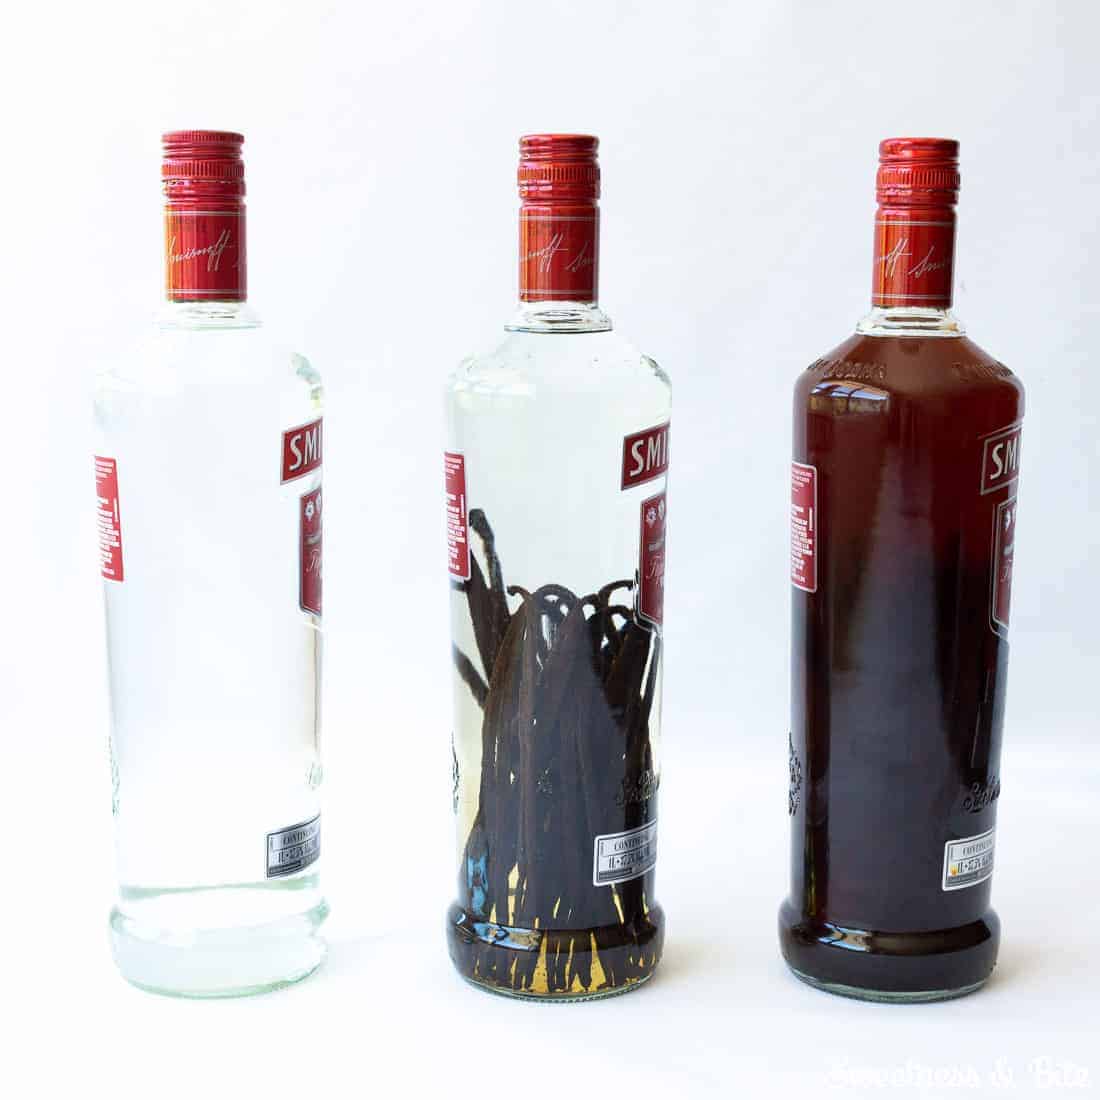
If you’re interested to see the colour changes that a vodka-only homemade vanilla extract goes through, then check out this (somewhat badly captured) photo. The first bottle is clearly (bad pun) a bottle of plain vodka. The second is just after adding the beans, and the third is the extract after six-ish months. Colour is flavour, people!
This probably goes without saying, but if you enjoy making cocktails, you will find just as many uses for drinking this vanilla extract as you will when baking with it. It’s also pretty good just splashed into a glass of Coke with a handful of ice, as a grown-up vanilla Coke.
Don’t ask me how I know this. I won’t tell you.
Happy baking. Or ‘baking’ 😜
~Natalie
xx
Homemade Vanilla Extract
Ingredients
- 250 ml dark rum (1 cup)
- 750 ml vodka (3 cups)
- 20 vanilla beans or more, if you like
Instructions
- Pour the rum into a 1 litre bottle.
- Split the vanilla beans down the middle lengthwise, leaving one end attached. You can scrape out the seeds and add them to the bottle if you like. Poke the beans split end down into the bottle.
- Fill the bottle to the top with vodka. Wipe away any vanilla seeds from the top of the bottle, and put on the lid or stopper. Shake well.
- Store in a cool dark place for at least 3 months (6 is better, if you can wait.) Shake the bottle as often as you remember to.
- It’s a good idea to label your bottle with the date you made it, so you know when to start checking it. If you’re experimenting with different alcohols, different vanilla beans and different numbers of beans, then make a note of that too.
- Once the extract is ready, I like to decant it into a smaller bottle to keep in the kitchen, and leave the bigger bottle, with the beans still inside to continue maturing in flavour. When putting the extract into a smaller bottle, you can strain out the seeds if you want to.
Notes
Nutritional Disclaimer: Any nutritional information provided is a computer generated estimate and is intended as a guide only.
Quick Vanilla Extract FAQ
It’s best to keep your vanilla in a cool, dark place. While you’re waiting for your homemade vanilla extract to be ready, make sure you keep your vanilla somewhere that you’ll look at occasionally so you remember to shake it! (Or do what I do and set reminders in your calendar 😜).
Most alcohol-based vanilla extract lasts indefinitely as the alcohol preserves it. I usually use my homemade vanilla extract within a year or two, but that’s because I go through a lot of it (because I do a lot of baking!).
Store-bought vanilla extracts will have a best before date on the bottle.
This homemade vanilla extract is gluten-free by ingredient. Spirits such as vodka are generally considered gluten-free – even if they are made with gluten-containing ingredients, the distillation process removes the gluten. Rum is made from sugar cane, so generally does not contain gluten. And vanilla beans don’t contain gluten either.
Once you’ve used all of your homemade extract, you’ll have vanilla beans left behind. Since the beans aren’t cheap, I like to find ways to reuse them. I will often add some used vanilla beans in with fresh beans to make another batch of extract, there usually isn’t enough flavour left in the beans to make more extract on their own, but they will still contribute some more flavour when used alongside fresh beans.
I also like to use the used beans to make vanilla sugar. First, you’ll need to dry out your beans. I have a food dehydrator so I use that, but you can also dry the beans out in the oven (spread them out on a baking paper lined baking tray and pop them in the oven on the lowest heat setting, with the fan on if your oven has one) until they’re dry. Try to get them super dry, as any moisture in the beans will cause the sugar to clump. Once they’re dry, all you need to do is add them to some sugar. I use caster sugar, but regular sugar is great too. Put the sugar and the beans into a jar or airtight container, give it all a shake and leave it to sit for a week or two before using. Just like with the extract, the longer you leave it, the more flavour it will have.
When you say it like that it doesn’t sound so good, but because the extract is made from alcohol that you would otherwise drink, there’s no reason you can’t drink this vanilla-flavoured alcohol. As I mentioned in the post above, you can use this vanilla extract in cocktails, and it’s really nice when mixed with Coke to make a homemade, grown-up Vanilla Coke.
