How to Tell if a Cake is Done
This post may contain affiliate links to products I recommend. I receive a small commission at no cost to you if you make a purchase using my link.
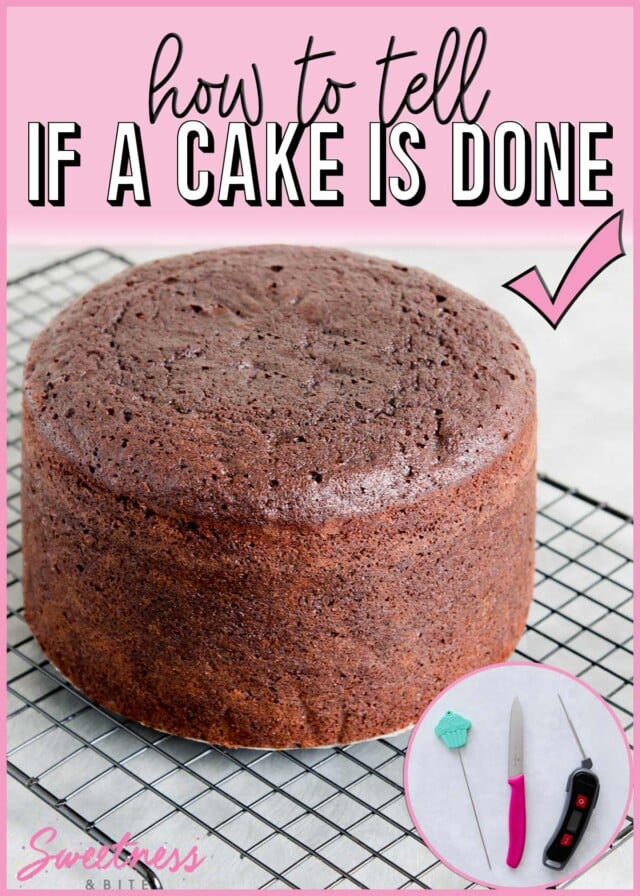
Learn how to tell if your cake is done. In a few simple steps, you will know for sure if your cake is cooked all the way through, and prevent undercooked cakes forever! Bonus tips for what to do with an undercooked cake, and how to fix an overbaked cake.
Have you ever baked a cake, given it a quick poke with a finger and had it spring back, or stabbed it with a skewer that comes out clean, then let it cool, cut it, and become completely dismayed to see that it’s undercooked?
Many cakes, particularly denser, moister cakes like mud cakes, can give you the illusion of being done even when they’re still undercooked in the middle. You might think your cake is done, only to discover that it’s stodgy and undercooked in the middle when you cut into it.
No one likes eating undercooked cake (well, except for licking cake batter off the spoon) and certainly, no one enjoys having to rebake a cake that is supposed to be cooked but isn’t. Luckily there are a few little tips and tricks you can use so you have confidence that when you take the cake out and turn the oven off, your cake will be cooked right through.
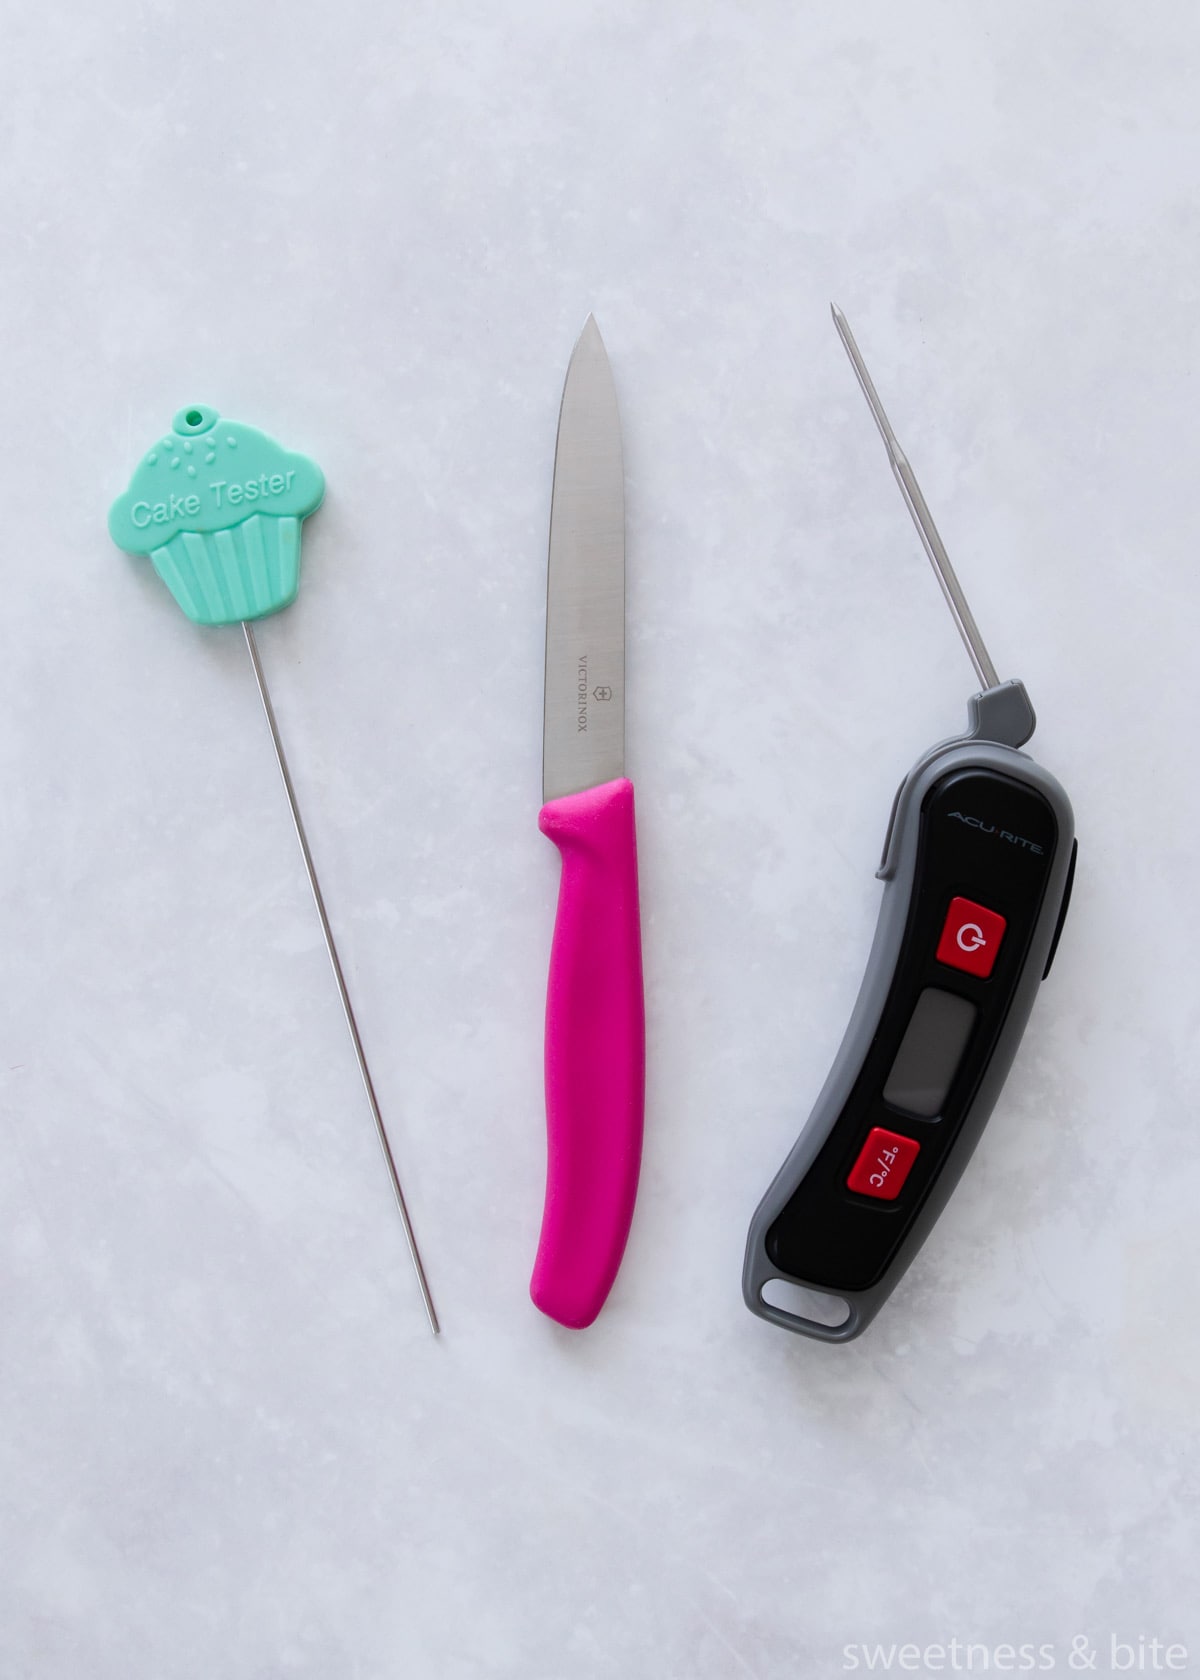
To check if your cake is done, you’ll need three simple tools:
1. A skewer/cake tester/toothpick/another kind of pokey stick. I prefer a metal skewer or cake tester, but a bamboo skewer or long toothpick is fine.
2. A thin-bladed knife. Make sure it is a thin blade, right up to the handle, or you’ll make a giant hole in your cake. A small slit in the cake is ok, but a bigger hole may make your cake layers more likely to break. I use my trusty Victorinox paring knives.
3. A probe digital thermometer. This step could be considered optional, but checking the internal temperature is the most accurate way to tell if a cake is done. I really like this Accurite thermometer (pictured below) for checking the internal temperature of a cake as it gives a quick reading, but I also sometimes use my CDN Candy Thermometer. (If you’re buying your first probe thermometer, I recommend buying the candy thermometer, as it’s more versatile.)
(The Masterchef probe thermometer shown in the photos below has now been commandeered by my Dad for testing meat on the BBQ, so I don’t use it for cakes anymore 😂)
Right, let’s get into the steps!
How to Tell if a Cake is Done
If you’re baking the same size and shaped cake as your recipe and it has a stated time range, start checking the cake at the shortest time. But how do you know when to start checking if you’re baking a bigger/smaller sized cake than the recipe? The “I can smell delicious cake now” test is usually a pretty good indicator. Next, we’ll have a look at the cake through the oven door.
Step 1 – Visual Signs That the Cake is done
Before you start poking things into the cake, make sure it has most of the other signs of a cooked cake.
If, when you go to check the cake, you look in the oven and the cake is clearly not cooked yet then don’t open the oven door – if the cake hasn’t started to set on top yet then opening the door will cause the oven temperature to drop and your cake may well do the same, sinking in the middle.
The first sign to look for is that the top crust looks fully set, and will usually have lost some of the shine on the surface. In lighter coloured cakes, such as vanilla butter cakes and sponge cakes, the edges may have browned slightly.
The cake may also be pulling away slightly from the sides of the tin, and if you gently press the top of the cake with your finger, the cake should spring back.
Once it passes those tests, you can move on to the next step.
Step 2 – Cake Testing Skewer (aka The Toothpick Test)
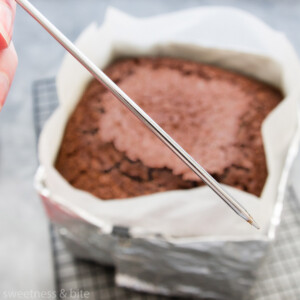
Once the cake passes the finger press test, insert the skewer into the centre of the cake, right down to the bottom. If it comes out with cake batter and/or very sticky crumbs sticking to it, then the cake needs to cook for longer.
Pop the cake back into the oven. How long you wait to test again will depend on how wet the skewer was when it came out. If it looks like the cake is *almost* done, then you can test again in 5-10 minutes. If it was very wet you can wait longer. You’ll have to use your own discretion here.
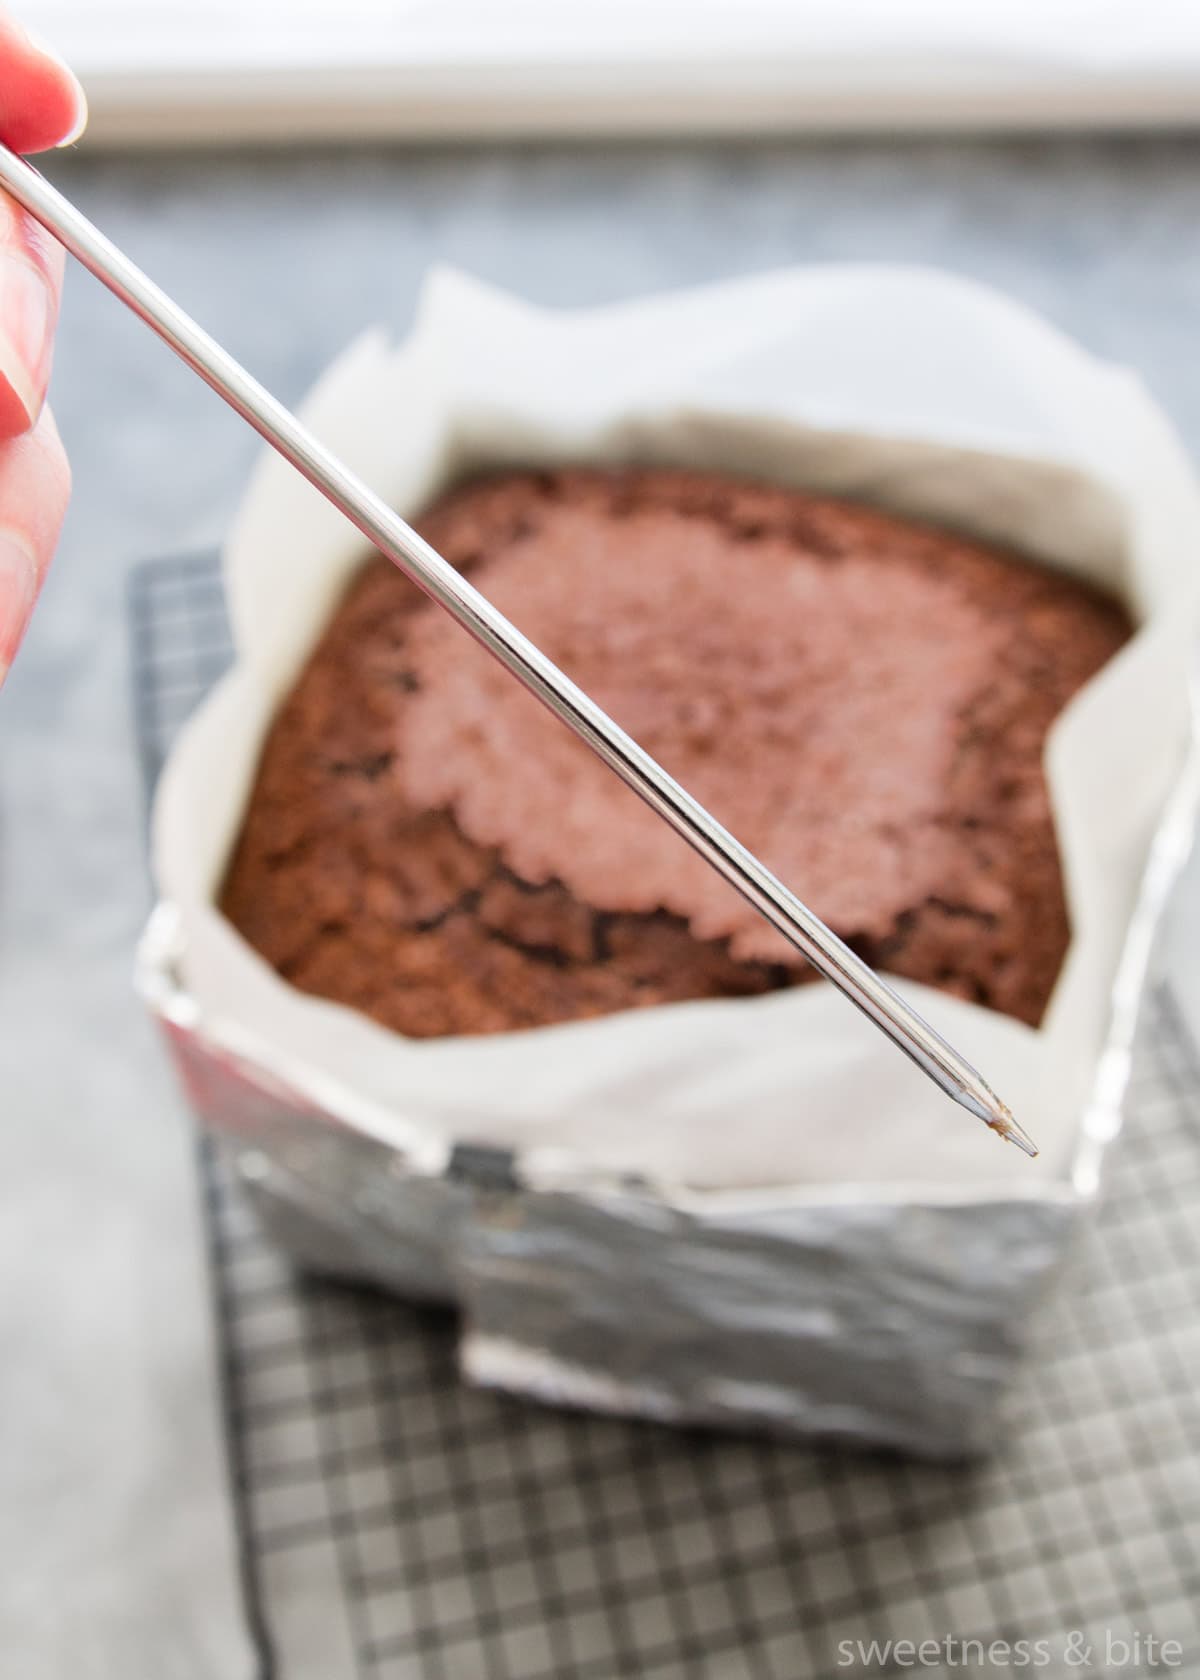
When the skewer comes out clean, you can continue with the next step.
Step 3 – The Knife Test
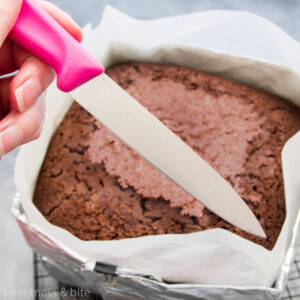
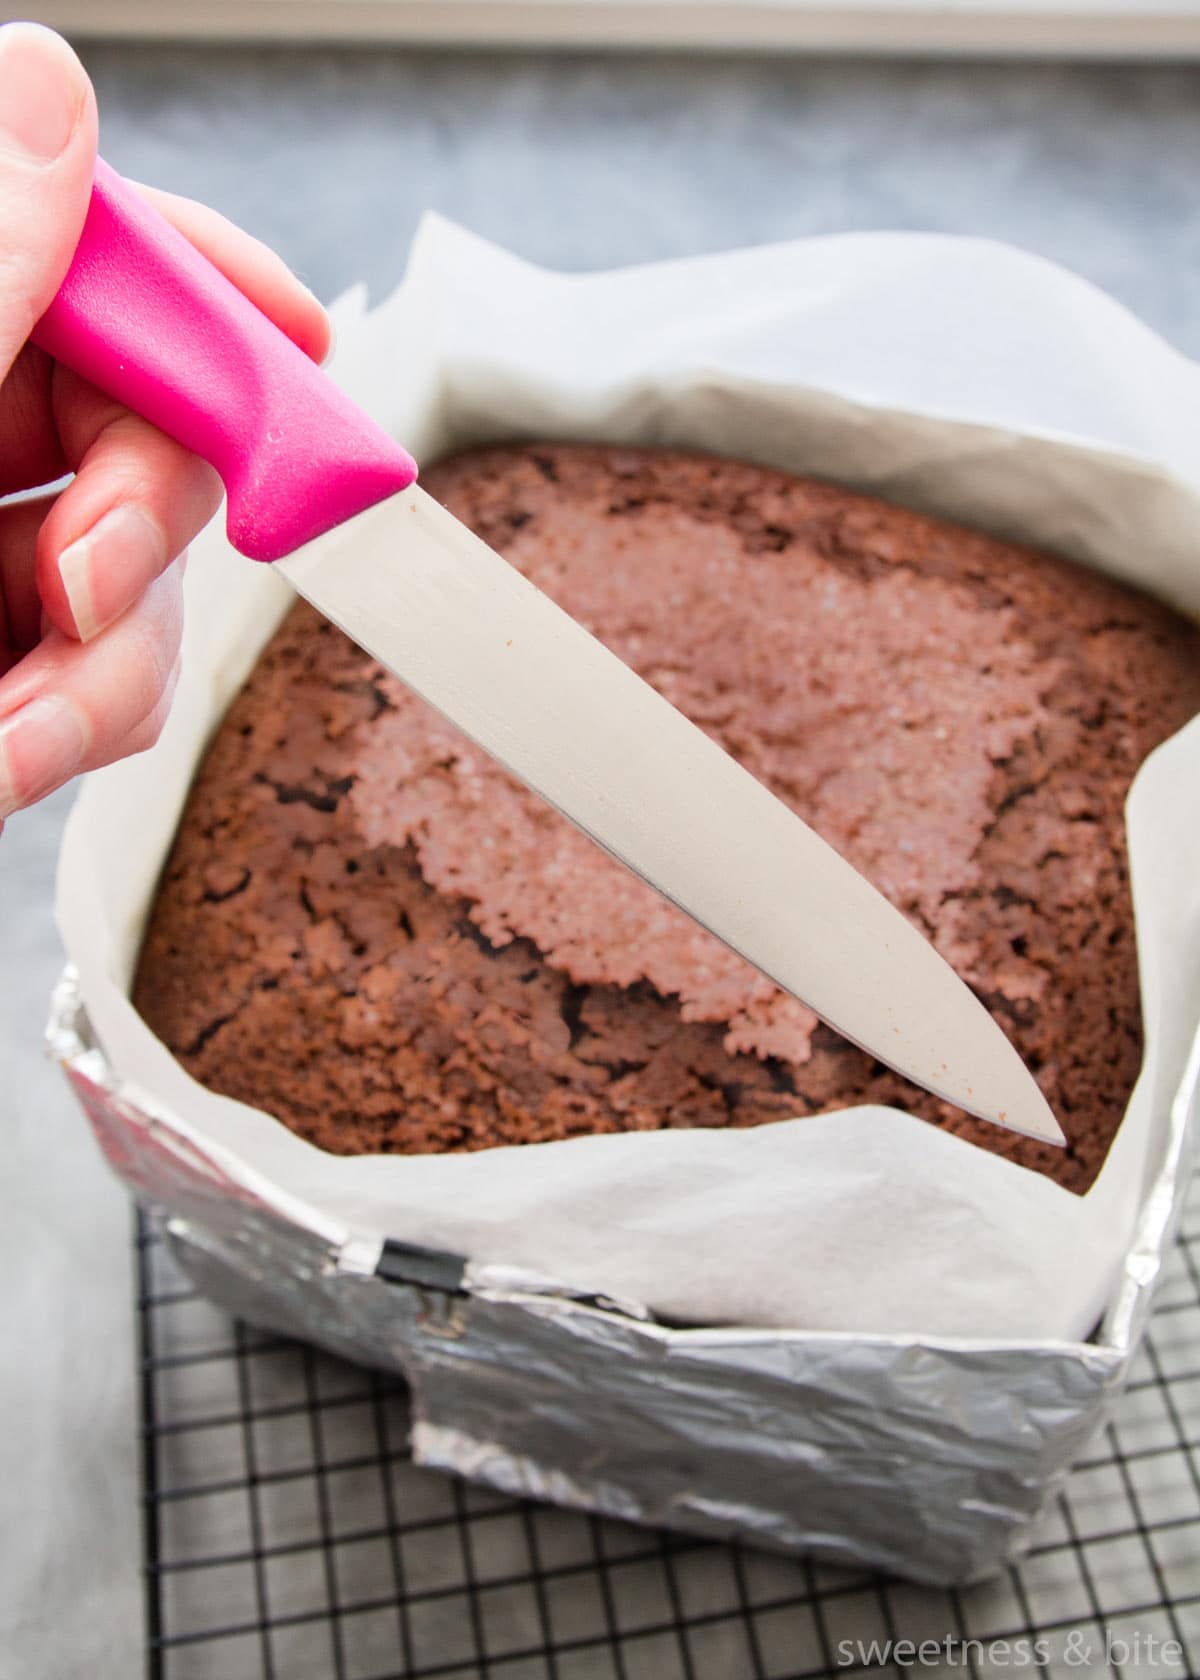
Insert a thin-bladed knife into the centre of the cake. Often even if a skewer has come out clean, the extra surface area on the knife may still show some uncooked batter, usually on the tip.
In the picture below, you’ll see that the knife is pretty clean, with only a few little crumb specks.
(Please ignore the fact that the top of this cake is cracked, I was lazy and didn’t use a foil lid on the top of the mud cake along with the baking strips, and so it cracked on the top. Don’t be like me. If you’re baking mud cakes, use a foil lid.)
You can stop here if you’re feeling confident the cake is cooked, but if you want to be 100% sure, then…
Step 4 – The Thermometer Test – Internal Cake Temperature
Testing with a probe thermometer is the most accurate way to tell if your cake is done.
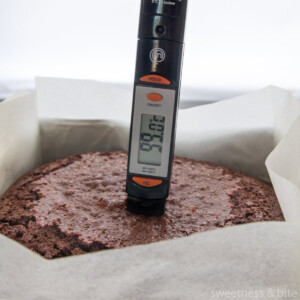
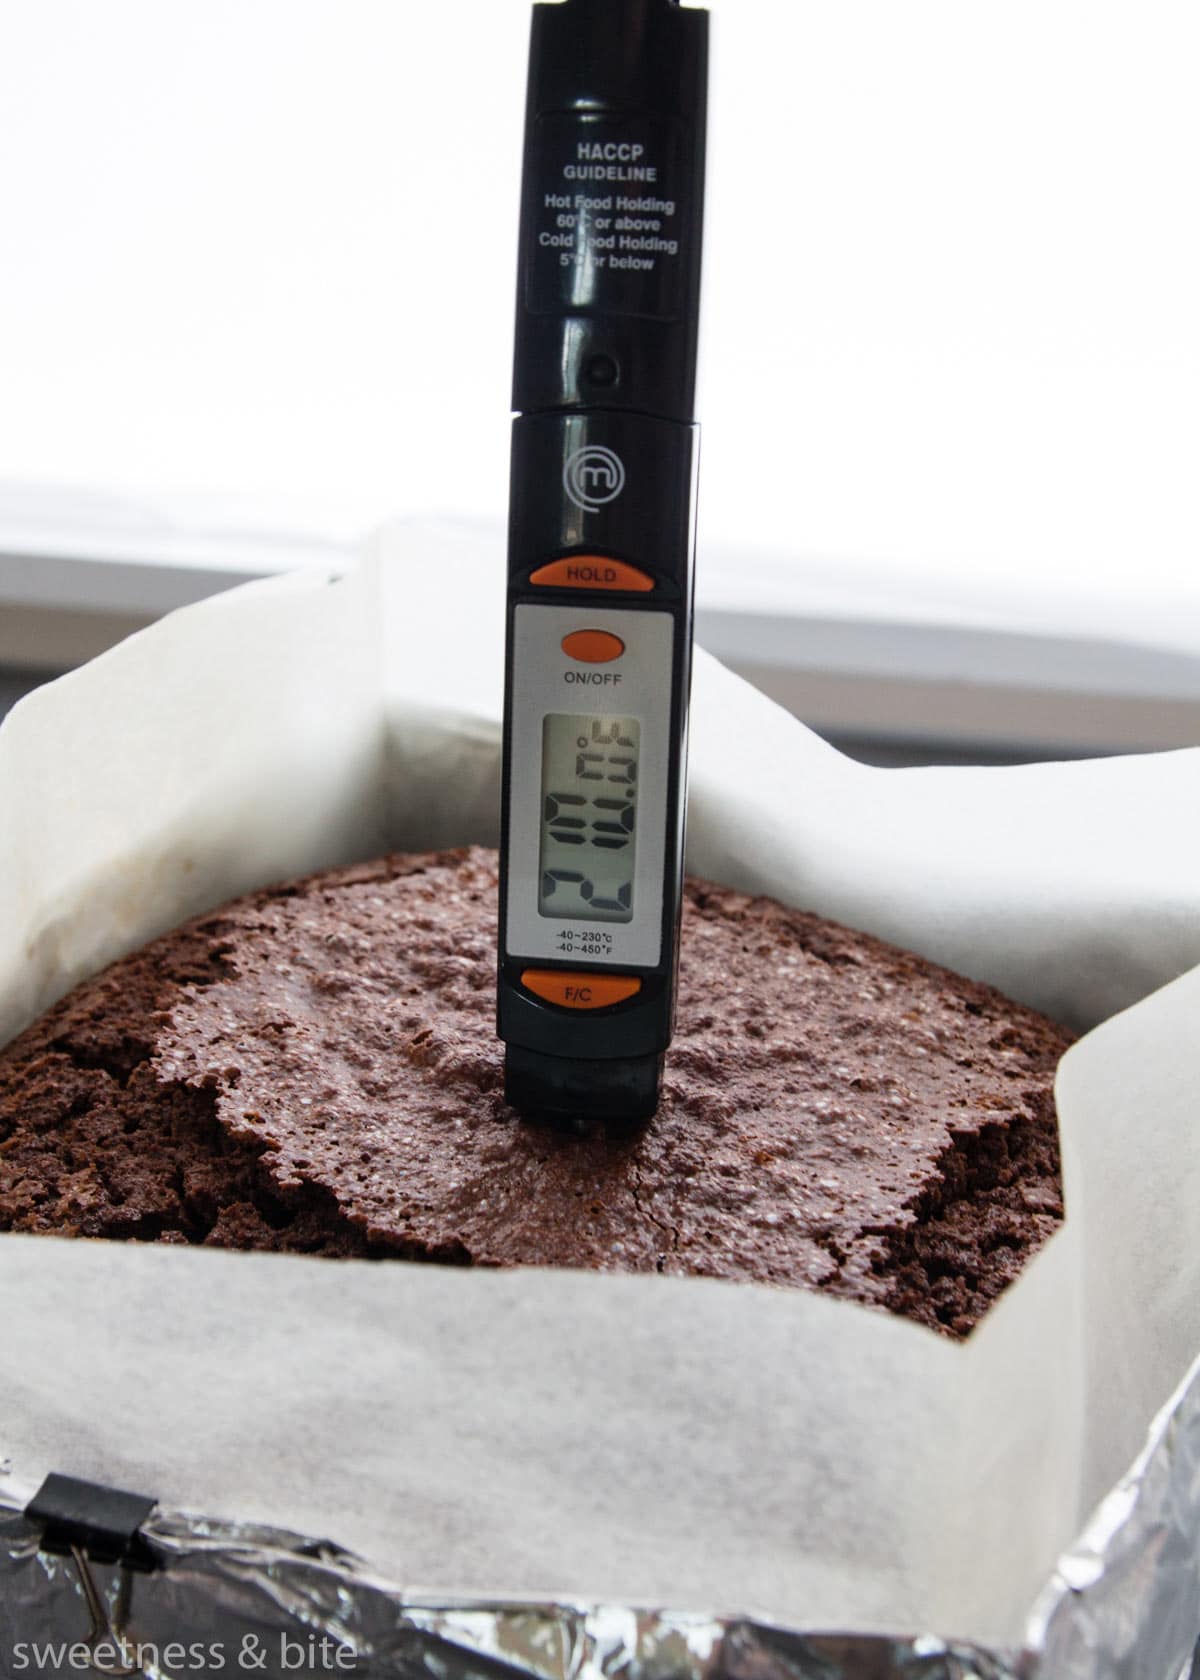
Take the cake out of the oven and insert the digital thermometer into the centre of the cake, using the hole the skewer and knife created to avoid having your cake look like a pincushion.
Don’t let the tip of the thermometer touch the bottom of the cake pan or you’ll get an inaccurate reading from the metal, hold it slightly above the bottom. The internal temperature of the cake should be around 99℃ (roughly 210℉).
Sometimes if the cake is 1-2 degrees less, I’ll remove it from the oven, as it will continue to cook a bit more in the tin anyway. But if it’s less than that, it needs to go back in the oven for a bit longer.
If your cake has pieces of fruit in it, like rich fruit cakes / Christmas cakes or chunks of fresh fruit, keep in mind that those pieces of fruit can potentially be hotter than the surrounding cake (because of the sugar in the fruit) so for fruit cakes I usually test the cake in a few places with the thermometer, just to be sure I’m not getting a false reading off a piece of fruit.

Final step – write down how long the cake took to bake! This way, the next time you bake that cake, in that tin, at that temperature, you’ll have a better indication of how long it will take.
Here’s a bit more helpful information regarding undercooked and overbaked cakes:
Signs of an Undercooked Cake
The first, most instantly noticeable sign of an undercooked cake is sinking in the middle. If you’ve taken the cake out of the oven and left it to cool and it sinks in the middle, that’s usually a sign that the cake is undercooked. A slight dip in the middle doesn’t necessarily mean the cake isn’t cooked, but a big dip is a pretty big sign.
If you slice your cake into layers and have a particularly dense/wet/stodgy patch in the middle, that’s also a sign that the cake isn’t done. A fully cooked cake should be even in texture across the whole cake layer, the crumb should look even, not darker or wetter in patches.
Keep in mind that more dense cakes like chocolate mud cakes may look overly moist in the middle even when they’re fully cooked, and they naturally have a more dense, tighter crumb. That’s why it’s best to check mud cakes with a thermometer to be sure they’re done, as it can be hard to tell just by looking once they’re cooled.
What To Do With an Undercooked Cake
If you’re using the tips above to check if your cake is done, then you shouldn’t end up with an undercooked cake. If at any stage during the checking process the cake isn’t cooked, you can pop it back in the oven for a bit longer.
But, if you’ve stumbled across this post because you’re wondering what to do with an undercooked cake, it’s probably a wee bit late for the cake checking tips.
If your cake has been out of the oven for a while and has started to cool, or if it’s cooled completely, unfortunately, you can’t just pop it back in the oven to finish baking.
I’m sorry to be the one that has to tell you this, but if you’re needing a cake to decorate, you’re going to have to bake another cake. Even if you were to put the cake back in the oven, it still won’t bake properly or rise again in the middle.
Having said that, you don’t necessarily have to throw out the whole cake! If you can *PIVOT!* (Friends fans, raise your hands 🙋♀️), you may be able to use the parts of the cake that are fully cooked.
You can cut off those pieces and use them to make other treats. You can crumble it to make cake pops, or chop it into pieces and use it to make a trifle.
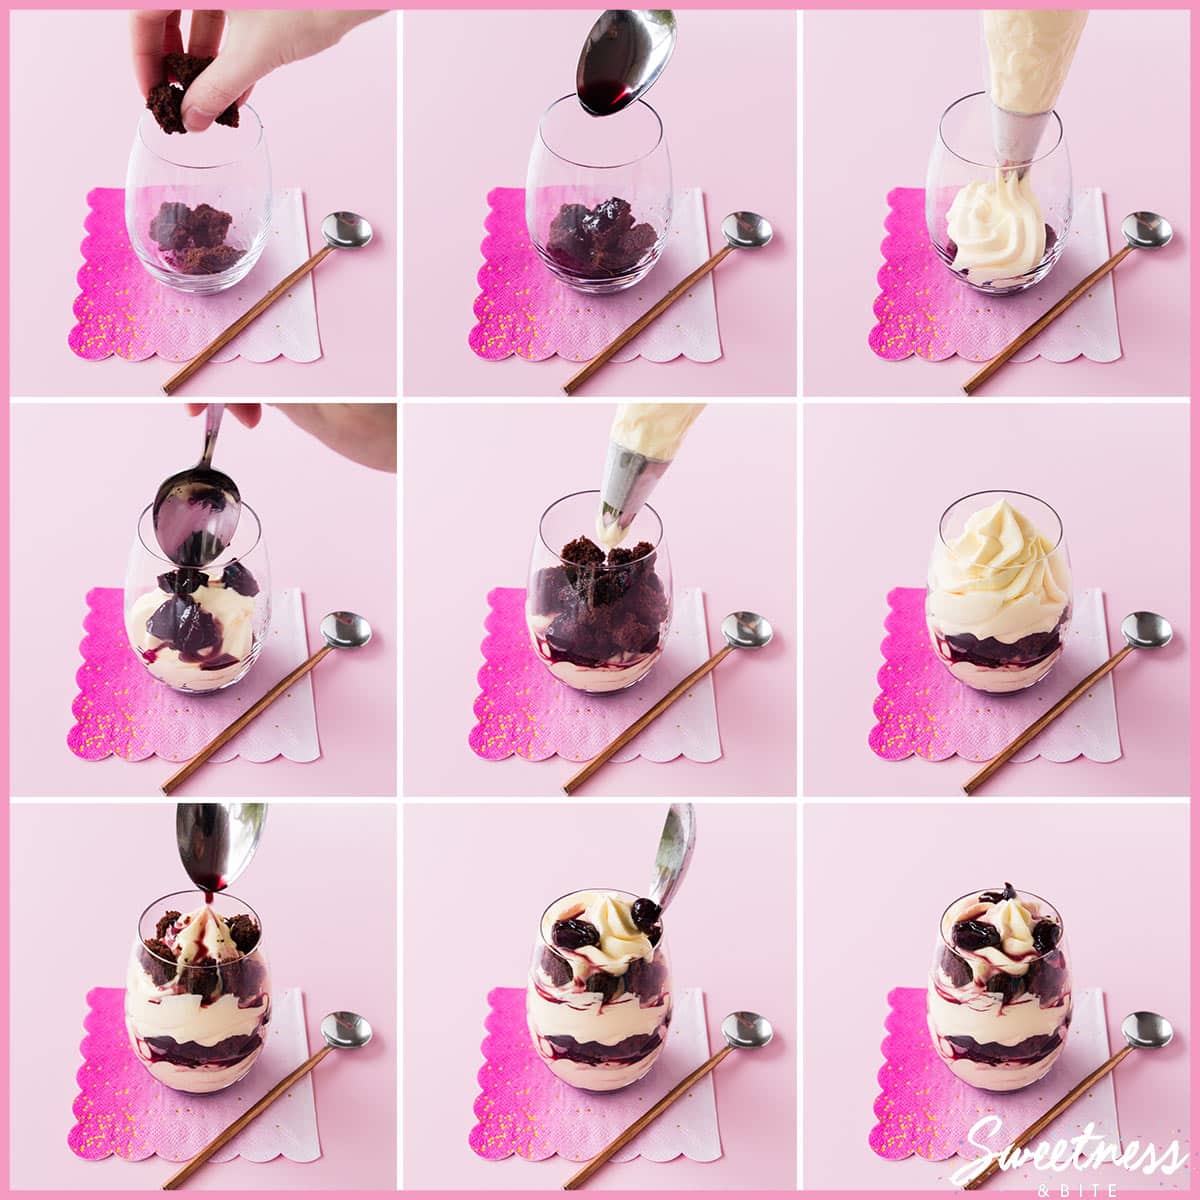
Or you could make something like these Black Forest dessert cups I made a little while ago. I used leftover chocolate cake, used some Ultimate Whipped Cream (but regular whipped cream, ready-made custard or a mixture of both would also work well) and some cherries in syrup (either cherries in a jar or can would work).
If you’re using an undercooked cake, cut off the pieces that are fully cooked, chop them roughly into cubes. Add some to the glass, drizzle in some of the cherry syrup to moisten the cake, then add the cream and cherries, and continue to layer it up to the top of the glass.
What to Do with an Overbaked Cake
The only thing as disappointing as an underbaked cake is an overbaked and dry cake. An overbaked cake is a little easier to fix though, and you have a few options.
If you realise the cake is overbaked right when you’ve taken it out of the oven (it might look dry and crusty on the top and sides, or if you test it with a thermometer it may be way over 99°C) then my favourite tip is to boil some water and brush it over the top of the cake, letting it run down the sides. You can then pop a piece of foil over the cake, and leave it to cool. This will soften the crust of the cake, and add moisture back into it.
If you realise it’s dry when you’re splitting your cake into layers to add a filling, then it’s a great idea to use a sugar syrup on the cake layers. I have a whole post on sugar syrup for cakes and how to use it, so I highly suggest checking that out for all the info.
If your cake is a little burnt, but only around the edges, then you’ll need to trim off all the burnt crusts. This may mean your cake ends up a lot smaller, but at least you’ll still be able to eat it. If you’re decorating your cake with ganache or buttercream, you may need to go down a cake board size. I would recommend splitting the cake into layers and adding some sugar syrup to them as well, for extra moisture.
Here’s a quick cheat sheet with the cake checking steps:
How To Tell If a Cake Is Done
Equipment
- Cake tester or a metal or bamboo skewer
- Thin-bladed knife
- Probe thermometer
Instructions
- Check for the visual signs that the cake is done:The top crust should look fully set, and will usually have lost some of the shine on the surface.Lighter coloured cakes, like vanilla butter cakes or sponge cakes, may have browned slightly at the edges. The edges of the cake may also be pulling away from the pan. If you press the surface of the cake with a finger, it should bounce back.
- Check with the skewer:Insert it into the middle of the cake. If it comes out clean, or with a few crumbs attached, move on to the next step. If it has wet batter on the skewer, put it back in the oven for longer.

- Check with the knife:Insert the knife into the middle of the cake. Look for the same signs as with the skewer. If the knife comes out clean, move on to the last step.

- Check the internal temperature of the cake:This is the most accurate way to tell if your cake is done. Insert the probe thermometer into the middle of the cake. Make sure it's not touching the bottom of the cake pan. The internal temperature of the cake should be at least 99°C or around 210°F.

Lastly, write down how long the cake took to bake. That way you'll know for next time you bake that recipe in that sized pan.
So there you have it, now you’ll know how to tell if your cake is done, and a few ways to fix the situation if your cake is underbaked or overbaked.
Happy baking!
(And let’s face it, if you’ve minimised one thing that could make it unhappy, then that happy is lookin’ more likely, right?!)
You May Also Like…
