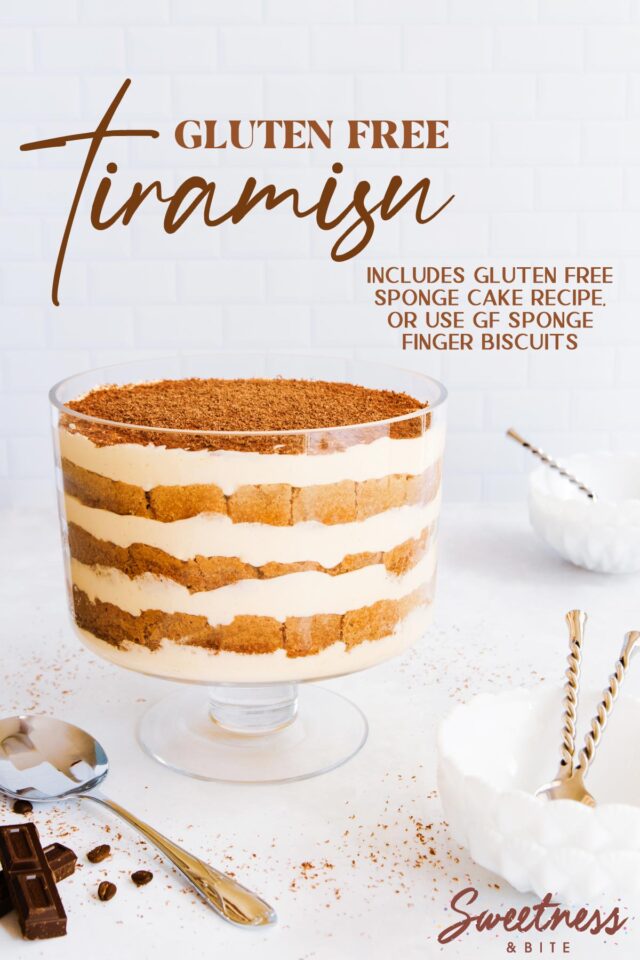
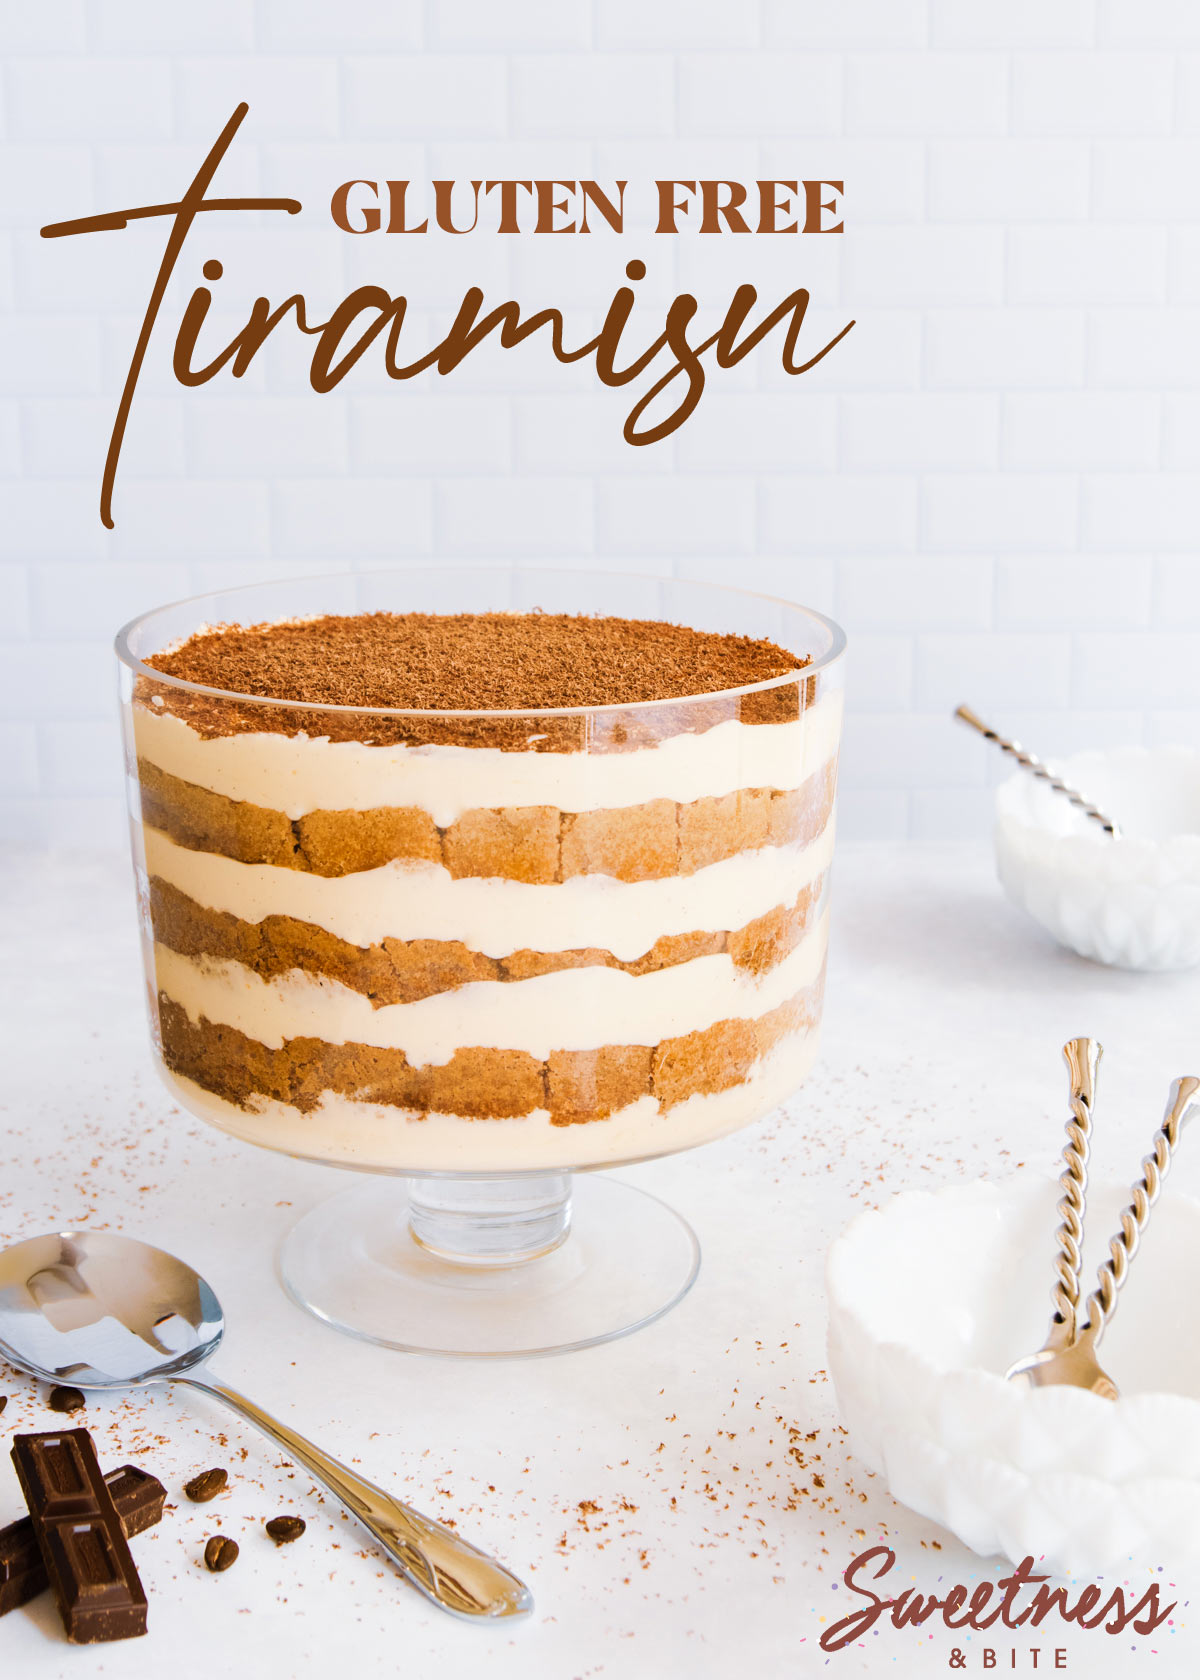
Gluten Free Tiramisu
This post may contain affiliate links to products I recommend. I receive a small commission at no cost to you if you make a purchase using my link.
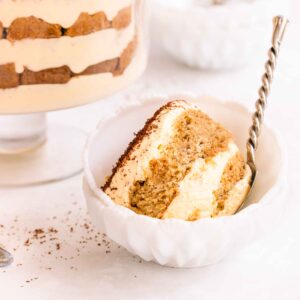
Layers of coffee-soaked gluten-free sponge and rich, smooth mascarpone cream combine to make this gluten-free tiramisu – the perfect classic “pick-me-up” dessert.
(Or breakfast, just sayin’.)
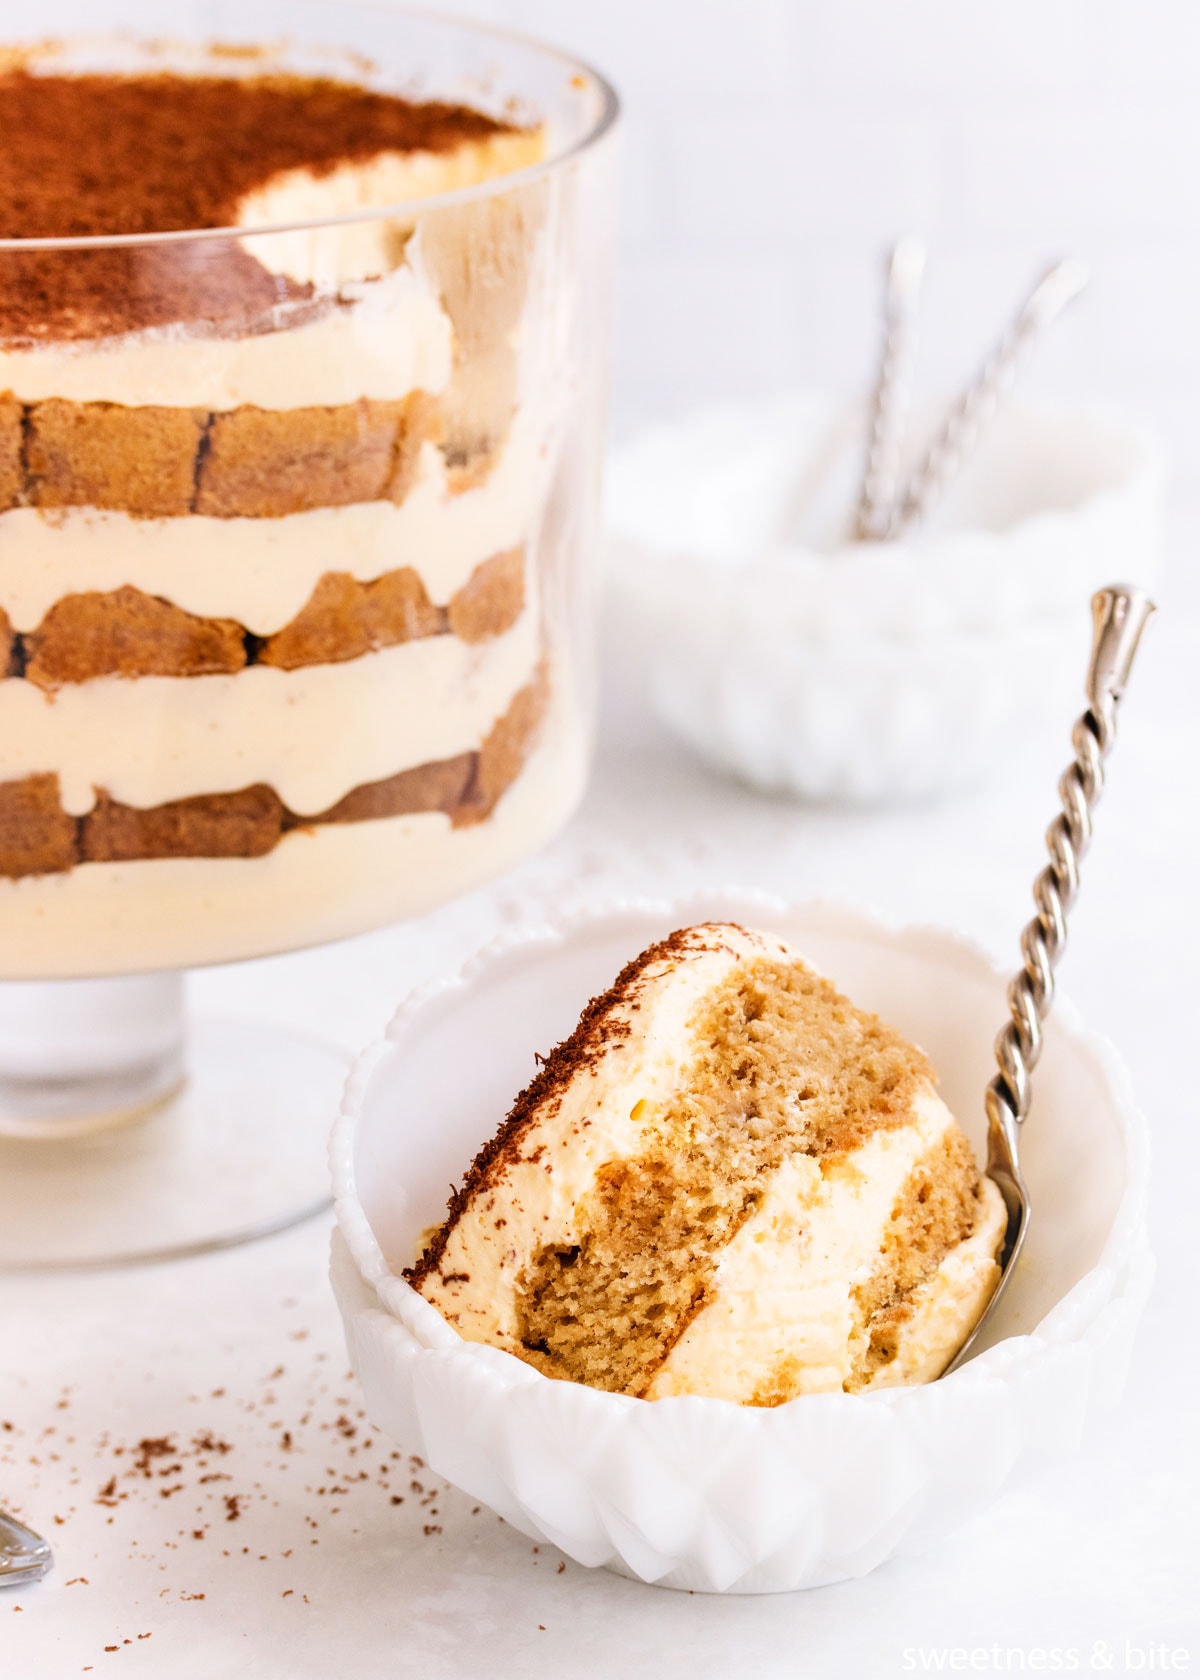
Tiramisu translates to “pick-me-up” or “cheer-me-up”, which is the perfect name for this classic Italian dessert, because how could you feel blah while you spoon layers of coffee-soaked sponge and rich mascarpone cream into your mouth?
There’s a reason it’s a staple in Italian restaurants, and while you possibly may not be able to get a gluten free version at your local restaurant, the good news is you don’t need to miss out when you can use this gluten free tiramisu recipe to make it at home.
This is one of my all-time favourite gluten free desserts. My Mum and I make it together every Christmas, and for other special occasions, too. We’ve been known to double or triple the recipe, to make sure we have plenty left over for breakfast the next day.
Regular readers may also remember that after tripling a batch and having filling left over, it led to the creation of my “Ultimate Whipped Cream” that I use to fill my homemade gluten free brandy snaps.
We make this in my large trifle bowl, but you can really make this in any dish you like. You may need to adjust the recipe to suit the size of your dish. Our trifle bowl has a 3L capacity, so measure your dish and adjust the recipe accordingly if you need to.
Let’s dive in…
Ingredients
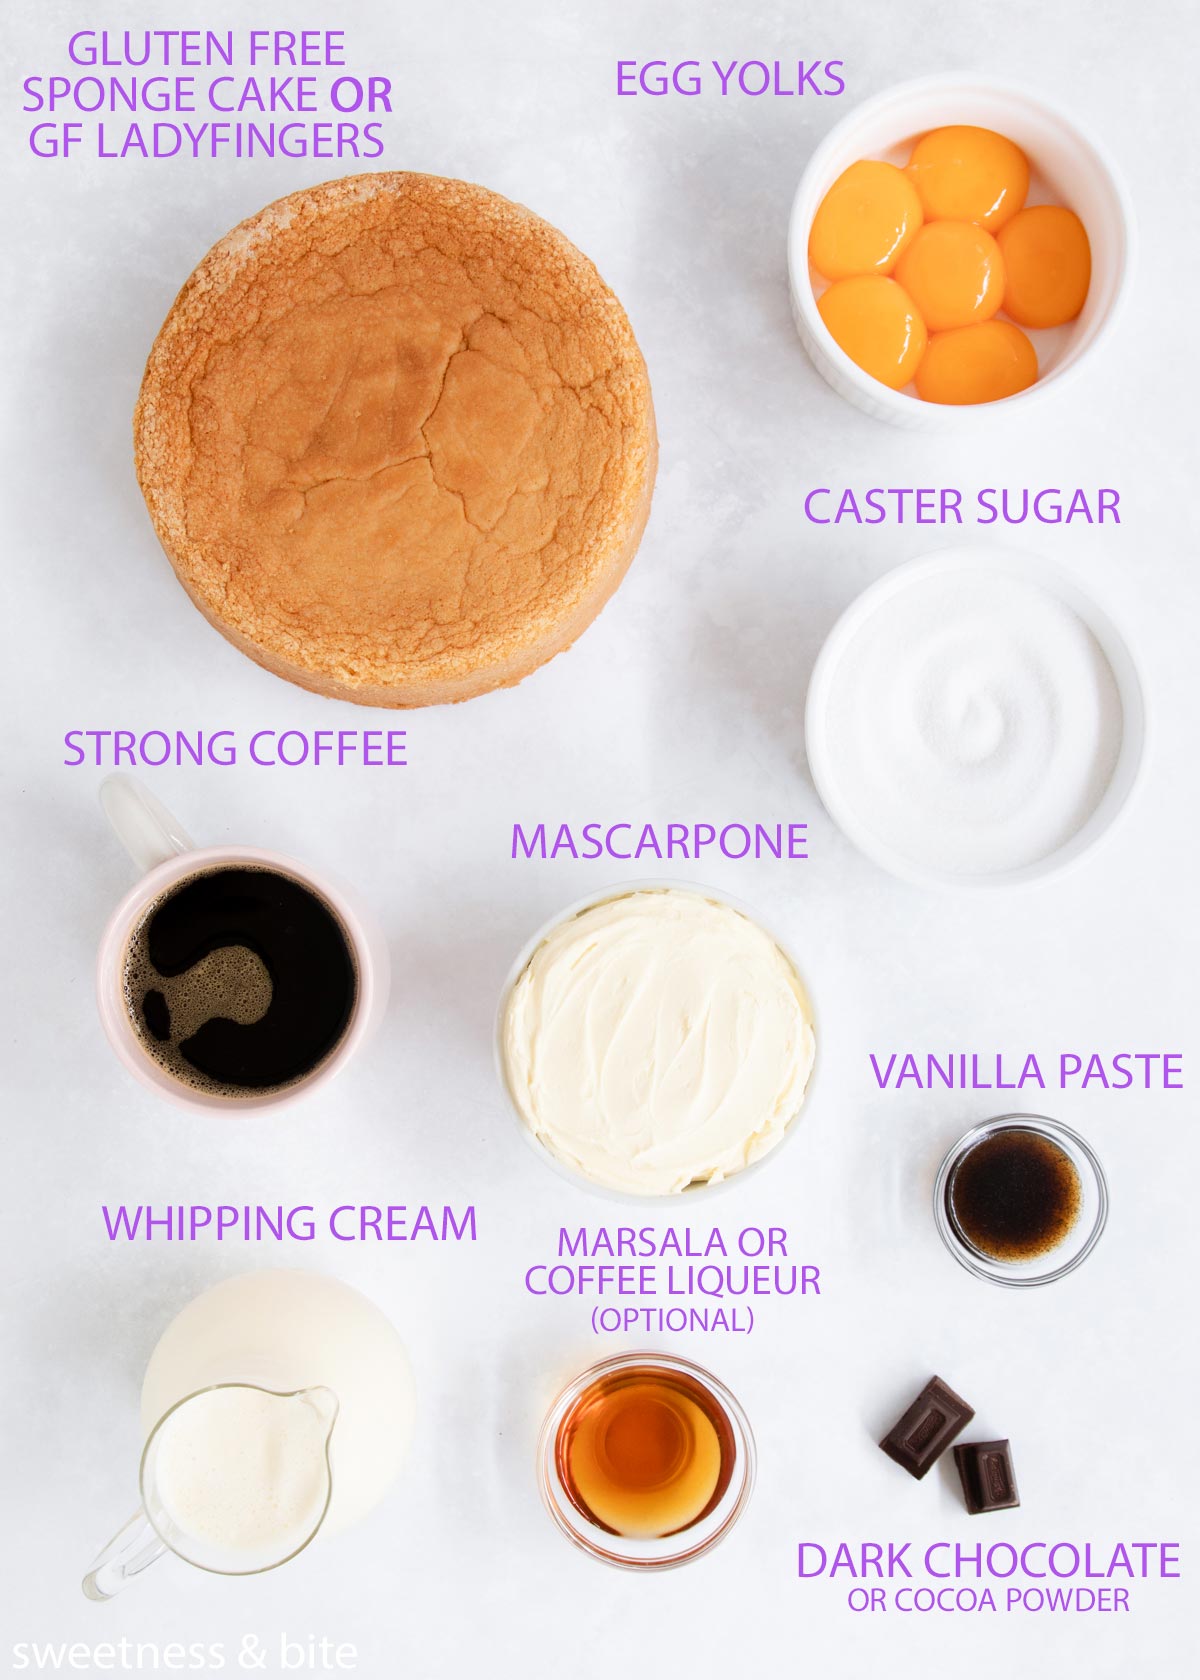
- Gluten free sponge cake or ladyfinger biscuits – You can use either store-bought gluten free ladyfinger biscuits or homemade gluten free sponge cake in this recipe. I like to use homemade sponge, and I talk more about this below.
- Egg yolks – Using fresh, large eggs is best. (You can also use pasteurised egg yolks if you are concerned about eating undercooked eggs.) You’ll have egg whites left over, which you could use to make swiss meringue buttercream, nougat or some macarons.
- Sugar – I use caster sugar in this recipe as it dissolves more quickly into the eggs, but regular granulated sugar will also work.
- Mascarpone – This is a delicious soft Italian cheese, usually found near the cream cheese in the chiller section of the supermarket. Some brands can be a little grainy, so choose a smooth one if you can. Here in NZ, I use the Tatua brand.
- Vanilla paste (optional) – This is a non-traditional addition but I like vanilla in everything, so this is no exception. You can choose to leave it out if you prefer.
- Whipping cream – The cream you need for this recipe is known by different names in different countries. Here in NZ it’s usually called standard cream or whipping cream, in other countries, it may also be known as single cream or full cream. Heavy cream or heavy whipping cream will also work.
- Coffee – You can use either espresso coffee, plunger coffee, or instant coffee dissolved in boiling water. You can also choose decaffeinated coffee if you want. Or for a non-traditional, non-coffee version, dissolve some cocoa powder with a little sugar in some hot water.
- Marsala or Coffee liqueur (optional) – For an even pick-ier-upp-ier pick me up, you can add some marsala wine, coffee flavoured liqueur or dark rum. Really, any complementary flavoured liqueur will also do the trick.
- Dark Chocolate – You need just a few squares of good quality dark chocolate to grate over the top of the dessert. Alternatively, you can sift over some cocoa powder. Cocoa is the traditional option, I’m just not a big fan of eating unsweetened cocoa powder on top of a dessert, so we use the grated chocolate.
A Note On Eggs
The egg yolks in this recipe are heated over a water bath but are not fully cooked. If you live somewhere where there is a high risk from eating uncooked eggs, or if you are making this for people who may be more susceptible to salmonella, you can use pasteurised egg yolks instead of raw egg yolks. If using fresh eggs, just make sure they’re as fresh as possible and you should have no issues.
We like a very creamy tiramisu in our house, so that’s what this one is. If you prefer to have more sponge and less cream, you can reduce the cream mixture by 1/3 or use an extra layer of sponge.
Gluten Free Sponge Fingers (ladyfingers/savoiardi) or Sponge Cake for Tiramisu
A traditional tiramisu is made with savoiardi (ladyfinger) biscuits, which are finger-shaped pieces of dry sponge cake. Because they are dry, they soak up the dipping mixture (coffee) in the tiramisu.
When I first started making gluten free tiramisu, there were no gluten free ladyfinger biscuits available in New Zealand.
Initially, I started making homemade ones. This involves making a sponge mixture, piping it into lines on a baking tray and then baking them. It worked well, but it was time-consuming. In the end, I started just baking a sponge in a rimmed baking sheet to make large rectangular sponges, which we then cut into finger shapes and could then be used the same way as the biscuits.
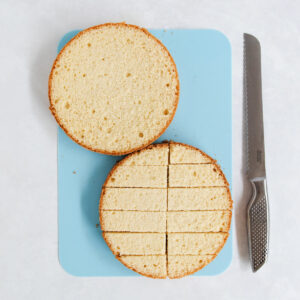
Most recently I’ve been baking round sponges and cutting them into pieces, which makes it super easy to arrange them in the round trifle bowl that we make our tiramisu in.
While gluten free ladyfingers are now available in New Zealand, we actually prefer the texture of a proper sponge cake in this recipe, it holds the coffee mixture better without going mushy.
So that’s what I’ll be showing you in this recipe, but you can also bake the sponge in rectangular pans or buy gluten-free ladyfingers, which are now available in most countries including NZ, either in supermarkets or online.
All of these options will work in this recipe – just choose whichever one works for you.
How to Make Gluten Free Tiramisu
You’ll need to start by making your sponge cake (if you’re not using sponge finger biscuits). If you’d like to see some step by step photos of making a gluten free sponge cake, then check out my gluten free trifle recipe post.
You can make the sponges in advance and freeze them. This is what I usually do at Christmas – make the sponges in late November/early December, so they’re ready for us to pull out of the freezer on Christmas Eve. They take very little time to defrost, and then they’re ready to use.
Then you’ll need to make your coffee – either combining instant espresso powder with boiling water, or making espresso or plunger coffee. Add the marsala or coffee liqueur, if using, and set it aside.
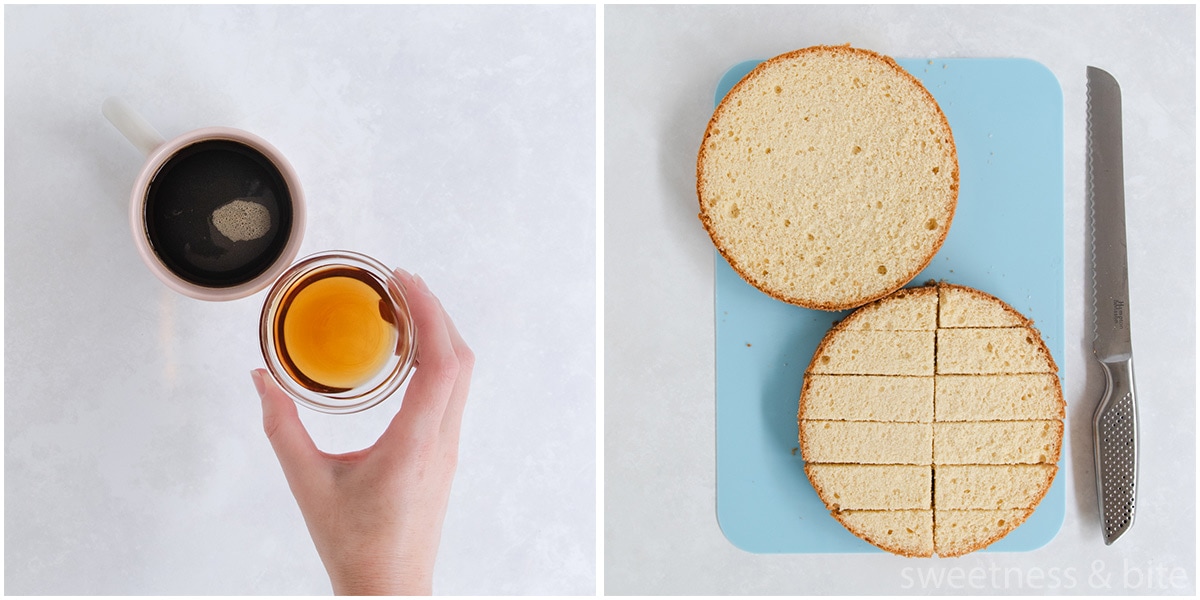
While the coffee cools, split your sponge cakes in half into two layers, and then cut each one into finger shapes.
Next, we make the cream mixture. The eggs and sugar are heated over a water bath, which is just a bowl sitting over a pan with an inch or so of simmering water (picture below, and full instructions down in the recipe card – if you’ve not done this before, it’s not as scary as it sounds).
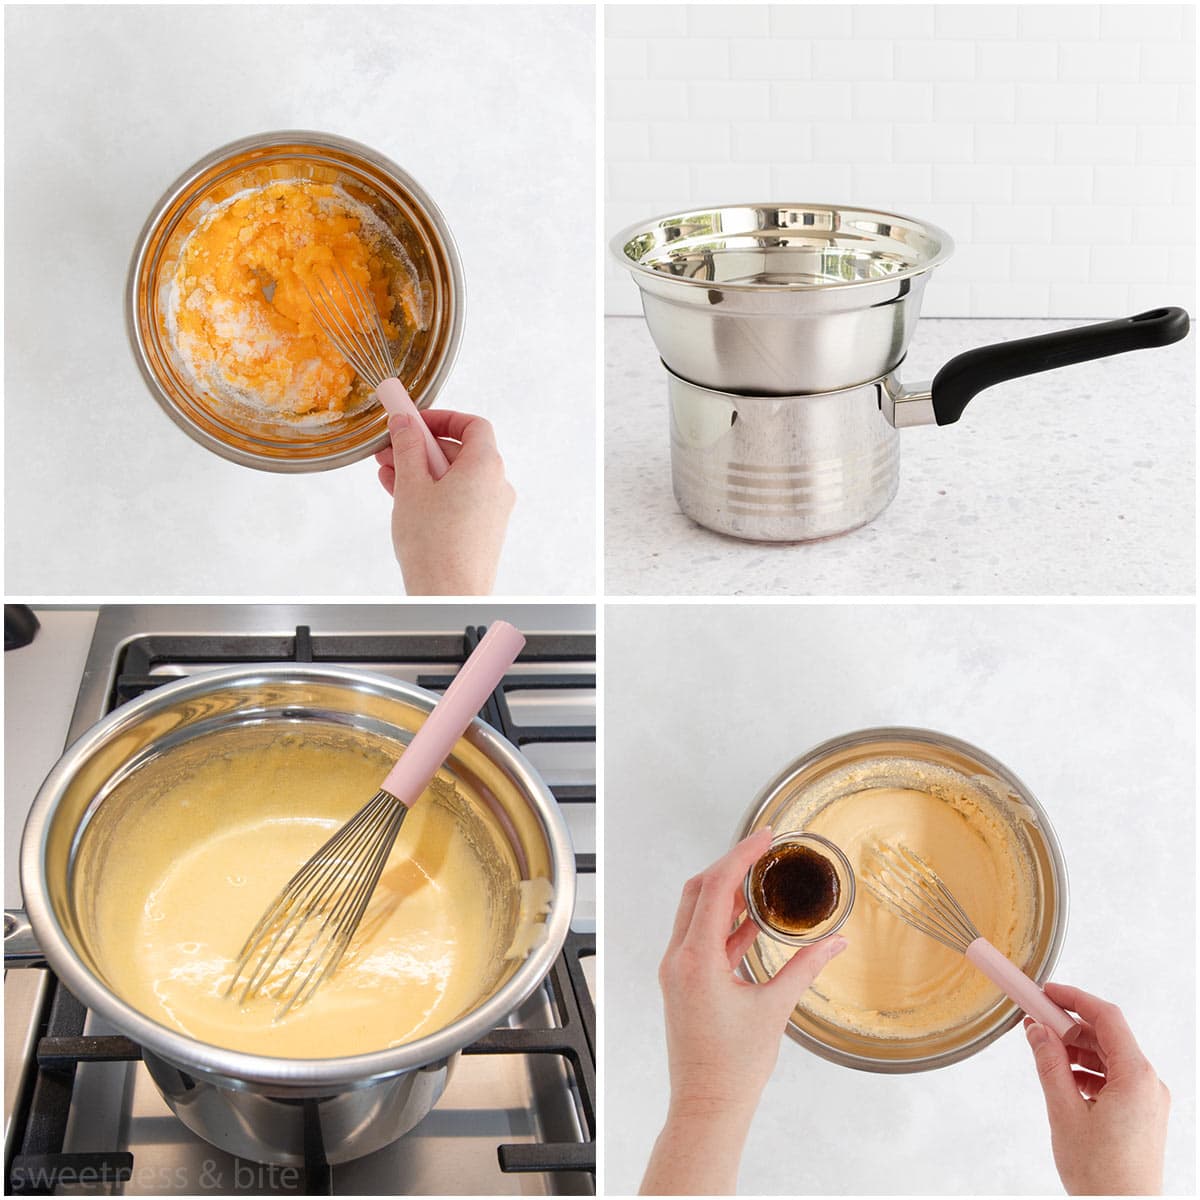
Once they’re hot and the sugar is mostly dissolved (it won’t all be, and that’s ok, it will dissolve later), the vanilla gets added, and then the mascarpone cheese can be whisked in until it’s all lovely and smooth.
The cream gets whipped in a large mixing bowl just until stiff peaks form, and then the egg yolk mixture gets folded in.
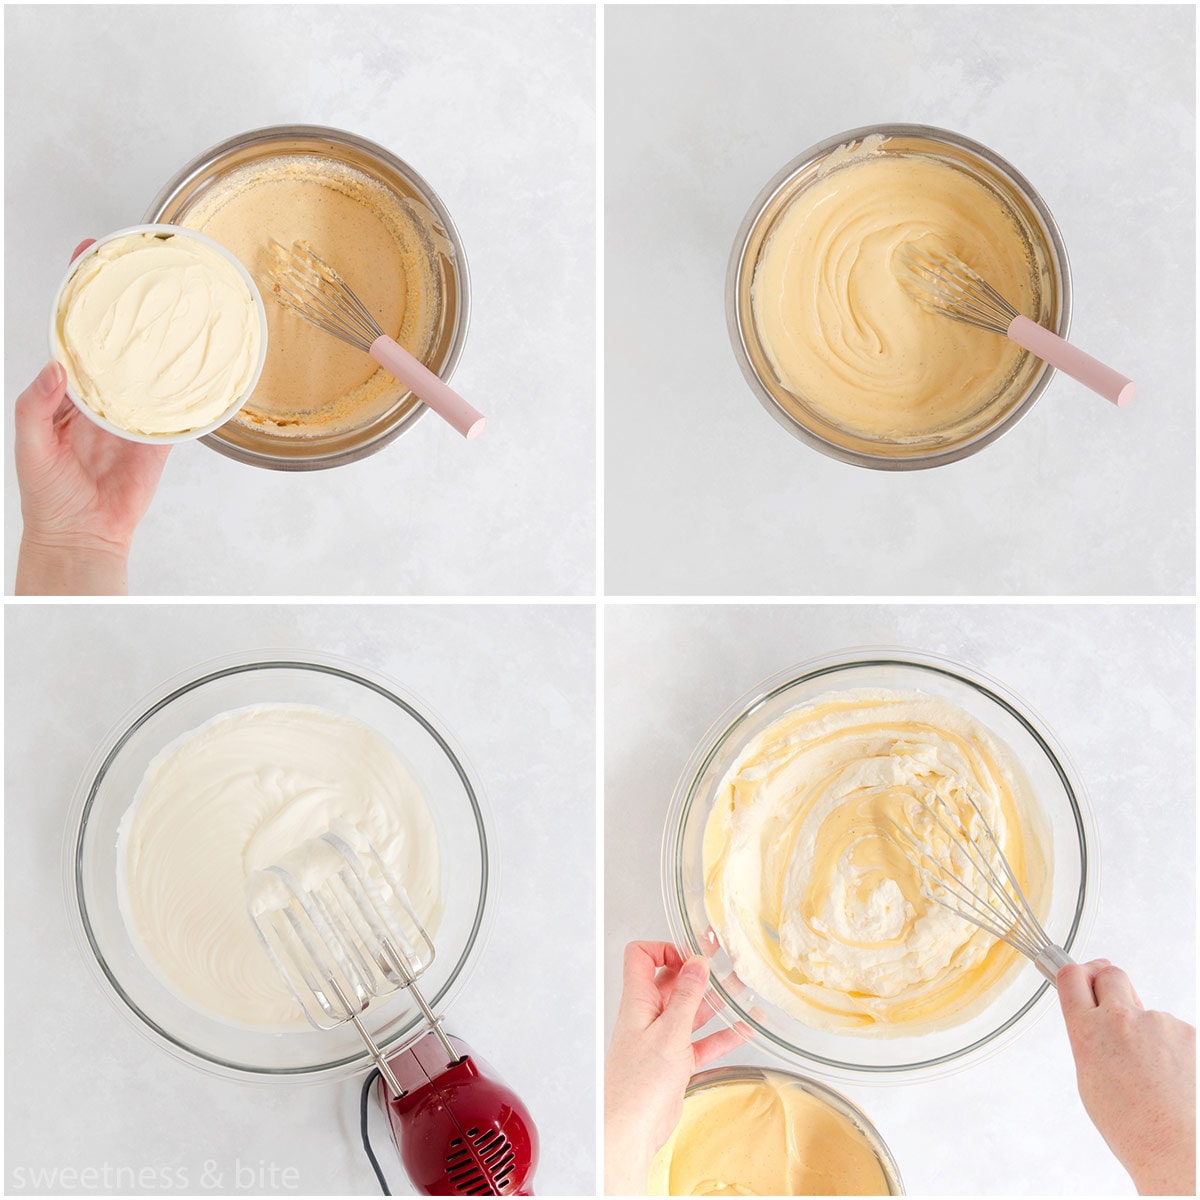
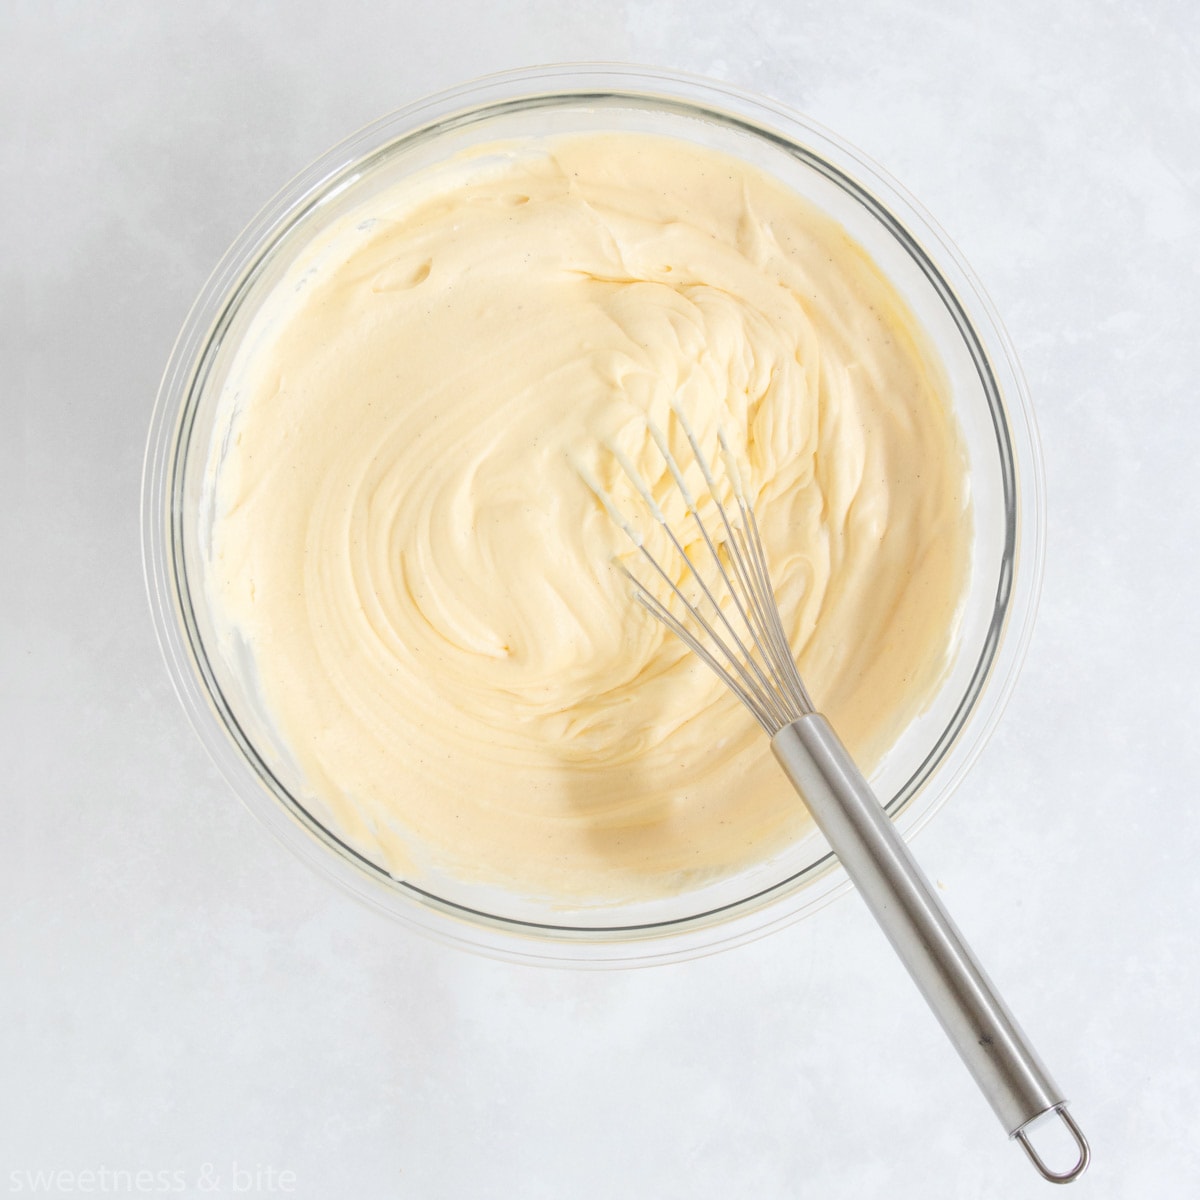
Now it’s time to assemble!
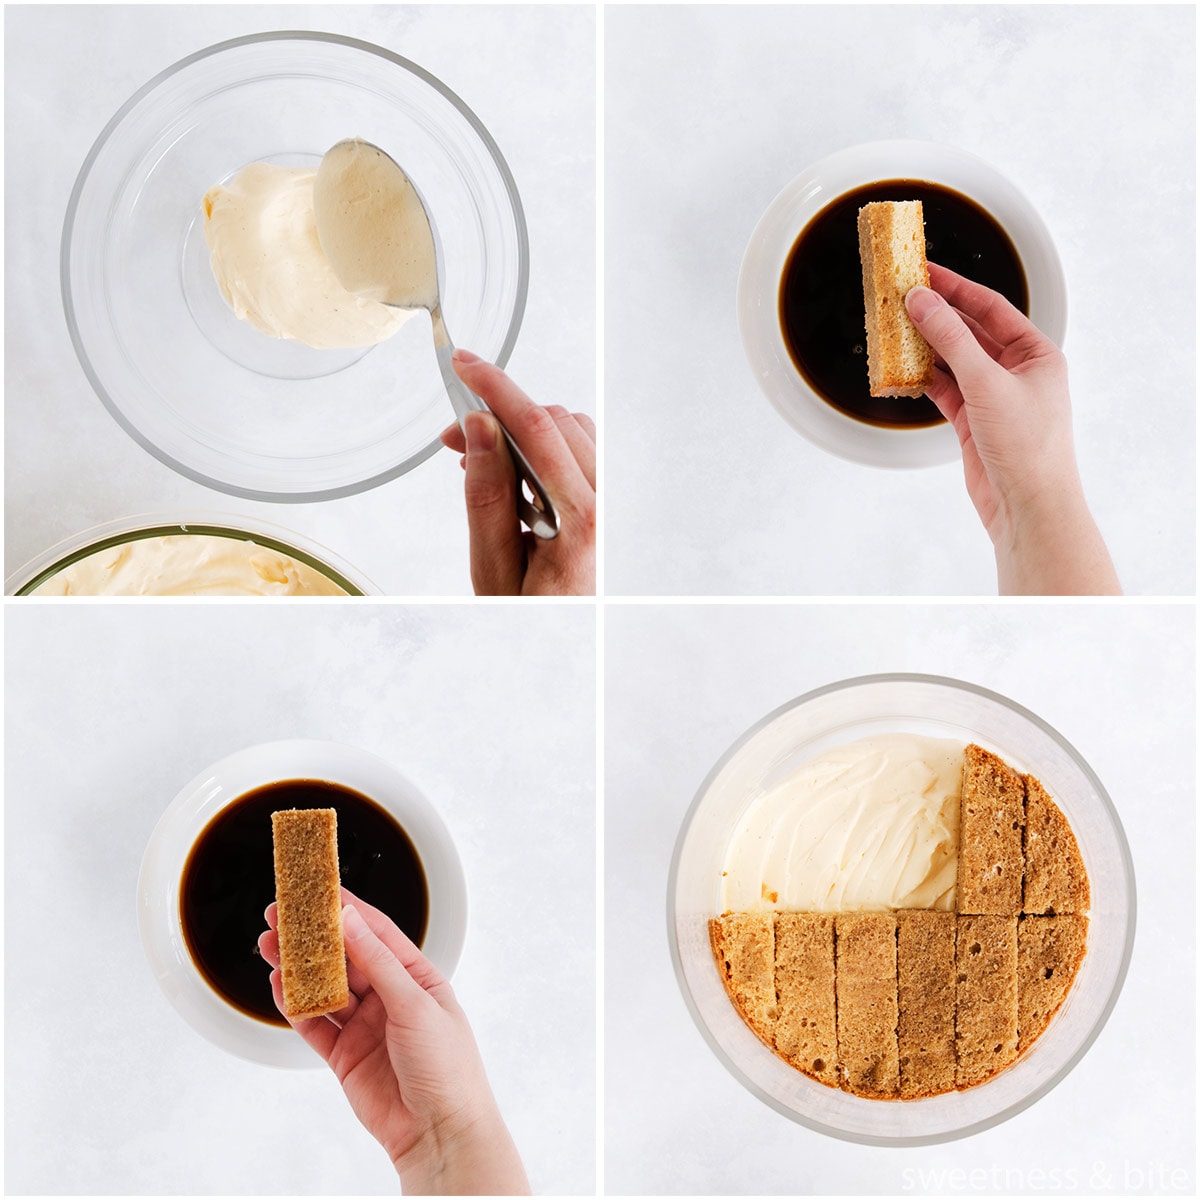
Spread some of the cream mixture into the bottom of your bowl or dish.
Pour the cooled coffee into a shallow bowl, then, working quickly, dip each piece of sponge (or gluten free sponge finger) into the coffee on one side only, then flip it over (coffee-dipped side up) and place it into the bowl. This will make sure the sponge has just enough coffee to soak through, without making it too soggy. Repeat until you have a full layer of sponge.
You can trim pieces of sponge if you need to to make them fit.
Add another even layer of cream, then continue to layer the sponge and cream until you’ve reached the top of the bowl. In our 3L trifle bowl, I use three layers of sponge and four layers of cream mixture.
Cover the tiramisu with plastic wrap, and refrigerate it. It should be left overnight, but if you’re in a pinch, 4-6 hours will do. The longer it sits, the better the flavours meld together, and the softer the sponge becomes.
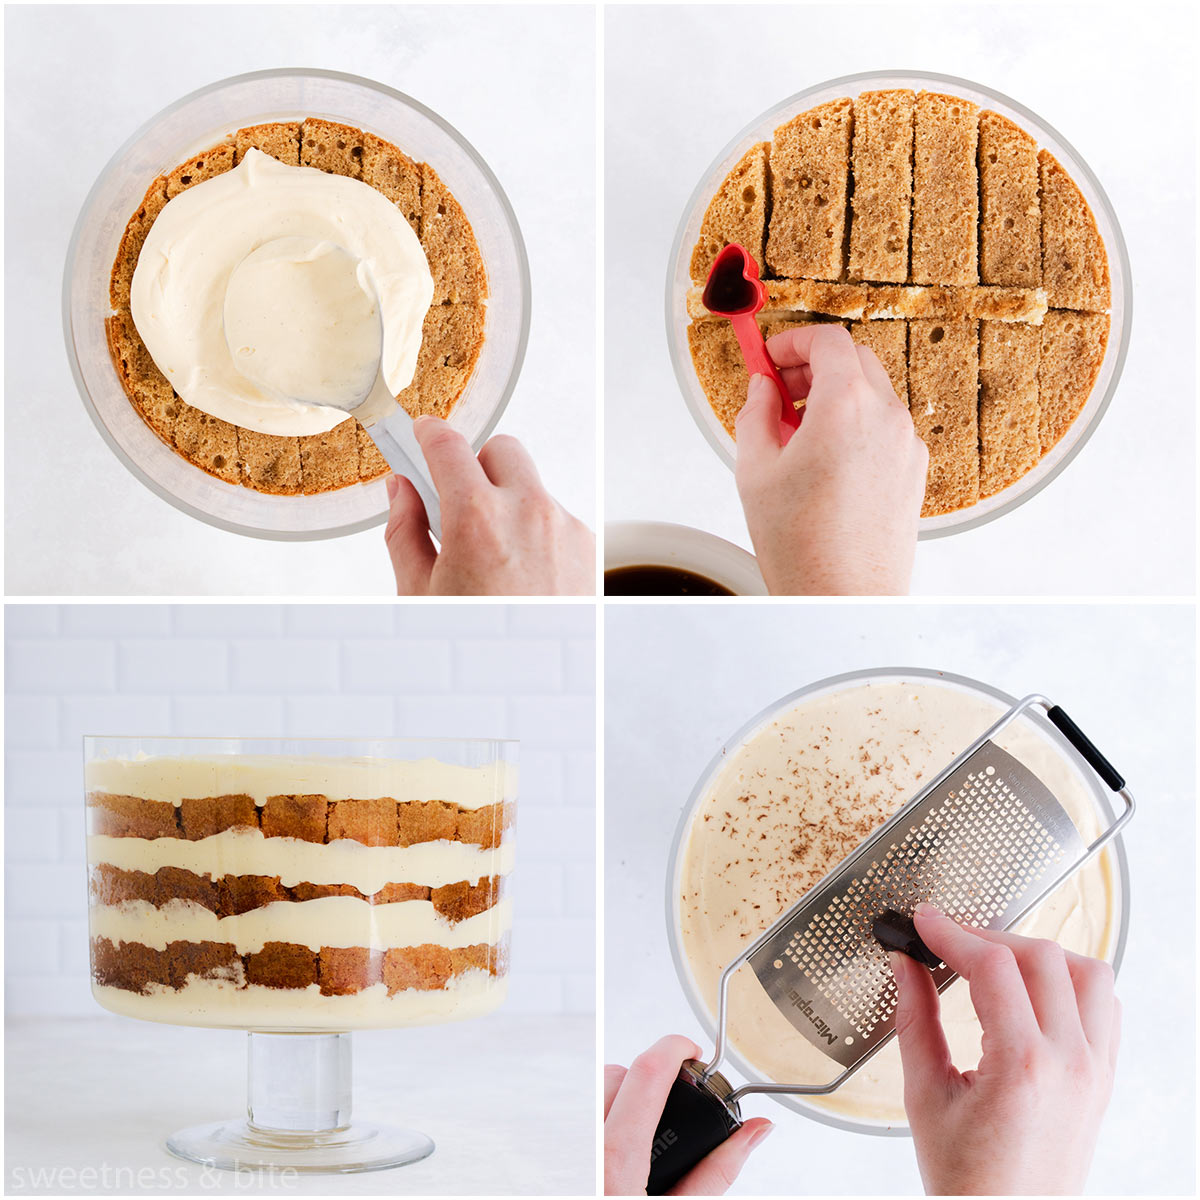
Then once you’re ready to serve, you can grate over some chocolate with a fine grater, or use a small sieve or shaker to dust the top with cocoa.

Just like a regular tiramisu, gluten free tiramisu will keep for several days in the fridge. Not that it lasts that long in our house, since we eat if for breakfast the next day… I mean, it’s coffee and protein (egg and mascarpone)
Quick Q&A
No, not really. I mean you could, but it won’t really have the traditional flavour or texture. Mascarpone really is a key ingredient in this dessert.
You can replace the coffee with a mixture of 1 1/2 cups of hot water, 1 teaspoon of cocoa powder and a teaspoon of sugar. Dissolve the cocoa and sugar in the hot water, and then continue with the recipe.
Again, it’s not a traditional tiramisu without one of the main ingredients. But, having said that, we make an exception in this case when making dessert for people who don’t like coffee, or for kids.
Yes, this is the perfect make-ahead dessert, because it needs to be made and left to sit in the fridge for at least 4-6 hours in advance, and overnight is best. This gives it time for the coffee and flavour from the filling to soak all the way through the sponge layers.
Yes. In fact, many people make tiramisu in a shallow baking dish and then serve it in squares. But in my family, we’ve always made it in a large bowl.
If you want to make it in a different sized/shaped dish, you may need to adjust the recipe to suit. Our trifle bowl has a 3L capacity, so measure your dish and adjust the recipe accordingly if you need to.
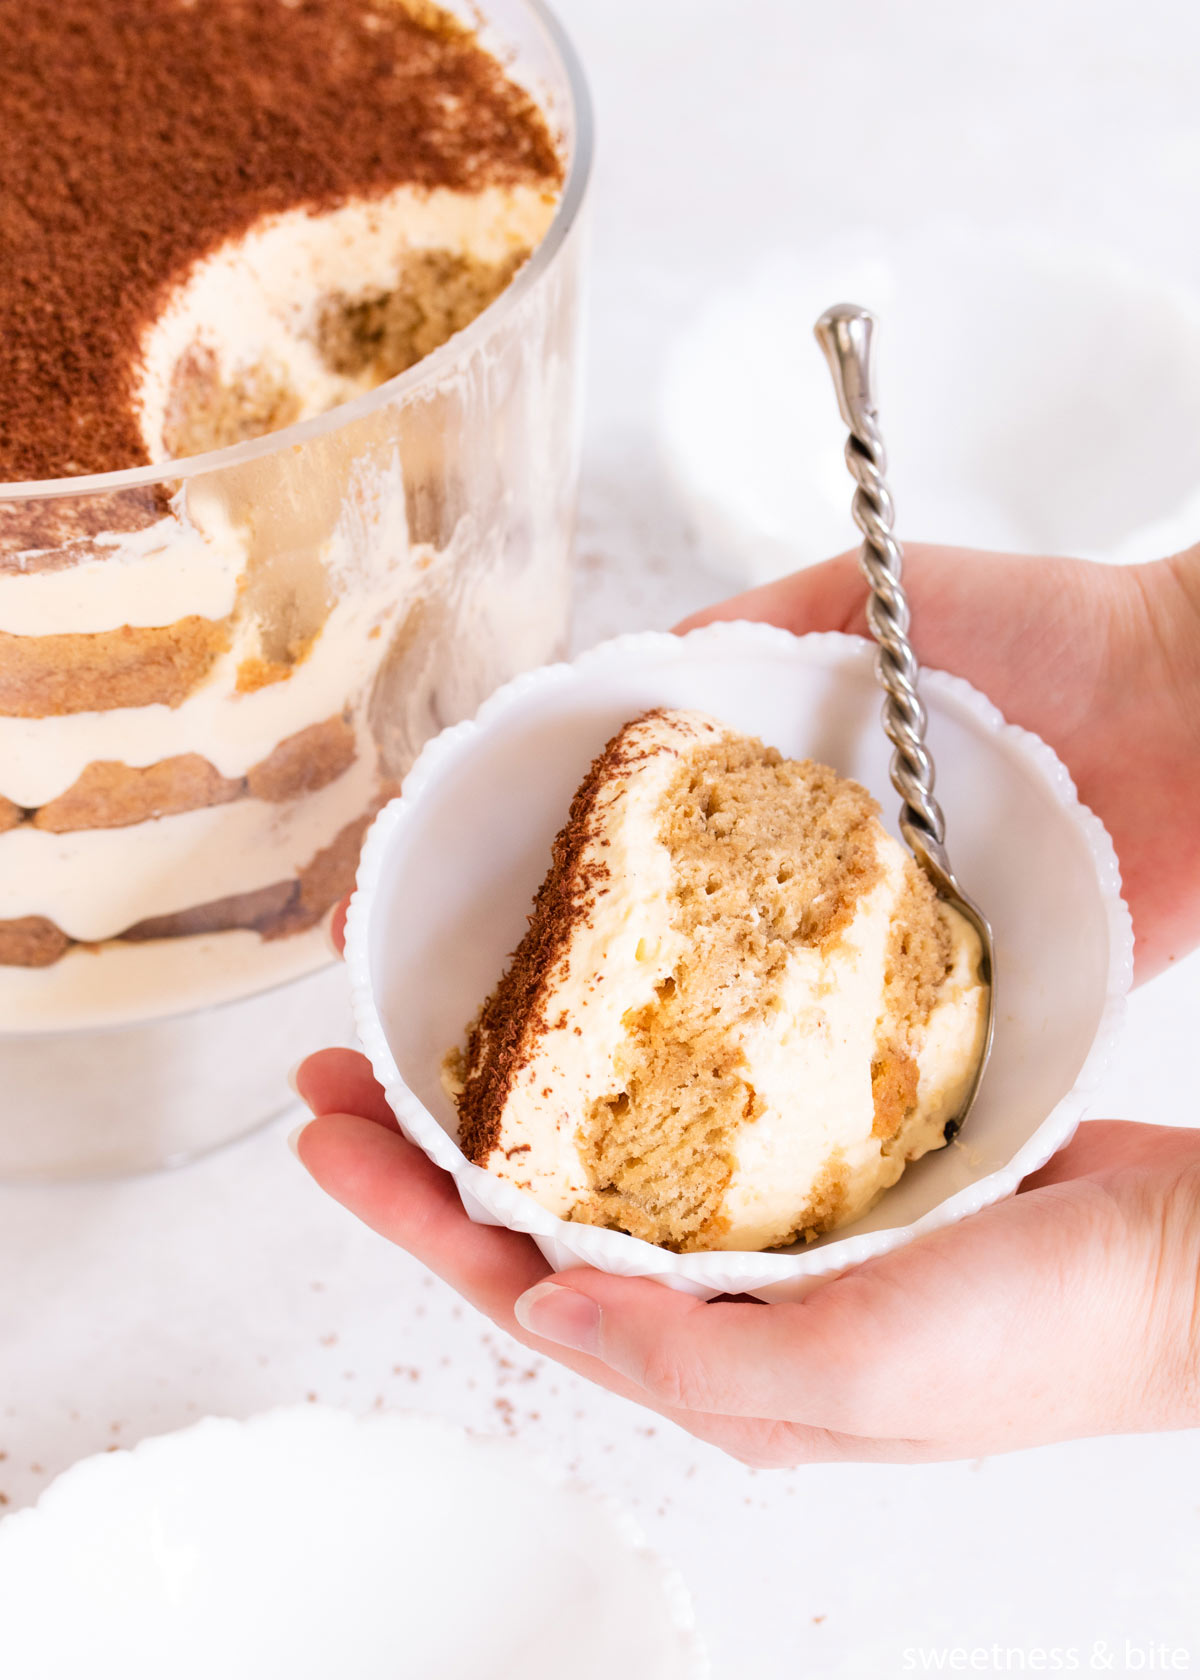
Gluten Free Tiramisu
Ingredients
- 375 ml hot, strong coffee (see notes) (1 ½ cups)
- 2-3 Tablespoons coffee liqueur or marsala optional
- Gluten free sponge cakes recipe below OR 2-3 packets of gluten free ladyfinger/savoiardi biscuits
- 6 large egg yolks
- 200 g 1 cup caster sugar
- 300 g mascarpone (1 ½ cups)
- 2 teaspoons vanilla paste or vanilla extract
- 375 ml whipping cream (1 ½ cups)
- 2-3 squares of dark chocolate or 2 teaspoons cocoa powder
Instructions
- Make the coffee, and add in the liqueur or marsala, if using. Set aside to cool.
- Split the sponge cakes in half, then cut them into wedges or fingers (skip this step if you're using ladyfinger biscuits)
- Prepare a water bath by finding a heatproof bowl that will sit snugly over the top of a saucepan of water. Place 1" of water in the saucepan, making sure that the bottom of the bowl will not touch the surface of the water. Bring the water to a very gentle simmer.
- Combine the egg yolks and sugar in the bowl, and whisk together. Place it over the water bath, and continue whisking it over the heat, until the mixture is thick, pale and is hot to the touch.
- Remove from the heat, add the vanilla paste or extract and whisk for a couple of minutes to cool it. Don't panic if the sugar gets a little grainy. Add in the mascarpone, and whisk until smooth. Set aside.
- In a large mixing bowl, whip the cream until stiff peaks are just beginning to form.Add in the egg mixture, and mix gently until combined.
- Spoon a layer of the cream mixture into the bottom of a large trifle bowl or other large dish.
- Pour some of the cooled coffee into a shallow bowl. Working quickly, dip pieces of sponge (or sponge finger biscuits) into the coffee on one side only, then turn over (coffee-dipped side up) and place it into the bowl. Continue dipping and placing the sponge into the bowl until the layer is completed.Add another layer of the cream mixture, then another layer of sponge, and continue layering until you run out or reach the top of the bowl/dish, making sure to end with a layer of cream mixture.
- Cover the bowl with plastic wrap, and refrigerate overnight.
- When ready to serve, use a fine grater to grate over a thick layer of chocolate, or use a fine sieve (sifter) to sift over a thin layer of cocoa powder.
Leftover tiramisu will keep for 2-3 days in the fridge.
Notes
Nutrition
Nutritional Disclaimer: Any nutritional info provided is a computer generated estimate and is intended as a guide only.
Sponge Cake
Ingredients
- 5 whole eggs
- 1 egg yolk
- 200 g caster sugar
- 200 g gluten free flour
- 1/4 teaspoon xanthan gum omit if you use a gf flour blend that contains a gum ingredient
- 2 teaspoons vanilla extract or vanilla paste
- 1 Tablespoon gf flour + 1 Tablespoon caster sugar extra for preparing cake pans
Instructions
- Heat oven to 180°C.
- Prepare the cake pans: Spray two 7" (or 8" – see notes below) round cake pans with cooking oil spray, or brush with melted butter). Line the bottoms with a circle of non-stick baking paper. Combine the 1 tablespoon of gluten free flour and 1 tablespoon of caster sugar in a small bowl. Pour it into the first cake pan, and swirl it around to coat the sides of the pan. Tip it out into the second pan, and repeat. Tip out any remaining flour/sugar mixture, and bang each pan upside down over the sink to remove any excess.
- Sift together the gluten-free flour and xanthan gum, and whisk to combine well.
- Bring 1" of water to a simmer in a saucepan that is just big enough to sit the bowl of a stand mixer, (or a large heatproof bowl, if using a handheld electric mixer) on top, ensuring that the bottom of the bowl doesn't touch the water. Place the whole eggs, egg yolk, caster sugar and vanilla into the bowl, and place the bowl over the water. Stir constantly until the egg mixture is warm and the sugar is mostly dissolved (it should be around 40°C if you have a candy thermometer). If you prefer to skip this step, make sure your eggs are warm before you start, by placing the eggs (in their shells) into a bowl of hot tap water for 10-15 minutes. Then crack them into the mixer bowl, add the sugar and vanilla, and continue with the next step.
- Once the eggs are warm, whip them until they are thick and pale and make a thick ribbon when you lift the beaters. This takes about 10 minutes at medium-high speed in a stand mixer but may take a little longer with an electric hand-held beater.
- Gently fold in the sifted dry ingredients in three-four additions. I like to use a large wire whisk to do this, as it doesn't pop as many of the air bubbles. A large metal spoon or silicone spatula will also do the trick.
- Divide the batter evenly between the two prepared pans and then give them a tap on the benchtop to pop any large air bubbles.
- Bake for 25-30 minutes, or until they're lightly golden and pulling away from the sides of the pan.
- Allow to cool for 30 minutes in the pans, then slide a spatula around the edges to loosen them, tip the sponges out and place right-side-up on a wire rack to finish cooling.
- Wrap with plastic wrap and store in an airtight container at room temperature for 1-2 days, or in the freezer for a month or two.
Notes
Nutritional Disclaimer: Any nutritional info provided is a computer generated estimate and is intended as a guide only.

