Easter Nests
This post may contain affiliate links to products I recommend. I receive a small commission at no cost to you if you make a purchase using my link.
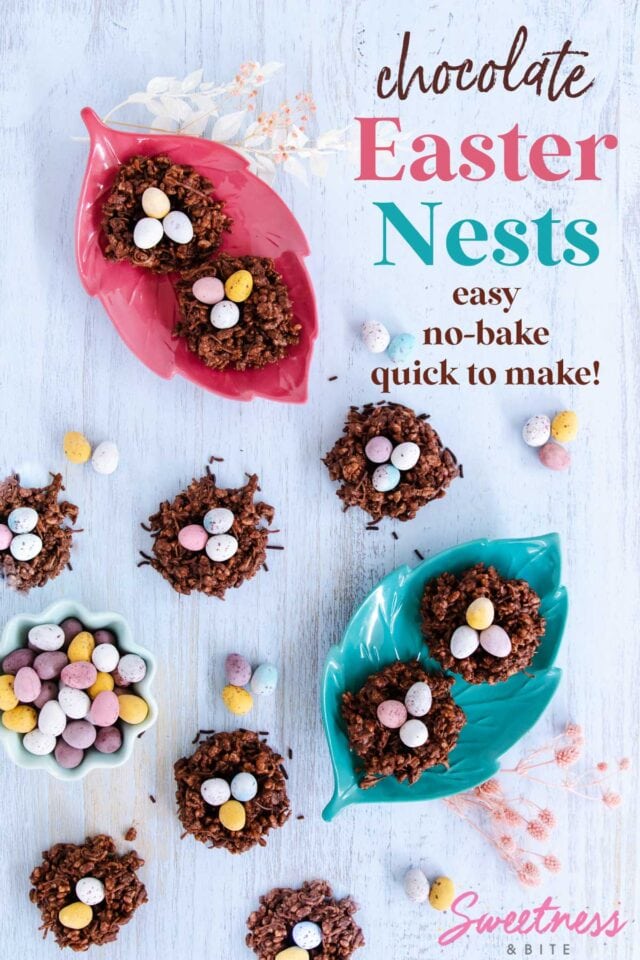
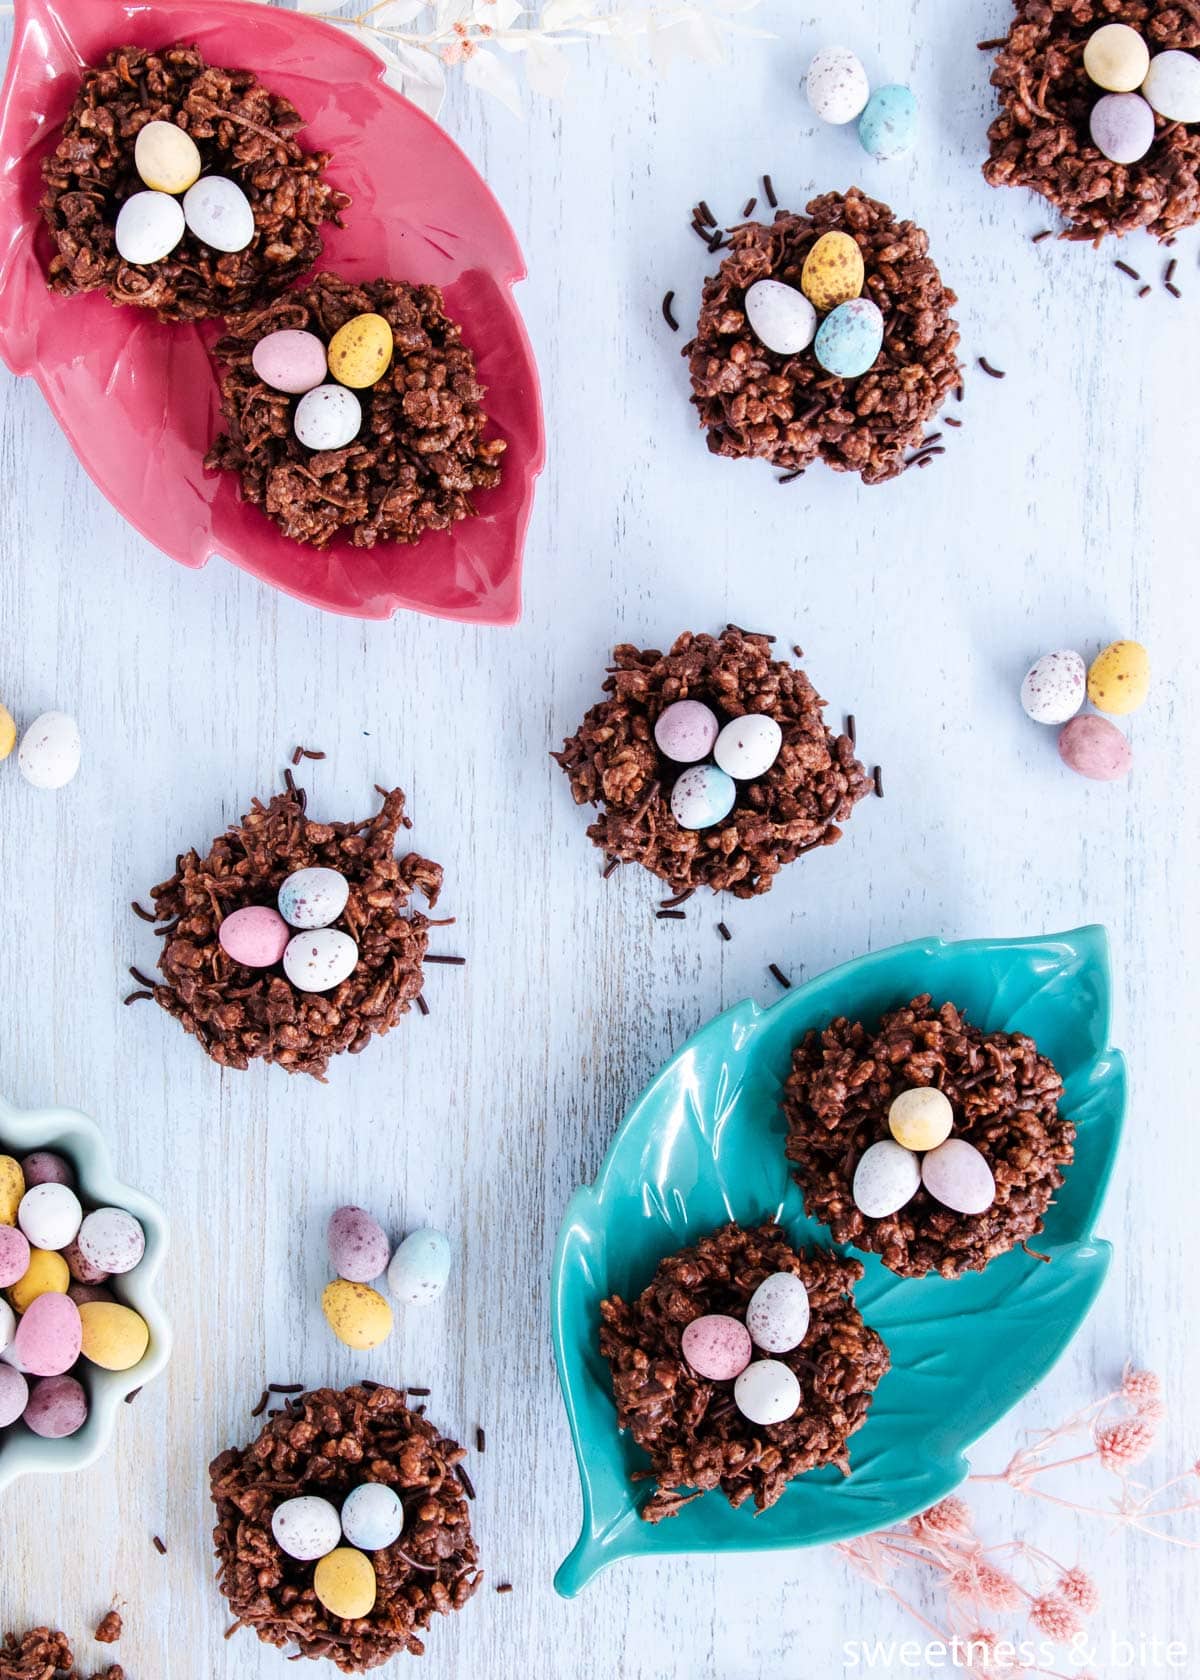
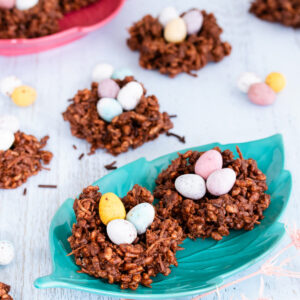
These Easter Nests are a fun Easter treat, featuring crunchy rice Krispies and shredded coconut, with rich chocolate and topped off with cute mini chocolate eggs. Super easy to make, and a fun Easter activity for children (and adults!).
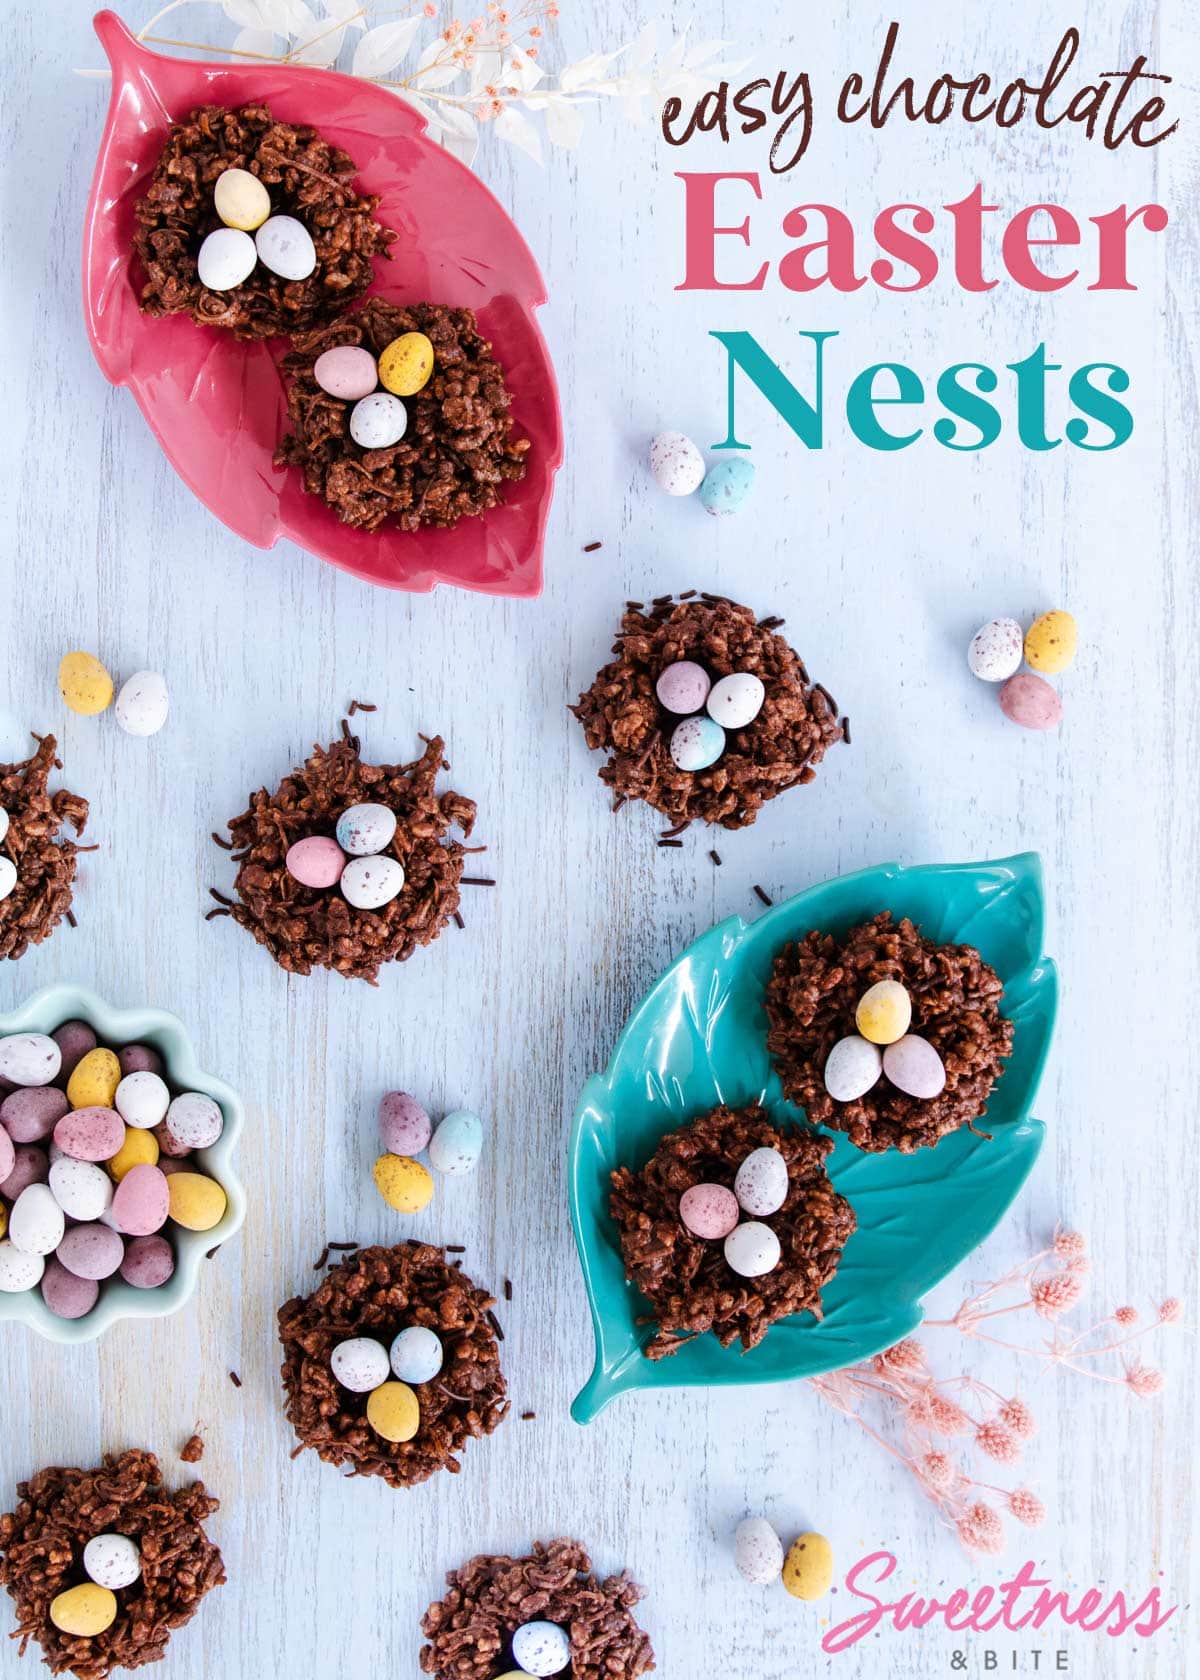
The last couple of easter treats I’ve shared on here have been super easy recipes. And this year’s one is no exception to that tradition. It only requires six simple ingredients (one is optional), a few simple steps, and can be made in under an hour.
These little chocolate Easter nests are super cute, and would be a fun addition to any Easter table.
Many chocolate Easter nest recipes use shredded wheat or crispy noodles, neither of which fly (pun intended) in our house since two of us are gluten free.
So I based this recipe on good old fashioned “chocolate crackles” which are a Kiwi kid’s party food staple, using rice bubbles (aka. Rice Krispies) and coconut, but I swapped the usual desiccated coconut for shredded coconut, which gives that lovely “twiggy” look to the nests.
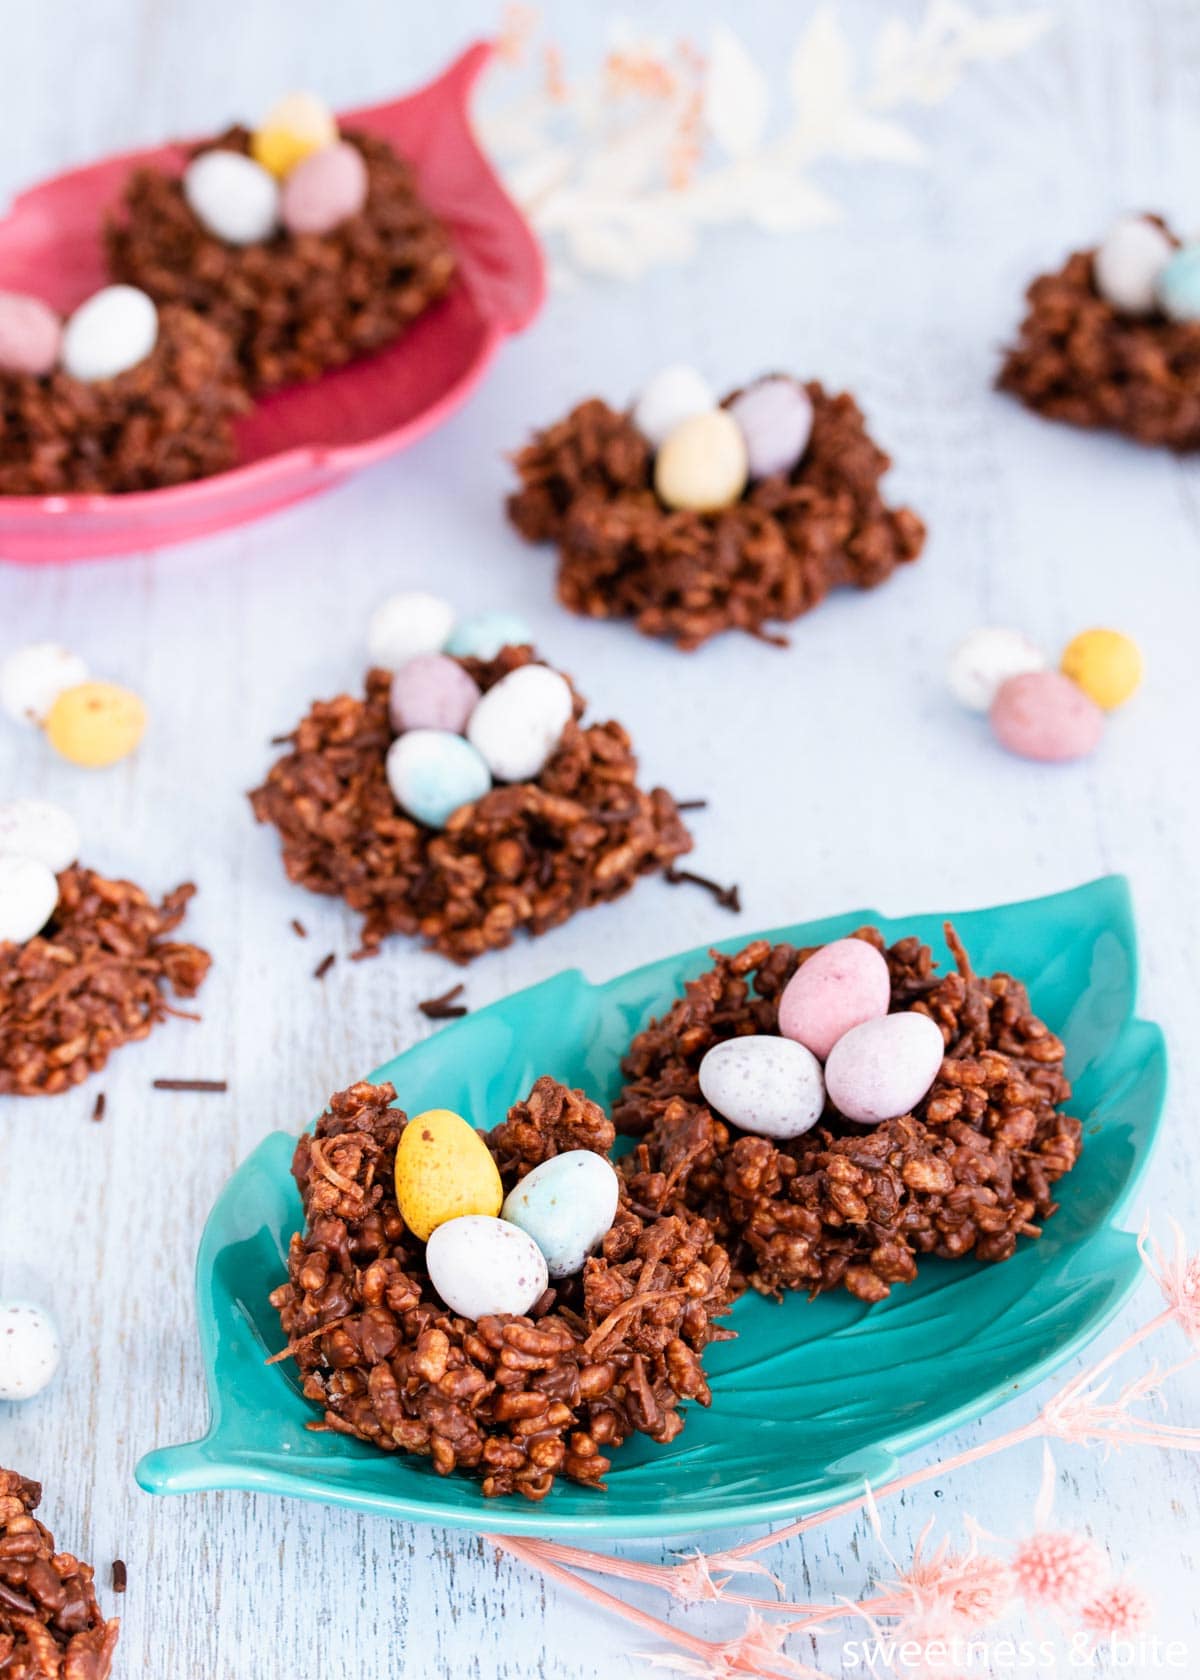
And then I sprinkled them with chocolate hail (chocolate jimmies) for good measure. Because when a recipe is this easy and uses just a few ingredients, why not chuck on some sprinkles for a little extra something?
I made these free-form on a baking sheet, but you can also spoon the mixture into paper cupcake cases if you prefer.
Here’s what you’ll need to make this recipe:
Ingredients
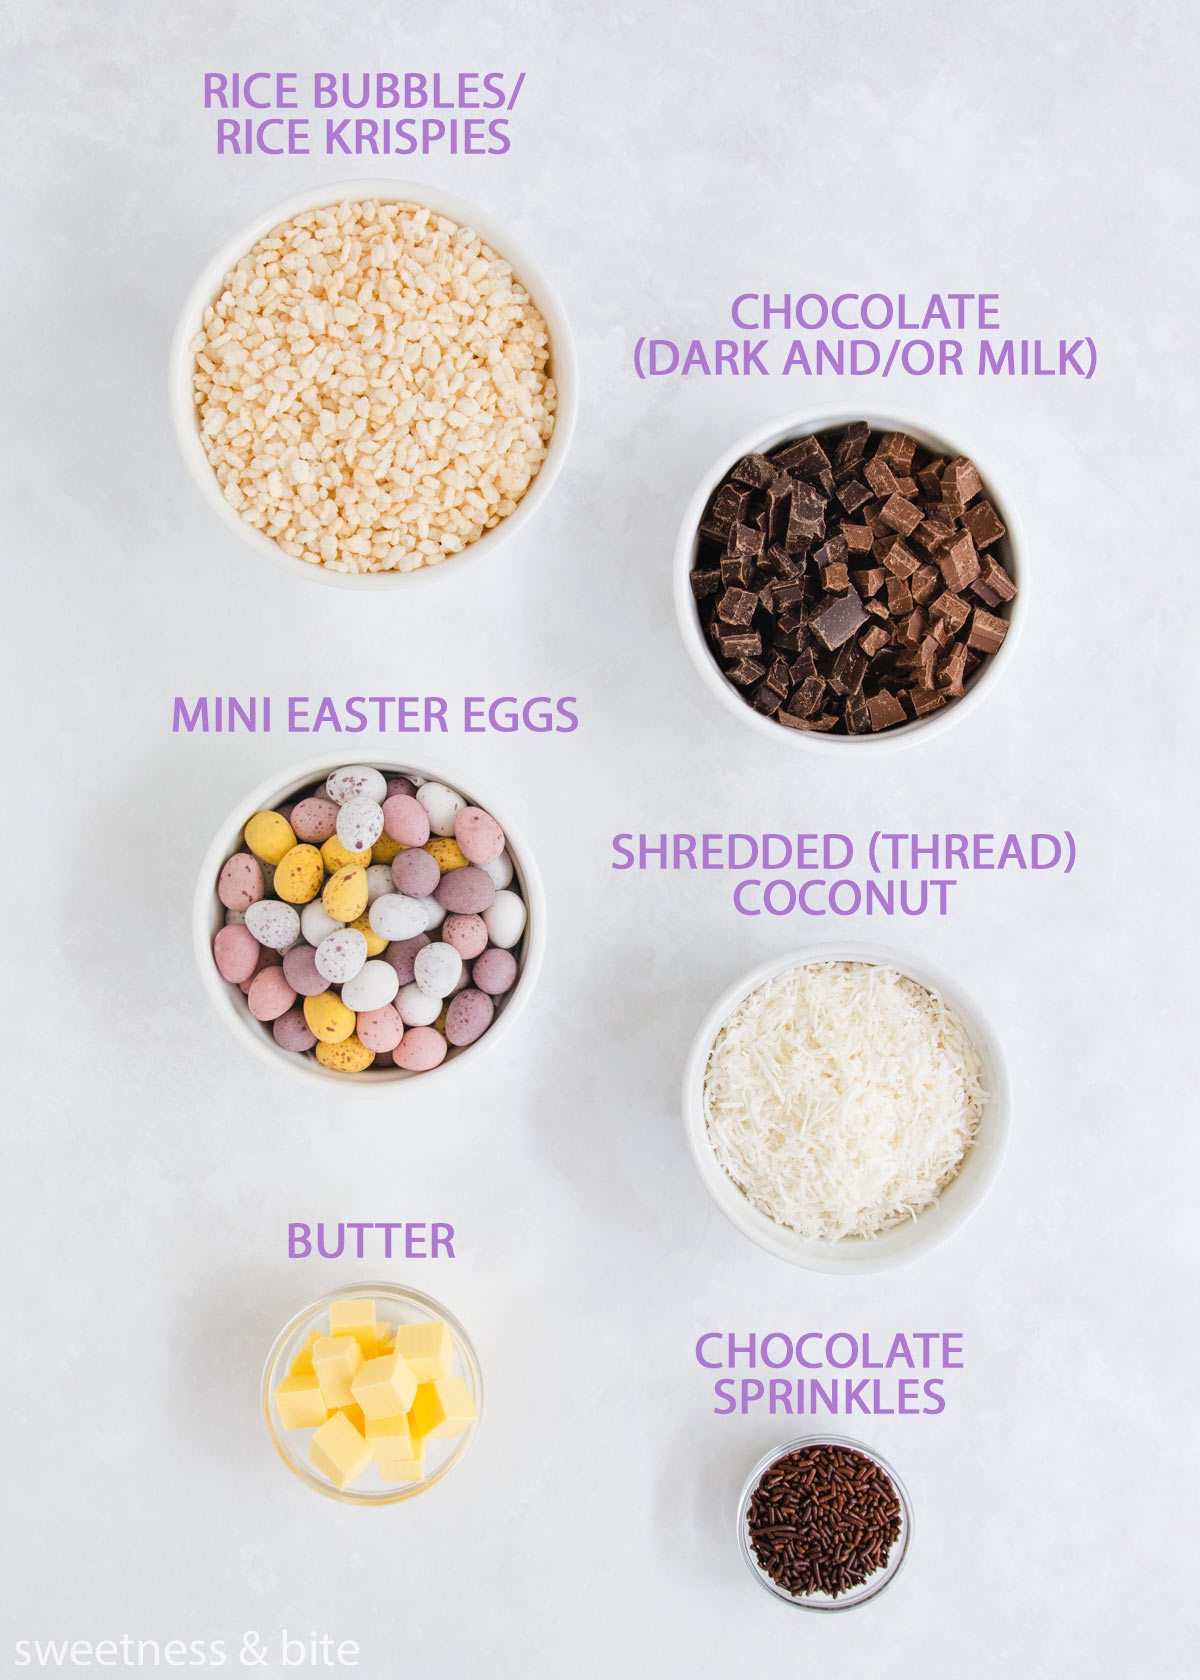
- Chocolate – I used half each of dark chocolate and milk chocolate because I like the balance of the sweetness from the milk chocolate and the deep flavour of the dark, but you can by all means just use one or the other here. I chopped up blocks of my favourite Whittaker’s chocolates, but you can use chocolate melts, or chocolate chips – as long as the package says they’re suitable for melting (some choc baking chips have a coating to stop them from melting).
- Butter – I used unsalted butter but regular salted butter will also work. Because we’re using butter, the nests do need to be stored in the fridge to keep them firm. If you need them to be left out of the fridge, you could try replacing some or all of the butter with a solid shortening such as Kremelta or Crisco.
- Rice bubbles – Aka. Rice Krispies, rice puffs, whatever you call puffed rice cereal where you live. The great thing about this recipe though is that you can swap them for other cereals such as cocoa puffs (coco pops – again, whatever you call ’em where you live) or even crushed cornflakes. If you need to make these gluten-free, make sure you choose gluten free rice bubbles (or other cereal). Regular rice bubbles often contain barley malt extract, which contains gluten.
- Shredded coconut – Also sometimes called thread coconut, this is a much coarser coconut than desiccated coconut. The one we get here isn’t sweetened, but you can use a sweetened variety if that’s all you have. You can also swap it for desiccated coconut, although your Easter nests will look a little less “twiggy”. Coconut flakes would possibly also work, but again, they will give the nests a different look.
- Mini Easter eggs – I used Cadbury mini eggs, but any mini Easter eggs will work here. If you use eggs that are larger than the mini eggs, you may have to scale up the size of your Easter nests to match – but I don’t think anyone will get upset about having bigger treats, do you? If you use foil-wrapped eggs, make sure you unwrap them first, as the foil will get stuck to the melted chocolate, or let the nest harden in the fridge and then place the eggs on afterwards.
- Optional extras – I used some chocolate hail (chocolate sprinkles/jimmies or hagelslag, which are the best ever chocolate sprinkles from the Netherlands) to top off these little nests. You could also make little chocolate curls or shavings from a block of chocolate using a vegetable peeler – those would make great additions, too. Or stir some white chocolate chips into the nest mixture.
Ooh, this one has just come to me as I’m writing this! For an extra fun Easter treat, you could make slightly larger nests and add a spoonful or two of chocolate mousse to the middle before popping in your candy eggs. I’ve got you covered with seven different easy mousse recipes to choose from if you want to give it a try.
Dietary Substitutions
Gluten Free – As mentioned above, to make these gluten free, use gluten free cereal, and also make sure you check your chocolate, Easter eggs and sprinkles are gluten free too.
Dairy Free – I have not tested these with dairy free substitutions, but you should be able to swap the butter for a dairy free or vegan butter substitute (choose one that is solid when refrigerated) or vegetable shortening and choose dairy free chocolate and easter eggs. You could either choose a dark chocolate that has no milk solids, or a specific dairy free dark or “milk” chocolate such as Sweet William. If you can’t find small dairy free eggs, you could use jelly beans instead.
How to Make the Easter Nests
When I say these are easy to make, guys, I ain’t lyin’.
I started out by drawing some circle templates. This step is 100% optional – it gives you a guide for how big to make your nests, but the great thing about these having a “natural/rustic” look is that they could literally all be a different size and no one would care (and if they do, well, flip ’em the bird 😉😂🤦♀️).
I just used a 6.5cm (2.5″) round cookie cutter as a guide to draw around in pencil on the back side of sheets of non-stick baking paper or parchment paper. Then turn them over, pencil side down, onto your trays. Using that sized circle as a guide, I made 20 nests.
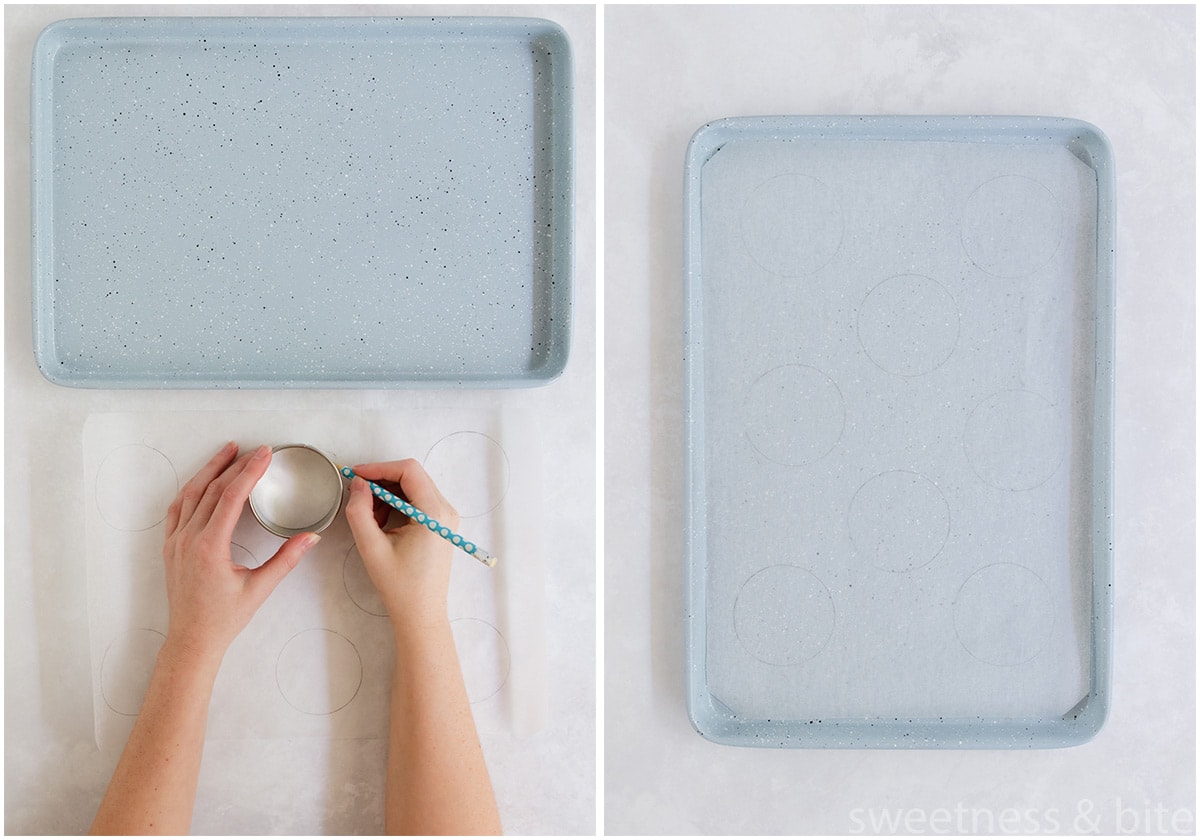
You’ll probably need 2 smaller or 1 large baking tray for this – make sure whatever you’re using fits in your fridge.
Note: As I mentioned above, you can make these nests in paper cupcakes cases instead of free-form. Pop the cupcake papers into a muffin tin or two for ease of transfer into the fridge.
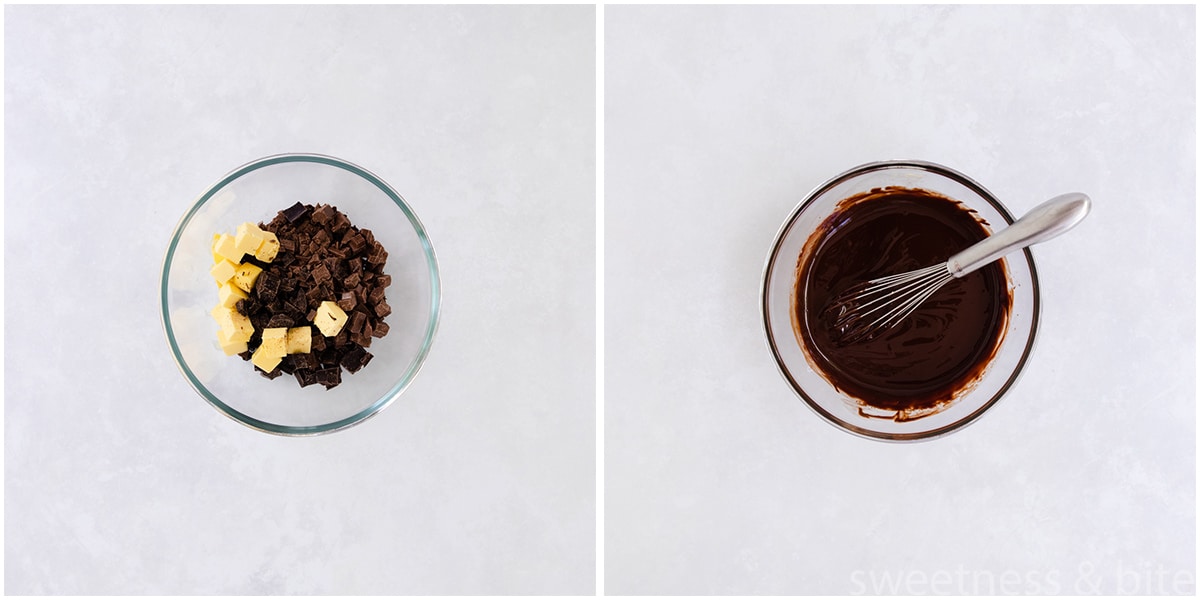
To make the nest mixture, we start by chopping the chocolate and melting it together with the butter in the microwave in a small bowl. Use medium power and heat in short bursts until the chocolate is mostly melted, then stir until it’s completely melted and the mixture is smooth. (Or you can do this step on the stove over a double boiler, or in a small saucepan over low heat, if you prefer)
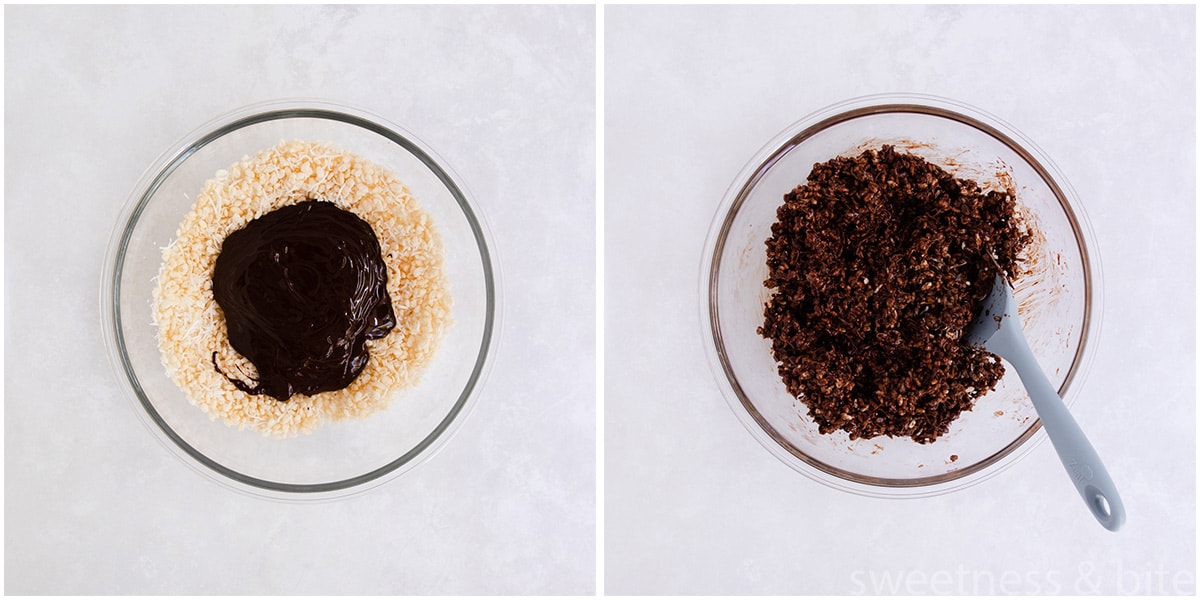
Pop the rice bubbles and the coconut in a large bowl. You can stir them together, or not, doesn’t matter.
Add in the melted chocolate mixture, and give it a good stir. Now you do definitely have to stir.
Spoon it onto your prepared trays. I used a 2 tablespoon capacity cookie scoop for this to make it quicker, but you can use a spoon. Shape the mixture roughly into a round pile, and then flatten it slightly and indent the middle to make a nest shape. I used the back of the scoop to do this, but you can use the back of a teaspoon, your fingers, or any small, rounded kitchen object.
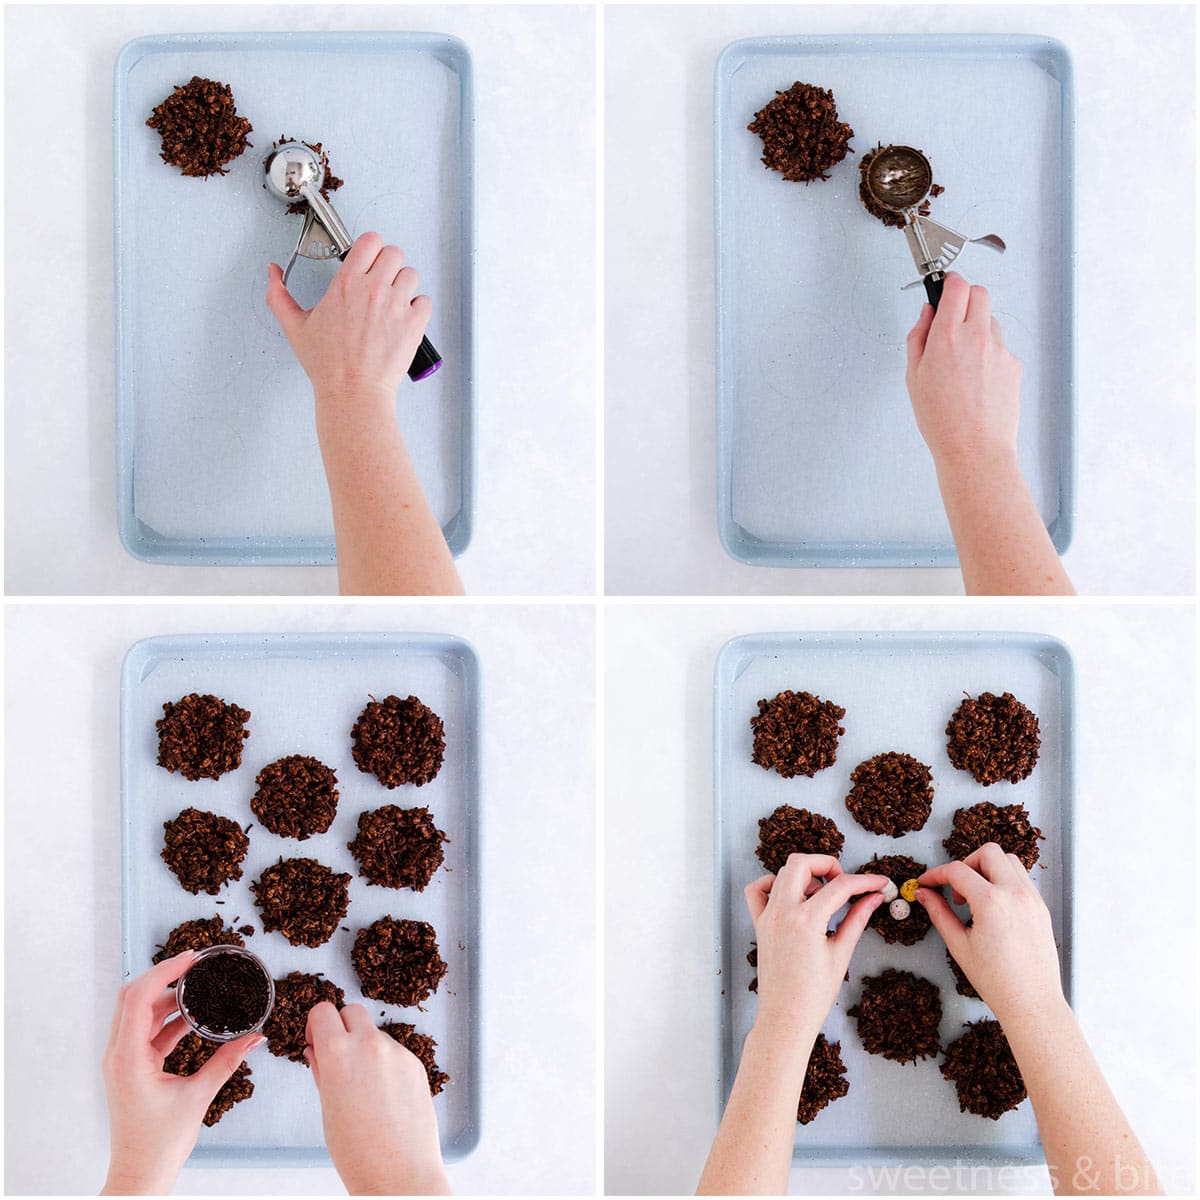
This mixture may look crumbly and like it won’t hold together, but once it’s chilled, it will. Just do your best to squish it together and shape it, the fridge will do the rest.
Sprinkle the nests with the chocolate hail, if you want.
If you’re planning to eat these the same day, you can pop your mini eggs into the center of each nest now. If you’re making them a day or so in advance and you’re using candy-coated eggs like Cadbury mini eggs, it’s best to leave the eggs off and add them just before serving, as the moisture from the fridge can make the candy-coating sticky.
Place the nests into the fridge for at least half an hour, or until firm.
Then you can eat them. The end.
Haha, just kidding this is a food blog, it’s not the end. I have to give you my life story yet.
Just kidding again, no one does that anymore, but I do need to tell you a couple more things and then give you the recipe, so just bear with me for a minute or two more.
Storing the Chocolate Nests
These will keep well in the fridge for several days. As mentioned above, if you need to keep them for any length of time, it’s best to leave the mini eggs off until you’re ready to serve, so they don’t get sticky.
Random disclaimer: Mini Egg fans may notice that there are blue eggs in my pictures despite the fact that they don’t make blue ones – I actually just painted some of the white mini eggs with some pastel blue edible paint because it annoys me that Cadbury has made their eggs such bland colours now and they don’t have any blue ones. I’m extra, and a perfectionist, I know. you don’t have to tell me.
If you make these Easter nests this year, make sure you tag me in your pics on Facebook or Instagram, I would love to see them! 🐣
More Easter Recipes
Here are some more chocolate Easter treats you may like…
Easter Egg Rocky Road
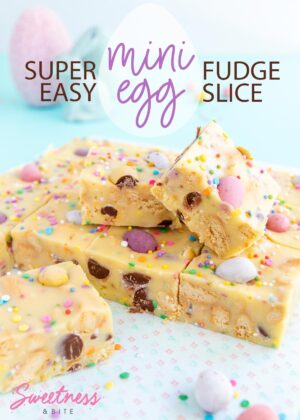
Mini Egg Fudge
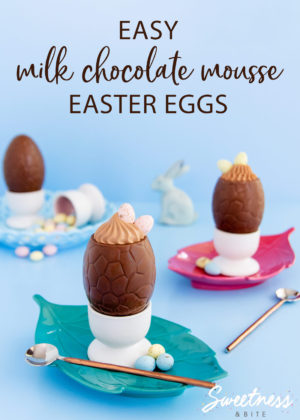
Milk Chocolate Mouse Easter Eggs
Easter Nests
Ingredients
- 100 g dark chocolate
- 100 g milk chocolate
- 75 g butter
- 125 g rice bubbles Rice Krispies
- 60 g shredded coconut thread coconut
- 250 g Cadbury Mini Eggs (2x 125g packs) or other mini Easter eggs
- 1-2 Tablespoons chocolate sprinkles optional
Instructions
- Line 1-2 baking sheets with non-stick baking paper or parchment.
- Optional: On the back side of the baking paper, draw circles by tracing around a 2.5" round cookie cutter (or roughly equivalent sized glass or other round object) with a pencil to create templates. Flip the paper back over, pencil side down, onto the baking sheet.
- Chop the dark and milk chocolate, and place in a small microwave-safe bowl or jug with the butter. Microwave on 50% power in 30-second increments, until mostly melted. Stir until fully melted and smooth.
- Combine the rice bubbles and coconut in a large bowl.
- Add the chocolate mixture, and mix until well combined.
- Spoon mounds of the mixture onto the prepared baking sheets. A small cookie/ice cream scoop is helpful for this, but a spoon will also do the trick.
Shape the mounds into nests, I use the back of the cookie scoop, if you're using a spoon just use the back of the spoon or your fingers. - Sprinkle with chocolate sprinkles if you like. If you're planning to eat these the same day, you can pop your mini eggs into the nests now. If you're making them a day or so in advance and you're using candy-coated eggs like Cadbury mini eggs, it's best to leave the eggs off and add them just before serving, as the moisture from the fridge can make the candy-coating sticky.
- Place the nests into the fridge for at least an hour, or until firm.
Store the Easter nests in the fridge in an airtight container for 2-3 days.
Notes
Nutritional Disclaimer: Any nutritional info provided is a computer generated estimate and is intended as a guide only.

