Sprinkle Cake Tutorial
This post may contain affiliate links to products I recommend. I receive a small commission at no cost to you if you make a purchase using my link.
A step-by-step tutorial on making a sprinkle cake with a fondant-covered cake, and how to make your own custom coloured sprinkles!
Sprinkle cakes have been popular for a while now, and it’s easy to understand why. Who doesn’t love sprinkles? Well I guess there are some folks out there that don’t, but to be honest I don’t have time for those people in my life. And I have a lot of time on my hands. So that’s sayin’ something.
The fact that sprinkles became a very important part of my niece’s Tumblr inspired birthday party was kinda my dream party come true, because I will pretty much throw sprinkles at anything that doesn’t move.
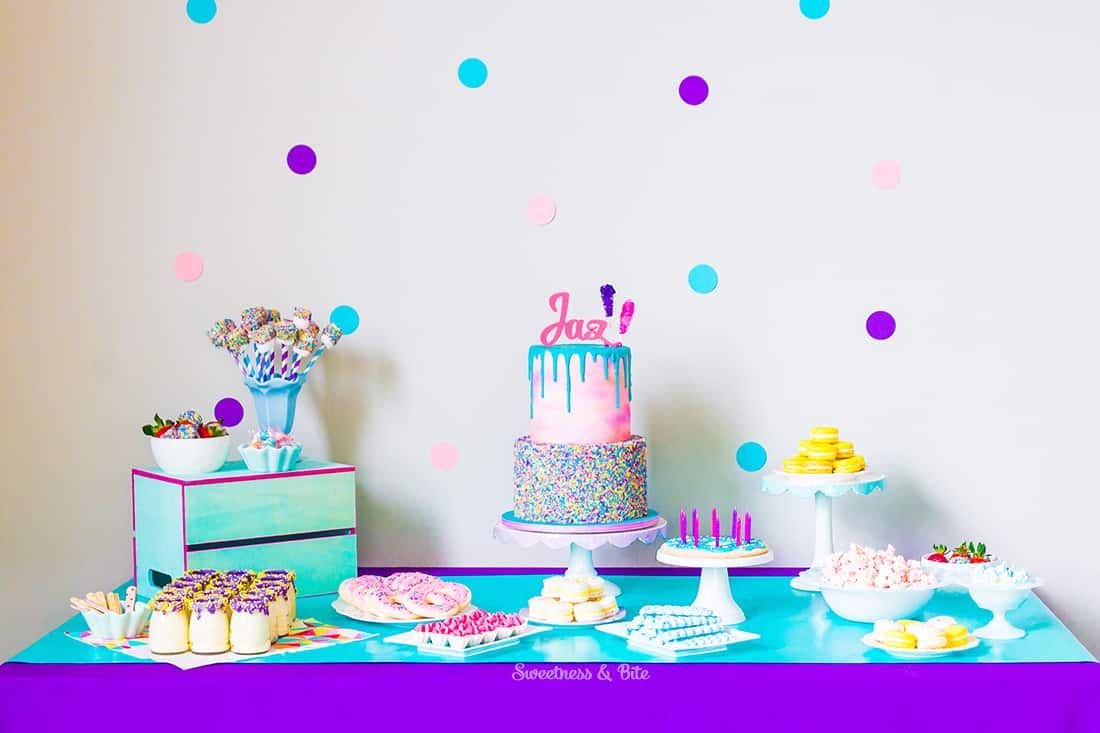
We went pretty heavy on the sprinkle theme for the party foods. I made some donut shaped cookies, which my expert assistant (the birthday girl herself) sprinkled with, well, sprinkles, as I iced the cookies.
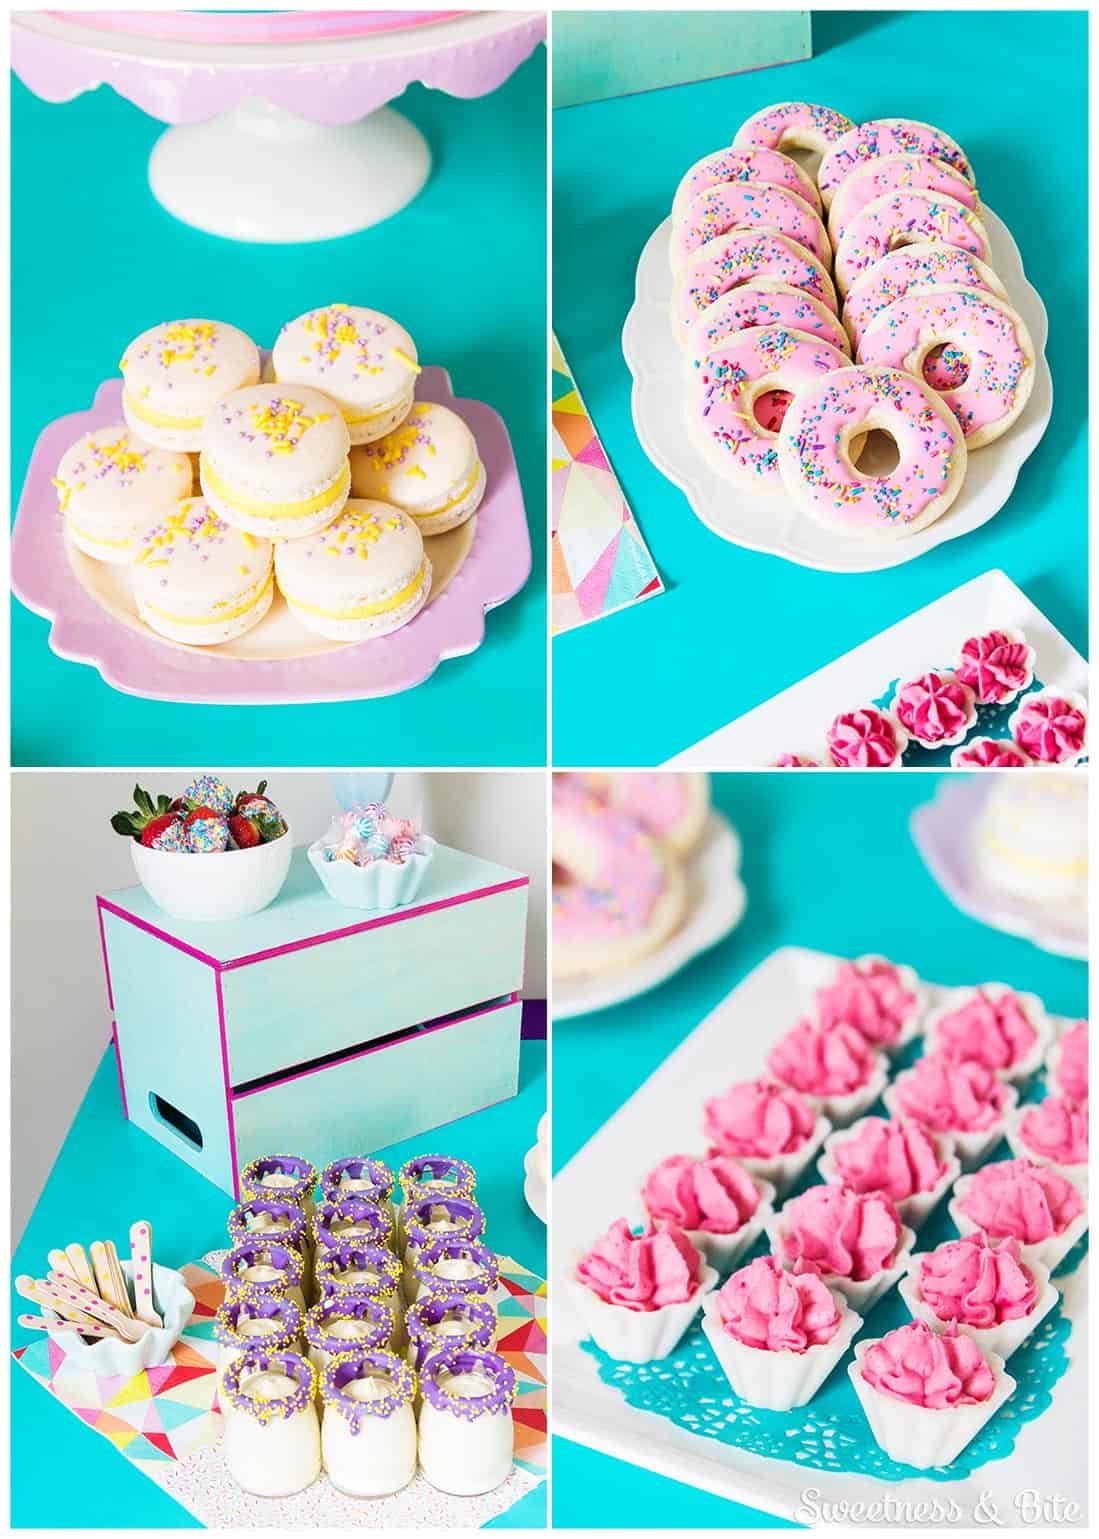
Katie made white chocolate and sprinkle covered strawberries and marshmallows. I made sprinkle macarons, and my mum and I decorated the rims of jars with candy melts and sprinkles, and I filled them with white chocolate mousse. I added a bit of freeze-dried raspberry powder to the leftover mousse (which was my 3 ingredient chocolate mousse made with white chocolate) and piped them into itty bitty chocolate cups.
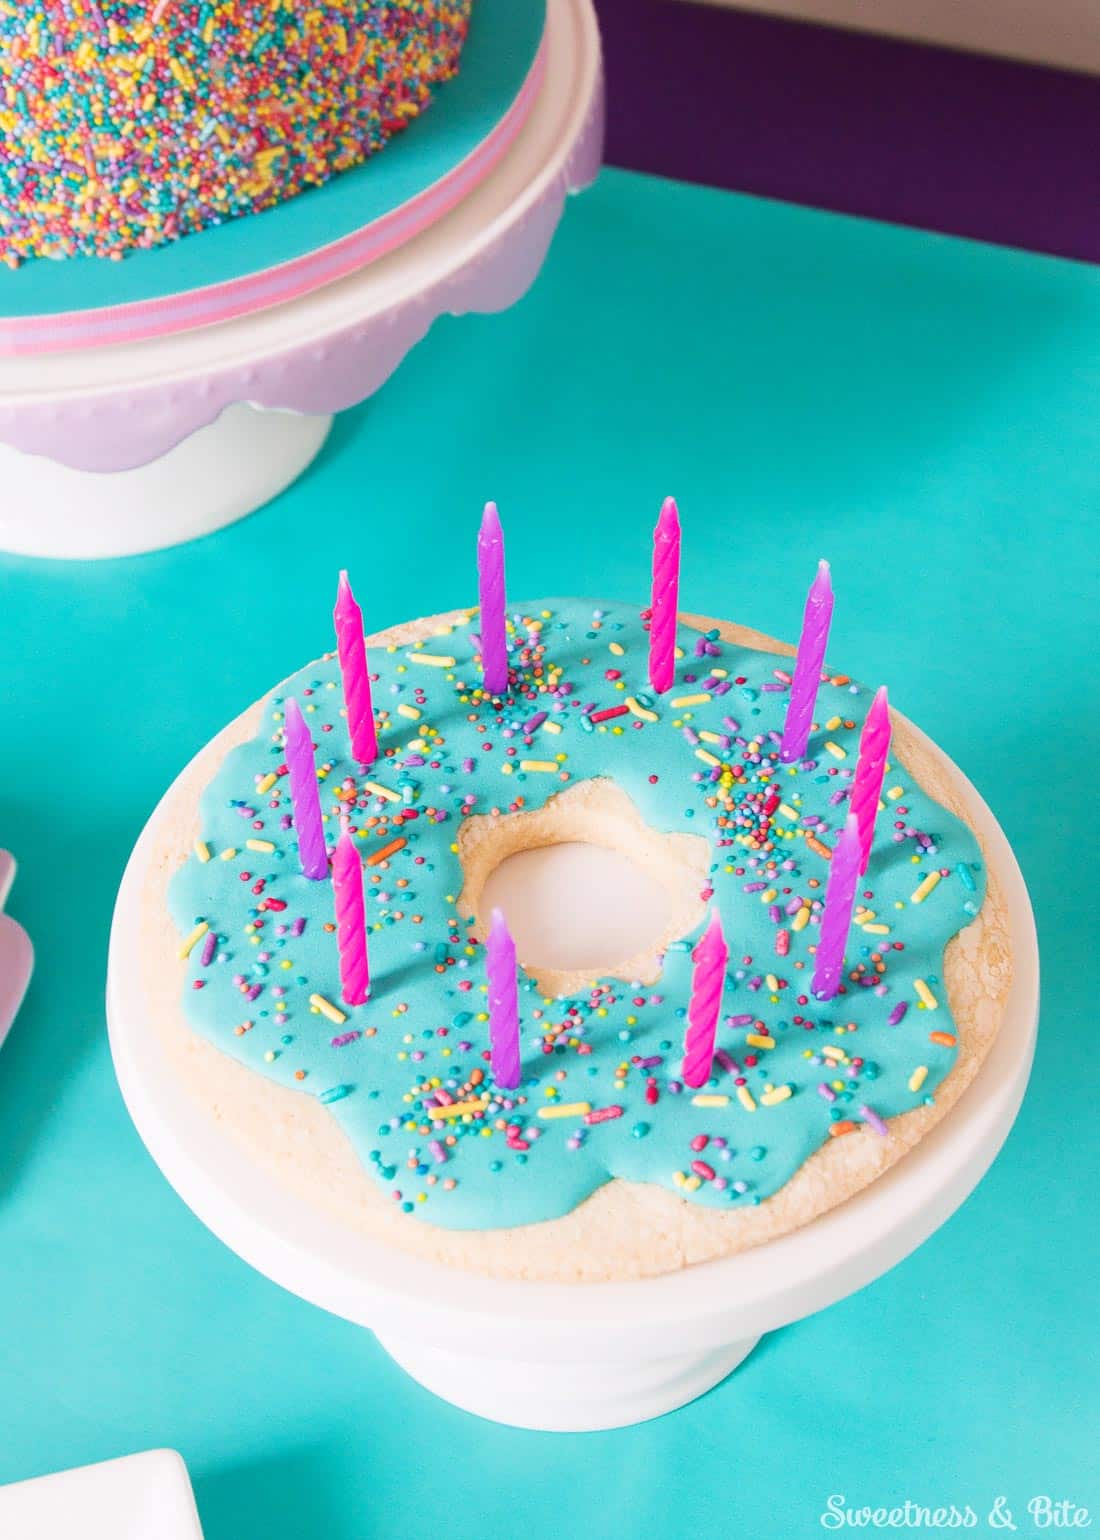
I also made one giant donut cookie as a candle holder, since I used a small base board for the cake, and left myself with nowhere to put candles.
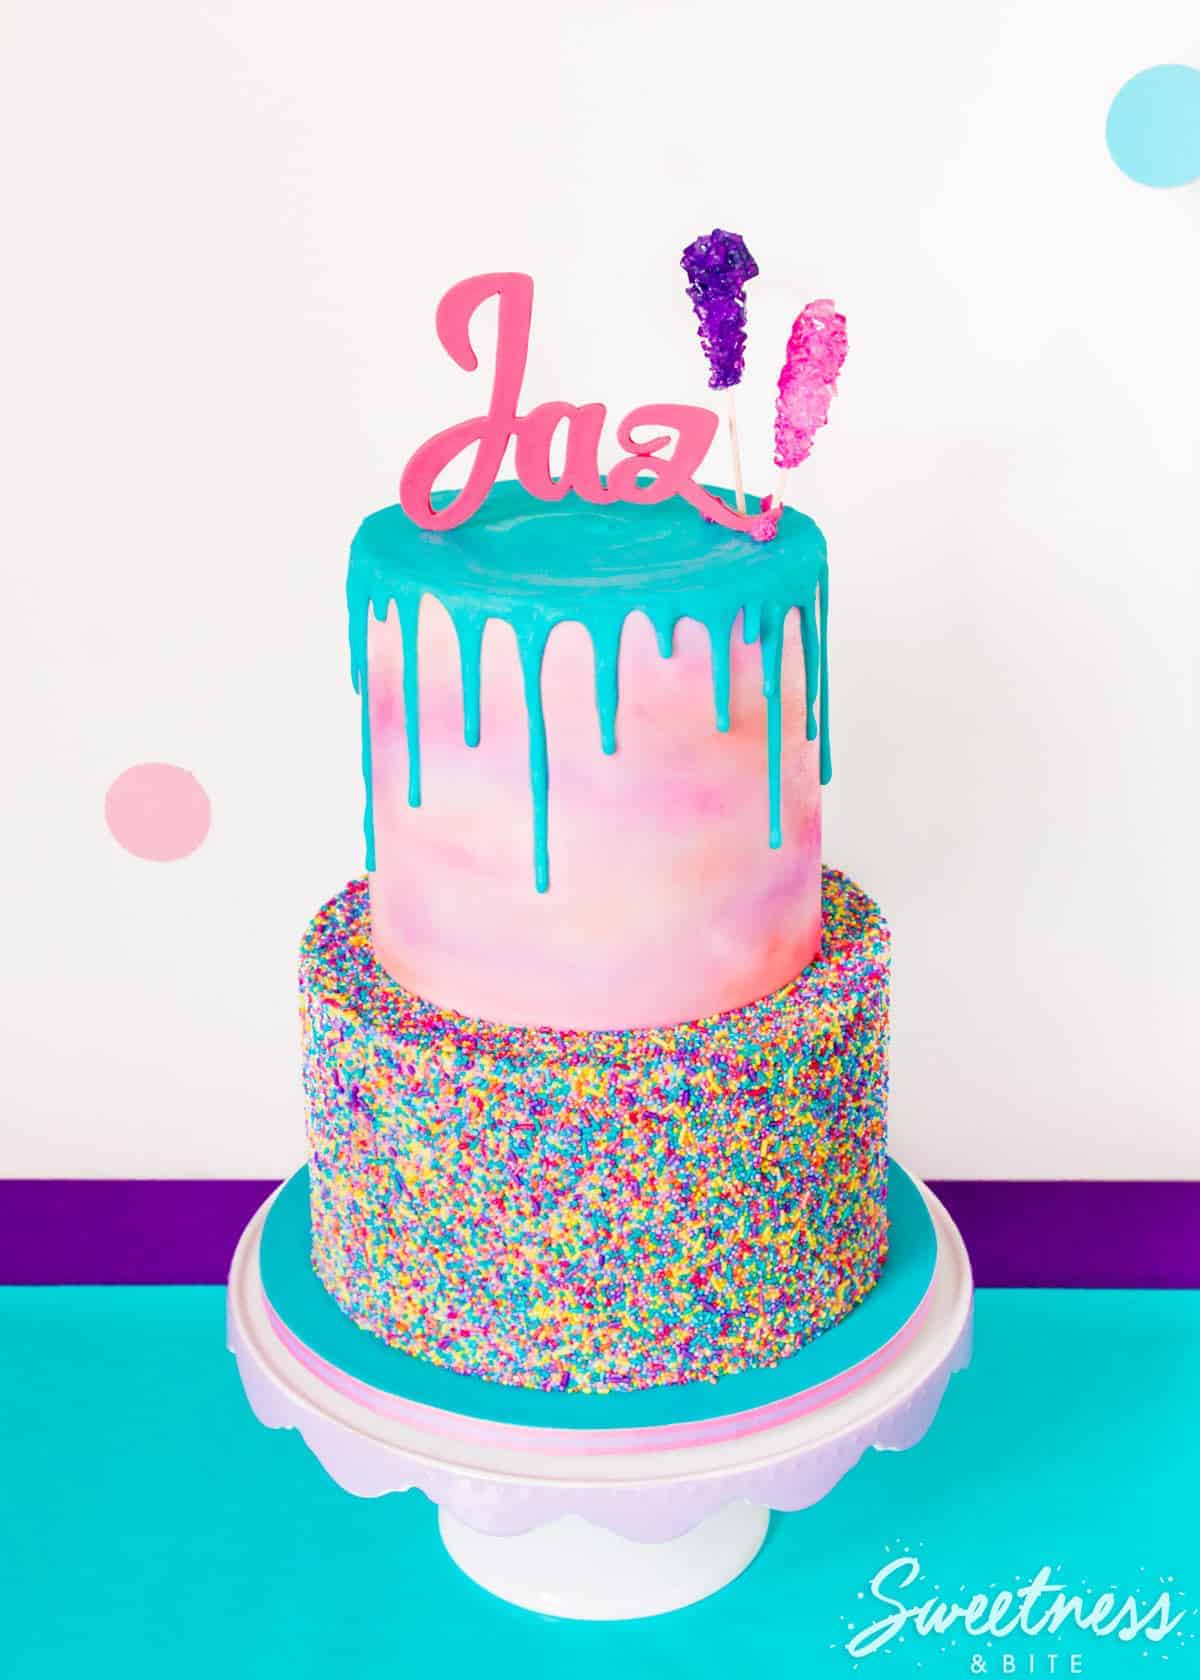
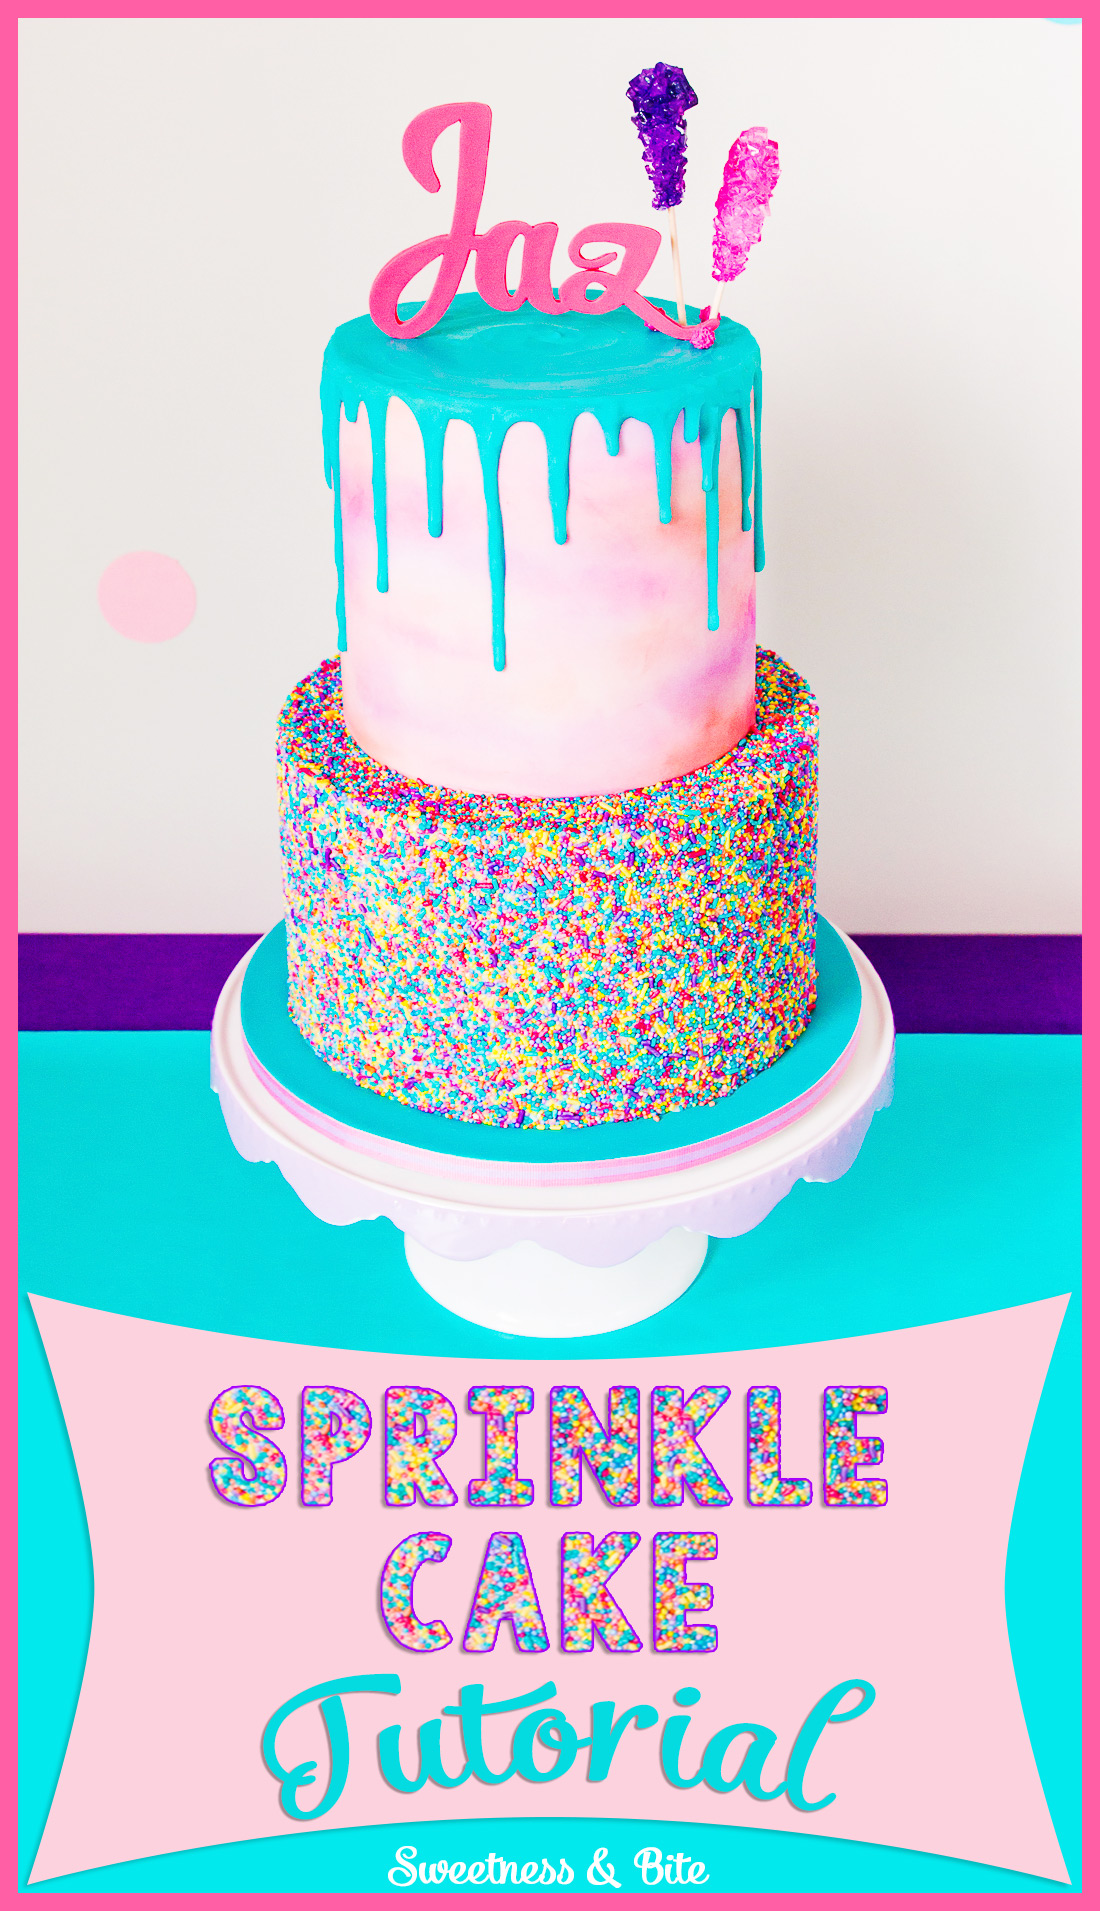
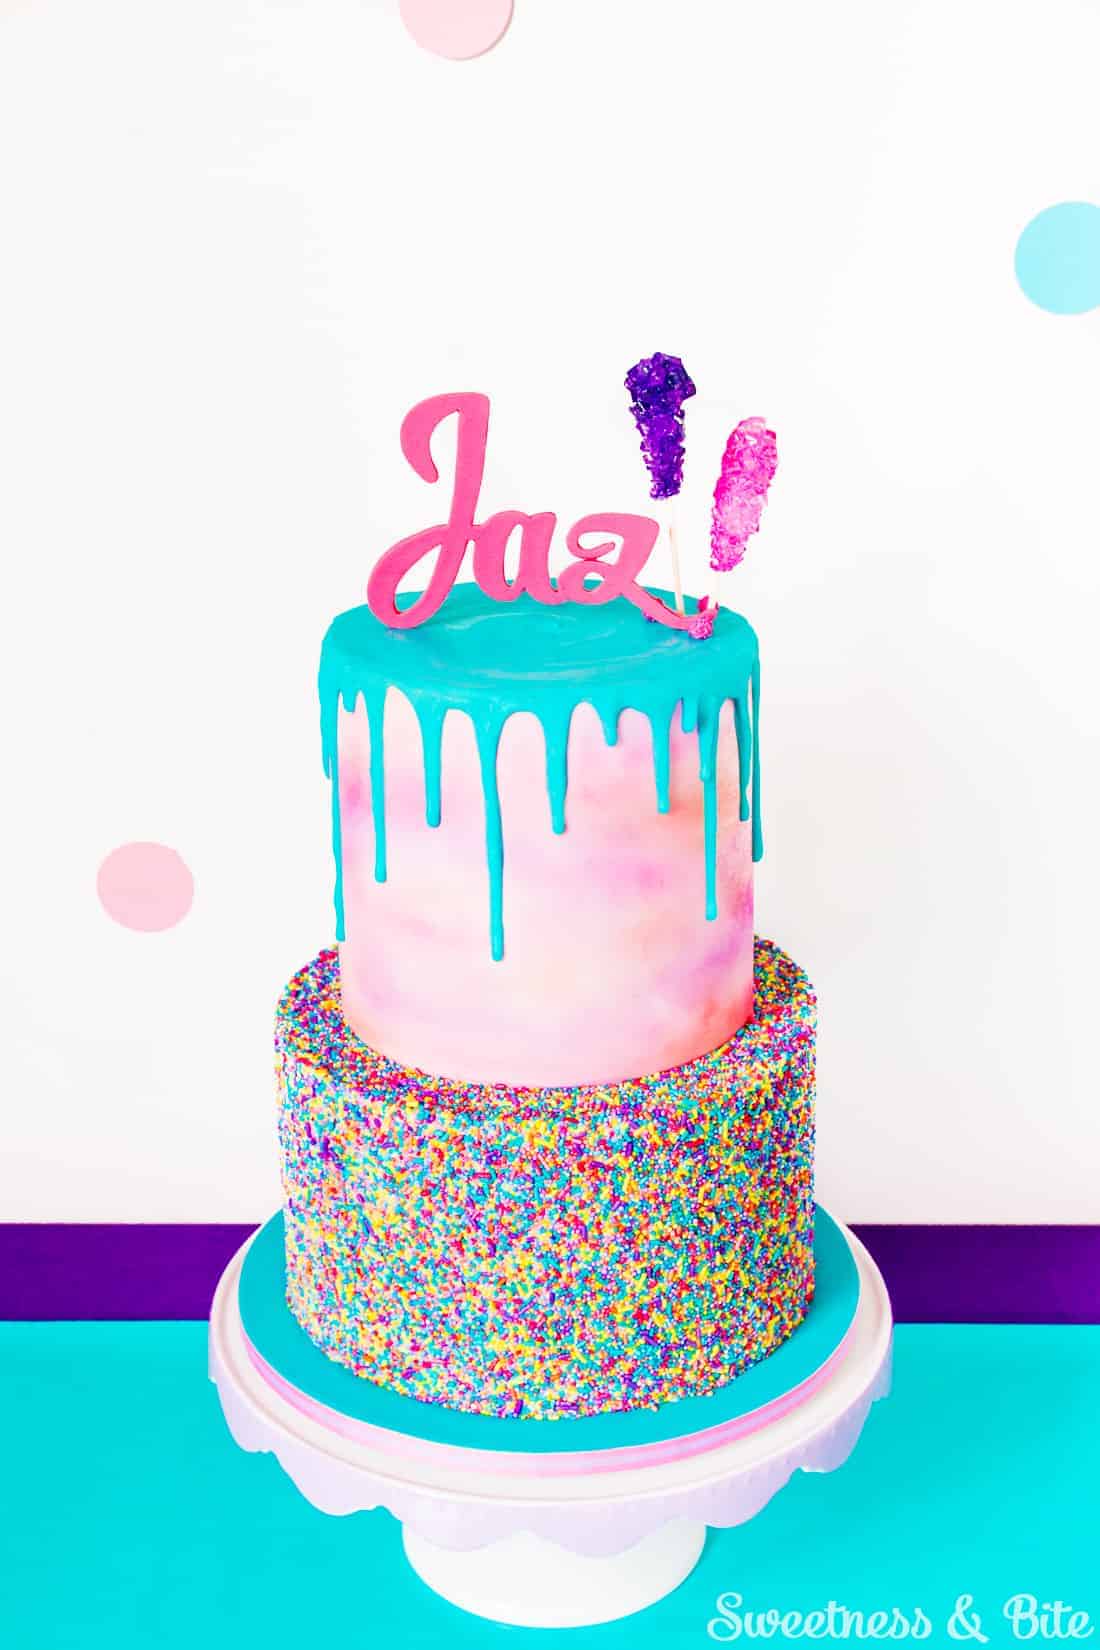
And of course, I sprinkled the living daylights out of the bottom tier of the cake, before topping it with a watercolour top tier, and a custom gumpaste name cake topper.
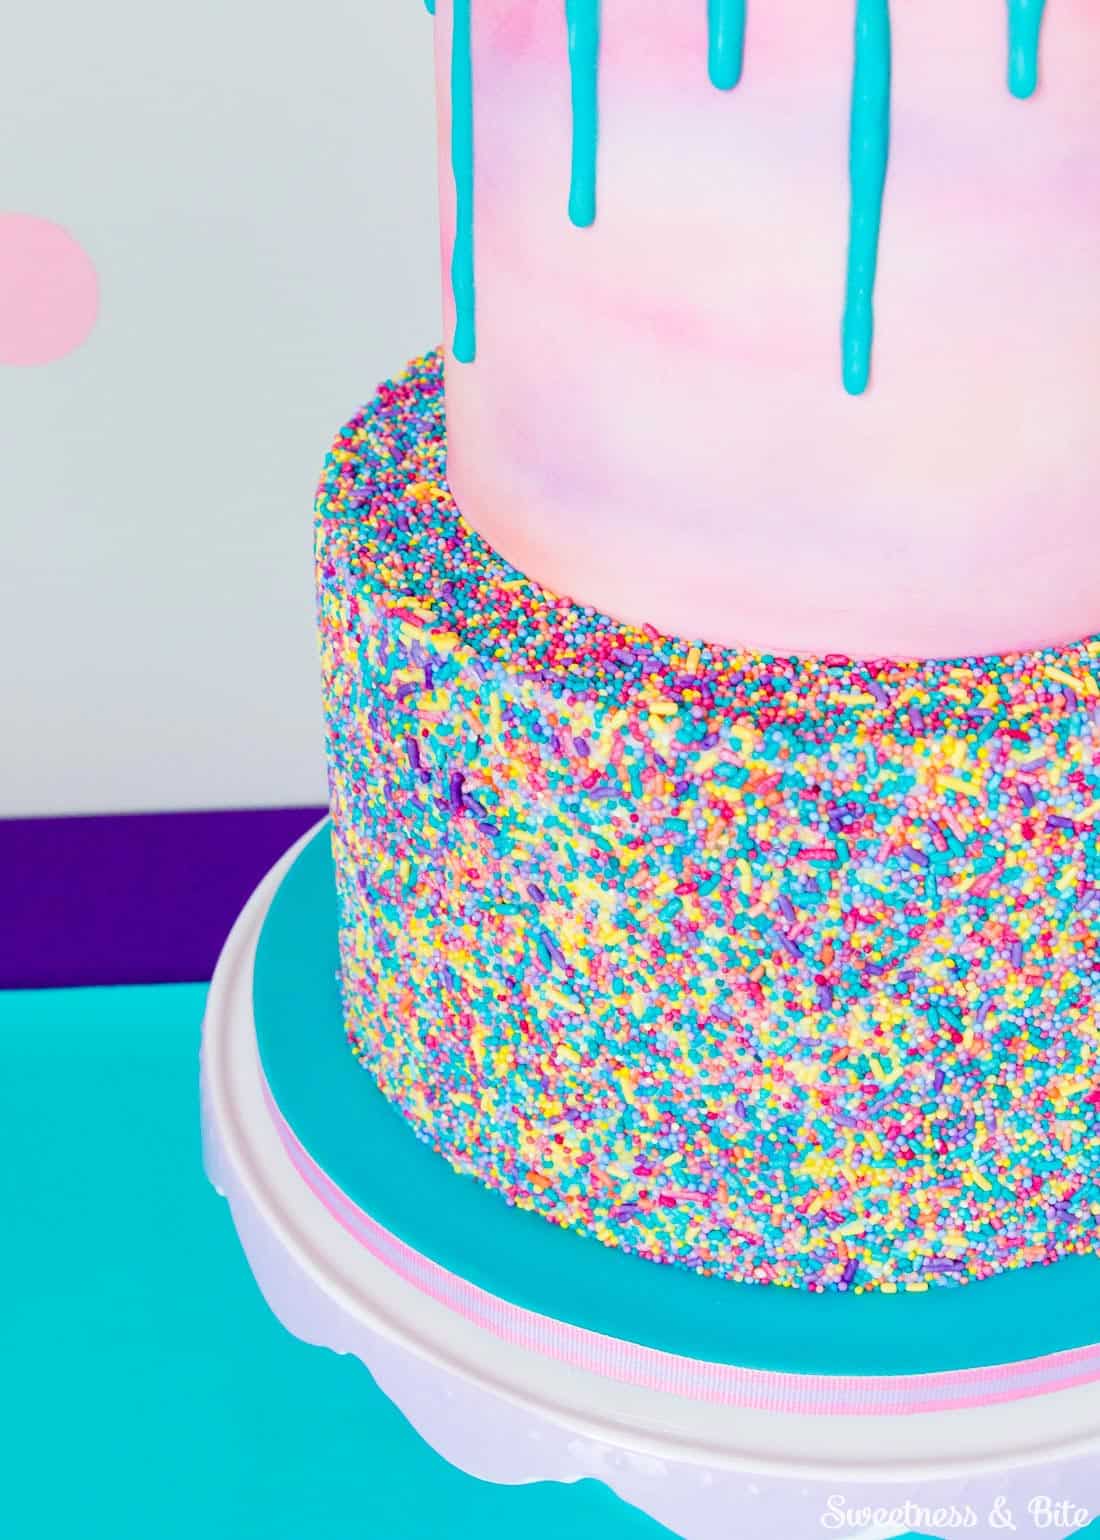
Most of the sprinkle cakes I’d seen were made with a buttercream or ganache covered cake, but I’d given myself a strict timeline to make this cake, starting four days out to allow myself an extra stuff-up day (because I’m generally incapable of making a cake without screwing something up and stressing myself into a crying mess), and I was heading up to Katie’s house for the night to help with the party prep, so I wanted it all done and dusted (so to speak) the day before the party. This meant I didn’t want to do a cake without the fondant to protect it and keep it fresh, therefore I had to do this the slightly harder way and use candy melts to adhere the sprinkles to the fondant.
Is it easier to do this cake in buttercream? Yes. Would I suggest you use buttercream if at all possible? Sure would. But, if time, design or storage constraints mean you need to use fondant, then this sprinkle cake tutorial is for you.
The reason doing this on fondant makes things trickier is that candy melts set pretty quickly. This means you have to work fast to get the sprinkles on before the melts set. I worked out while doing this that I had about 8 minutes before the candy melts set, in our kitchen that was probably around 20°C.
But, there is a secret weapon that you can use if your melts have set too quickly, if you happen to have one in your house – a hairdryer, with a diffuser attachment. The diffuser means you can heat the candy melts up without blowing sprinkles all over your kitchen. Which is good, because even without doing that you’re gonna get sprinkles everywhere. No need to make it worse.
About these sprinkles. Theeeeese sprinkles…
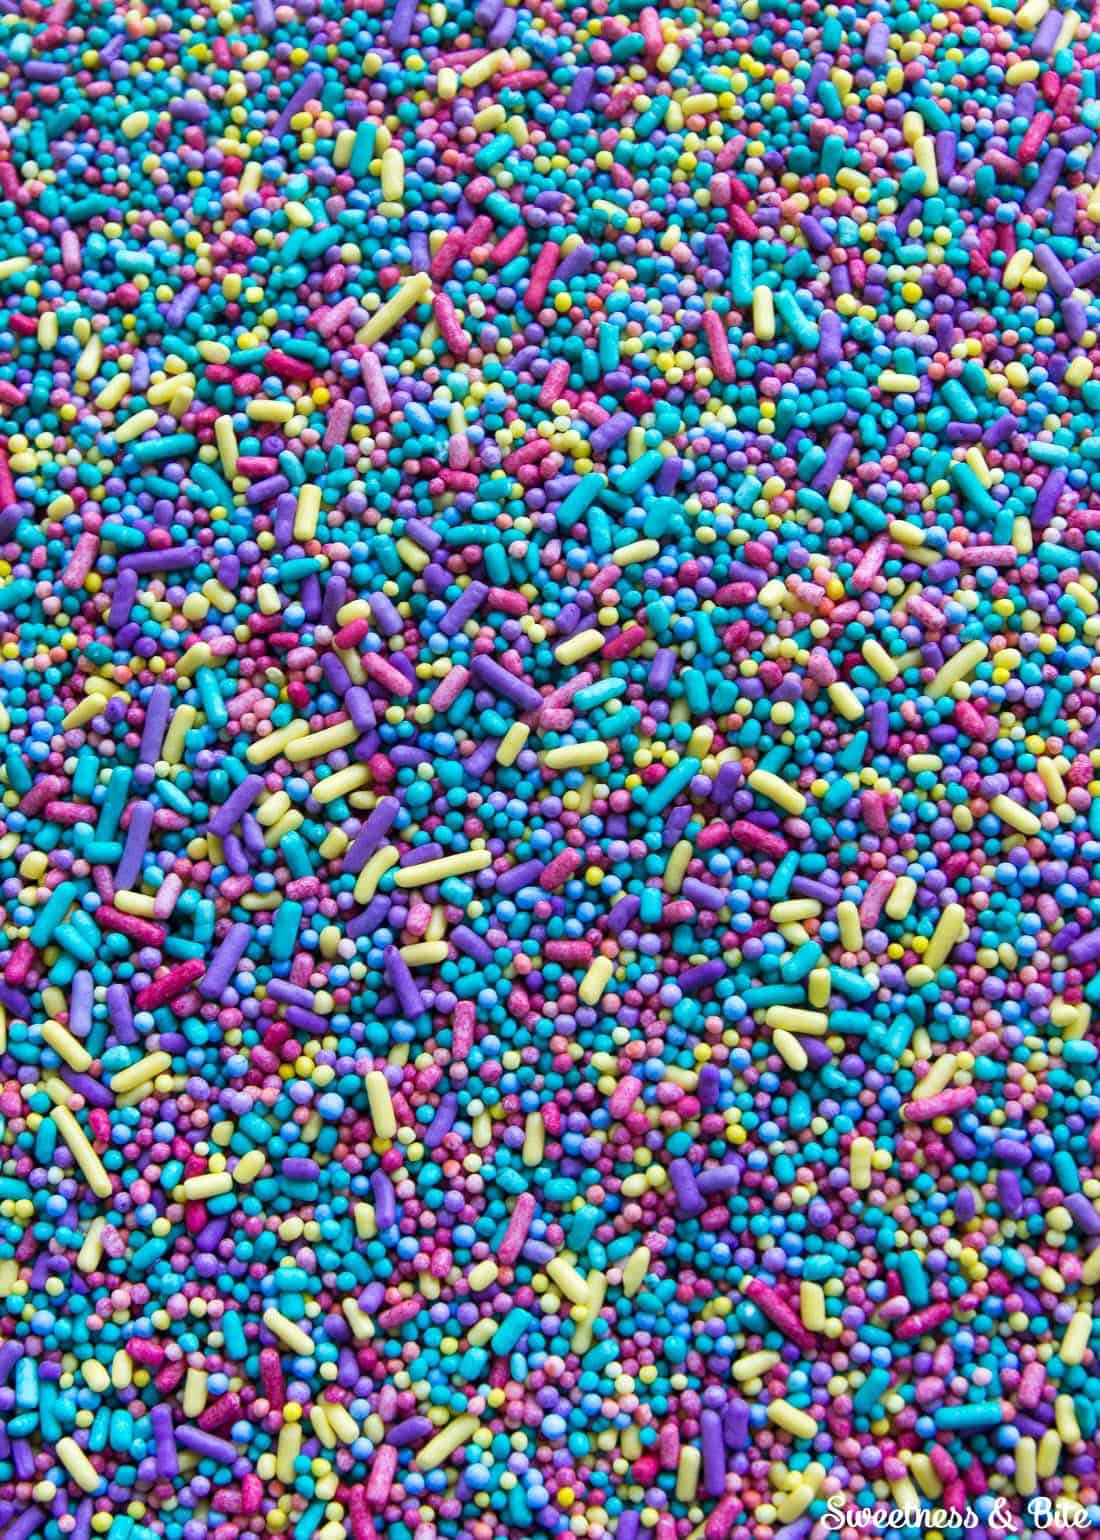
Couldn’t you just jump right in? No? You don’t want sprinkles all up in your personal business? Ok, that’s cool. But they’re pretty, right?
I had a specific colour palette in mind for this cake (and when anyone who knows me well reads this, they’ll be all “of course you did, anything to make life more difficult”, and they’d be right) so I bought all the sprinkle colours separately, and for some of the colours, I coloured them myself. Which is not as hard as is sounds. Certainly easier than trying to make sprinkles from scratch. Not that I tried that (I so did try that. Epic fail).
All you need is some white sprinkles (I did both the small round non-pareils and also the longer jimmies) and some gel food colouring. Oh and a tray lined with baking paper to spread them out on. And a resealable plastic bag. That’s all.
This was the first time I’ve bought one of the delightfully big 1kg bags of sprinkles from Kiwicakes, and I’m not ashamed to admit that I’ll probably buy more. Once I make some room for them in my sprinkle drawer.
Yes, I have a sprinkle drawer. I am not ashamed of that, either.
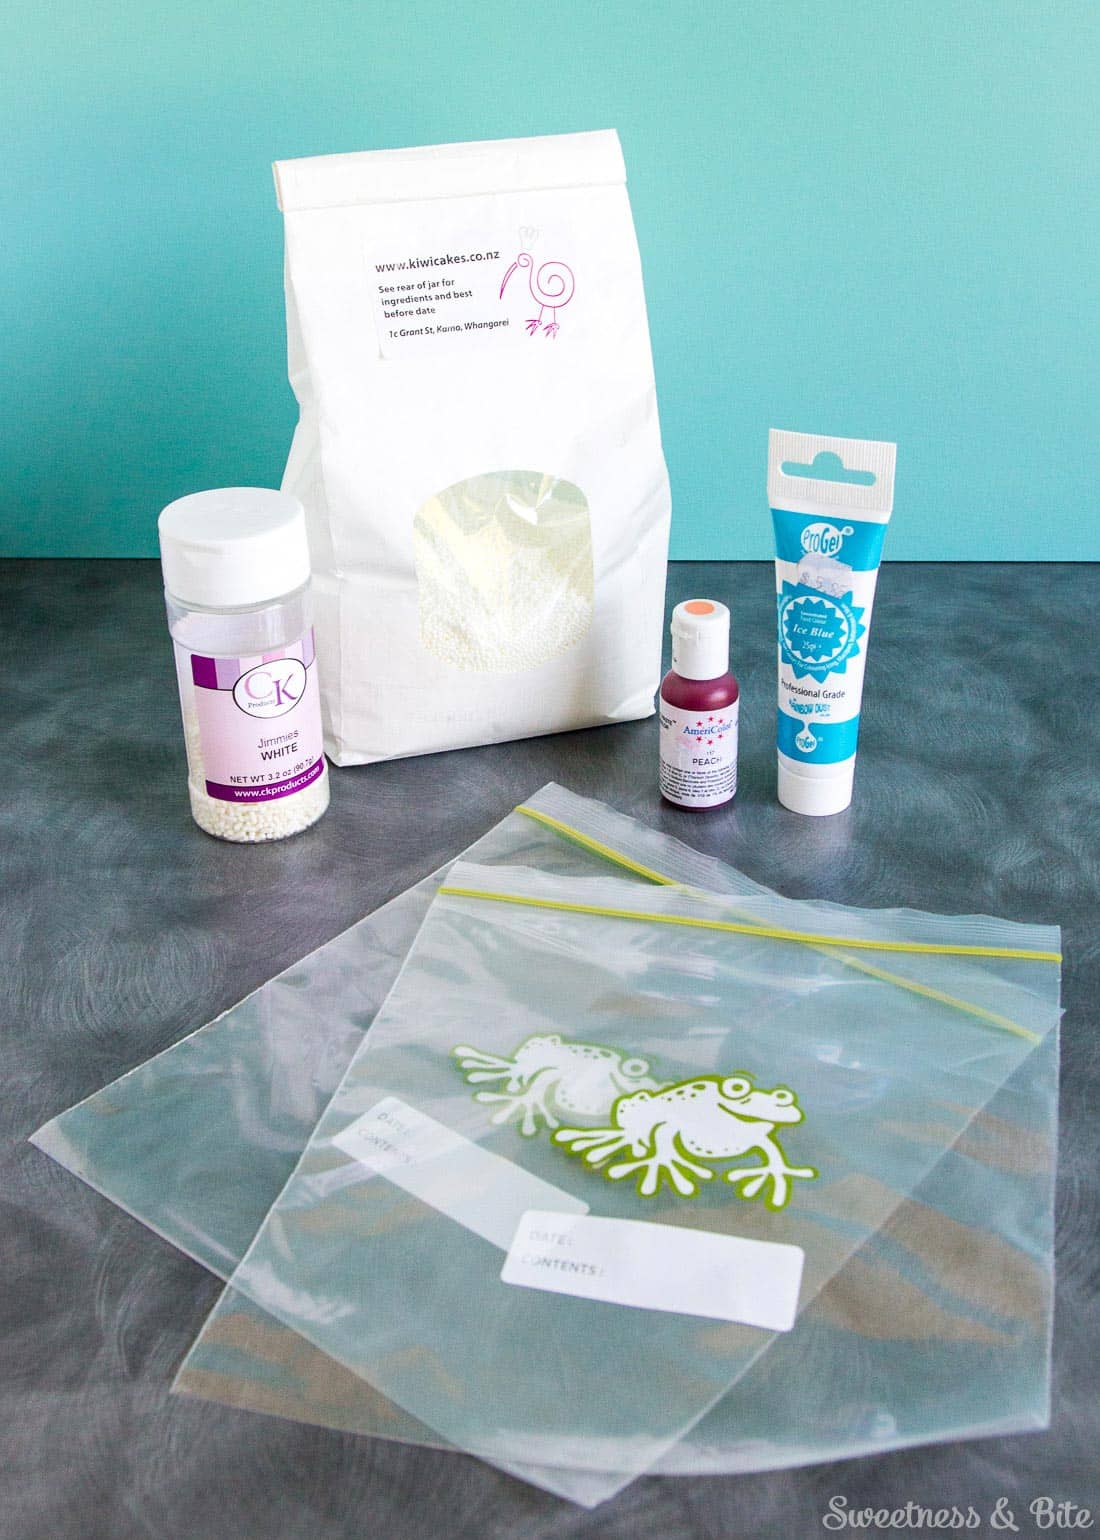
To colour the sprinkles, just chuck some in the bag, squirt in some gel colour (start small, you can always add more), close up the bag and smoosh it all around.
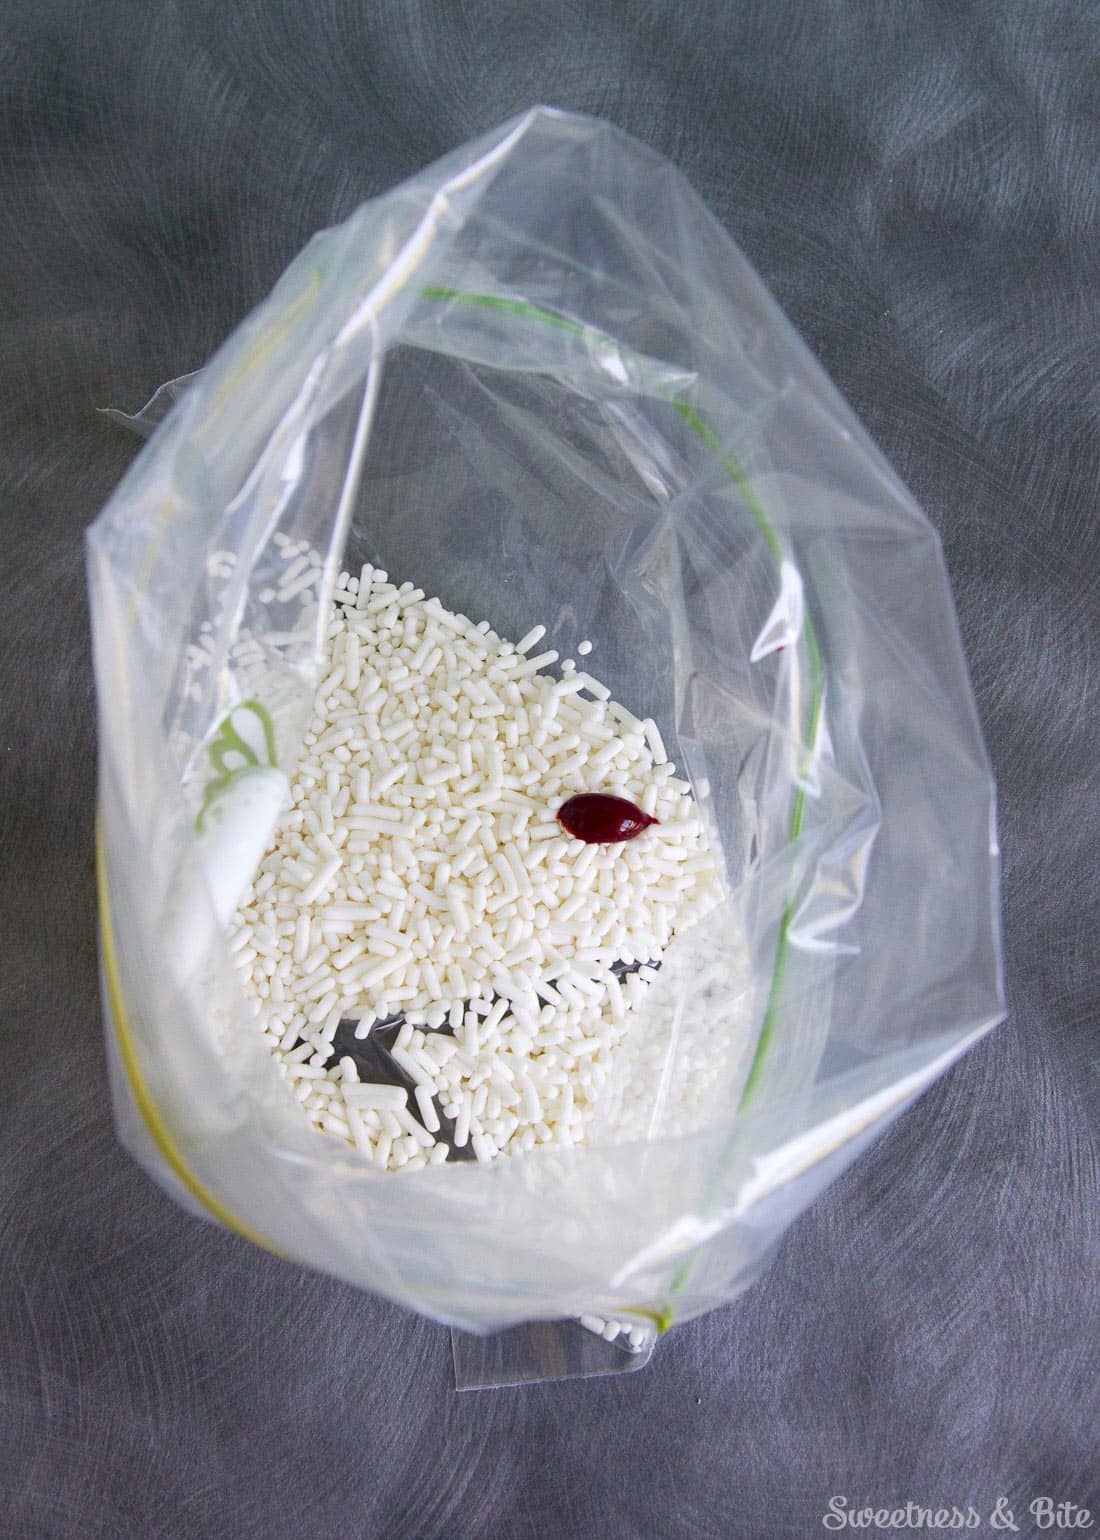
Be gentle but thorough, you don’t want to crush the sprinkles. It will take a minute or two to get them all covered.
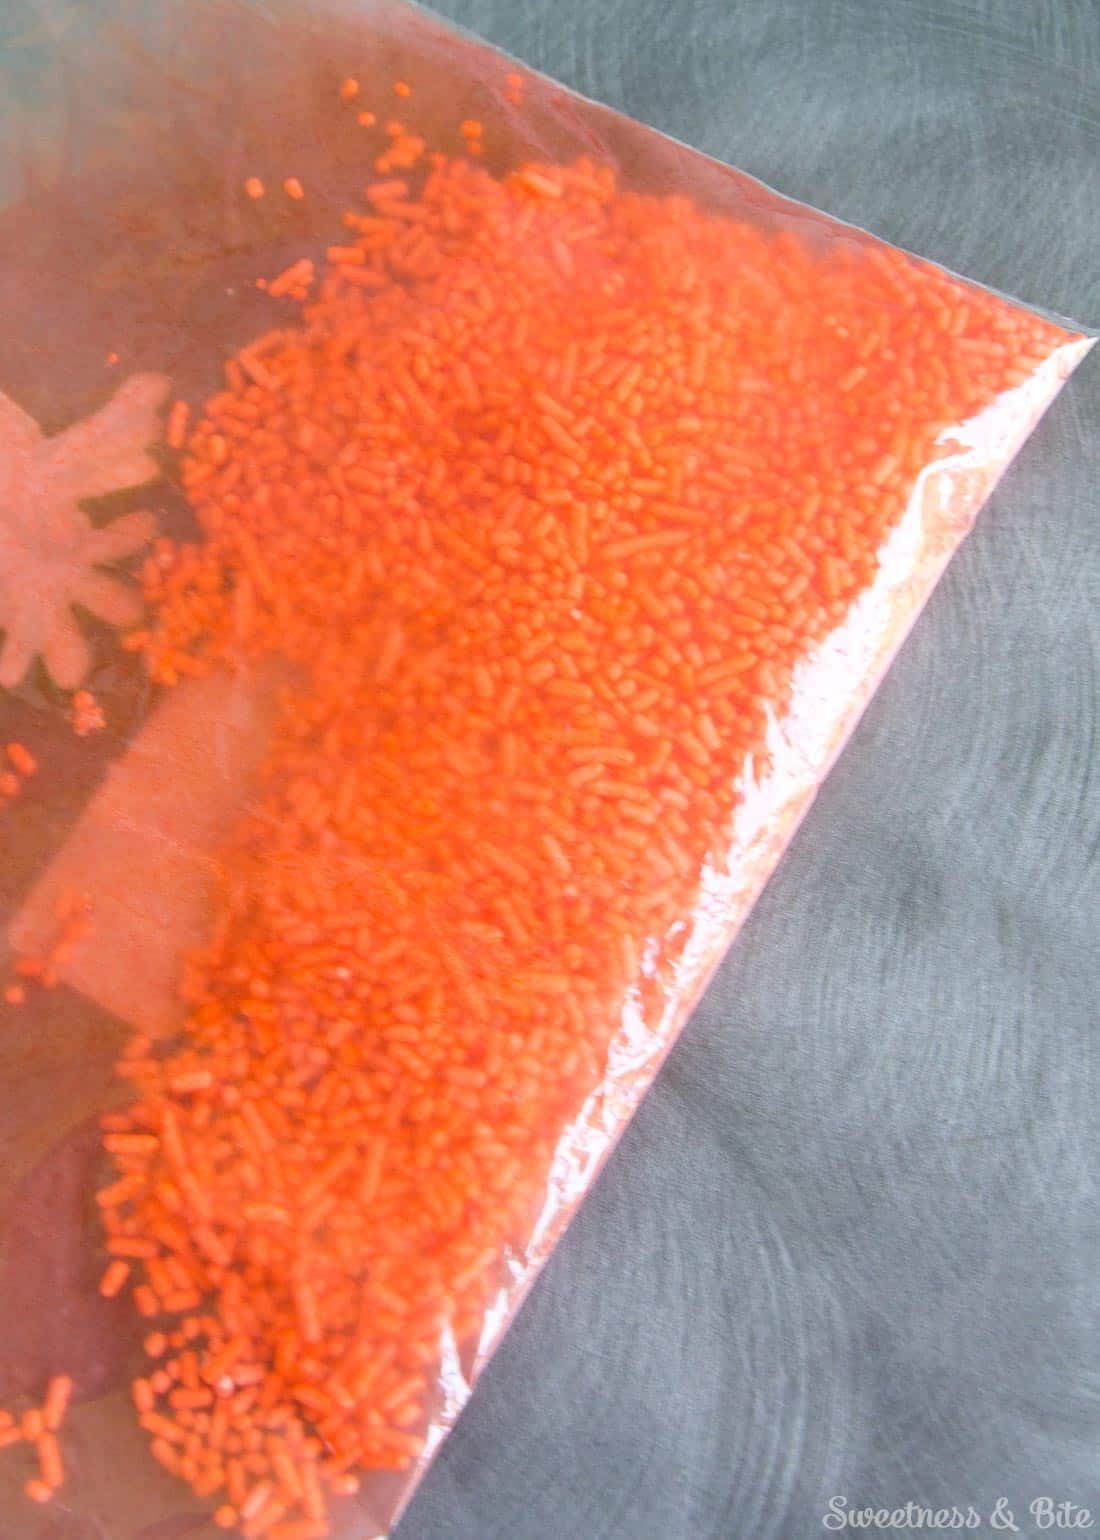
Then spread them out on a baking paper lined tray and leave them to dry. I was impatient, so as I did each colour, I popped the tray into the oven with no heat, but with the fan turned on. They took about 20 minutes to dry in the oven, but you’d probably only be looking at an hour or so to dry if you don’t use the oven. Give them a bit of a stir around a few times to make sure all the sprinkles separate and dry evenly.
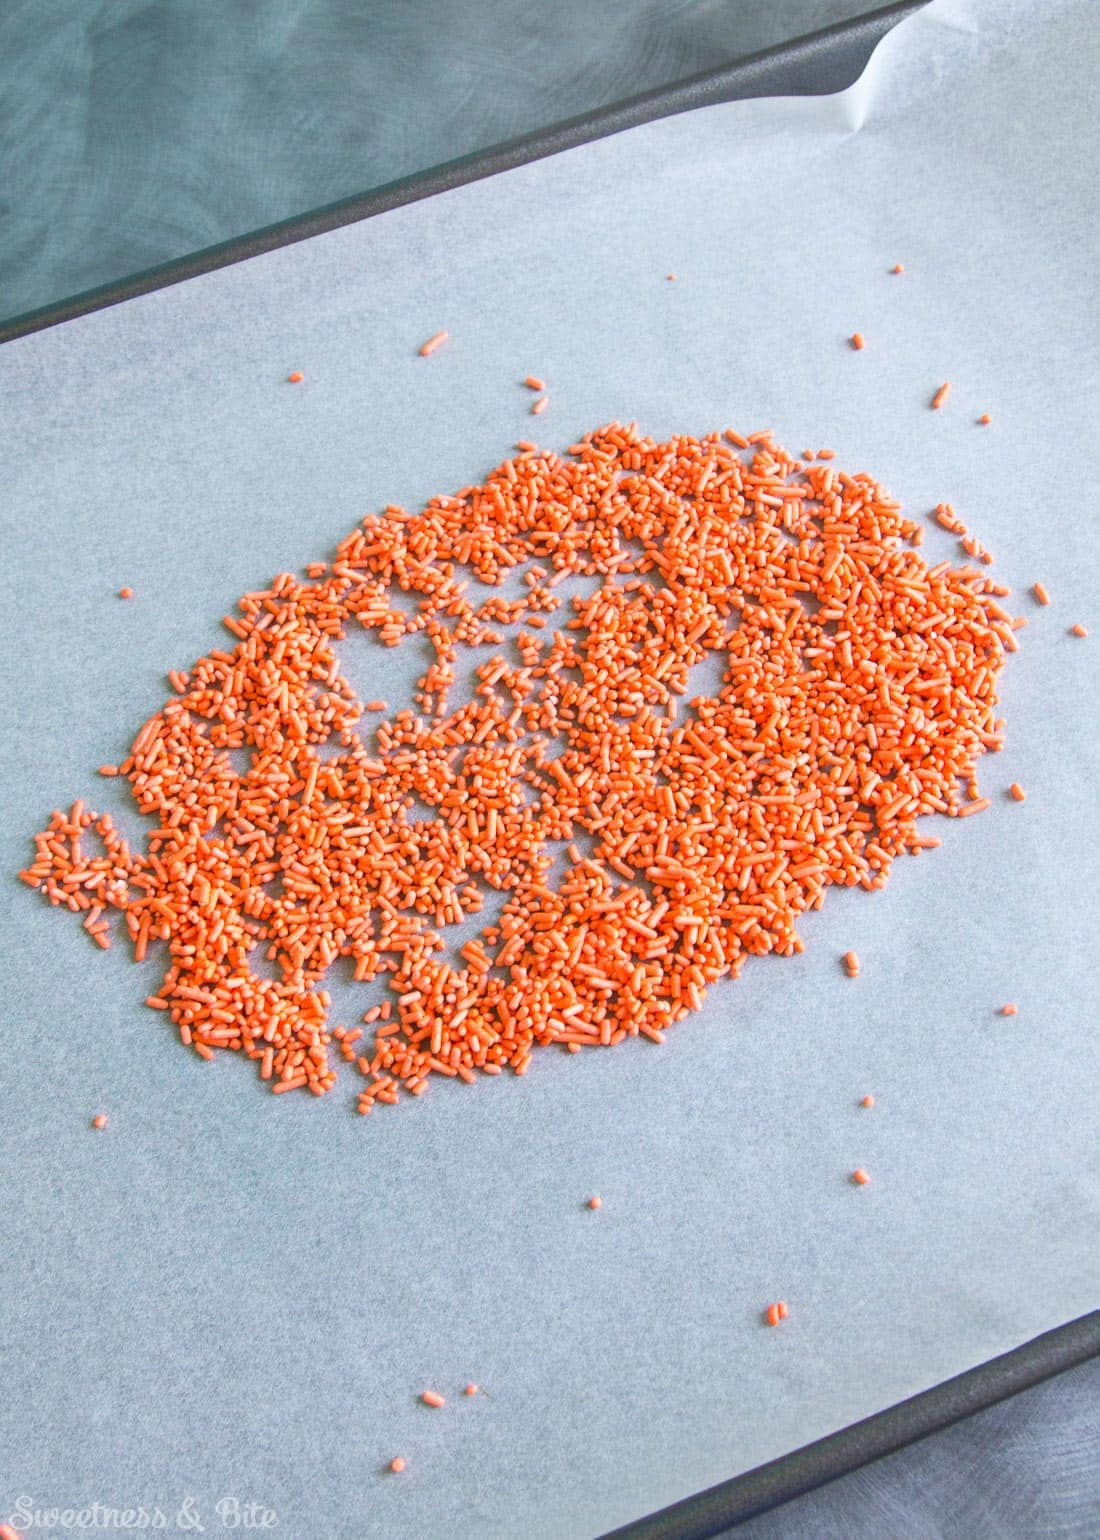
There may be a little bit of colour transfer with custom coloured sprinkles, which for most uses won’t be an issue, but if you’ve used a lot of gel colour to get a dark shade of sprinkle, then you can add a small amount of cornstarch into the sprinkles to help absorb a little of the excess colour. Alternatively you can rub them around with a paper towel to remove some of the colour.
Then once you’ve got all the colours you want, you can mix them together, using as much of each colour as necessary to get the colour blend you want.
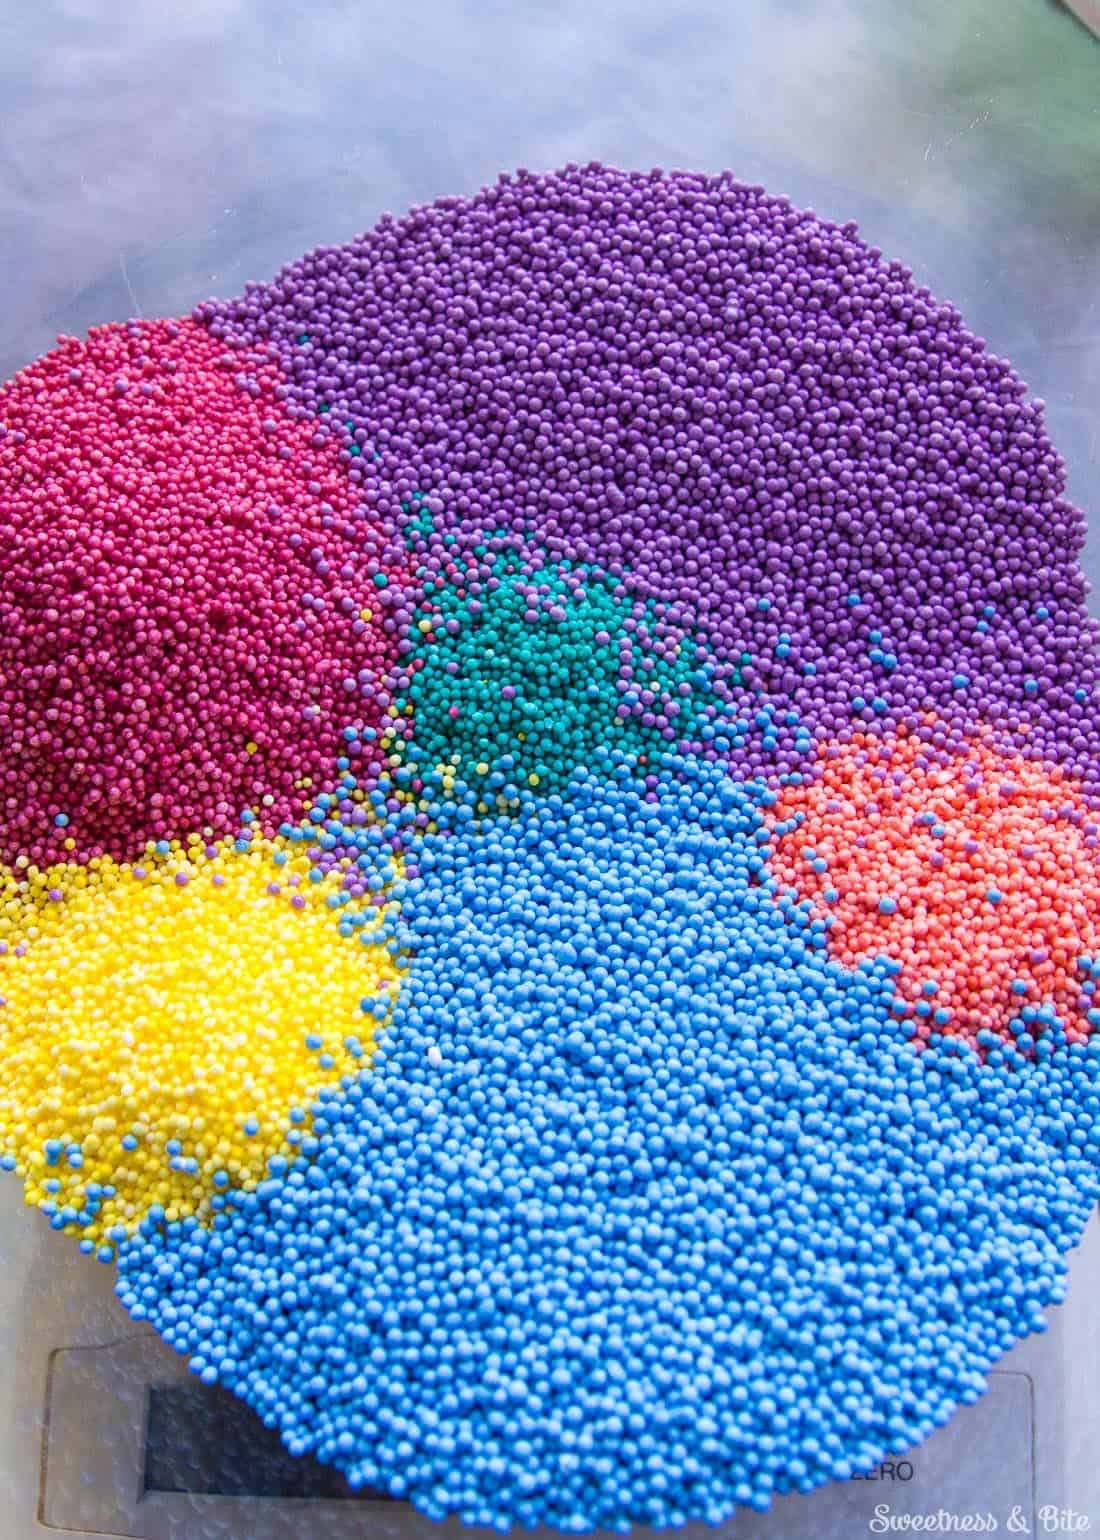
To get these colours, these are the gel colours I used:
Yellow ~ Americolor Yellow
Pink ~ Chefmaster Tropical Fuchsia
Peach ~ Americolor peach + tiny bit of Chefmaster Tropical Fuchsia
Teal ~ Americolor Turquoise + Progel Sea Green
The round purple and round blue sprinkles in the above picture are Twinkle Delights Natural 100s and 1000s.
For the jimmies, I also coloured some purple (Americolor Royal Purple + tiny bit of Chefmaster Tropical Fuchsia) some Teal, Yellow, Pink and Peach (all as above).
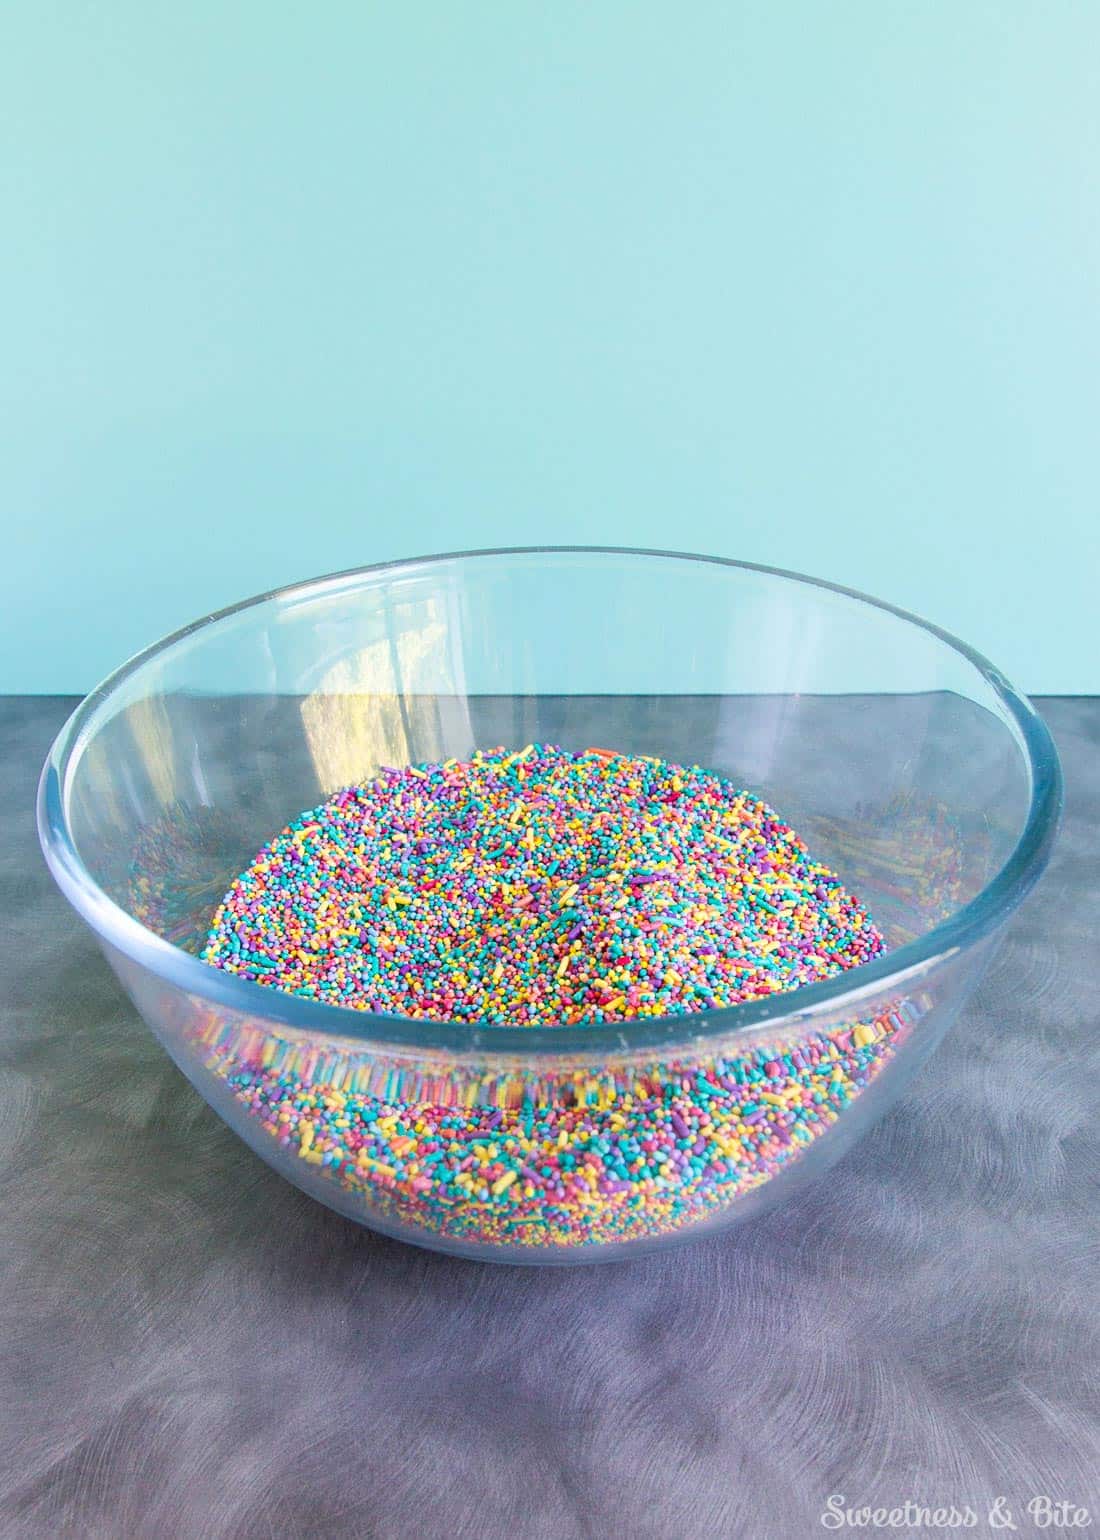
Now, you might look at this bowl of sprinkles and think “that looks like a lot of sprinkles for one cake”. And you’d be right. I decided to be all mathematical and work out, like, surface area of the cake, then make a sample area of sprinkles to work out how much I’d need to cover 10cm², and then use that to work out how much I needed for the cake. Probably anyone who knows about maths will be all “that’s not what you do”, but bear in mind I got sick as a teenager and basically stopped going to school, so the kidult adult that resulted from those teenage years didn’t trust her own maths and decided to make up 900g of my sprinkle mix, just to make sure there was enough.
Yes, almost a kilo of sprinkles.
And for my 8” cake I used a grand total of. . . 150g.
Yup, that’s all. There may have been an intense fit of giggles when I weighed the remainder to work out how much I’d used. Luckily we had already planned to sprinkle the living daylights out of the party food, so we did use a fair bit more, and no sprinkles ever go to waste ’round here.
A couple of notes before we start:
- I chose not to cover the top of the cake with sprinkles as I did the sides, because I was placing a second tier on top and I didn’t want any sprinkles under the top tier. If you’re just doing a single tier, you can cover the top at the same time.
- You can use real white chocolate instead of candy melts if you prefer. I personally don’t like the taste of candy melts, but I used them purely for the fact that they are white, unlike white chocolate which is slightly yellow. If you want you could also use coloured candy melts, or add oil colouring to your white chocolate, in a colour that compliments or contrasts your sprinkle colours.
- I added a bit of cocoa butter as well as shortening when melting the candy melts. It helps to thin out the candy melts but still allow them to set firm. But if you don’t have cocoa butter then don’t panic (and I wouldn’t bother buying cocoa butter just for this cake, only use it if you already have it) just use a bit more shortening instead. The candy melts may stay a little softer, but it will still work.
- Before you start, have a quick chat with yourself to prepare for the fact that you are gonna have sprinkles all over your kitchen. For
weeksmonthsprobably forever. Even once you think you’ve got them all, they will sneak out from nooks and crannies you never knew existed.
If you’re ok with that, then let’s start.
What you’ll need:
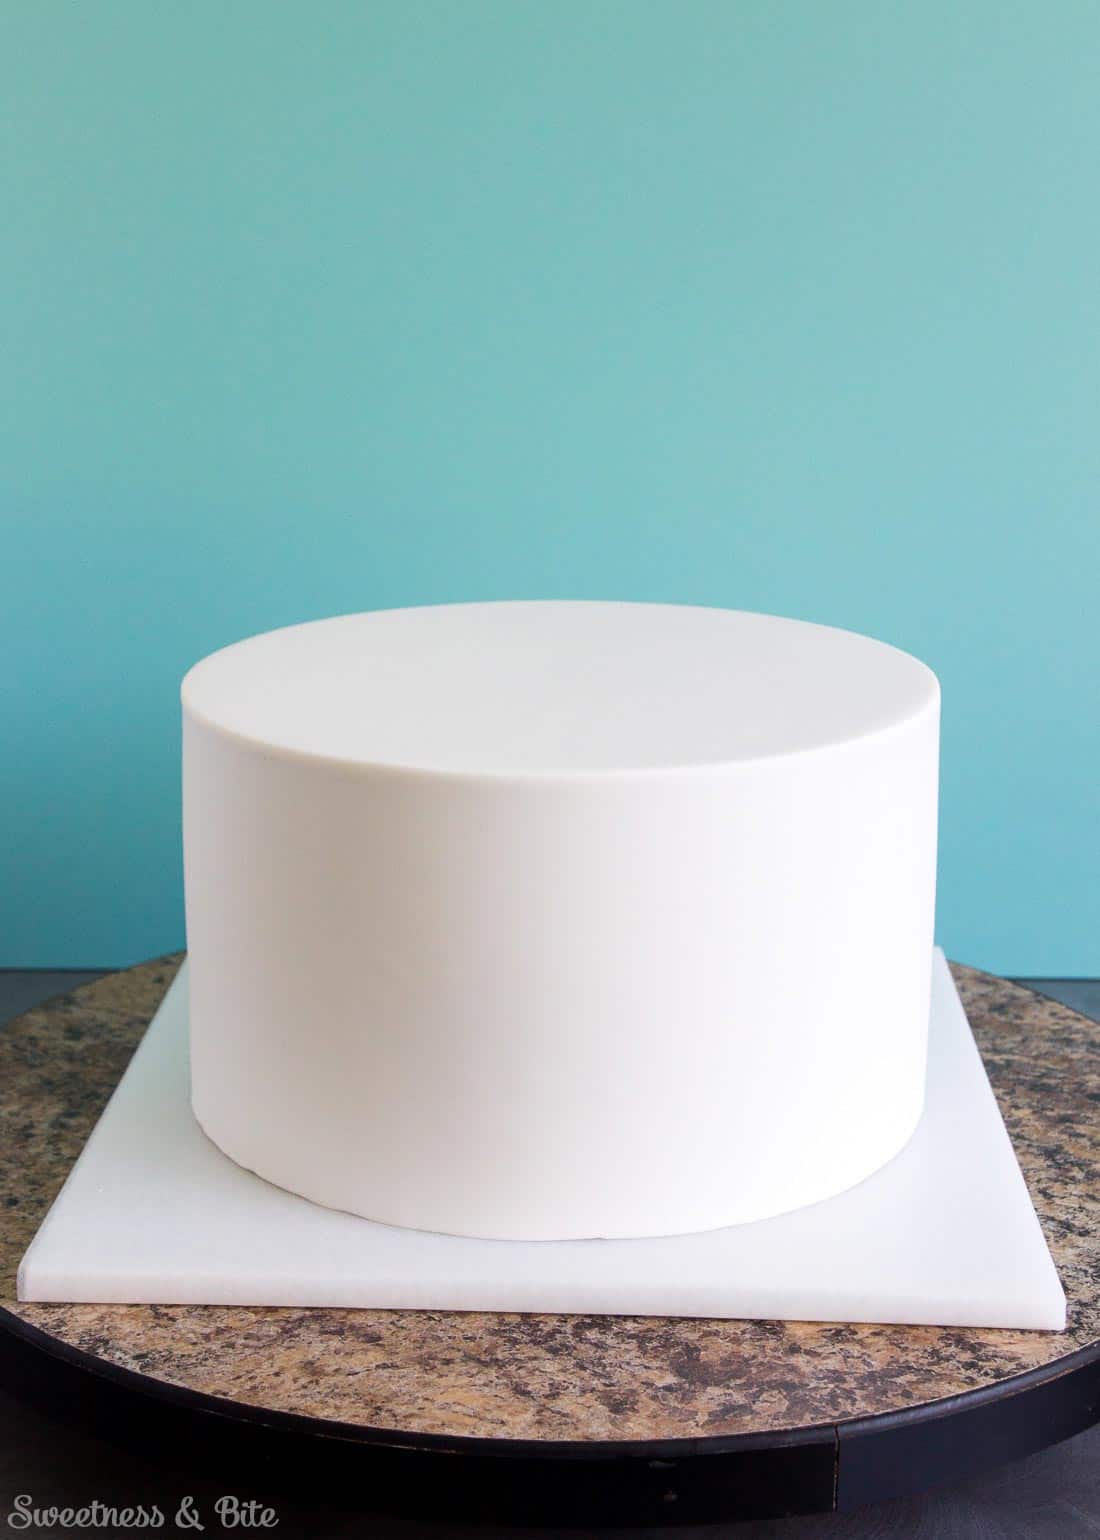
Fondant covered cake
Sprinkles
Setup board
Piece of non-slip/grippy mat slightly smaller than your cake
Waxed paper
Candy melts
Shortening (I used Crisco)
Cocoa butter (optional, see note above)
Spatula
Icing scraper
Piping bag
Fondant smoothers (firm and/or flexible)
Large, rimmed baking tray
Hairdryer with diffuser attachment (optional)
Cover your setup board with waxed paper (tape it underneath the board), place the non-slip mat onto it, and place your cake on top. The waxed paper will stop your cake getting accidentally stuck to the board with the candy melts.
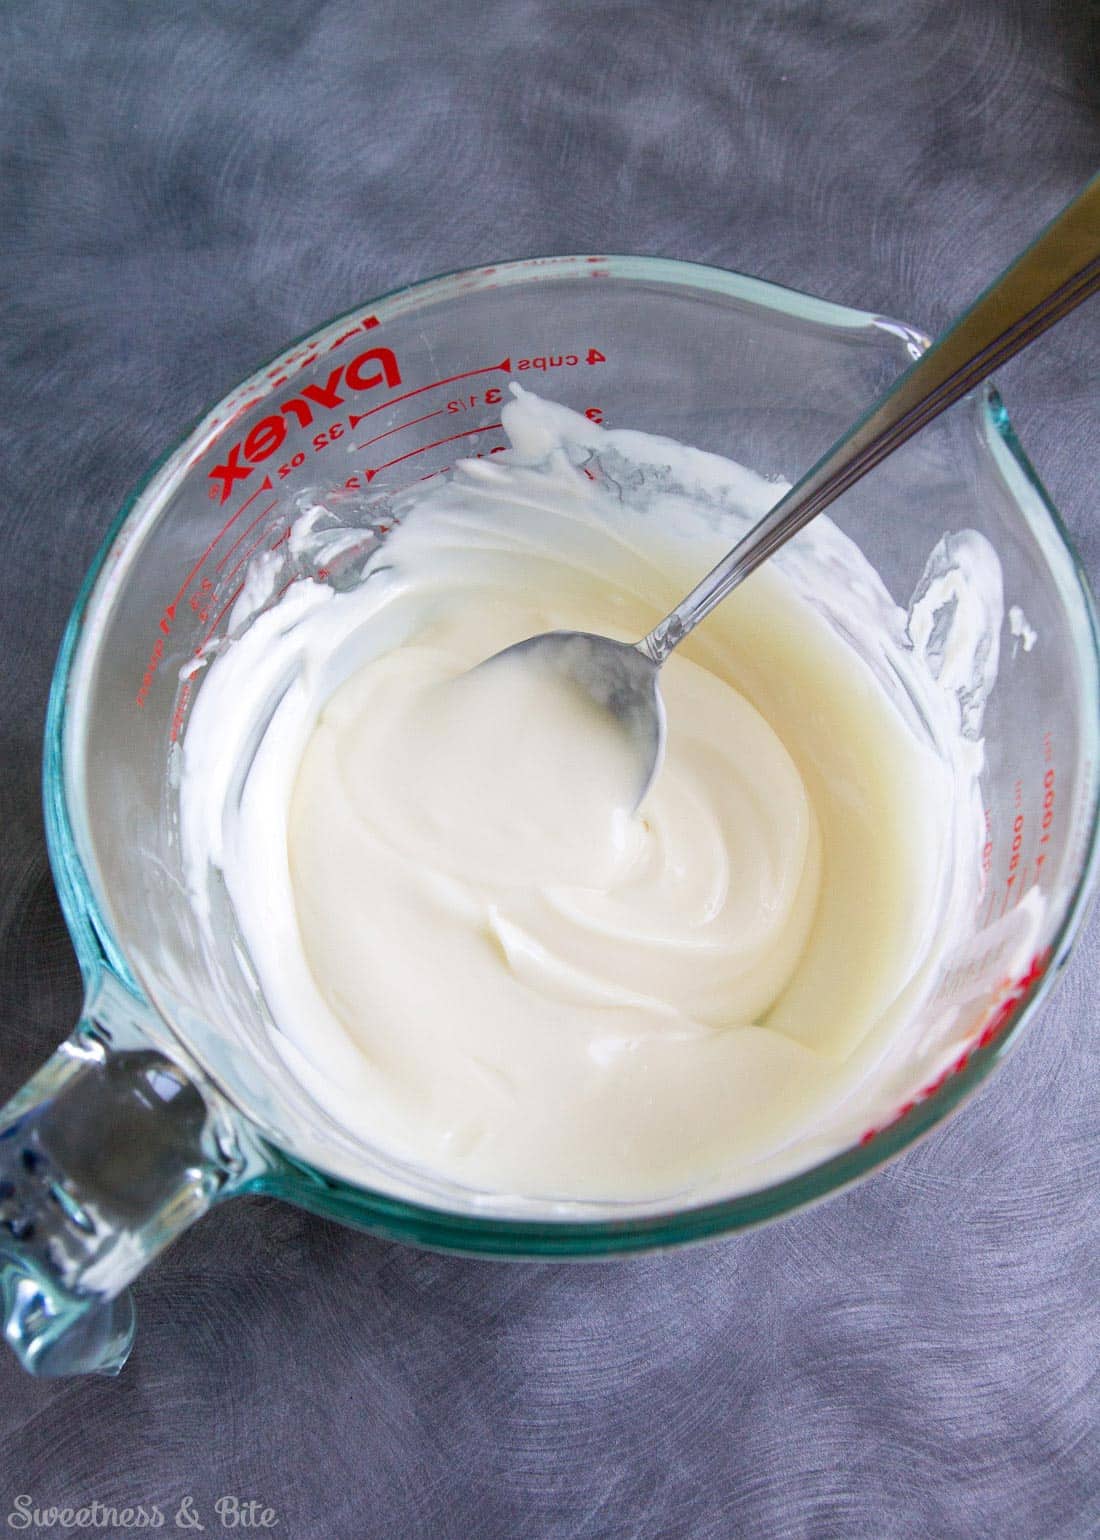
For my 8” cake, I melted 200g of candy melts with 25g of cocoa butter and 1 teaspoon of Crisco. You’re aiming for a thick but spreadable consistency.
Sit your rimmed baking tray onto a turntable. Place the cake, on it’s setup board, into the baking tray, and place your bowl of sprinkles next to it.
This is the part where you need to work quickly, so make sure you have everything that you’ll need nearby before you start.
Spread the candy melts onto the cake using the spatula, then use the icing scraper to scrape it into an even-ish layer. You don’t need to be particularly neat, just make sure that the sides of the cake are totally covered. You’ll see below that mine isn’t very even, I’d have been a bit more careful if I wasn’t also trying to quickly get photos taken before the candy melts set. But you’ll also see later that it doesn’t matter toooo much.
If you’re doing the top of the cake at the same time, then cover that with the candy melts too.
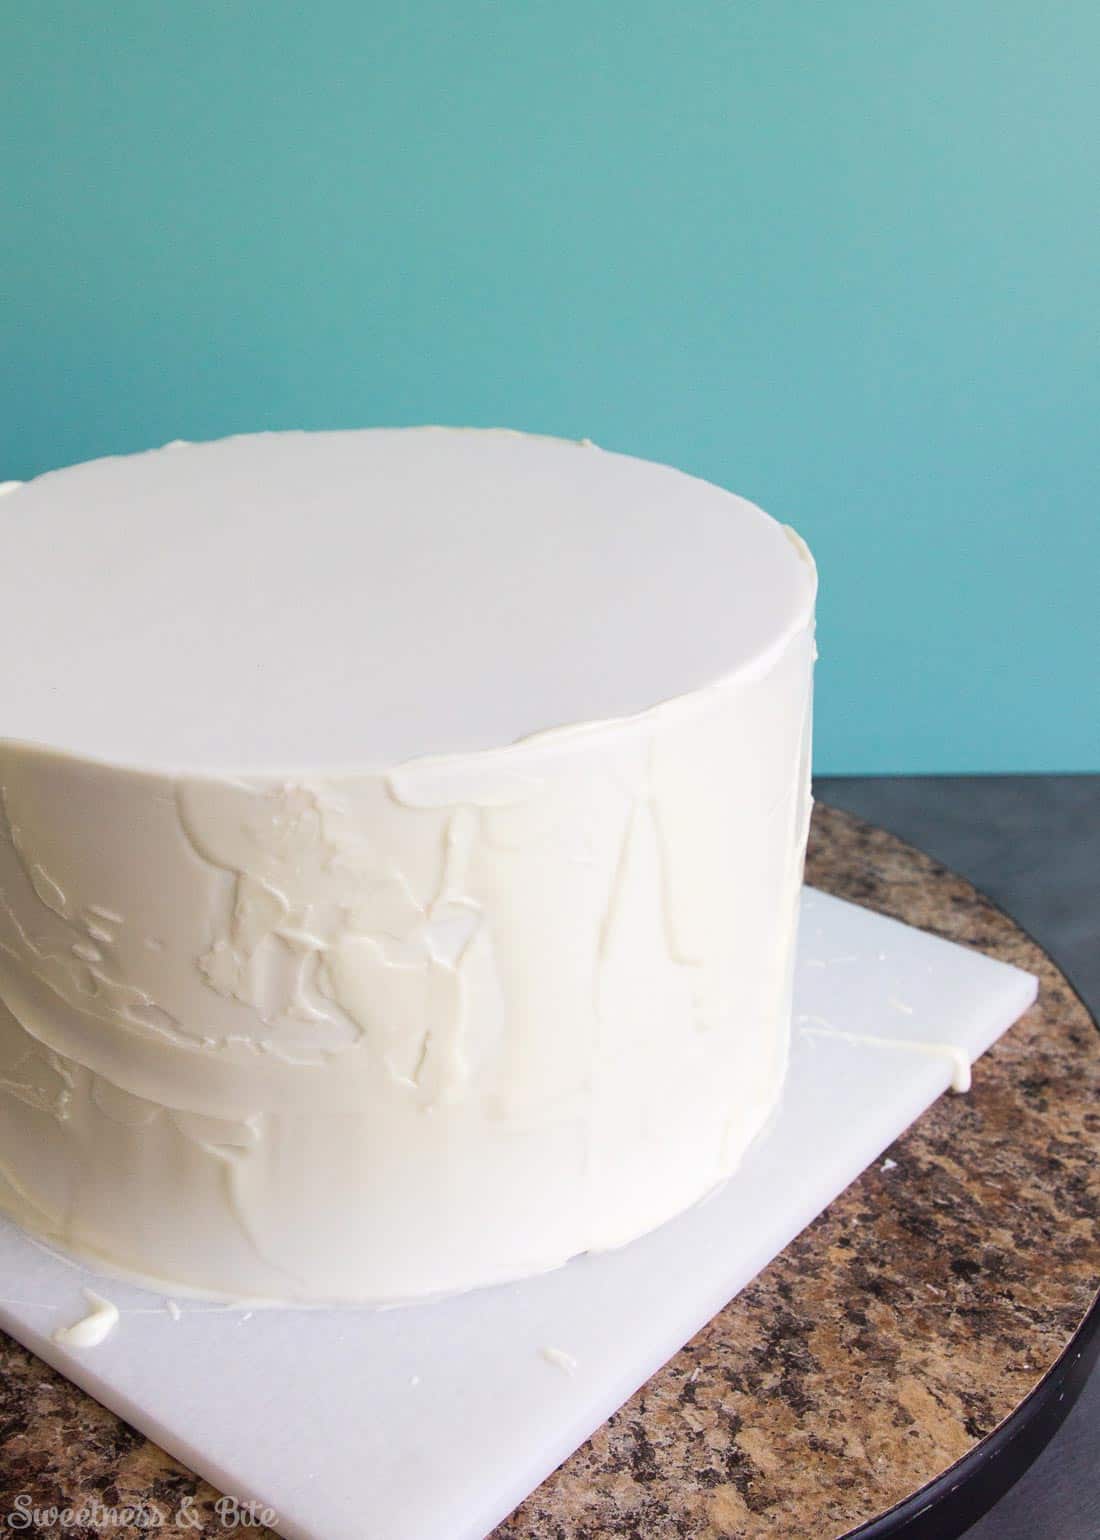
Working quickly, start picking up handfuls of sprinkles and press them against the side of the cake. Spin the turntable as you work, pressing the sprinkles all around the cake. Once you’ve got a lot of sprinkles around the base of the cake, you can kind of scoop and push them up the sides. As you go, you can use a fondant smoother to press the sprinkles into the side of the cake, and keep the sides nice and straight.
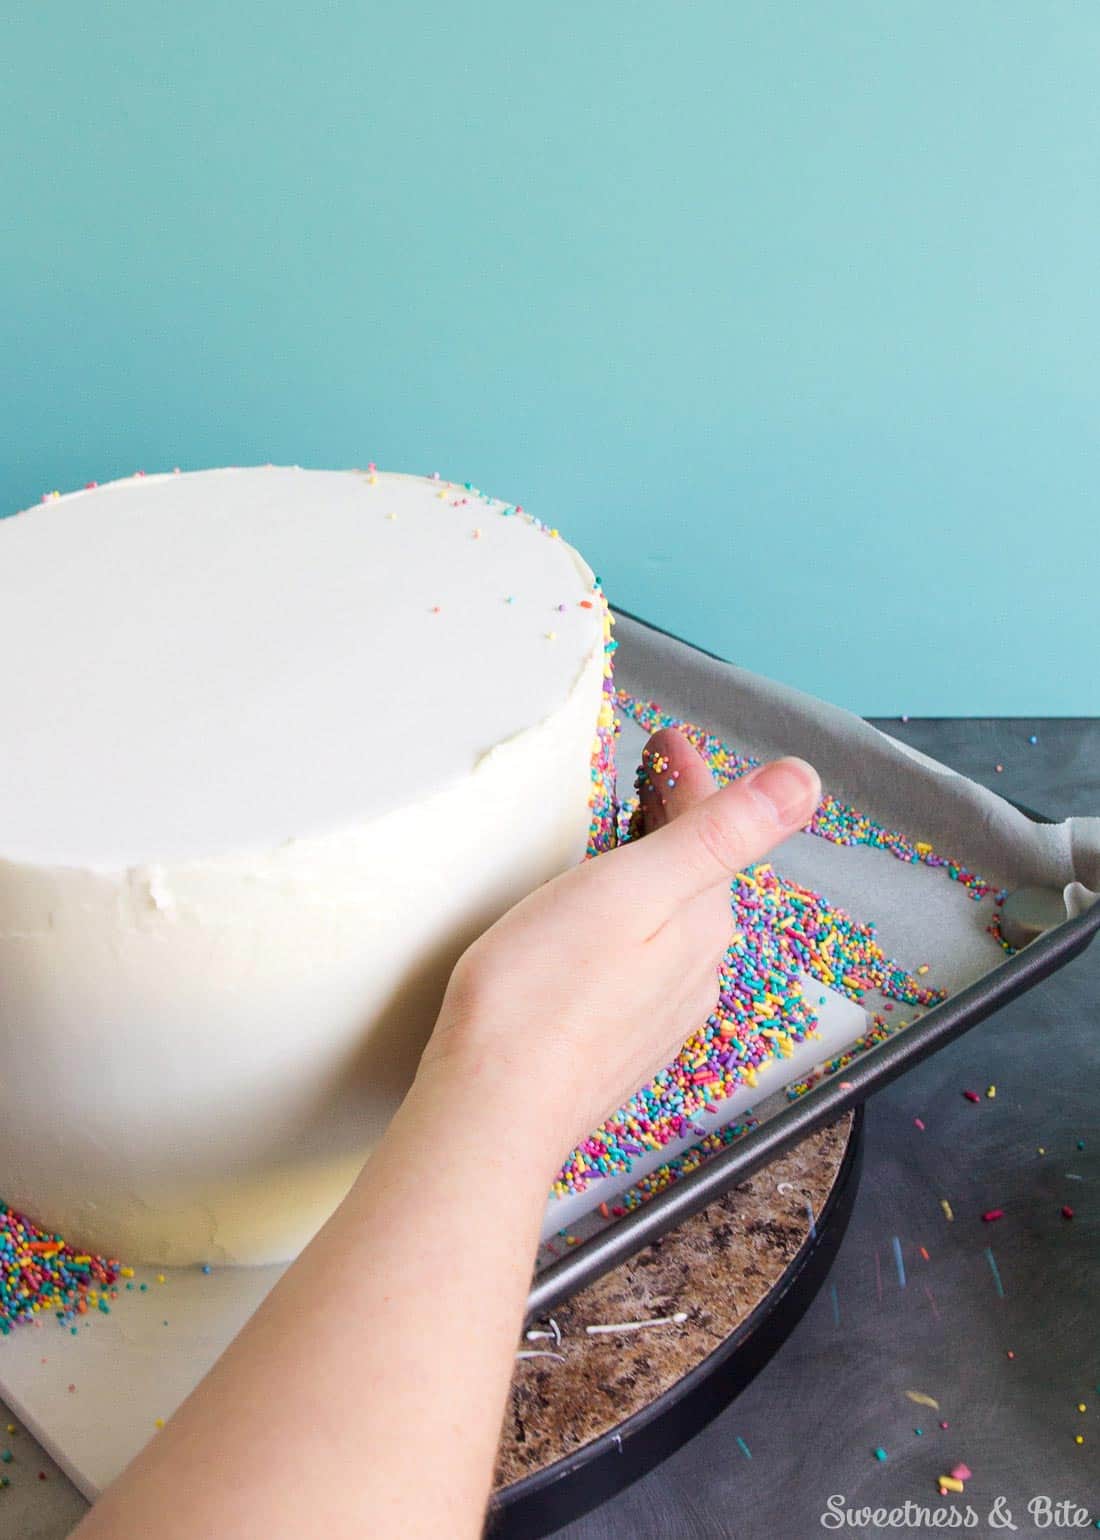
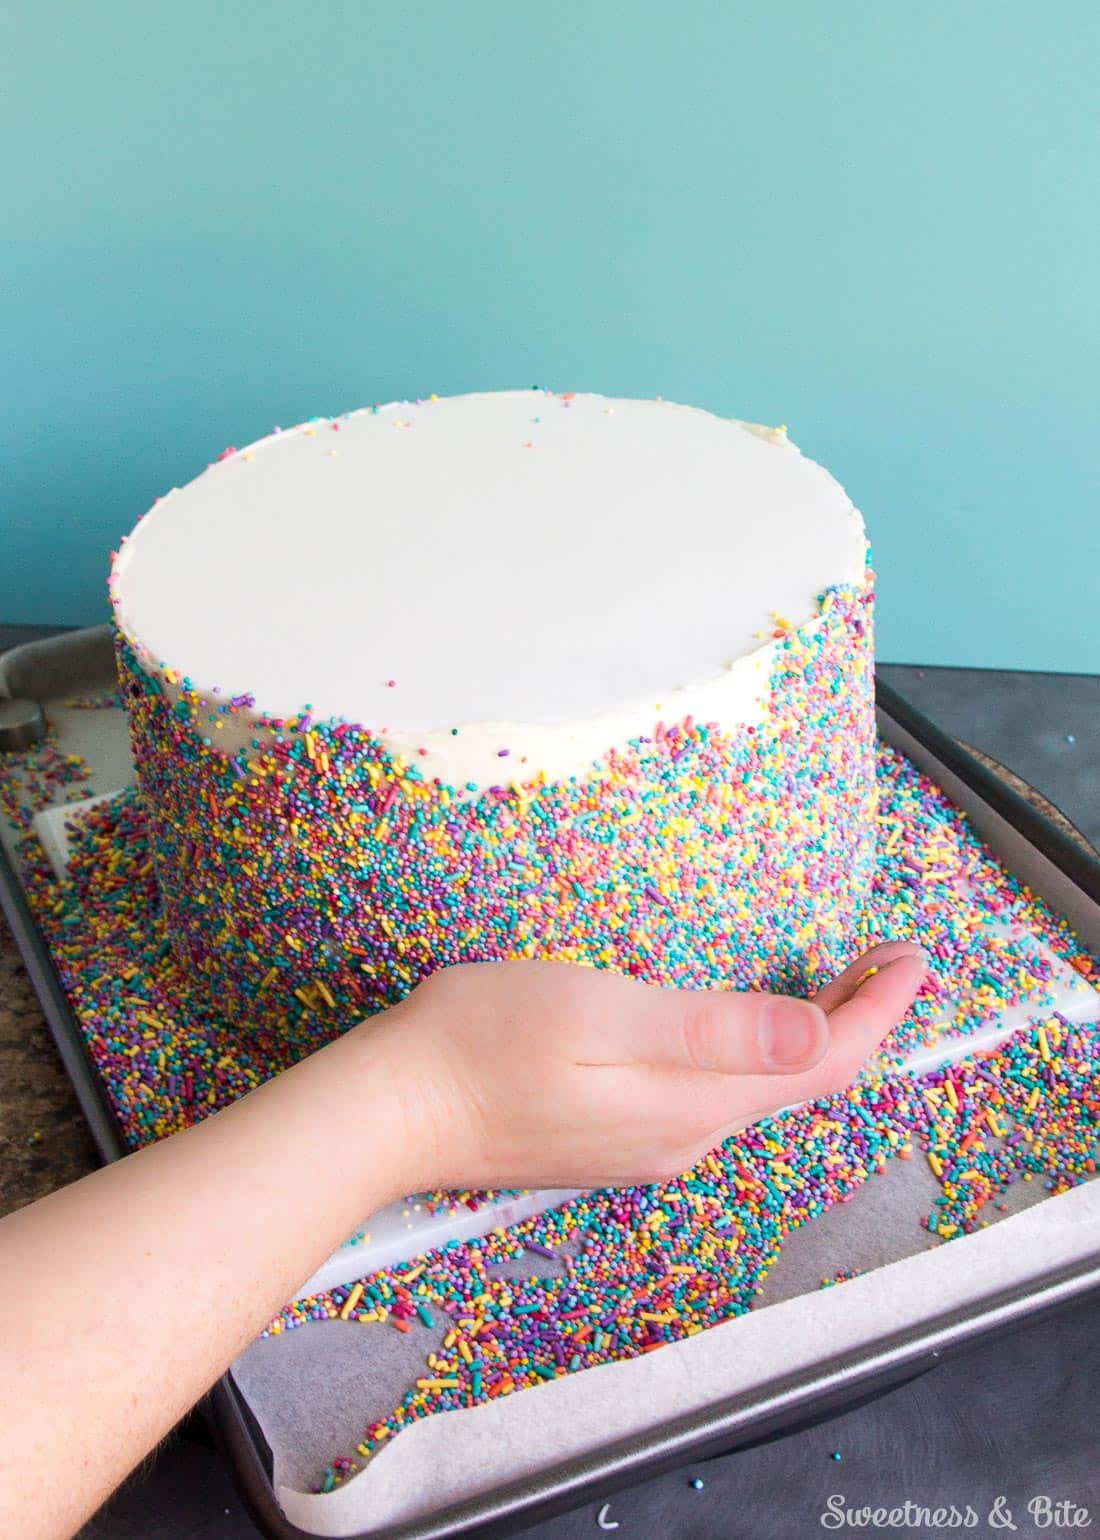
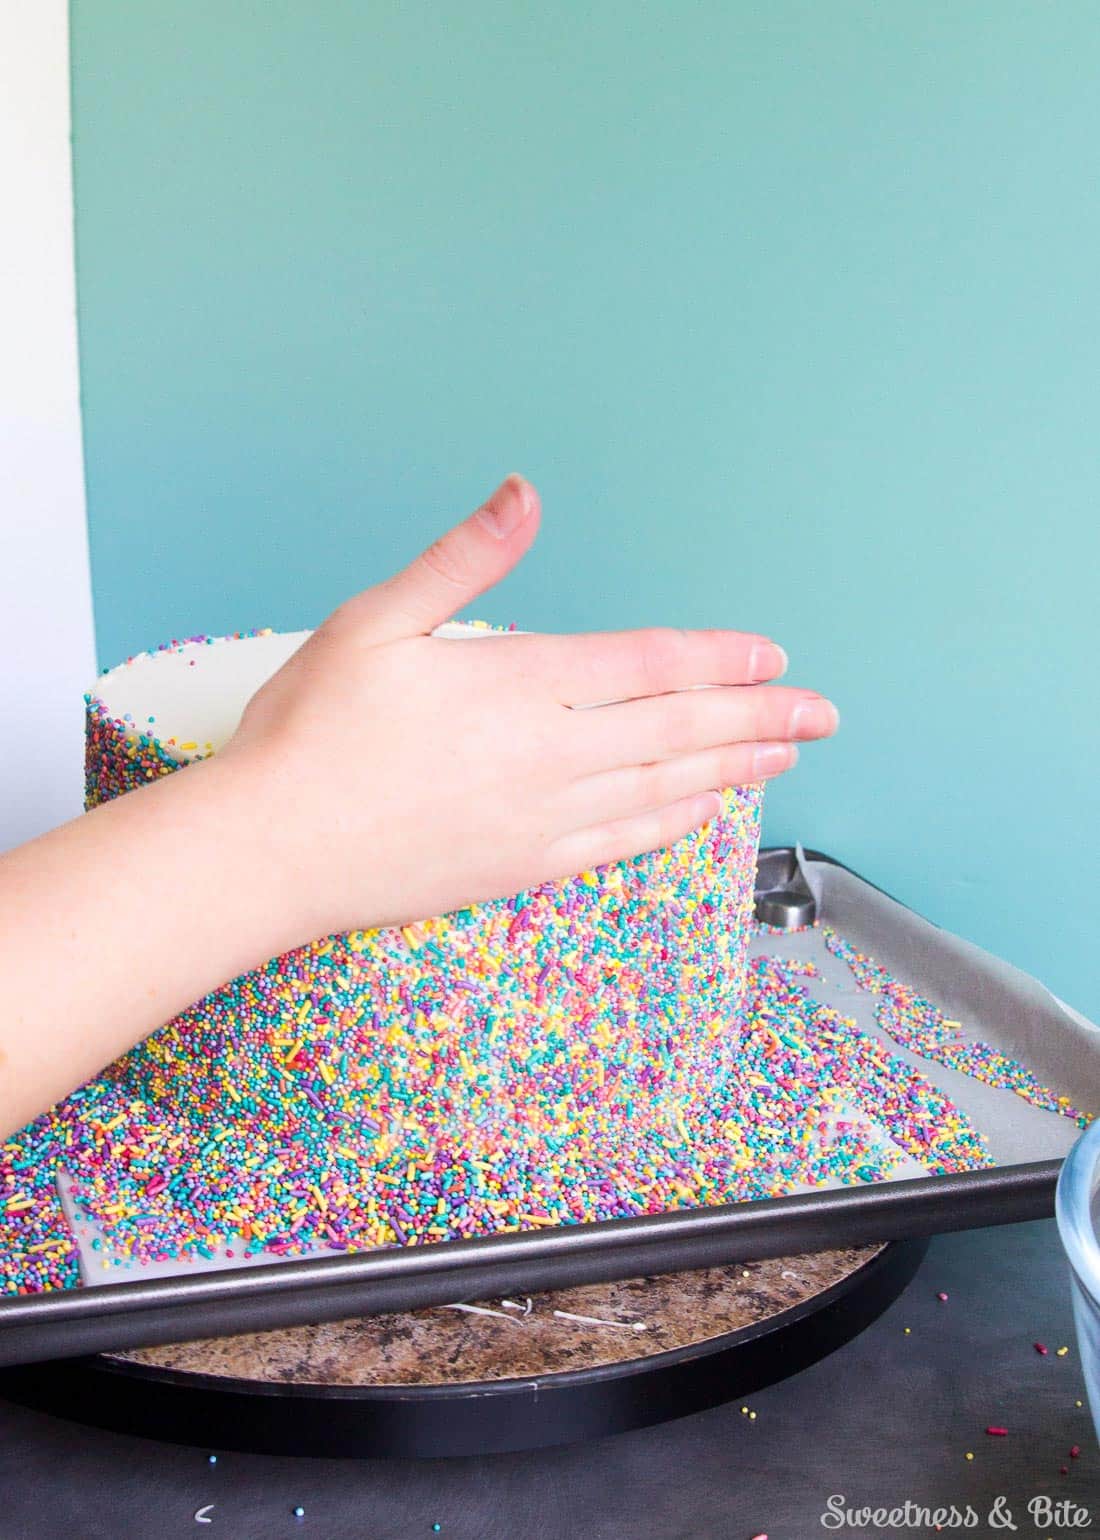
If you find there are spots where the candy melts have set and the sprinkles won’t stick, you can re-melt them by using the hairdryer and diffuser attachment. Hold the hairdryer 20-30cm away from the cake on a medium heat setting, just until the candy melts soften and become shiny again. Then quickly press more sprinkles into the gap. (I took this picture before I started putting the sprinkles on, just in case I didn’t have time later. Clearly I didn’t have time to take another one, since I’m using this one.)
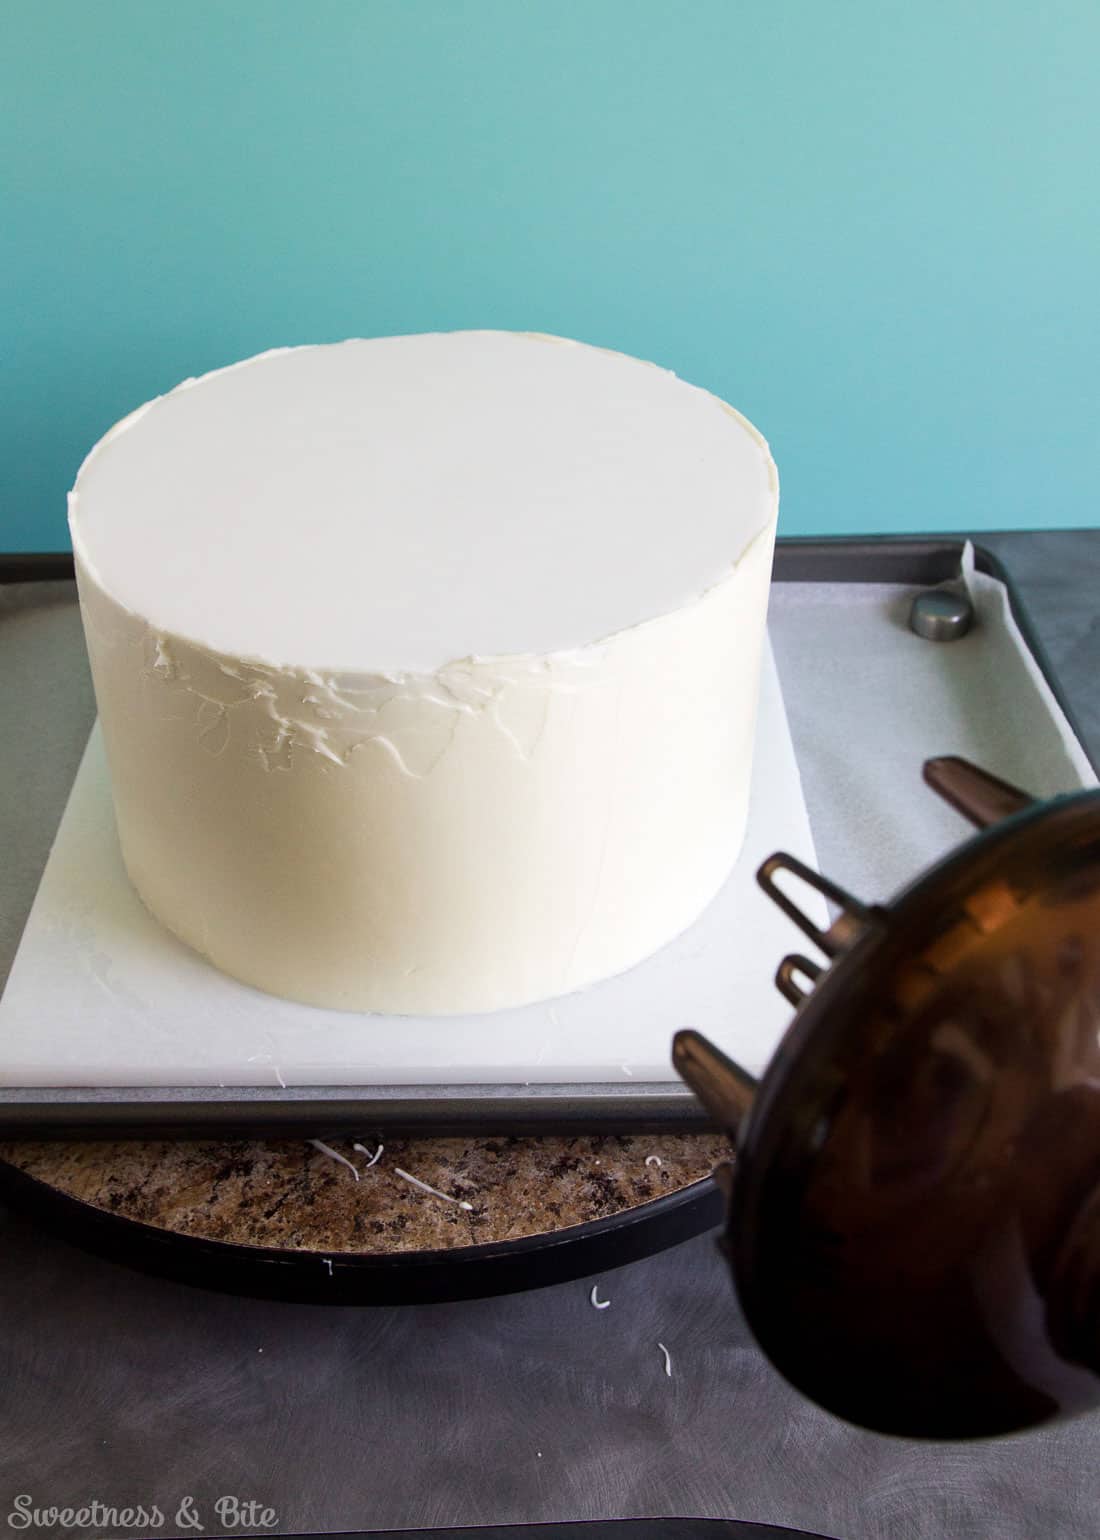
If you don’t have a hairdryer, or if you find patches that you’ve missed completely with the candy melts, you can spoon some of the remaining melted candy melt mixture into a piping bag, snip off the tip and pipe it sparingly into the gaps, then press the sprinkles on. Don’t bother using a metal piping tip in the bag as it will cool the candy melts and they’ll harden in the tip. Use the fondant smoother again to make sure the sprinkles stick and are flush with the rest of the sprinkles.
If you haven’t done the top of the cake and you have a lot of candy melts and/or sprinkles sticking up above the top edge, then use a spatula to gently scrape them off so you can keep the sharp top edge.
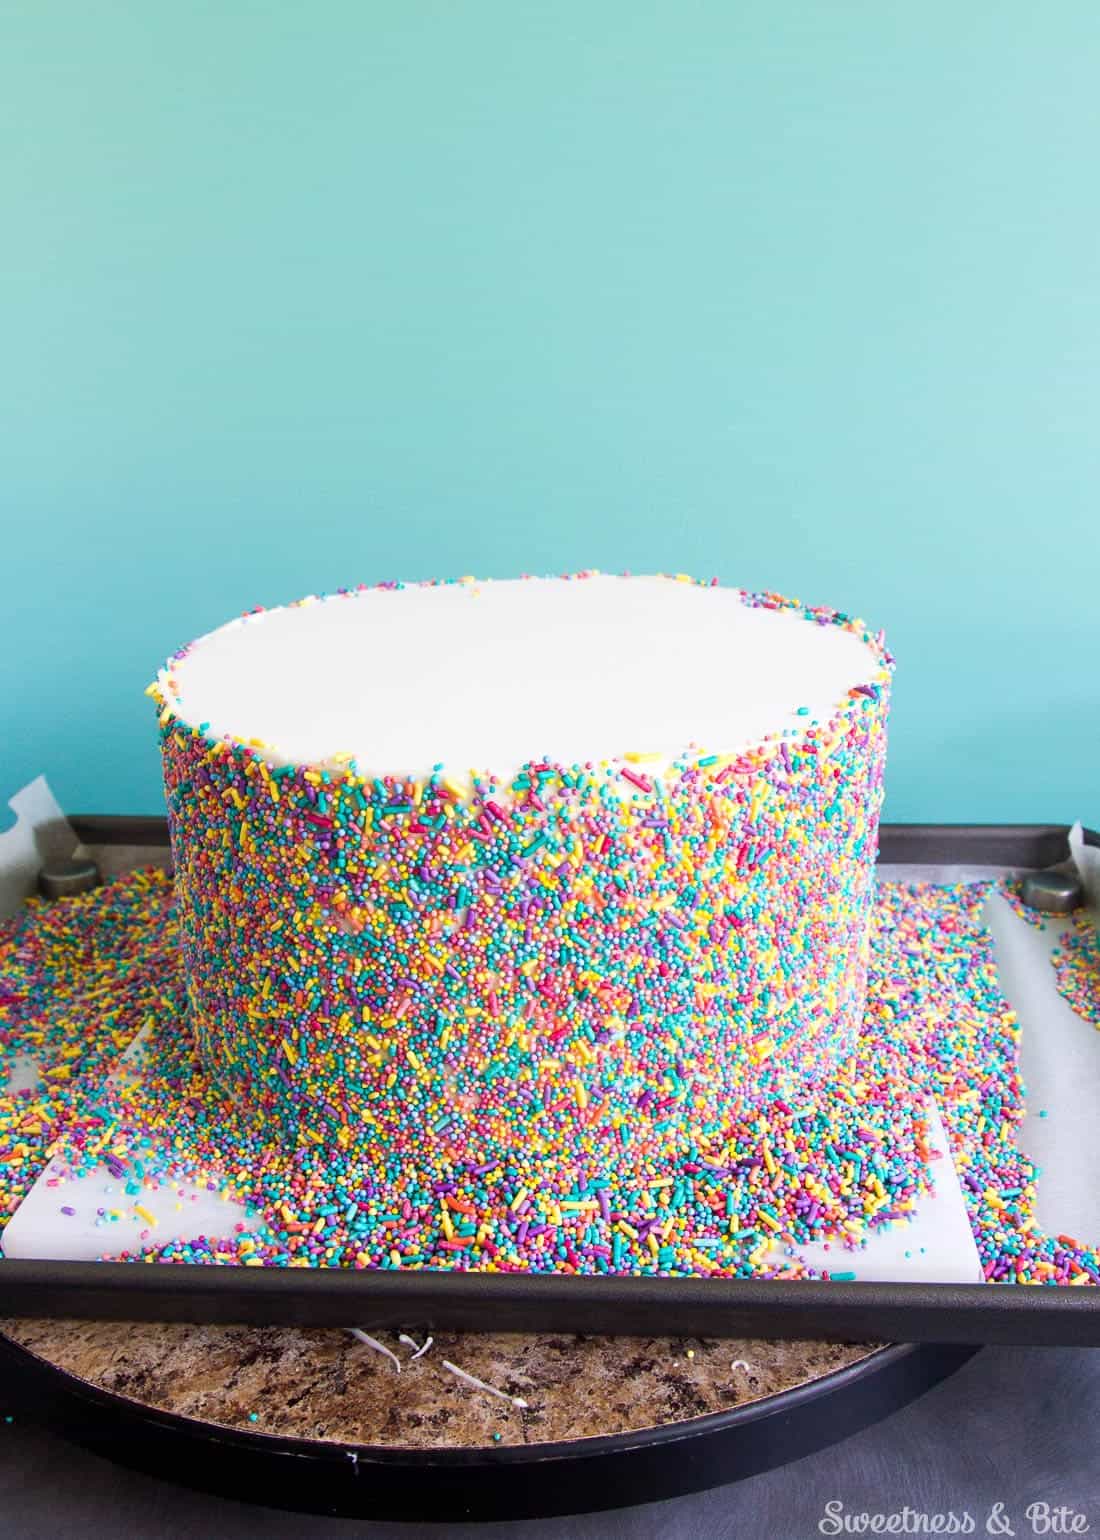
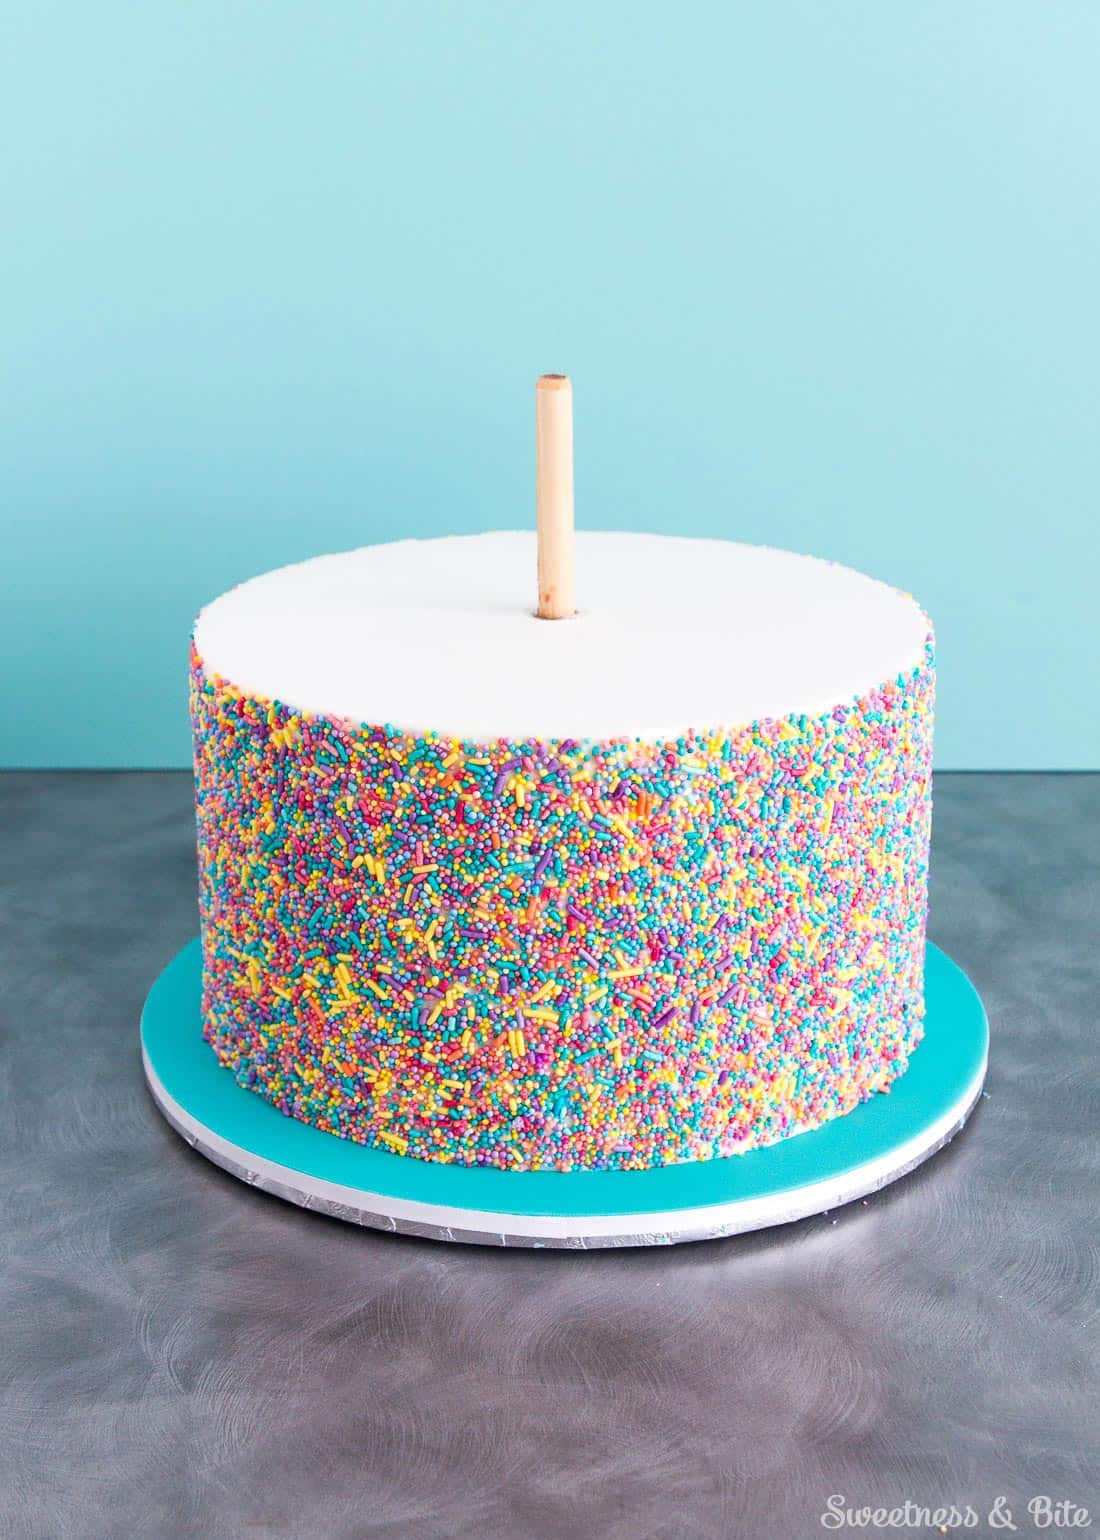
Wait until the candy melts have fully hardened before you lift the cake off the setup board and move it onto your display board. We had to drive this cake an hour away so I chucked the cake on a centre dowel for safety.
My board was covered in some teal fondant (with a sprinkle of tylose mixed in) and as you can see I’ve already run a bit of double-sided tape around the edge of the board to attach the ribbon later. (Check out my doily cake board tutorial for tips on applying ribbon neatly to a cake board.)
As I mentioned earlier, this was the bottom tier of my cake so I didn’t want to put any sprinkles on the top of the cake until I’d put the watercolour top tier on. To avoid getting candy melts on the top tier, I wrapped some waxed paper around the cake and secured it with a bit of tape.
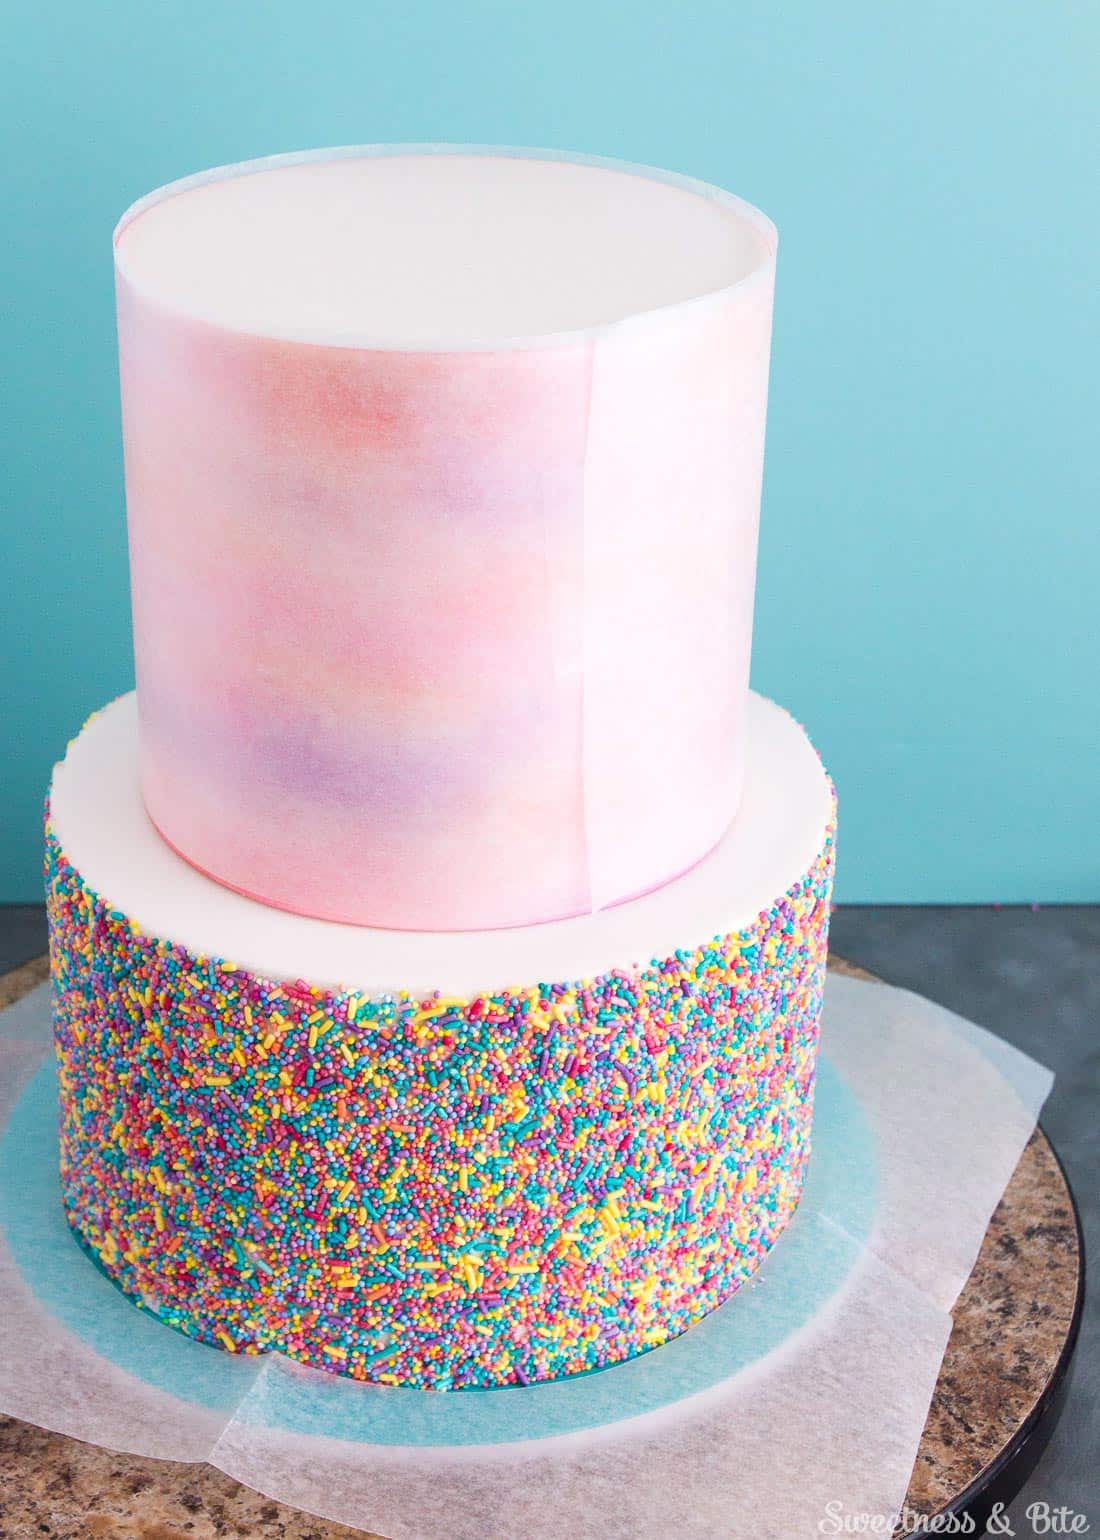
Also, to make sure you don’t mess up the fondant covered board, use some waxed paper to protect that too. In this case I cut a circle the same size as the cake out of a sheet of waxed paper and pulled that down over the cake, but when I’m feeling properly intelligent, I usually just place a few overlapping strips of waxed paper onto the board before I put the cake on (I dab royal icing or candy melts in the middle of the board around the centre dowel, then place the strips of paper outside of that). Then once I’m done I can just pull the strips out.
Use the piping bag to pipe candy melts onto the top edge of the cake, and use small spatula to spread it evenly, trying to get it right to the edge but don’t let it drip down the sides.
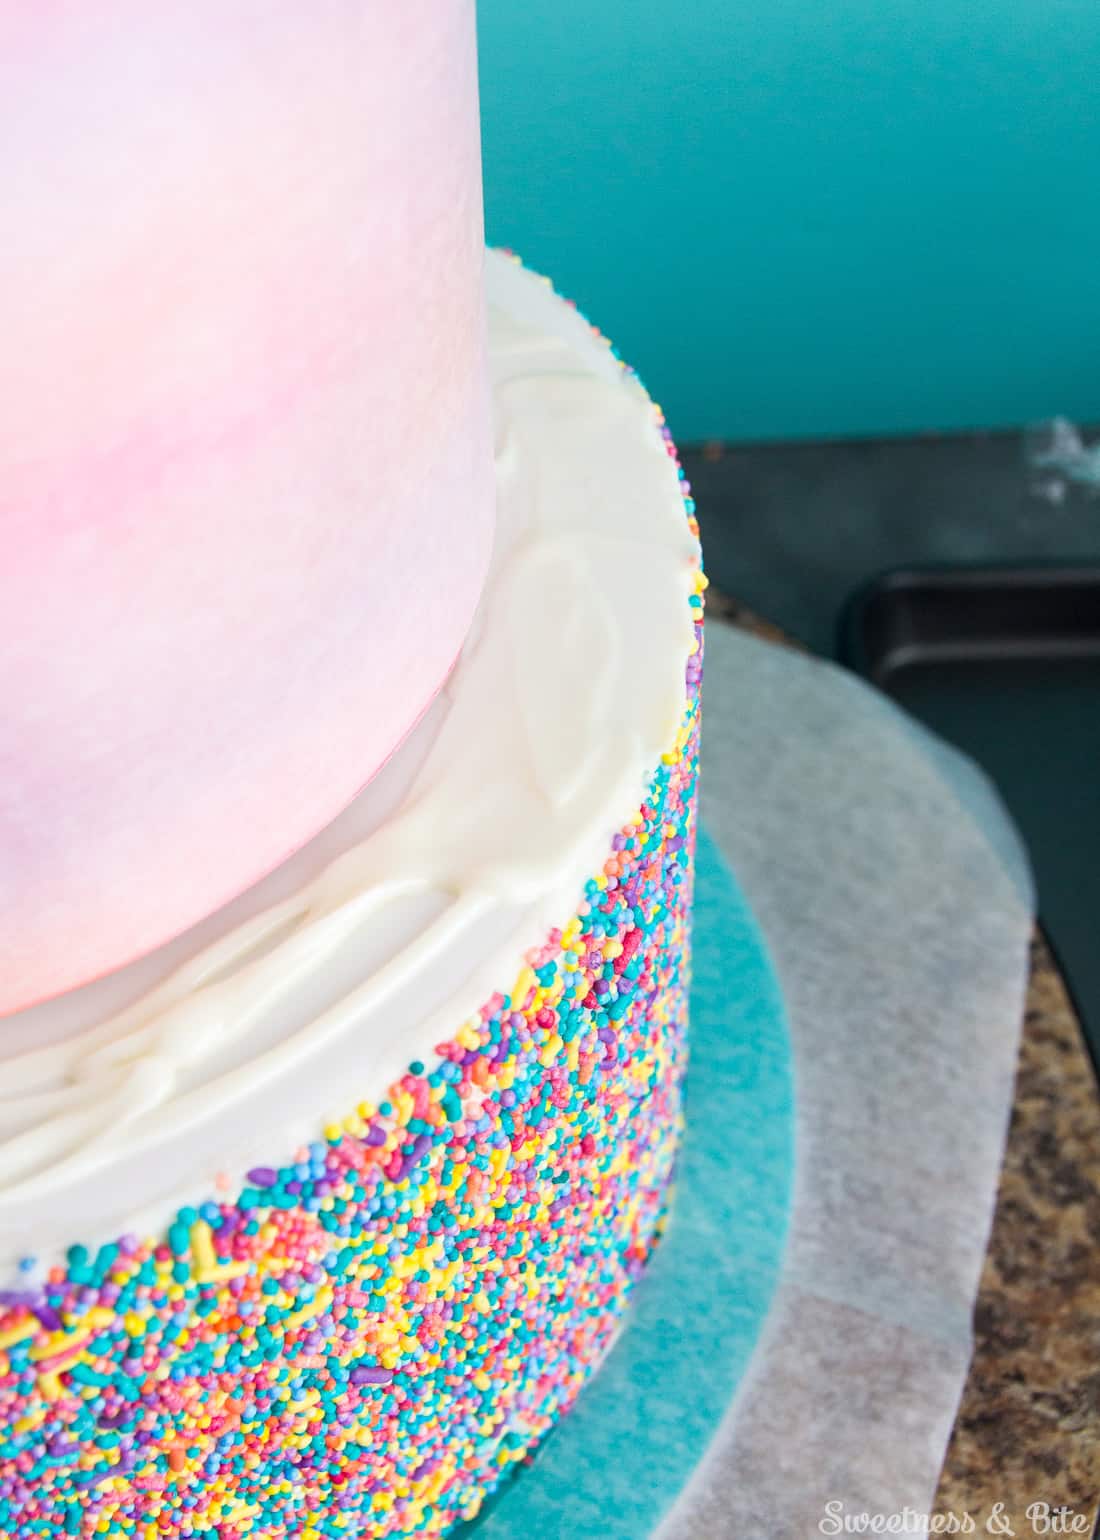
Sprinkle the sprinkles (sorry, I had to say that at least once) along the top of the cake and press them down gently with a fondant smoother. Use your fingers to pinch around the edge of the cake to adhere the sprinkles and keep the edge sharp. Let the candy melts harden completely before brushing off the excess sprinkles. A soft pastry brush or paintbrush can be useful to remove the loose sprinkles without dislodging the attached ones. If you have any gaps, use either the hairdryer or piping bag methods to fill them.
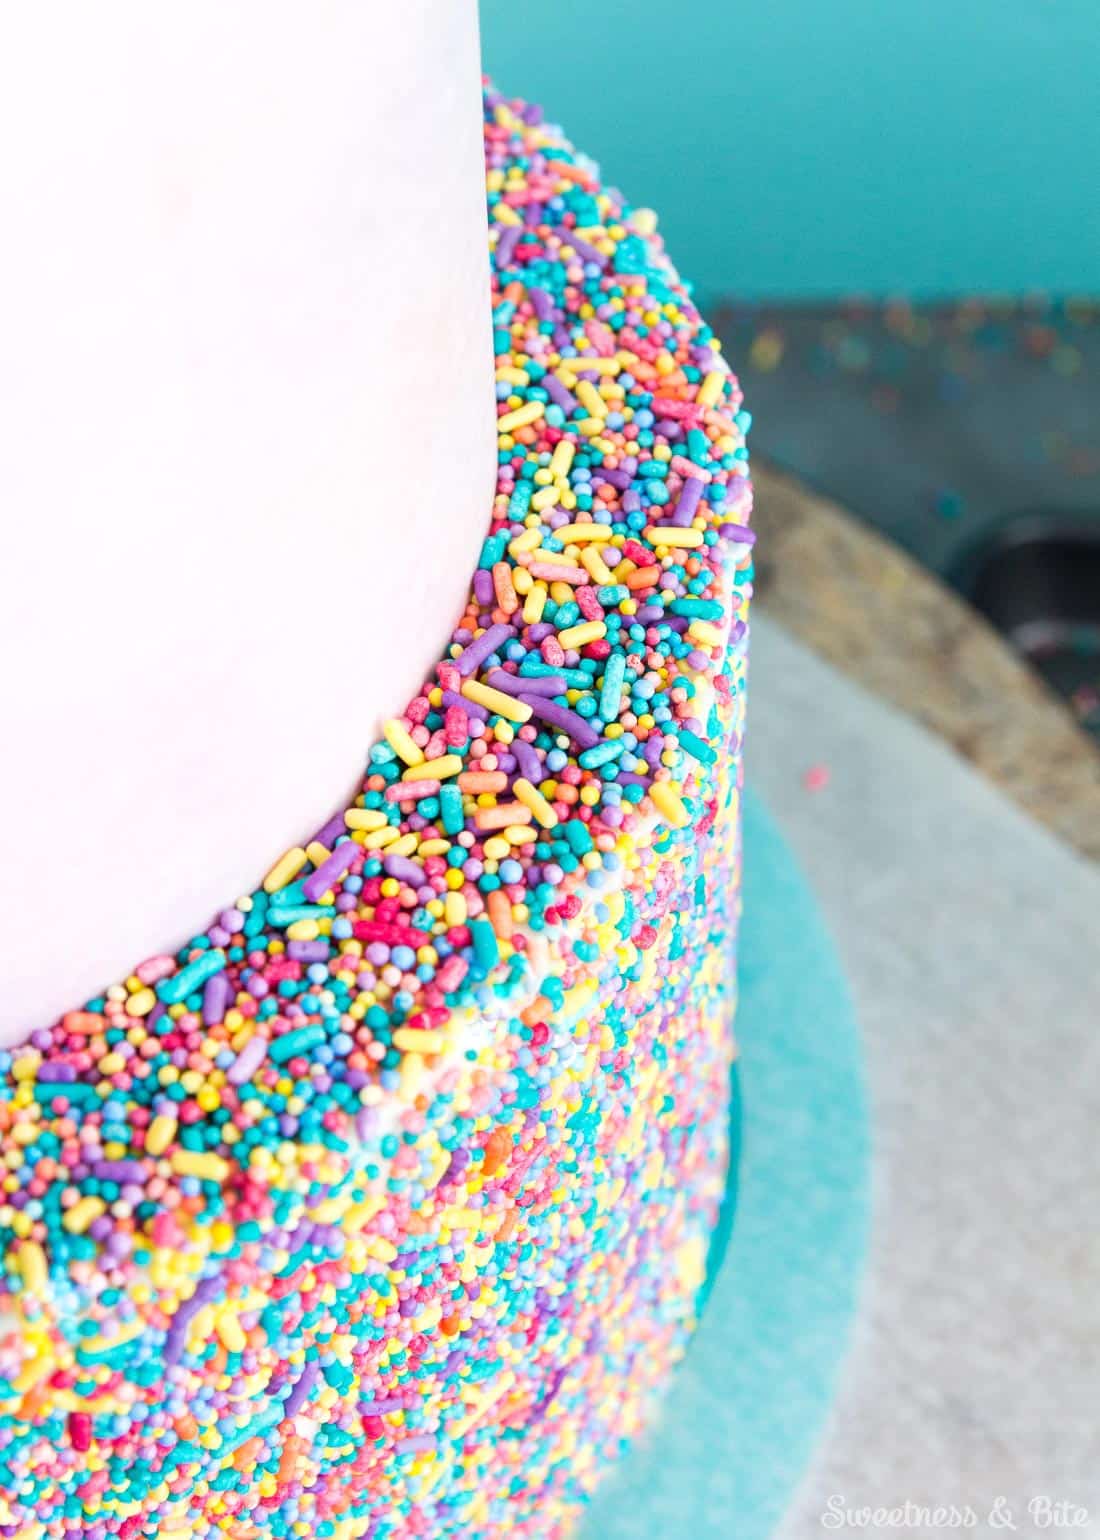
And that’s it, your cake is sprinkled. I topped mine off with a drizzle of chocolate (thanks to Jess of Rosy Cakes for the tips she gave me on choc drizzles, even though mine didn’t turn out anywhere near as good as hers!), the gumpaste name cake topper I had made, and a couple of rock candy sticks.


Happy sprinkling!
~Natalie
xx

