Sweet Sushi
This post may contain affiliate links to products I recommend. I receive a small commission at no cost to you if you make a purchase using my link.
It’s no secret that I love a good children’s birthday party, and my friend Loralee is a true birthday party queen. She has this amazing knack for picking the best party themes for her three little terrors gorgeous kids, and she comes up with ridiculously clever decorations, food, cakes and party favours that perfectly fit the themes.
Earlier in the year I went up to Hawera for a visit and to ‘help’ with her daughter’s 7th birthday flamingo party. Watching her bring out boxes of party stuff made me as excited as if it was my own birthday.
Then a couple of weeks ago I went again, this time for her son’s 5th birthday. To be honest (and don’t tell her I said this) I was wondering how she was going to match the awesomeness of the flamingo party, and have it not seem like she loves her daughter the most. But she absolutely matched that level of love with this:
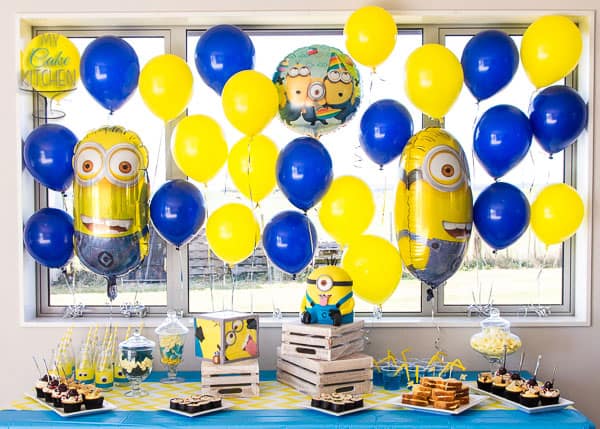
proud embarrassed. Because that’s what friends are for, amiright?!
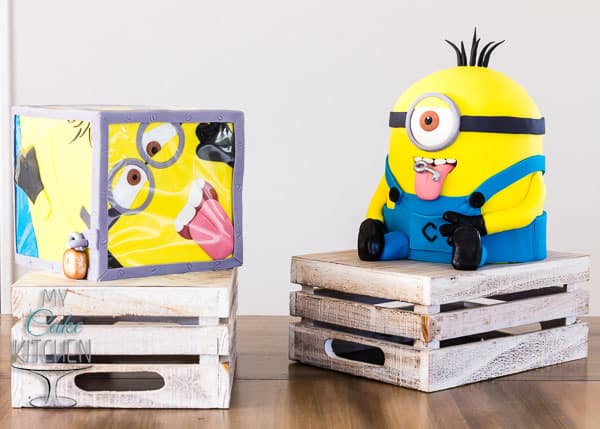
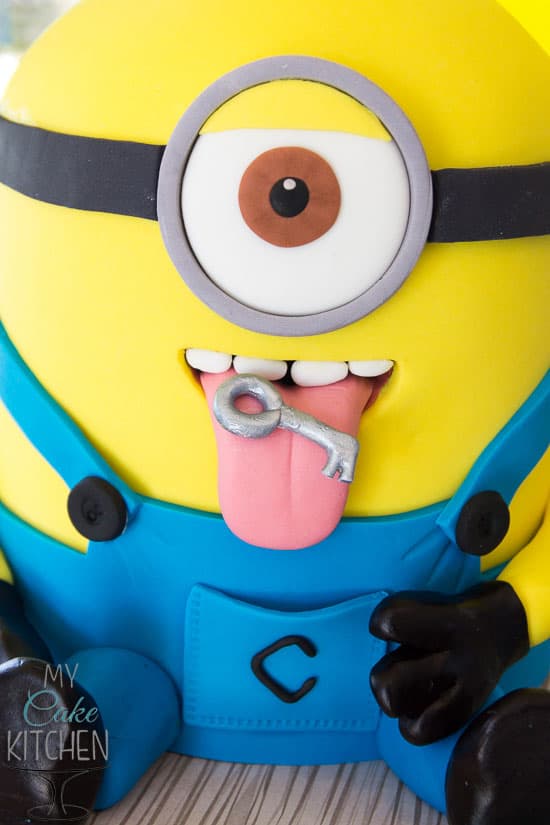
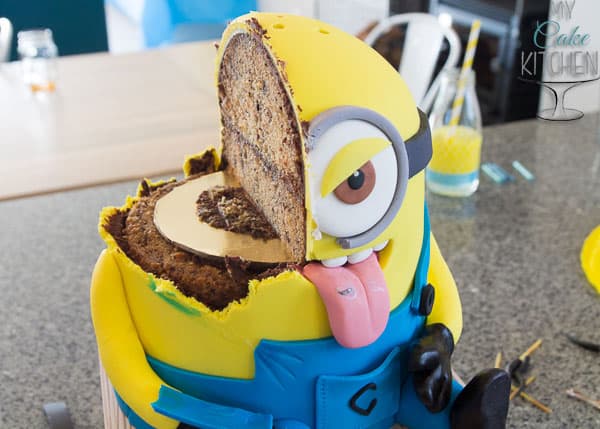
The whole party theme was designed around these cakes that Loralee designed, one meanie Minion has locked his friend in a glass box, and is threatening to swallow the key!
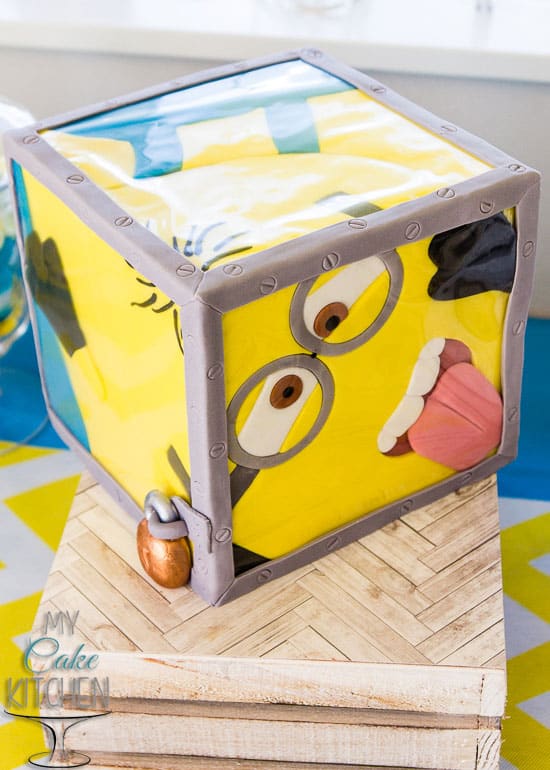
We got to have fun with gelatin to make the “glass” for the box (I use the term ‘we’ loosely, I just ferried the sheets to the cupboard where they were left to dry). Guess I was her, er, minion?
Usually I don’t really like things that pretend to be one thing and turn out to be something else. Sneaks, I hates ‘em. I’m looking at you, raisin-cookies-masquerading-as-chocolate-chip-cookies. But Loralee’s fake-out-food just tickled my sense of humour.
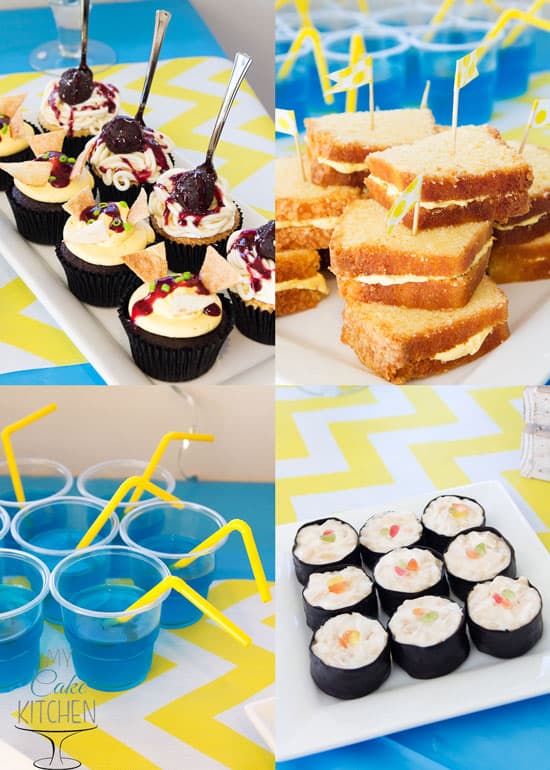
‘Nacho Problem’ chocolate cupcakes and “Thatsa Notta Spaghetti‘ vanilla cupcakes.
“Cheese spread sandwiches” (lemon loaf cake with vanilla buttercream)
“Blue cordial” (jelly, with a straw. Because there is really nothing funnier than watching kids stubbornly try to suck jelly through a straw.)
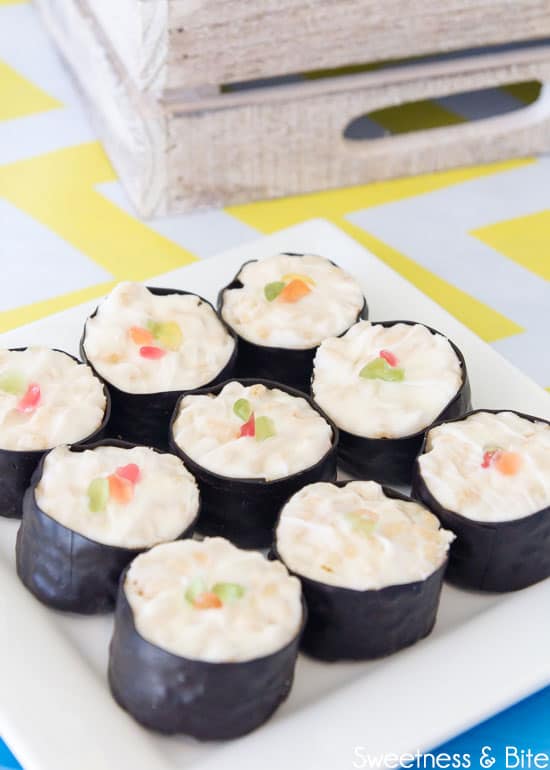
….aaaand my favourite, sushi!
It actually makes me cringe to say “my favourite, sushi” because in real life I don’t care for sushi, and by don’t care for, I mean: there’s something about the taste of seaweed that gives me a feeling akin to drowning in the ocean and then coughing up water. But this ‘sweet sushi’ rice krispie treats, out of all the delicious foods Loralee had on the table, was the one I was snacking on throughout the afternoon.
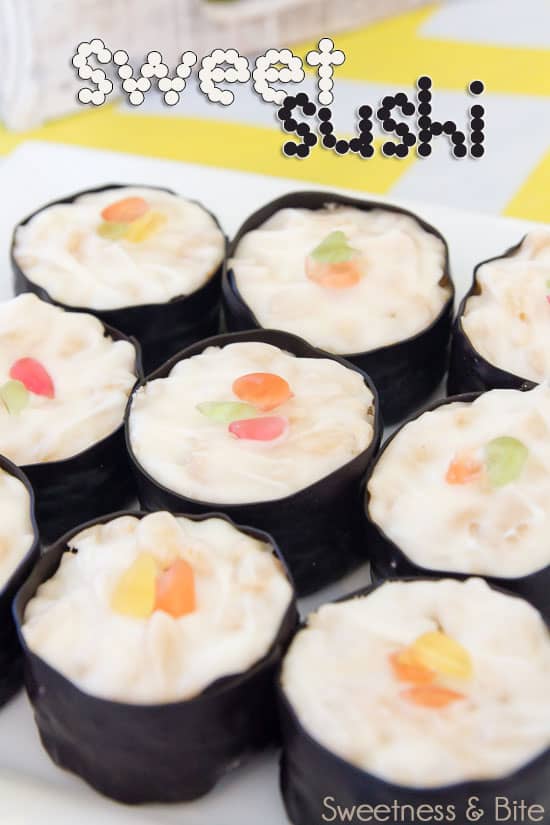
The ‘rice’ part of the sushi is actually rice – puffed rice cereal, (aka rice bubbles, aka rice krispies) made into a rice bubble slice and jazzed up with some white chocolate and a hint of honey.
After the party, Loralee said to me, “you should post these on your blog. We should make them again and you can take photos!” I have to admit that all of the “peopling” at the party had exhausted me (did I ever tell you I’m not good with people? Well, I’m kinda not. They scare me) and all I really wanted to do was sit on the couch and have a cuddle with their kitten.
So I talked her out of it. Haha, yeah obviously I didn’t. Nope, we spent the following morning using the remaining cupcakes and some other leftover supplies to re-make the nacho and spaghetti cupcakes, and the sushi. This may or may not have led to me checking in for my flight home with approximately 1.5 minutes until check in closed. Which was lovely, there’s nothing like tucking and rolling from the car, with only your ticket and suitcase, so you can race into the airport and check in, and then stroll back out to the carpark to wait for your friend who had dropped you off then raced around the carpark to find a park. And bring your carry on bags to you. Because the extra few seconds you could have spent grabbing those as well may have caused you to miss check in. Yep, nothing like it.
Not that I’m complaining, because now we can show you how to make all this fake-out food! Starting with the sushi.
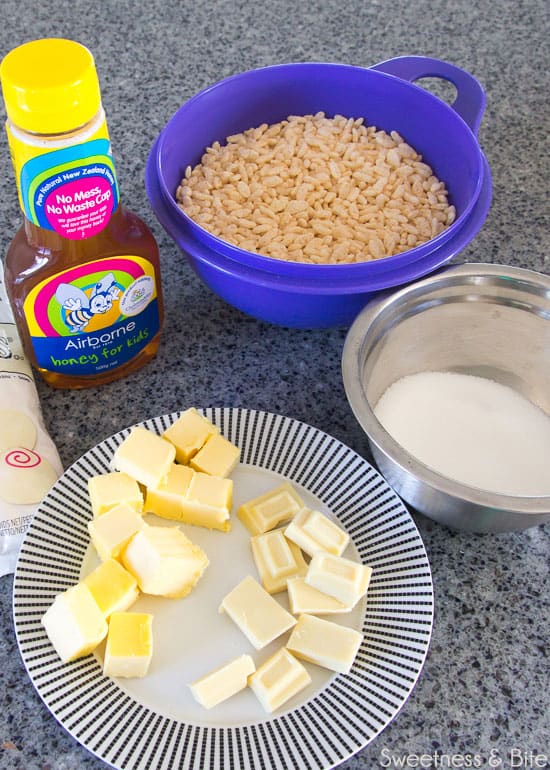
All you need for the rice bubble slice is, um, rice bubbles of course, plus some honey, sugar, butter and white chocolate. We used good quality white chocolate for the slice, for the best flavour.
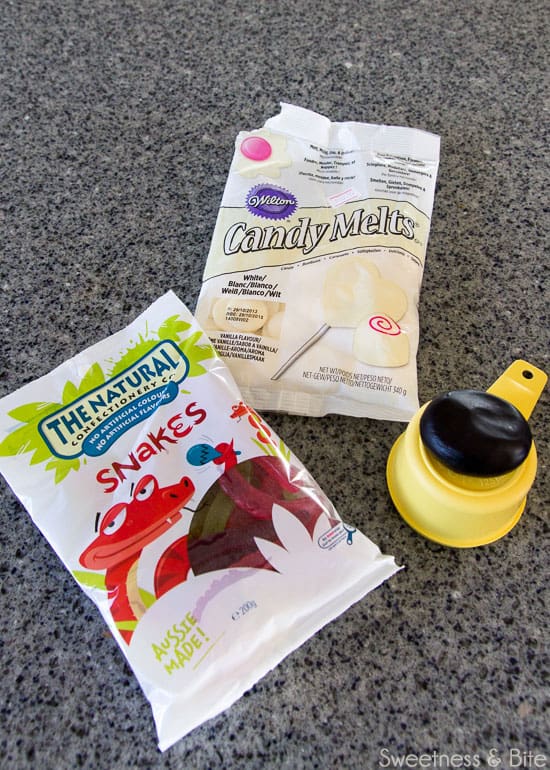
Then to turn the slice into sushi, you’ll need some white candy melts, a packet of black or dark green modelling chocolate (we used Chocit) and some gummy lollies, like gummy bears or snakes. The candy melts are best for the top of the slice, as they are much whiter than white chocolate. You may also need a little vegetable oil or shortening like Crisco to thin out the candy melts and make them spread a little easier over the slice.
You could use fondant instead of the modelling chocolate, but the modelling choc is much nicer to eat!
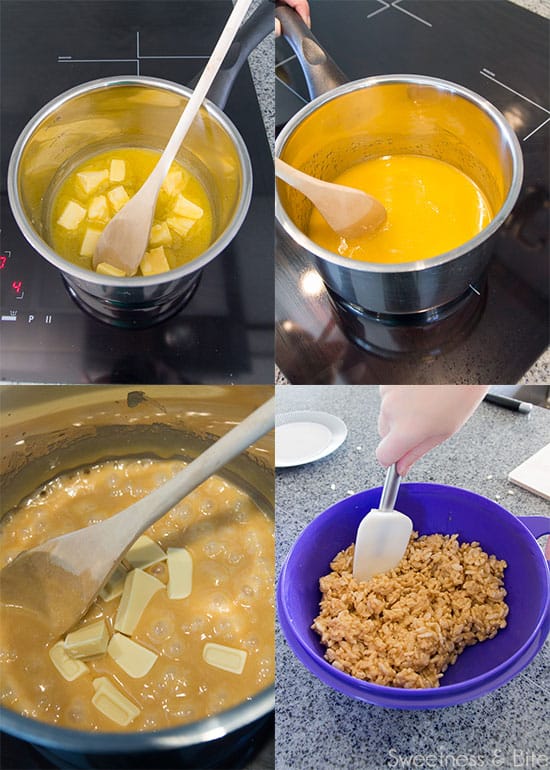
Making the base for the sushi is as easy as boiling together butter, honey and sugar, melting in some white chocolate, and mixing it with the rice bubbles.
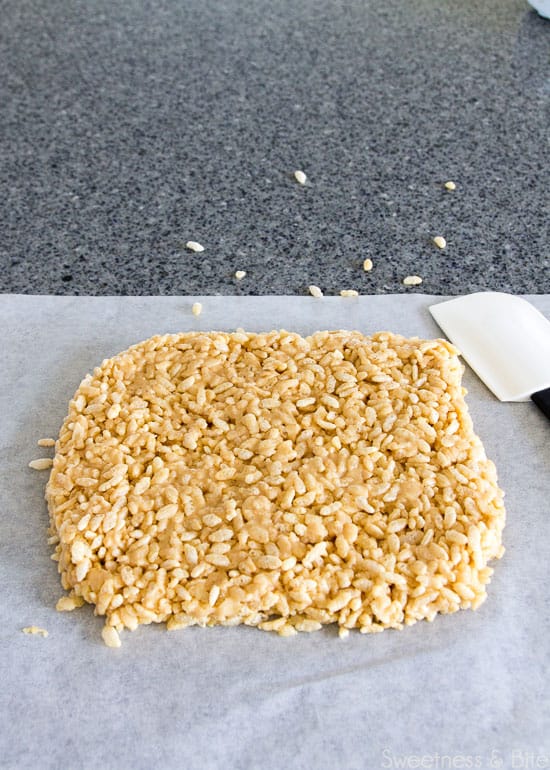
Spread out on a piece of baking paper until about 2cm thick. Check that it is cool enough to touch, then use your hands to compress the mixture from the edges so it holds together. You don’t need to flatten and smooth the slice too much, you want to keep the lumpy texture of the rice bubbles. Slide the paper onto a baking tray then refrigerate for about 20 minutes.
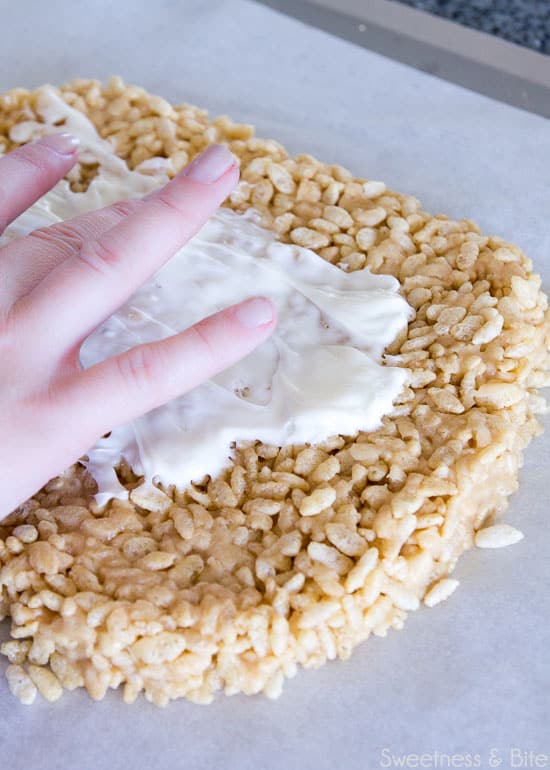
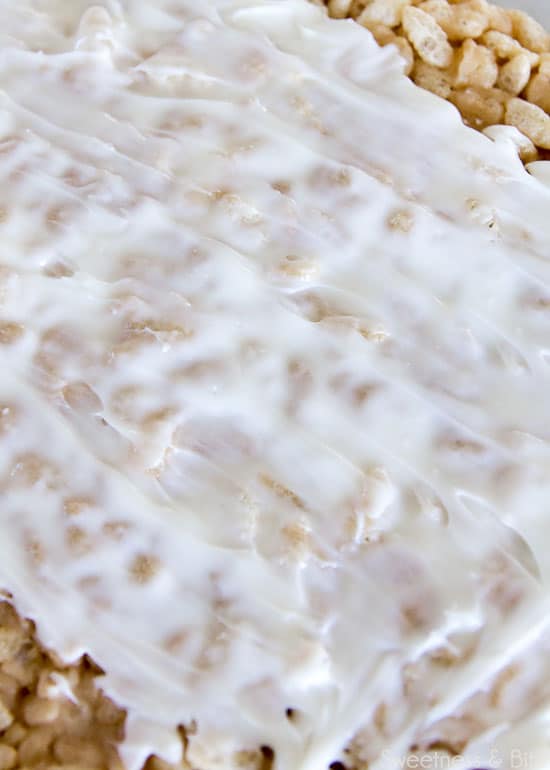
Place candy melts in a small microwaveable bowl. Microwave on medium power in 30 second bursts until melted and smooth. If it seems a bit to thick to spread evenly, then add a teaspoon or two of Crisco or plain-flavoured vegetable oil to thin it out. Spread over the rice bubble mixture with your fingers. It doesn’t need to be smooth, which is why your fingers really are the best tool for this job – a spatula will push the chocolate into the gaps and leave the surface smooth, and we don’t want that. Allow the candy melts to set.
Use 4cm round cutter to cut out circles of the rice bubble cake.
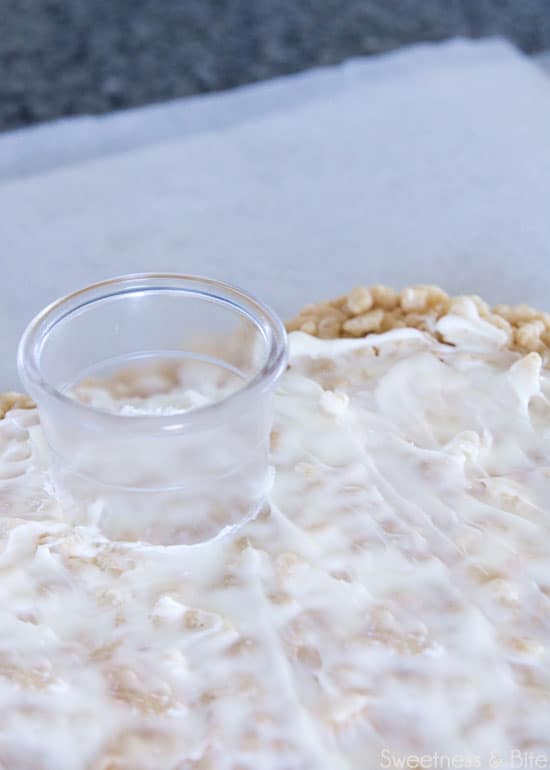
Roll out the modelling chocolate to around 2mm thickness. Measure the height of your sushi rounds and cut strips of modelling chocolate that are just slightly wider than the height of the sushi.
Place a sushi circle at the end of one of the strips, attach the end (it should just stick to the rice bubbles) and roll it along, making sure to keep the edge of the strip flush with the top edge of the circle. You may want to keep a damp cloth nearby to wipe any rice bubble crumbs off your fingers, so they don’t get stuck to the modelling chocolate.
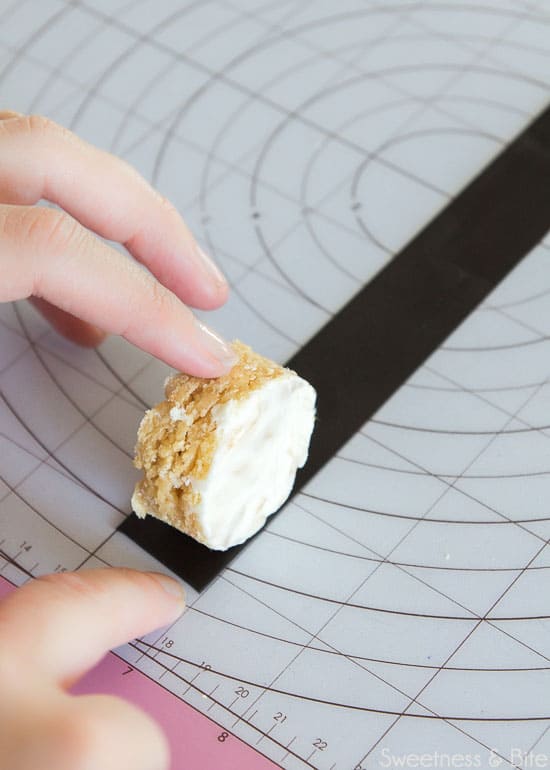
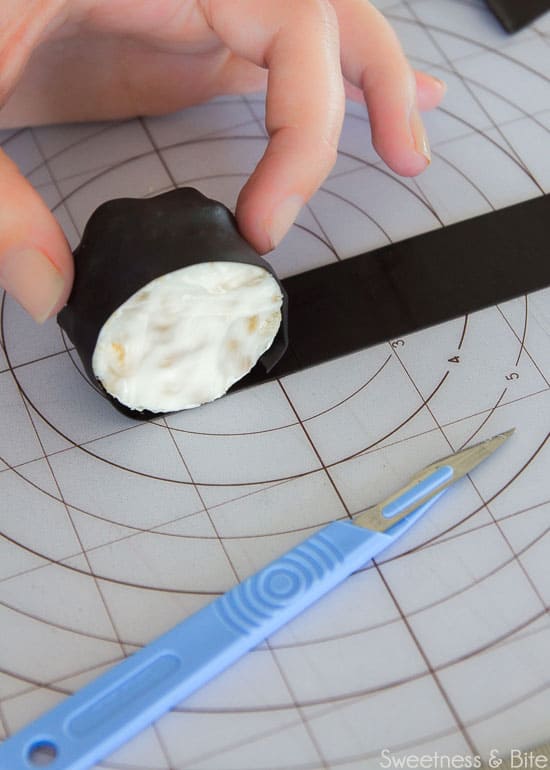
Press any excess modelling chocolate on the bottom edge under the sushi. You could trim it if you want, but as Loralee often tells me “people with kids don’t have time for being fussy like that”. So I’ll leave that up to your level of kids-ness. Roll the sushi back and forth in your palms to bring out the texture of the rice bubbles under the modelling chocolate, which will mimic the texture of seaweed/nori.
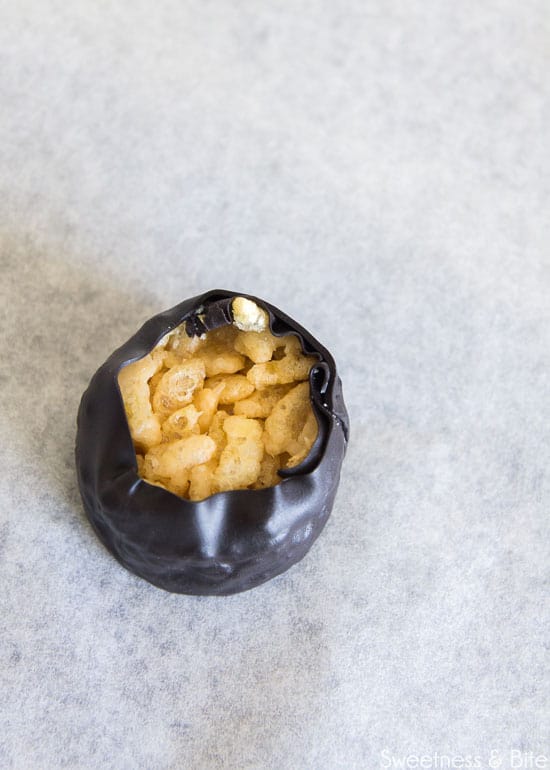
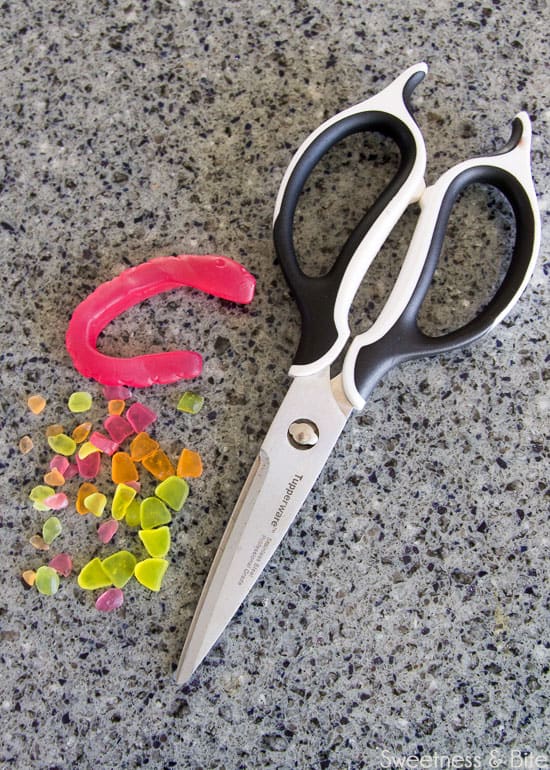
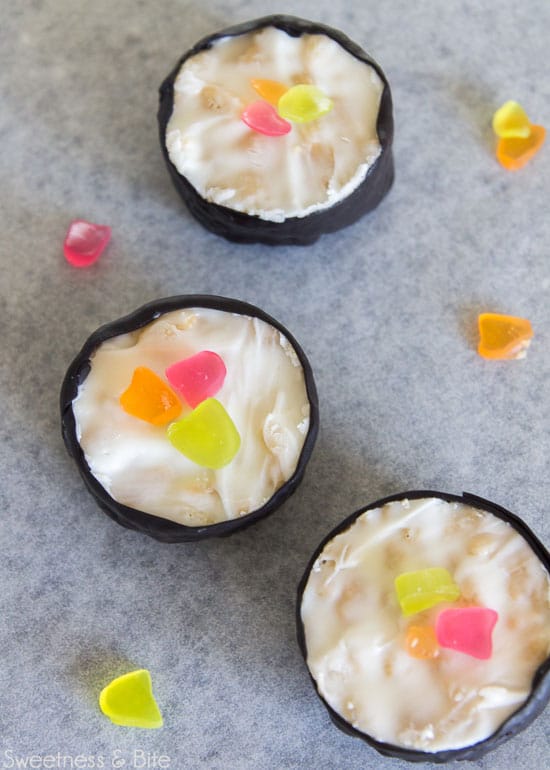
Then all that’s left to do is use scissors or a knife to cut small pieces of gummy lollies and arrange them in the middle of each sushi piece. The gummy lollies should stick on their own, but if not you can attach with some more melted candy melts.
Ingredients
- 125 g butter
- 2 Tablespoons honey
- 100 g sugar
- 50 g white chocolate
- 3 cups rice bubbles about 85g
- 100 g white candy melts
- 1 teaspoon Crisco or plain oil
- Black or dark green modelling chocolate
- Gummy lollies eg. gummy bears or snakes
Instructions
- Melt butter and honey together in a small saucepan. Add sugar and stir until mostly dissolved. Boil for 2-3 mins. Add white chocolate and stir until melted. Pour into rice bubbles and mix.
- Spread out on a piece of baking paper until about 2cm thick. Check that it is cool enough to touch, then use your hands to compress the mixture from the edges so it holds together. Slide the paper onto a baking tray then refrigerate for about 20 minutes.
- Place candy melts in a small microwaveable bowl. Microwave on medium power in 30 second bursts until melted and smooth. If it seems a bit to thick to spread evenly, then add a teaspoon or two of Crisco or plain-flavoured vegetable oil to thin it out. Spread over the rice bubble mixture with your fingers. It doesn’t need to be smooth, you want the texture of the rice bubbles showing through. Allow the candy melts to set.
- Use 4cm round cutter to cut out circles of the rice bubble cake.
- Roll out the modelling chocolate to around 2mm thickness. Measure the height of your sushi rounds and cut strips of modelling chocolate that are just slightly wider than the height of the sushi. Place a sushi circle at the end of one of the strips, attach the end (it should just stick to the rice bubbles) and roll it along, making sure to keep the edge of the strip flush with the top edge of the circle. Press any excess modelling chocolate on the bottom edge under the sushi. Roll the sushi back and forth in your palms to bring out the texture of the rice bubbles to mimic the texture of seaweed/nori.
- Use scissors or a knife to cut small pieces of gummy lollies and arrange them in the middle of each sushi piece. The gummy lollies should stick on their own, but if not you can attach with some melted candy melts.
Nutritional Disclaimer: Any nutritional info provided is a computer generated estimate and is intended as a guide only.
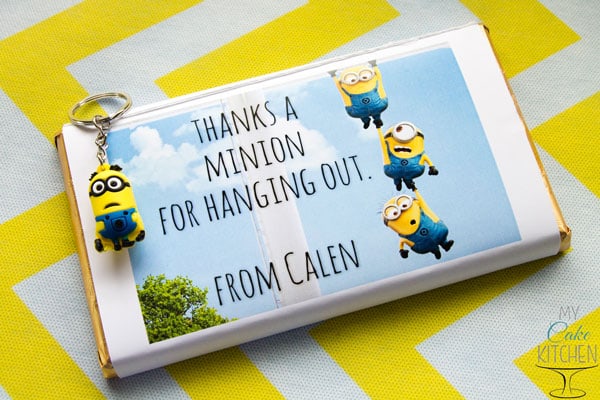
PS: Don’t worry, the meanie Minion got his comeuppance in the end….
…and Natalie, and Loralee
xx
PS: If you want to keep up with Loralee’s cake and party creations, make sure you pop over and ‘like’ her Facebook page, My Cake Kitchen.
