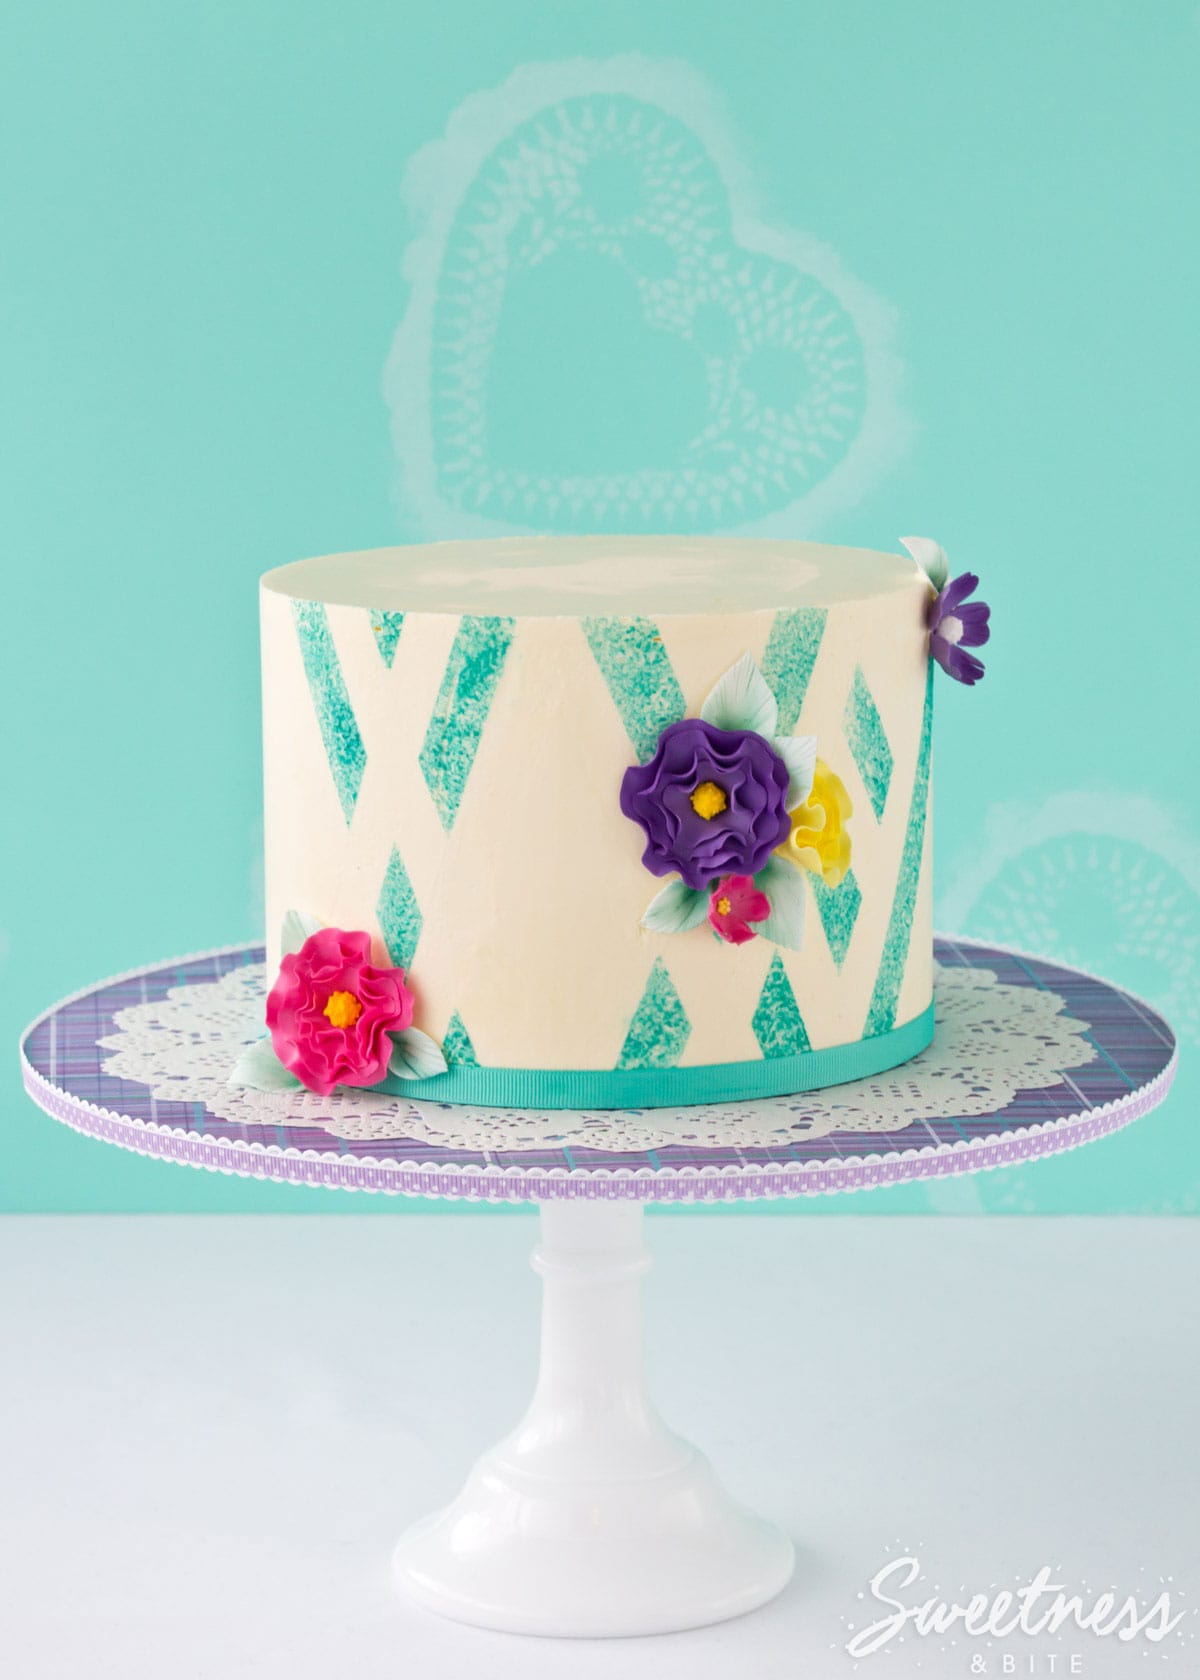
Sponged Abstract Buttercream Stripes {Tutorial}
This post may contain affiliate links to products I recommend. I receive a small commission at no cost to you if you make a purchase using my link.
It’s “birthday season” in our family at the moment. Most of our birthdays happen to occur over winter- which is good; it’s nice to have something to do on a cold winter weekend. But it also means me making a fair few cakes in a short space of time. Although I prefer to decorate cakes with fondant, as a family we’re not that fussed on fondant for birthdays. Oh sure, if it’s a ‘big’ birthday I’ll make something over the top, but for most birthdays we prefer cream or buttercream cakes. This year I’ve been challenging myself to come up with different ways to make buttercream look nice, but that don’t take a huge amount of time.
A few weeks ago I was making my Mum’s birthday cake. I’d just got a new Moroccan tile design stencil and I couldn’t wait to use it because it was going to look just so pretty. A bit of stencilling + a few flowers = a quick and pretty cake. Aaaaaand then it didn’t work. Ok so it was my own fault, I was using a Swiss meringue buttercream to cover the cake and to do the stencilling, instead of using fondant (or a crusting buttercream) to cover the cake and royal icing to stencil like all the normal people with common sense do. I was only half expecting it to actually work, and then it didn’t. When I removed the stencil it took most of the stencilled pattern and the underneath buttercream with it. So at 10.30pm I gave up on the stencil and had to come up with another plan.
Then I remembered the Craftsy class I watched a little while ago, Clean and Simple Cake Design by Jessica Harris (affiliate link). In it, she does some fabulous things with waxed paper. Because I enjoyed the class so much, I happened to have acquired some waxed paper and used it for several fondant-related purposes. Sitting there staring at my naked, freshly re-smoothed buttercream covered cake, I wondered if I could make some sort of pattern on it with the waxed paper. Which led me to another thought (are you enjoying this trip through the depths of my thoughts? Thought so…)
A few months ago my Mum did a painting to use as a headboard in our spare bedroom. She used test pots of paint in the colours of the room, and used masking tape to tape off lines which she sponge-painted with a sea sponge. The way she did it, and the way it perfectly matched the rest of the bedroom made it look pretty darn awesome.
Back to the cake, I figured why not give sponged buttercream stripes a go, using the waxed paper as masking tape and buttercream as paint. So I did…
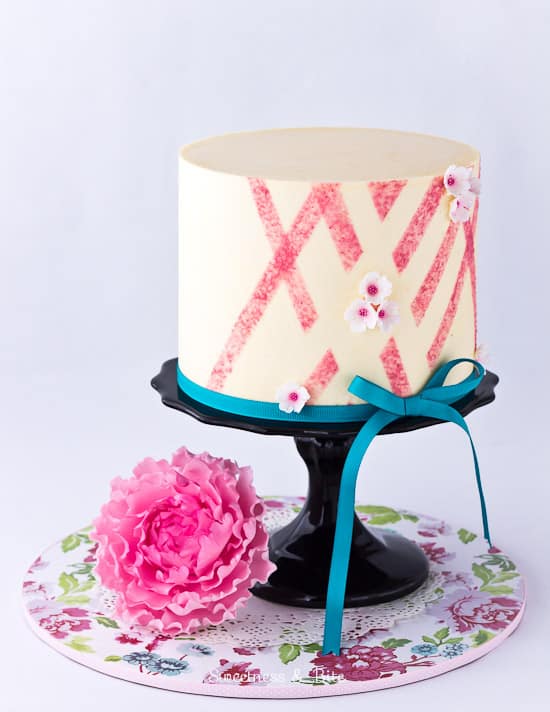
I made my first ever peony to go with the cake (my Mum had been waiting over a year since I bought peony cutters and promised to make her one), and then added some simple cherry blossoms (because it was black forest cake, and, well, cherry.)
And then a couple of weeks later I used the same technique again for the next birthday season occasion, my Auntie’s birthday, so I could show you how…
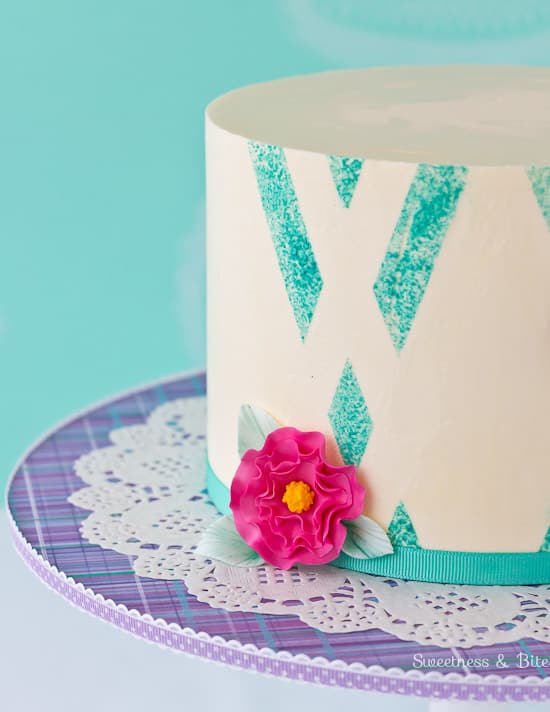
Sponged Buttercream Stripes
You don’t need any particularly fancy tools for this cake, just your regular buttercream tools (scraper, spatula, turntable etc.) a piece of sponge and some waxed paper. The sponge I used is a piece of natural sea sponge sold in the art section of our local emporium shop. Just give it a good wash in soapy water before you use it. I’ve tried using both the waxed paper and also regular baking paper, and while they both work I found I got better results from the waxed paper, as it removed less of the underneath layer of buttercream when the paper was peeled off.
Start by smooth icing your cake with buttercream and chilling it until firm. I used Swiss meringue buttercream because my family and I prefer it, but I imagine this could also work with a crusting/icing sugar buttercream too.
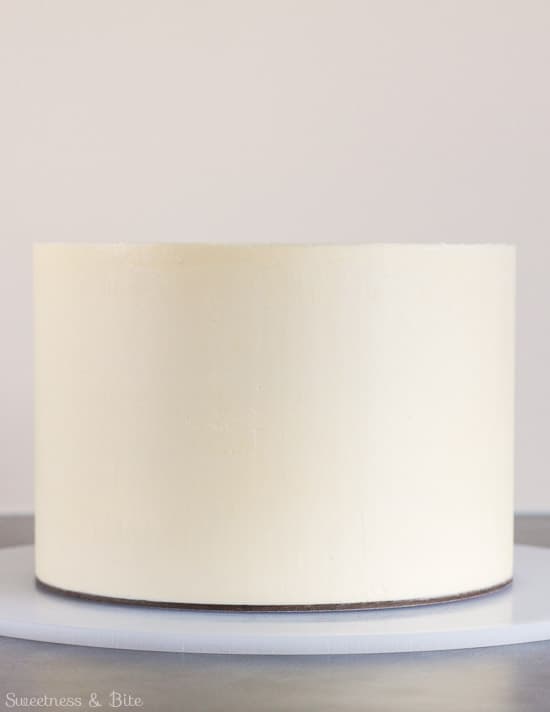
While the cake chills, cut a long strip of waxed paper that is at least an inch or so higher than the height of your cake, and use a straight angle to cut the rough ends straight.
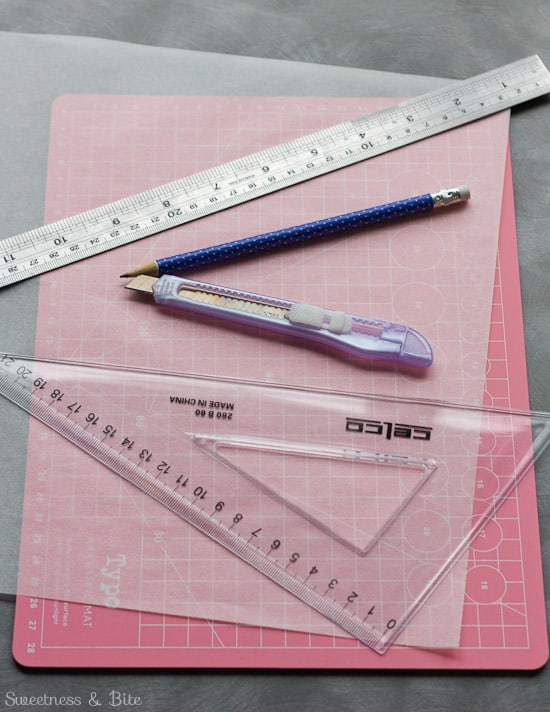
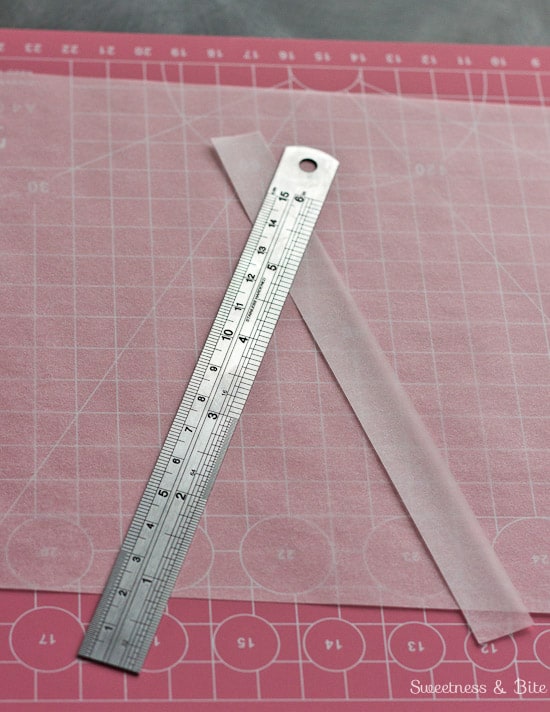
Use a ruler to cut strips of paper – you can measure and mark out your strips, or do as I did and use a small ruler that was the width I wanted the strips to be (about 1.5cm wide). Both of the cakes I did were about 5″ tall, so the strips I cut were about 6.5″ long. If you use a pencil to mark your lines before you cut, make sure you don’t put the pencil lined side against the cake.
The number of strips you need will depend on your design and how far around the cake you want your stripes to go. I decorated about one third of this cake, and used 10 strips of paper.
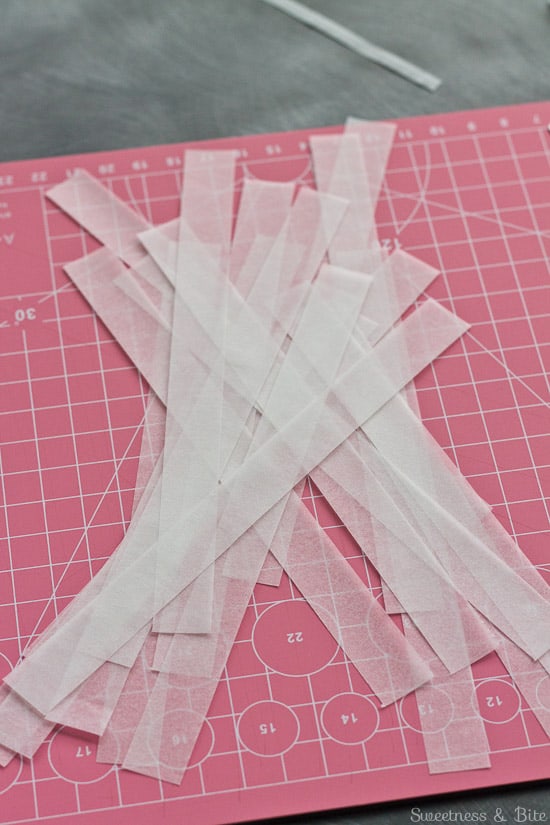
If you want you can lay out some strips on a flat surface to plan your design. I prefer the surprise of randomly placing the strips and having a ‘big reveal’ at the end.
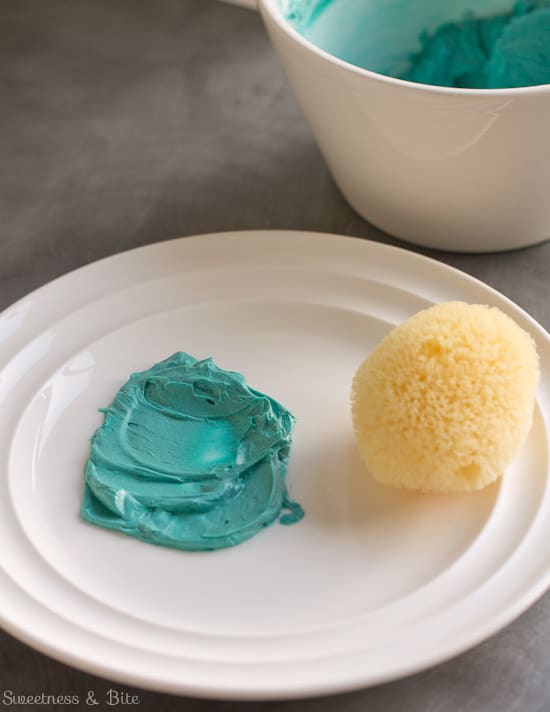
Colour a few tablespoons of buttercream the colour you want your stripes. (You will only need a teaspoon or so but it’s easier to colour slightly more than that.) I used Americolor turquoise and a touch of sky blue to get this teal colour. If you’ve coloured your buttercream in advance you will need to warm it slightly and stir ’til it’s smooth and quite soft, like very thick paint. Spread a dab of the buttercream onto a plate.
Soak the sponge in warm water until it becomes soft. Squeeze out the excess water, and then squeeze the sponge again in a paper towel until it’s mostly dry to the touch.
Use a fluffy paintbrush to dust the surface of the buttercream where you want your design to be with cornflour or icing sugar (this helps to stop the paper from lifting away too much of the surface of the buttercream when you remove the strips.) But, skip this step if you are using a darker coloured base buttercream as you will see the white marks.
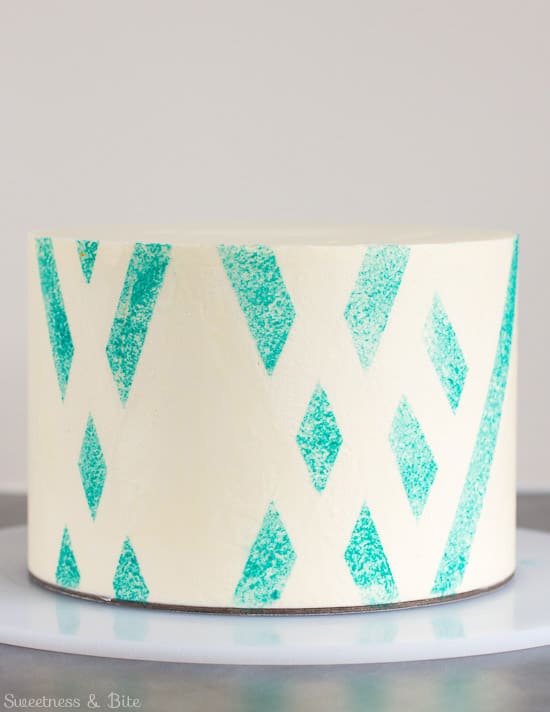
Start placing your paper strips onto the cake. Remember that the gaps between the strips are where your sponged colour will be. (Obvious, I know, but I have trouble picturing how things will work, and my brain was recognising the strips as the pattern, rather than the gaps where the sponged colour will actually be, so it just pays to keep that in mind. If you’re like me. Hopefully you’re not!) Also make sure you don’t sponge areas that you want to keep as negative space, like the diamond pattern on the front of this cake.
Dip the sponge into the coloured buttercream and dab off the excess. Start sponging in the gaps, adding more buttercream to the sponge when necessary. I started adding strips, sponged on some colour and then added more strips.
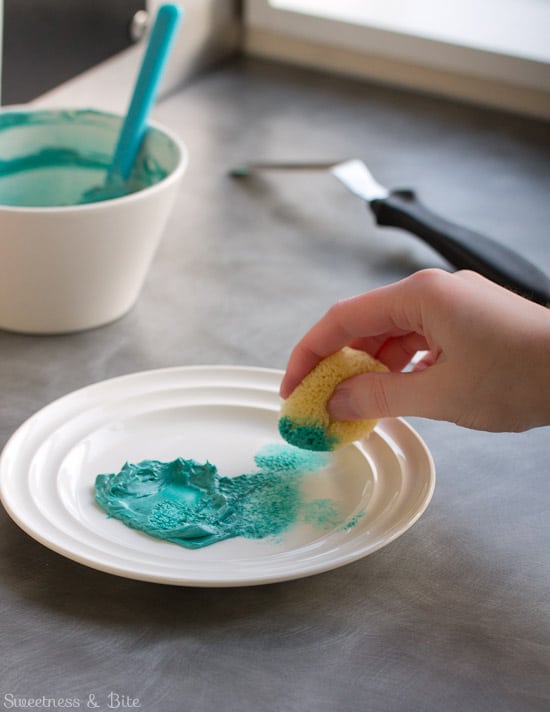
Make sure you don’t overload your sponge; it’s much easier to add more colour to the cake than it is to remove it.
Continue adding strips and sponging colour until you’ve covered as much of the cake as you want to. You can cut or tear the strips and use the shorter pieces. Chill the cake until the buttercream is firm again.
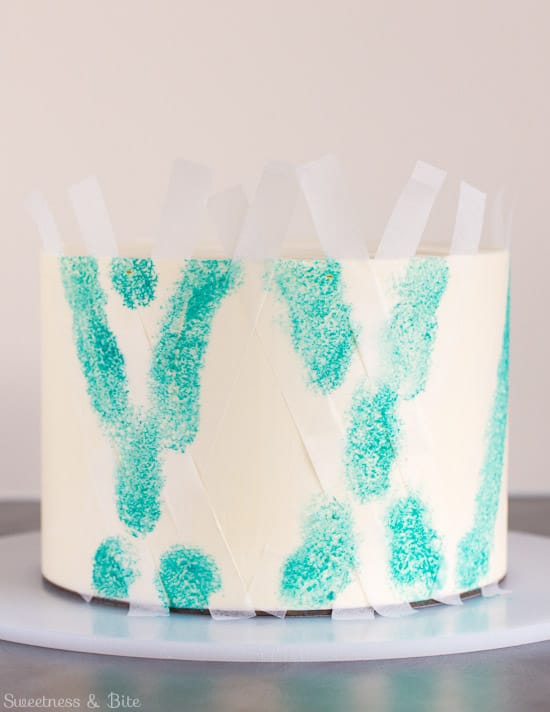
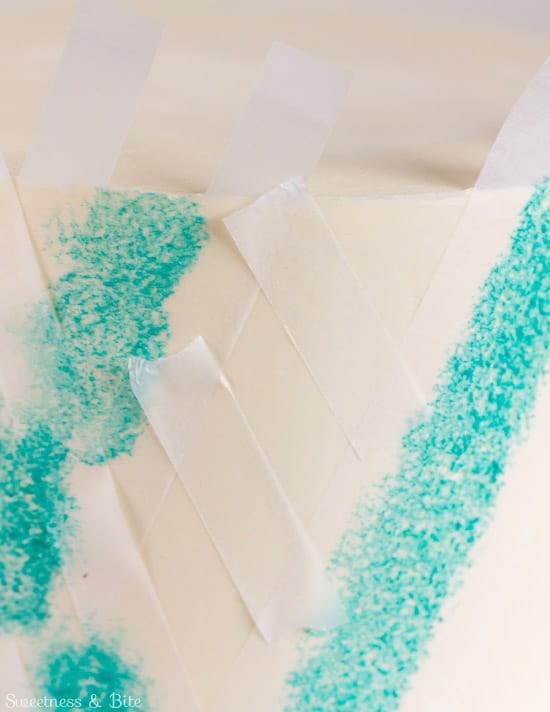
Gently peel the strips away from the cake. You will need to check where the strips cross each other and make sure you pull the top ones off first. If you want to you can add more strips to add to your design. Any areas that you sponge over a second time will become darker, adding depth to your design.
If you find that some of the buttercream has come away with the paper and you can see those lines, dampen your finger with warm water and lightly rub the buttercream to smooth it out, being careful not to smear your stripe colour.
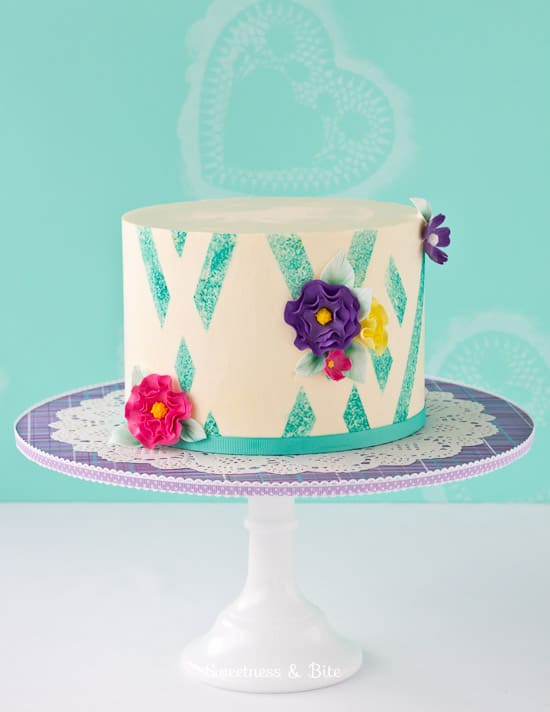
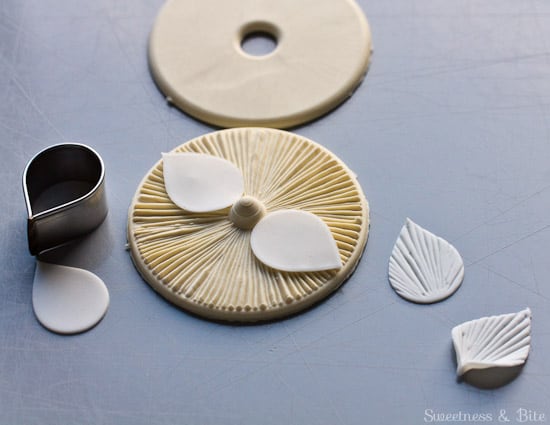
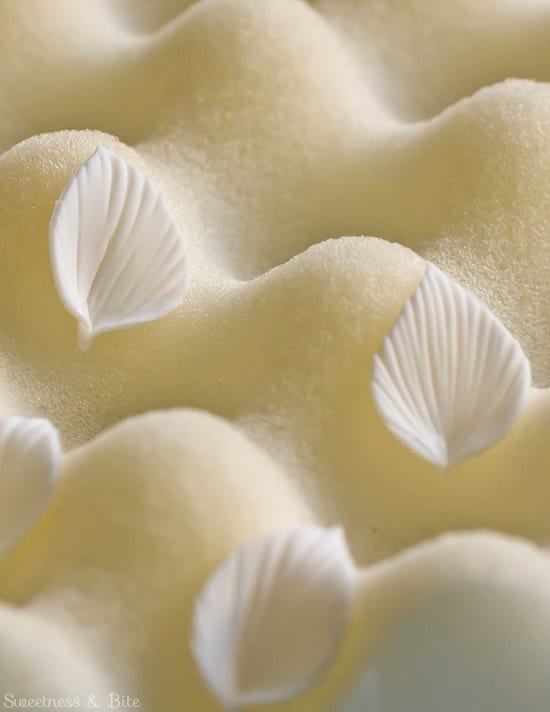
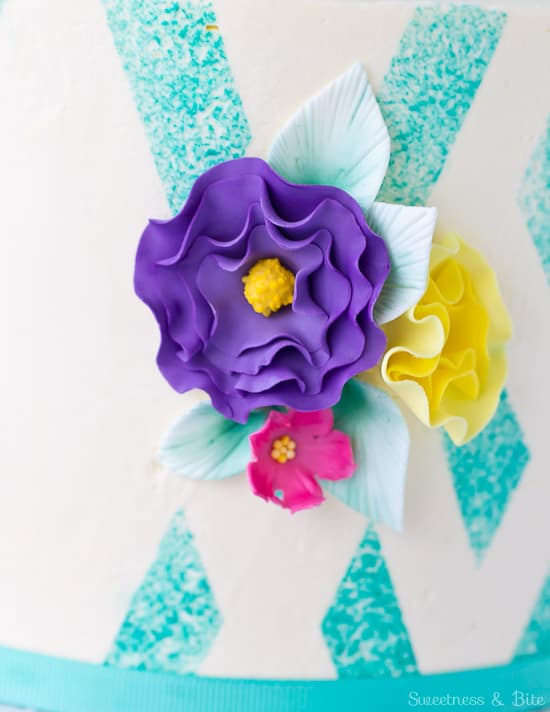
Transfer the cake to a cake stand or display board and decorate as desired. I put this cake onto one of my doily cake boards, and decorated it with some ruffle flowers, simple blossoms and leaves. The leaves were made with a rose petal cutter, veined with a multi flower veiner, then pinched and glued at the fat end. I dusted them with a little jade petal dust before I put them on the cake, concentrating the colour at the base and brushing towards the tip.
I also wrapped a ribbon around the base of the cake and secured it at the back with a little double sided tape. It’s best to attach the flowers and ribbon on the day of serving, as the flowers can start to soften and the buttercream can start to seep through the ribbon if done too far in advance.
Have fun, and if you try this technique I would love for you to share a picture on the Sweetness and Bite Facebook page!
Natalie
x
{This post contains affiliate links, which means I earn a small commission if you use those links. But don’t worry, I only recommend products I truly love and use.}
