How To Make Flexible Fondant Smoothers
This post may contain affiliate links to products I recommend. I receive a small commission at no cost to you if you make a purchase using my link.
I had some big cake/tutorial plans that I was going to work on over the past couple of weeks. Something I was really excited about doing. I’d planned out what I was going to do and when I was going to do it (even wrote myself a proper cake timeline) and I was all set to start.
Then I woke up with a cold. A cold that over the following week made me so dramatically miserable that I’m about 95% sure my mother was so sick of my whinging that she wanted to smother me with a pillow. Basically, I had man-flu.
So, that rather meant I was avoiding the kitchen at all costs to make sure I didn’t cough on anyone else’s food (because if I made my mother sick, who was gonna look after me while I lay dying?! *cue the world’s tiniest violin playing*) and couldn’t do the tutorial that I made a very veiled reference to up there. Once I started feeling vaguely human though, I thought to myself that I really should put something on the blog about how to make flexible fondant smoothers, because you’re gonna need at least one of them when I post that tutorial. And let’s face it, I couldn’t pass on any germs through fondant smoothers, since I always wash them before use anyway.
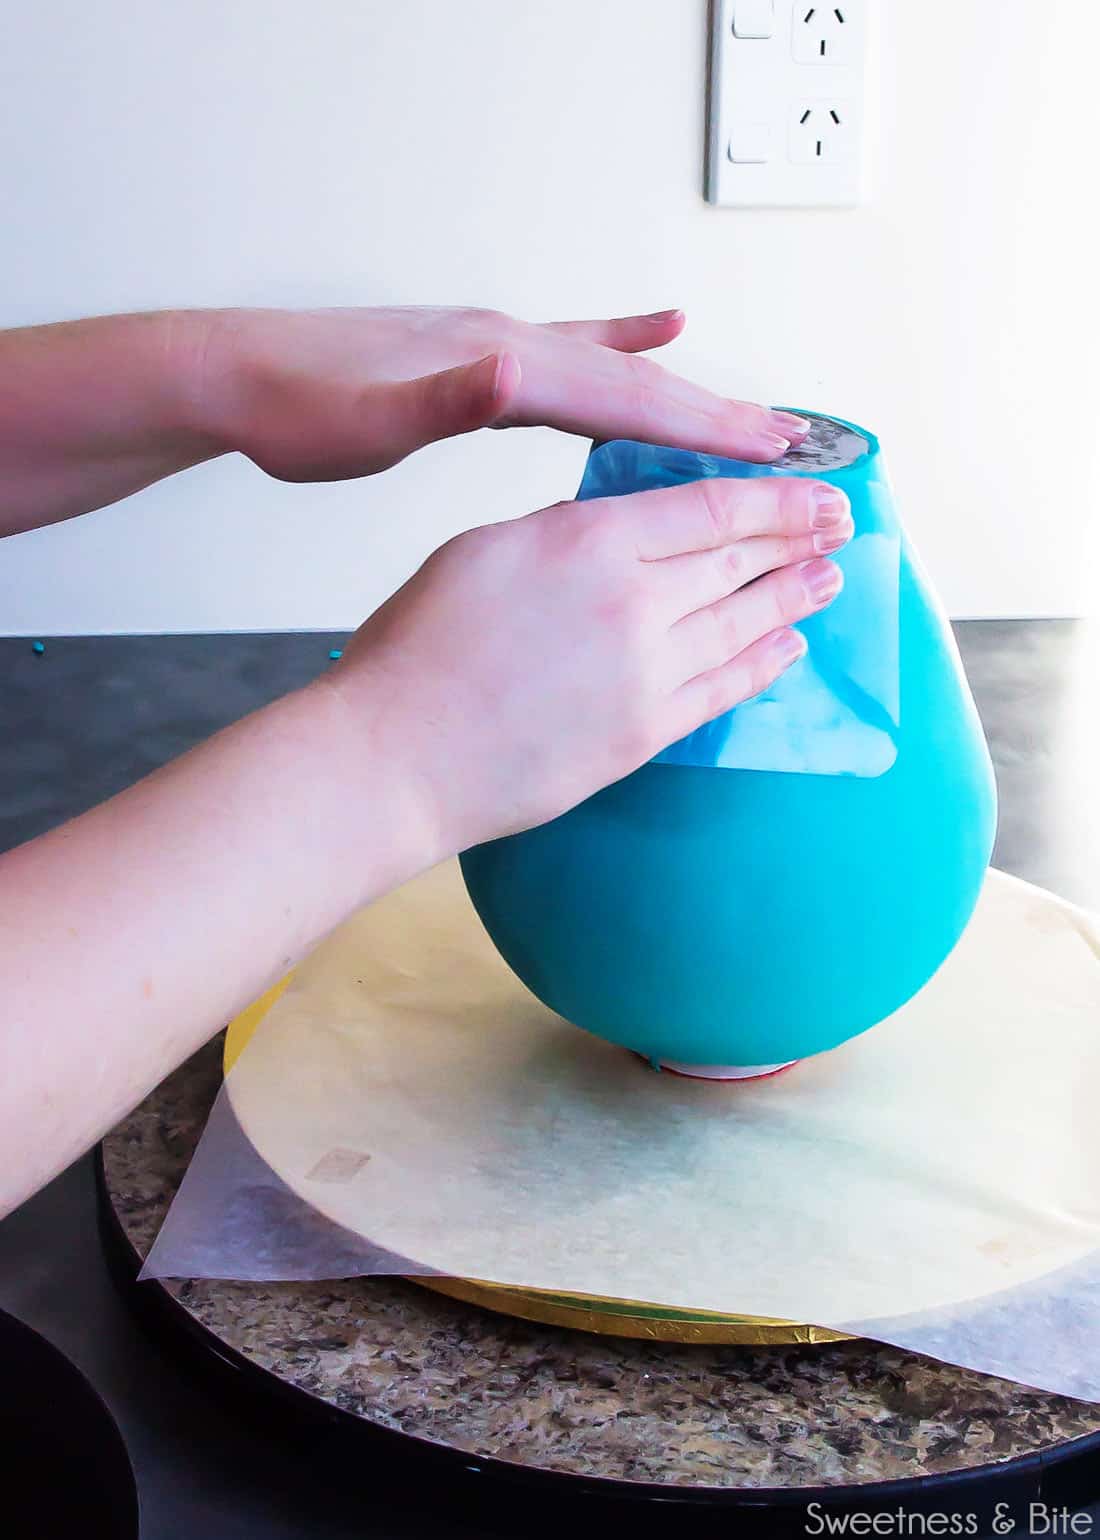
I first heard about flexible fondant smoothers when I bought the original Planet Cake book and began attempting the sharp edged fondant technique. If you’re not sure what they’re for… basically you use them to smooth your fondant. Sorry, I couldn’t help myself. But indeed they do just that, plus you can use them in conjunction with regular fondant smoothers to get sharp top edges on your cakes. The benefit of these ones being flexible is that they can conform to the shape of your cake. I also love them particularly for carved/shaped cakes. I wish I had a better picture of smoothers in action to show you, but for now I’ll just have to make do with this one from the teapot cake tutorial that I created for Sweet Magazine. Hopefully you can see there how the thin acetate smoother could bend around the curvy teapot shape.
You can, of course, buy ready-made flexible smoothers. But they’re often expensive, and considering that I regularly throw out a smoother or two by accident while cleaning up after a cake, it’s cheaper to make my own and if I make a bunch at a time then I always have plenty of them on hand.
I use two thicknesses of plastic for my smoothers. The first, and thickest, is stencil/template plastic that I buy from a craft shop, usually in with the sewing supplies. The thickness is approximately 1mm, so they bend a little, but not too much. If you read closely on the packaging for the template plastic in the picture below, it says “textured surface”, this basically means it’s non-slip, but it is still smooth (which is important, if you want smooth fondant, which is the whole reason we’re making these, right?!)
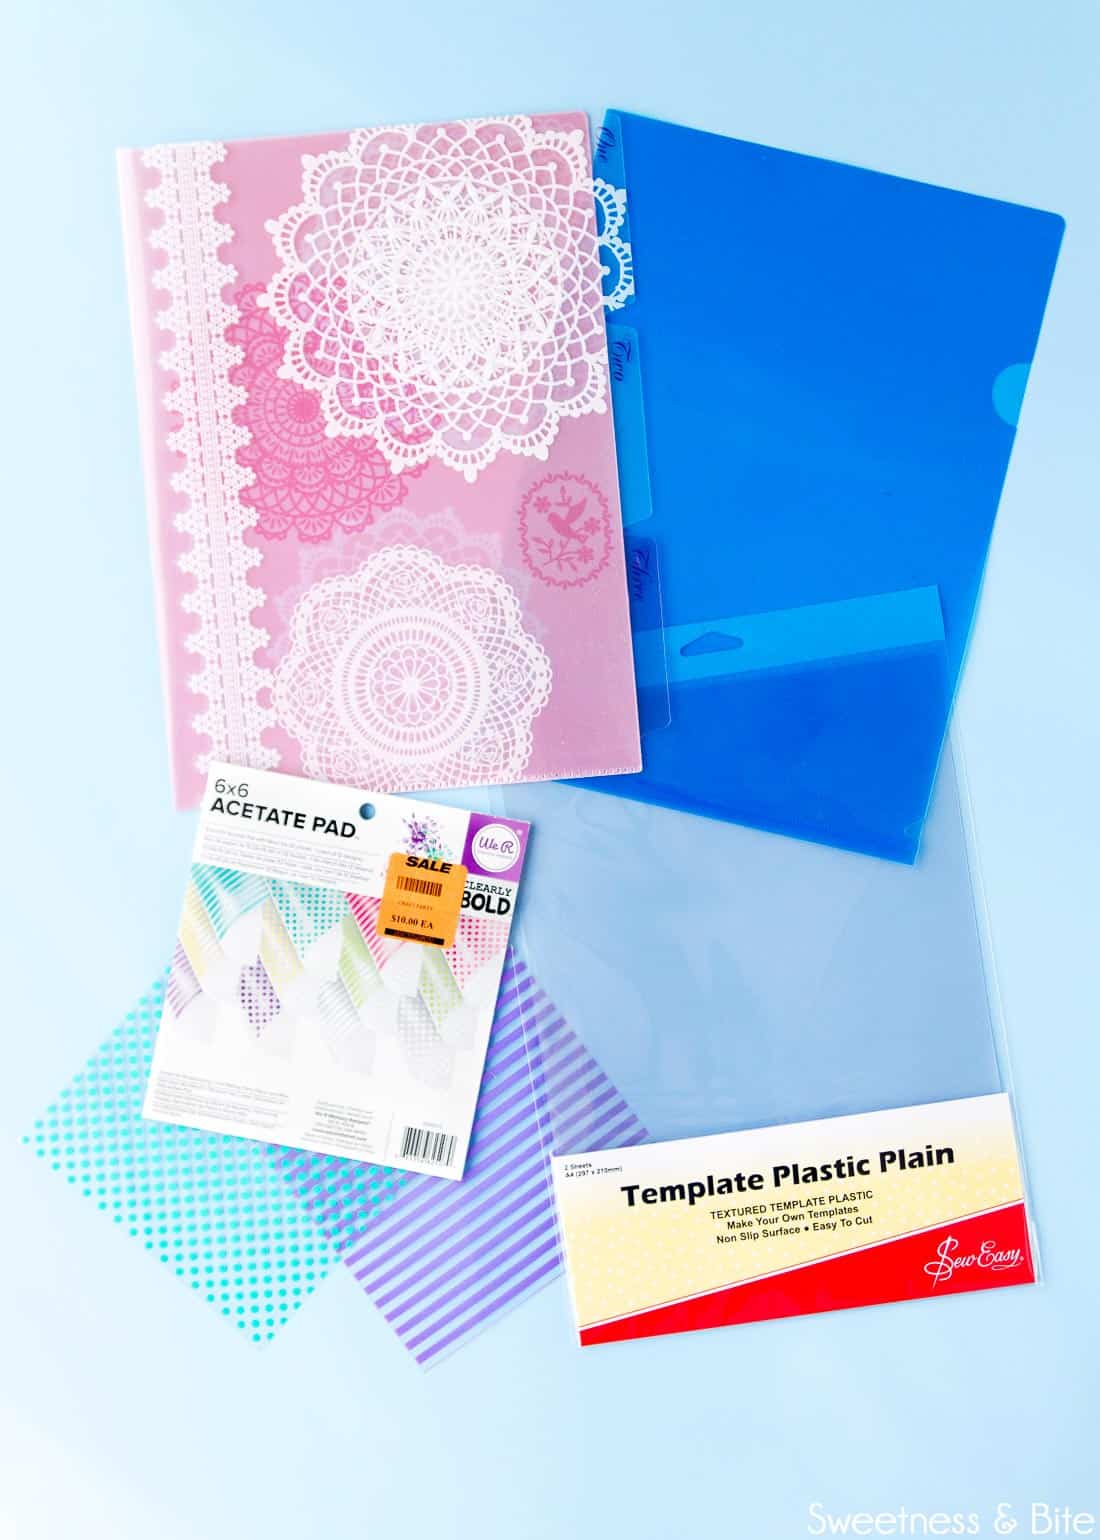
The other plastic I use is acetate, which you can buy from craft supply stores or cake suppliers who sell acetate for chocolate making. I don’t suggest buying the rolls of acetate though, as it’s hard to get those to flatten out completely, and that means your acetate could be bent and possibly gouge bits out of your fondant.
Instead of acetate you can also cut up a thin L shaped, plastic filing folder, like that blue one at the top of the picture. The pink one is the same plastic, it just has several sleeves to it. Which means you can make more smoothers from it, of course.
If you can, I would always recommend getting plastic that is coloured. I don’t know how many times I have misplaced clear fondant smoothers, those things are practically invisible when you’re mid-fondanting and grasping around for a smoother.
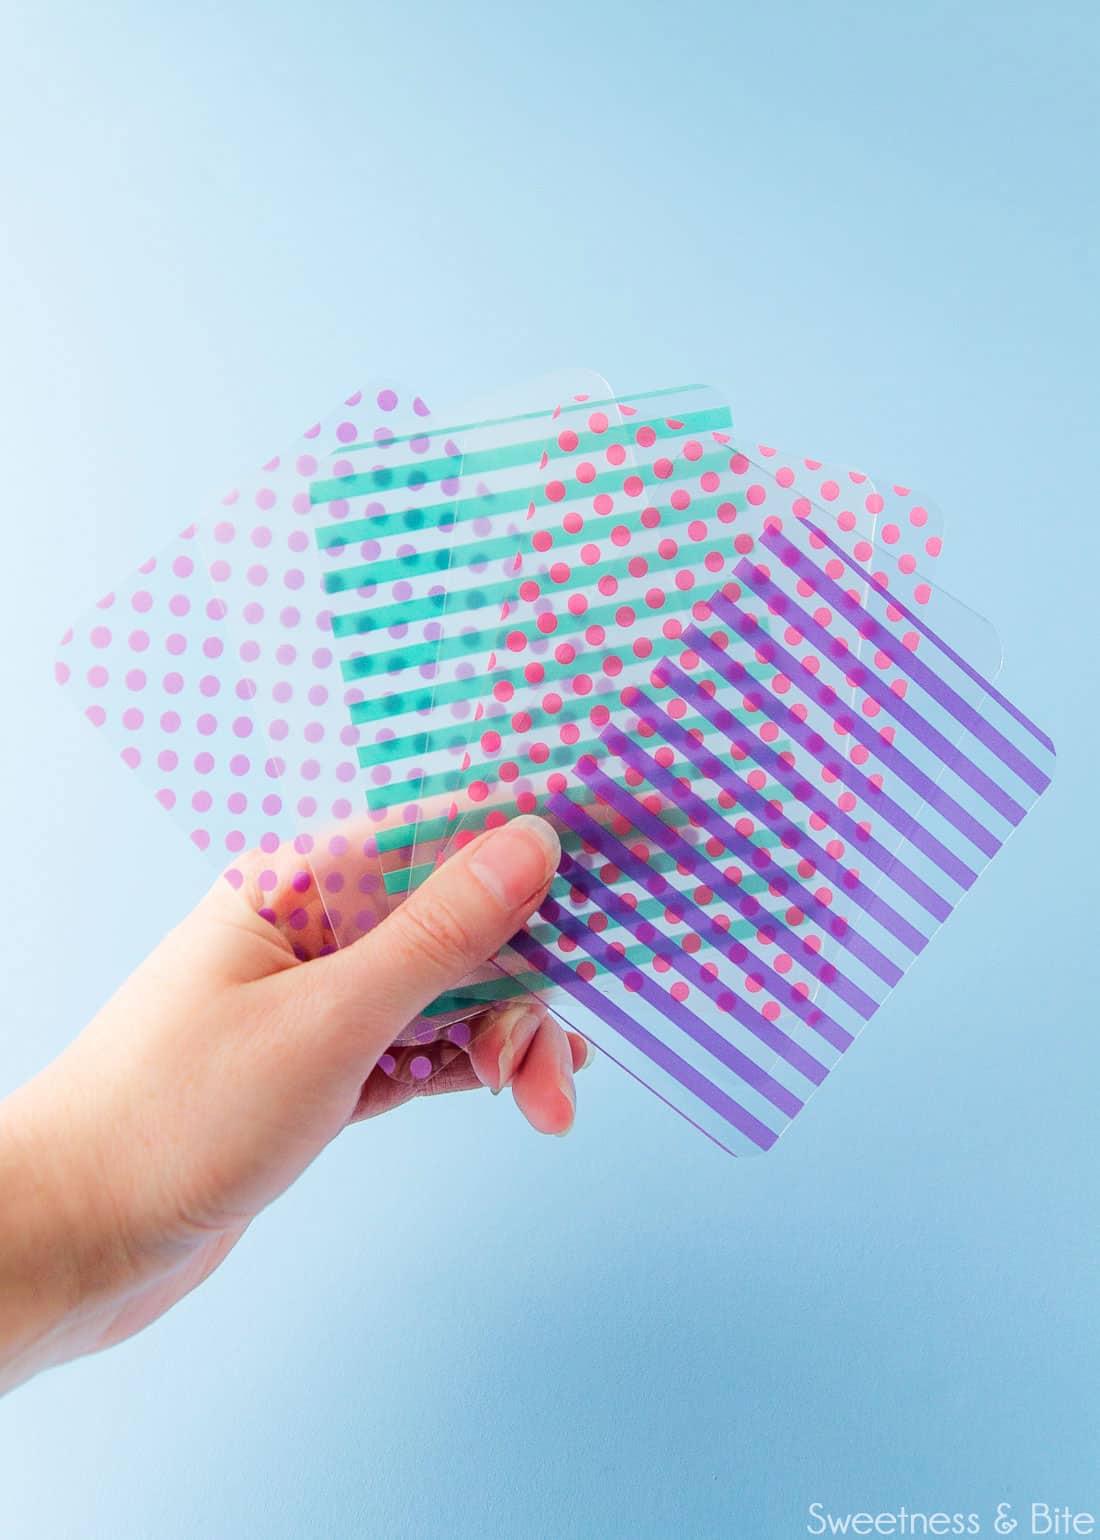
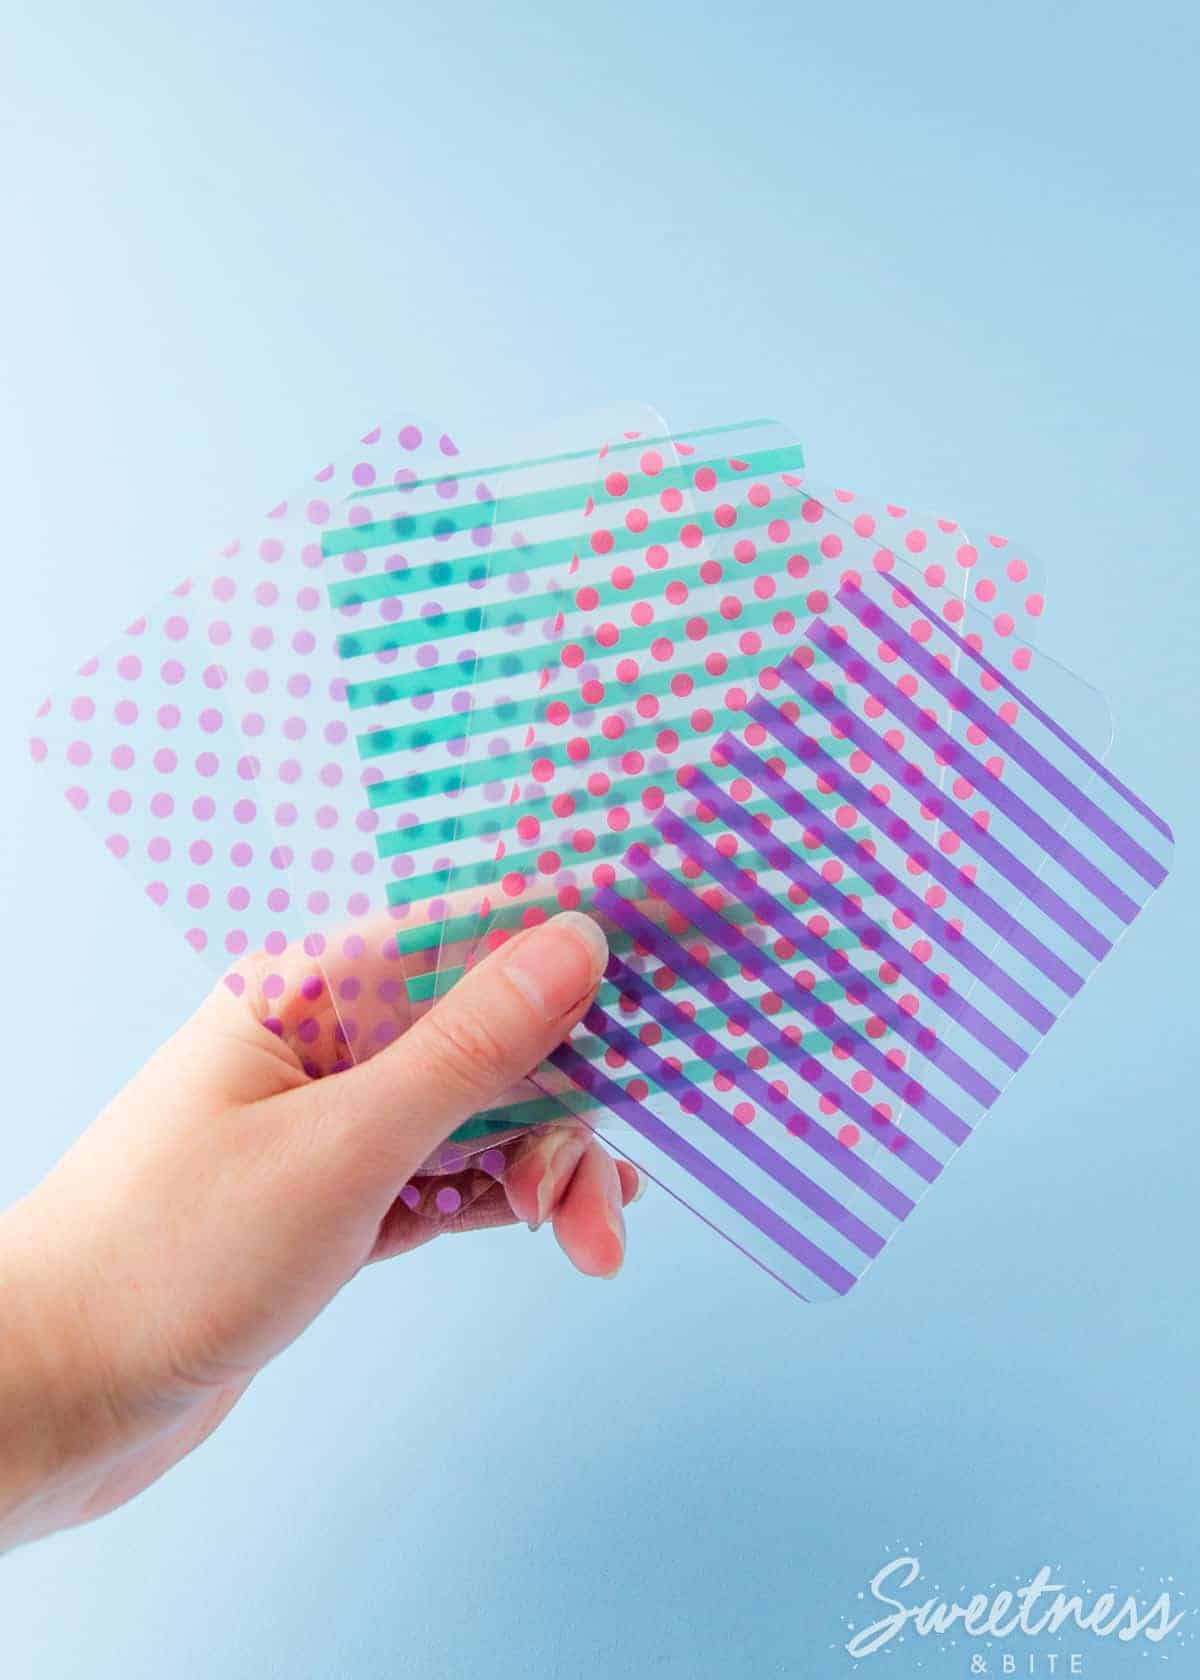
That’s why I was pretty darn excited when I spotted that pad of pretty printed acetate by “We R memory keepers” in our local Spotlight store. If I lose these spotted and striped smoothers, then there really isn’t any hope for me or my eyesight.
I use the thicker plastic smoothers when making sharp edges on my cakes, and the thinner acetate ones for final buffing of the fondant once it’s mostly smooth, and for sculpted cakes. The reason the thinner plastic is good here is because you can then feel any remaining lumps and bumps against your palm, so you can work on smoothing those a bit more. It’s basically like using your hand, but with the benefit of not getting fingerprints in the fondant.
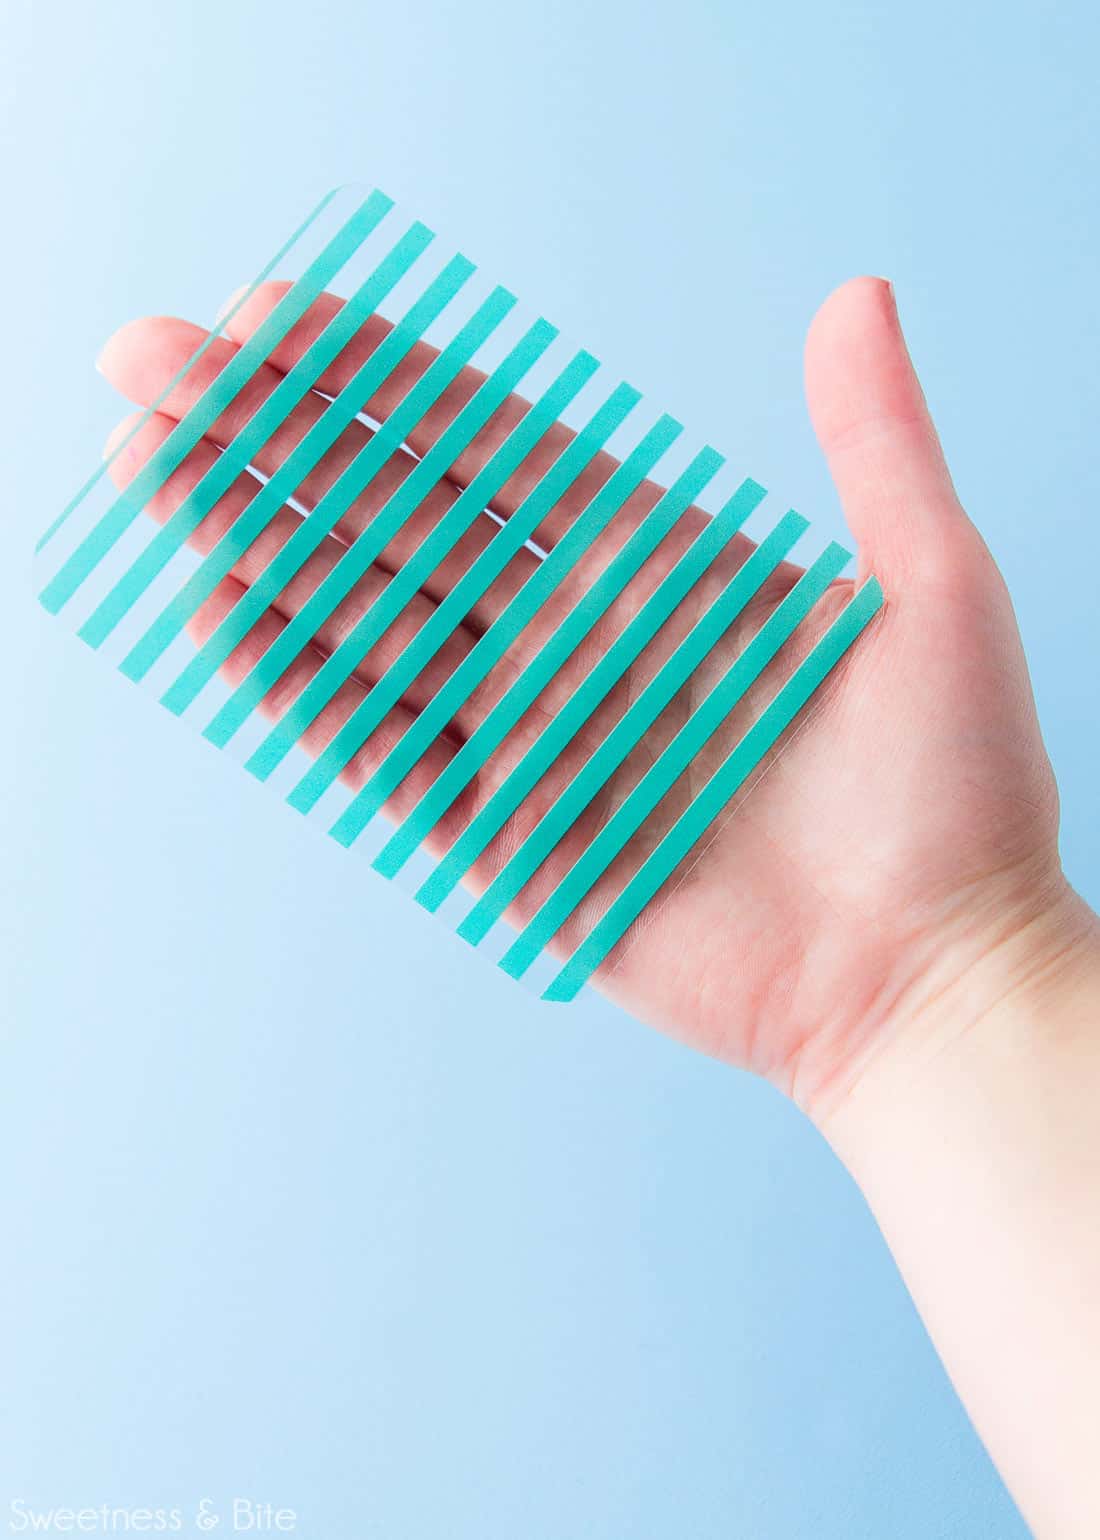
Which leads me to another thing I should mention. While my main flexi smoothers are approximately the size and shape of my palm, I also like to have some itty bitty acetate ones, around the size of two fingers. These are so useful for carved cakes, as they allow you to smooth over various shapes and into small spaces without gouging out the fondant.
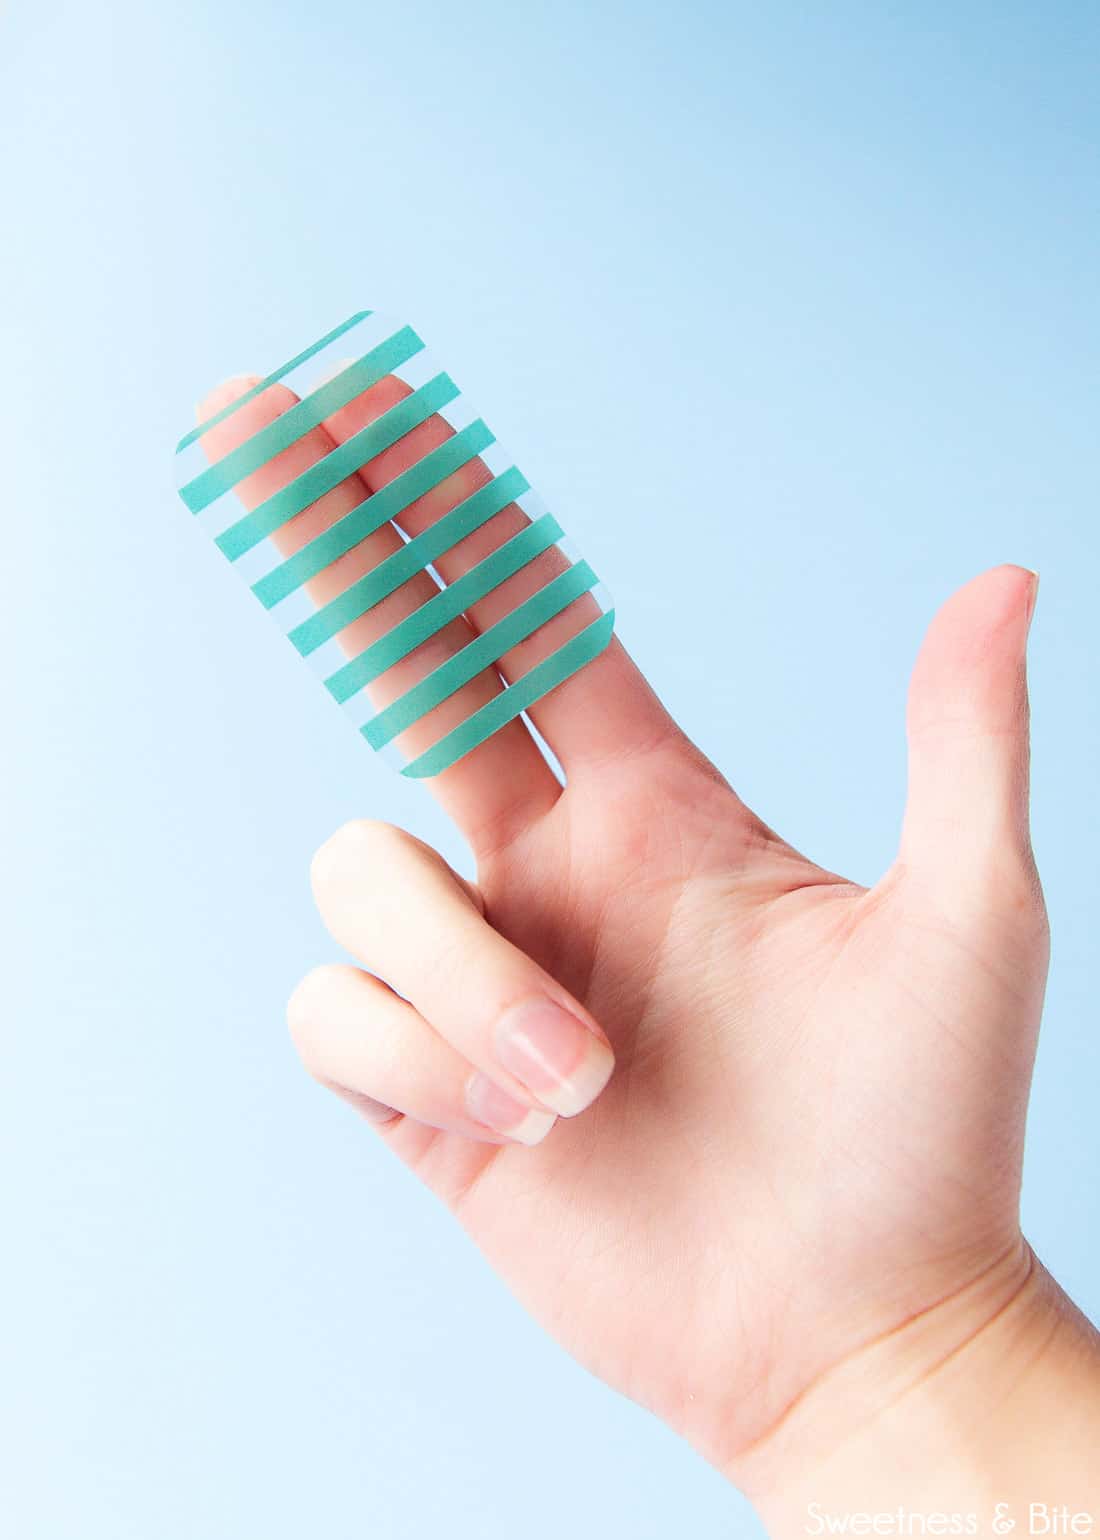
(Side note: I haven’t been able to decide if that picture should be captioned “Gimme all your money!” or “Turn your head and cough”.)
Here’s what you’ll need to make your smoothers:
Your plastic of choice
Self-healing cutting mat
Craft knife
Metal ruler
Marker pen / Sharpie
Scissors
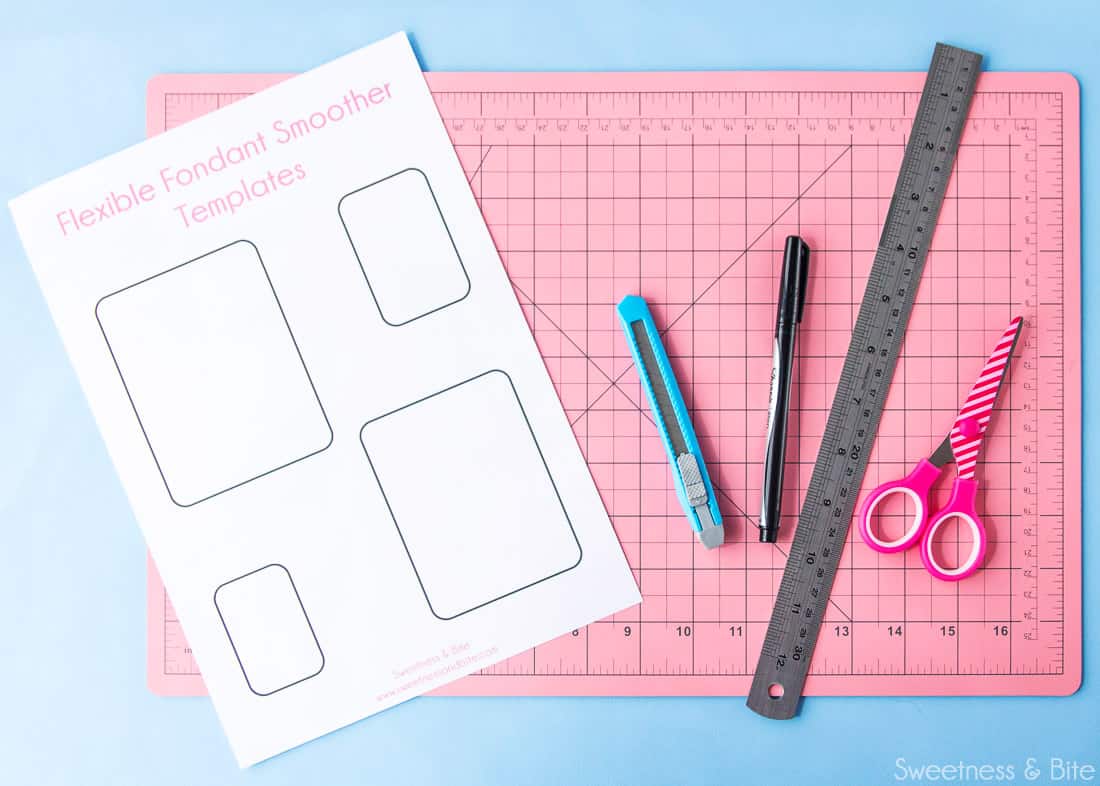
Oh, and you’ll need to have downloaded the template, of course…
Start by cutting out your template. For best results, print it out as “A4 borderless” and print it onto a sheet of thin card. You can also use regular printer paper, but card will make it easier to draw around. I’ve given two slightly different sizes of template for the regular and mini smoothers, you can see which of them is closest in size to fit your hand (or scale them up or down if necessary).
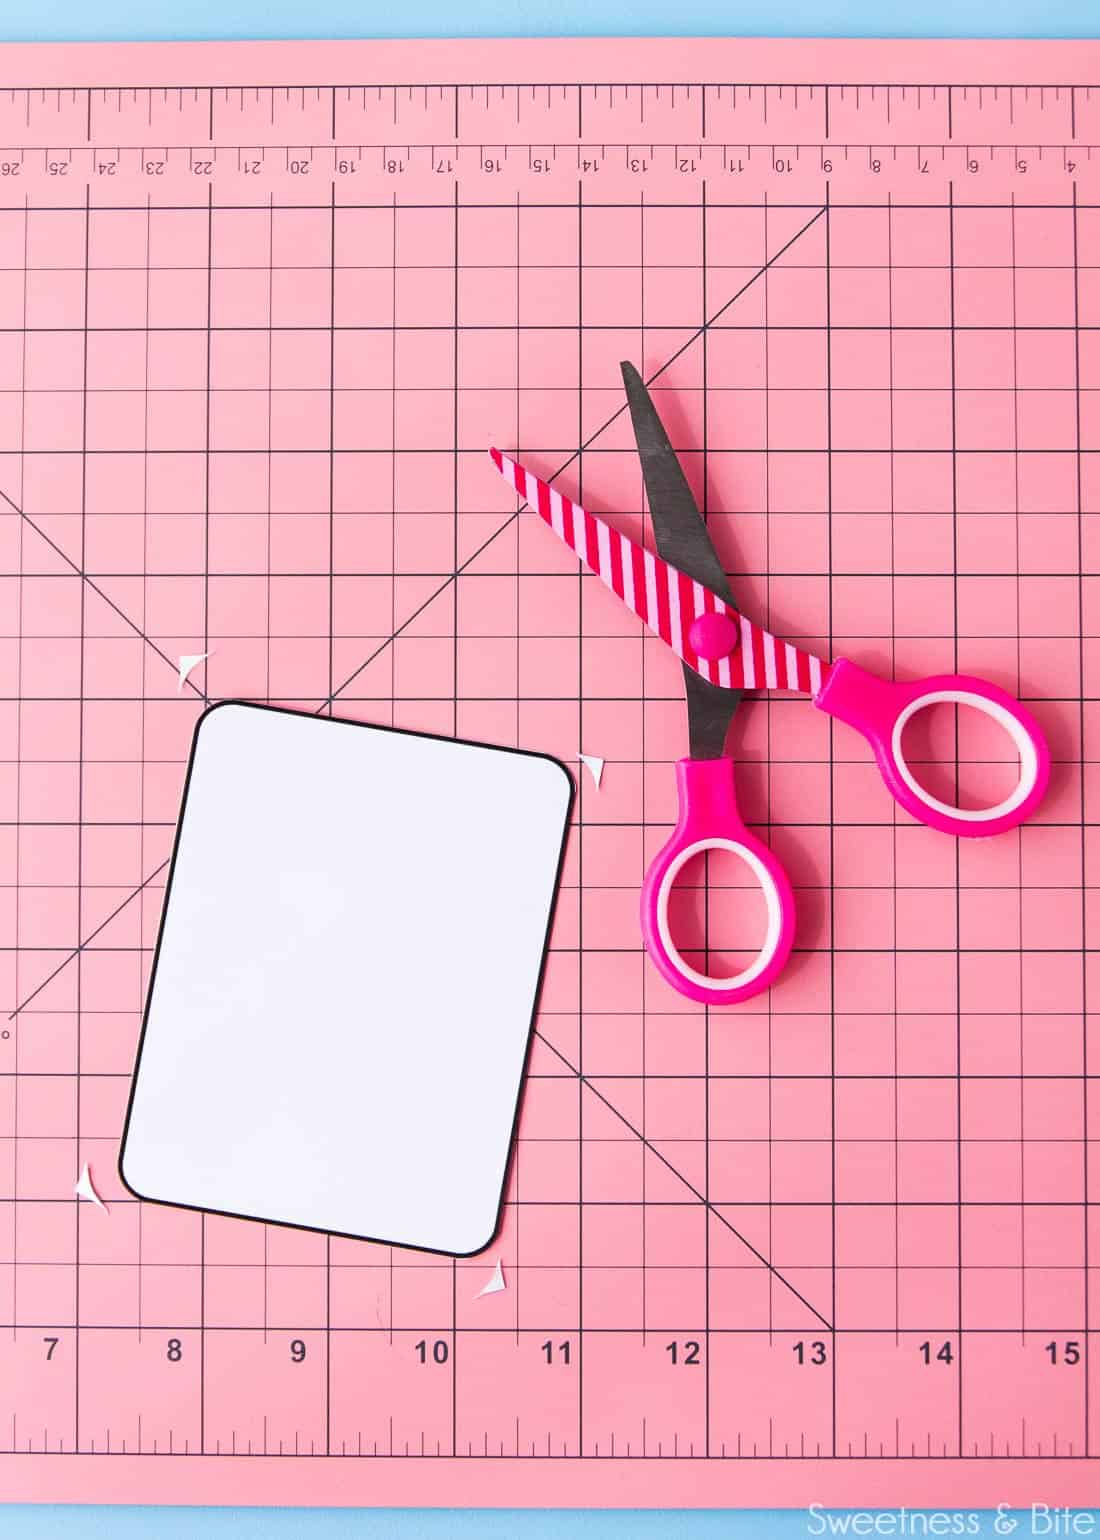
For cutting out both the template and the smoothers, I find I get the neatest results by using a ruler and craft knife to cut the straight sides, and then use small scissors to round off the corners.
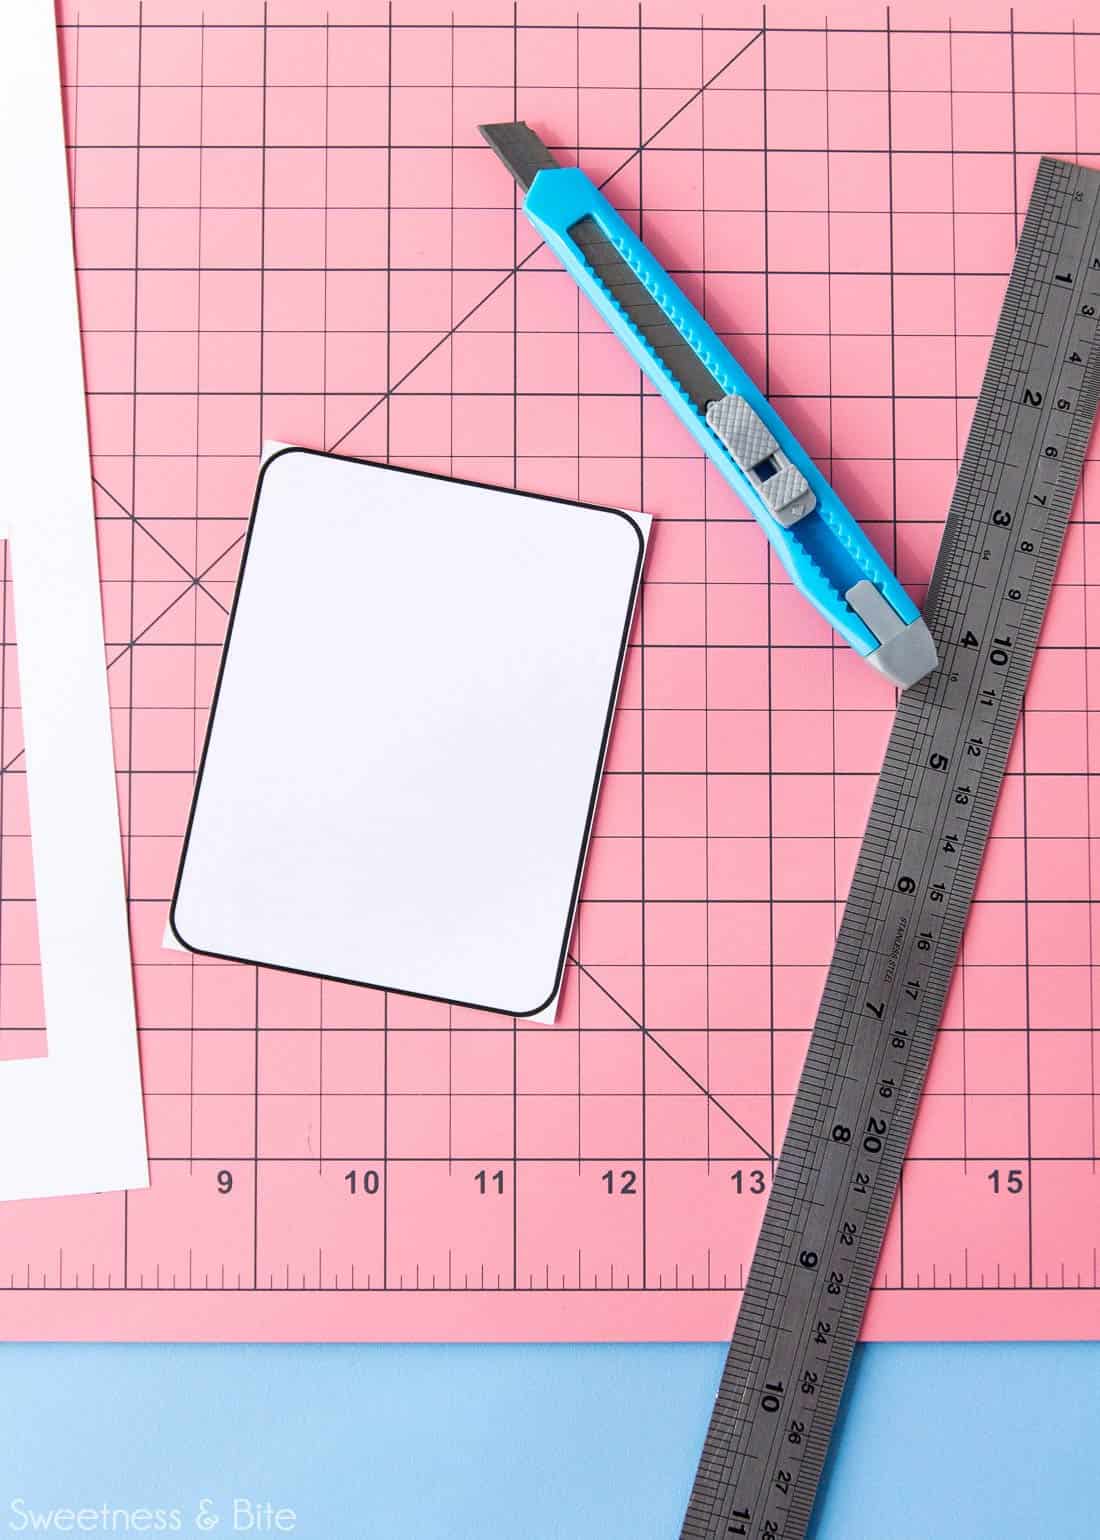
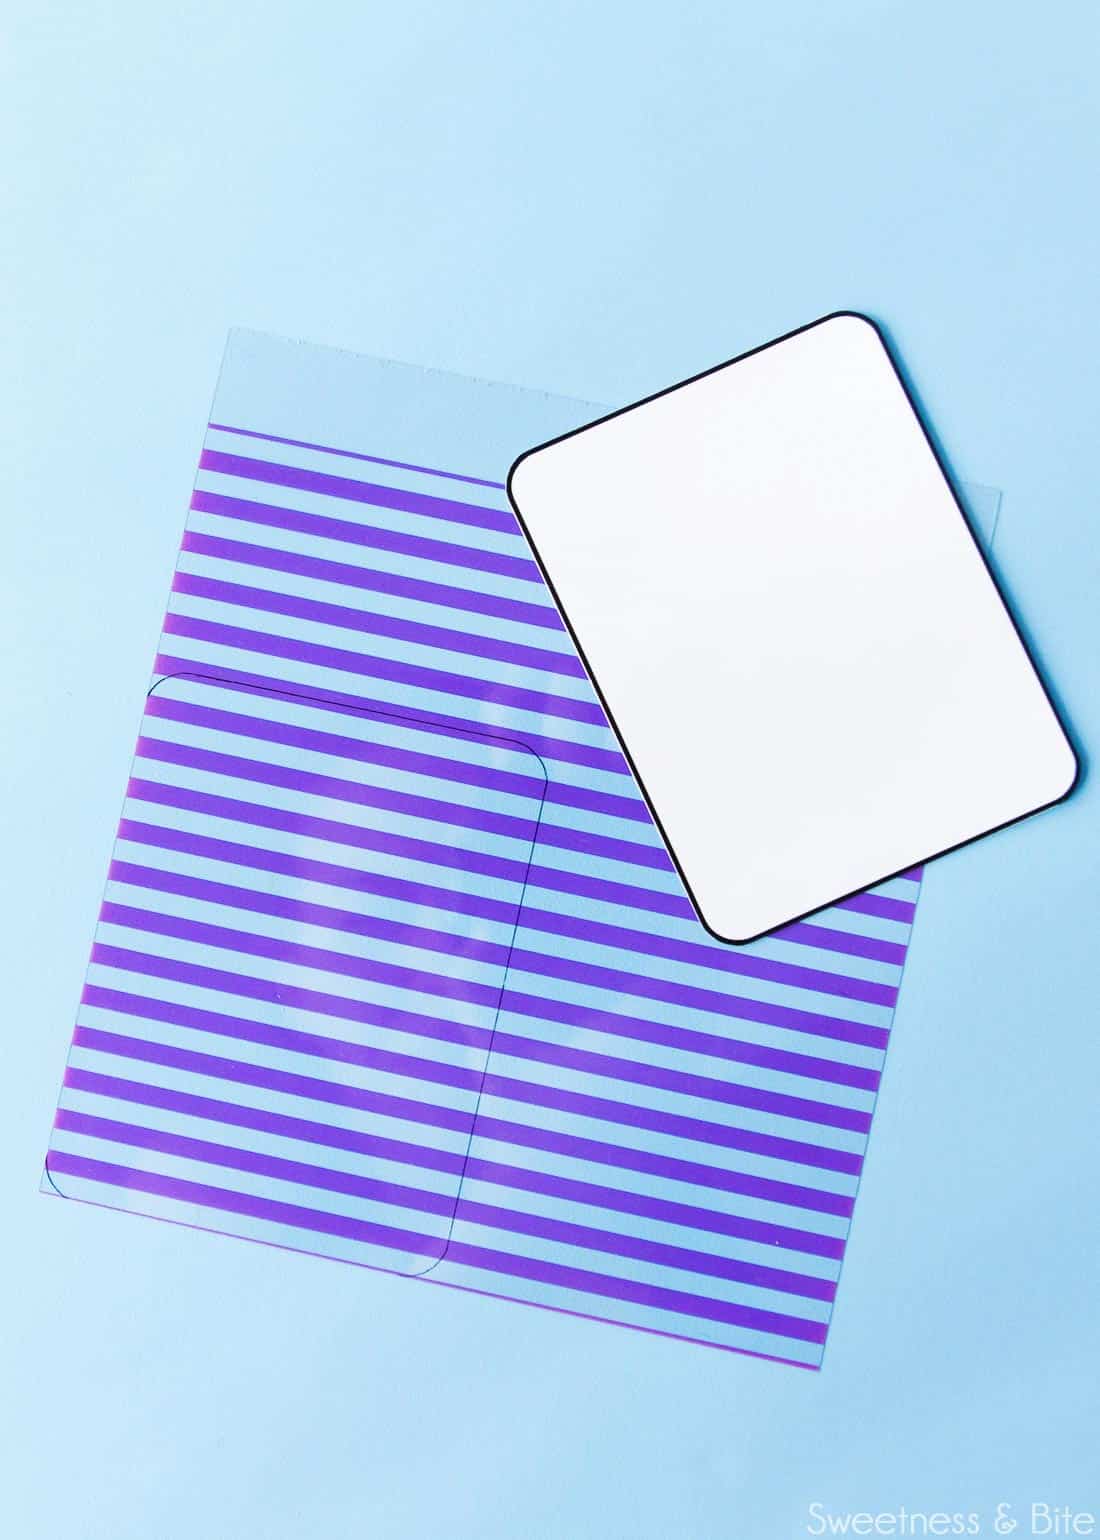
Line the template up with a corner of the plastic, and draw around it. (If you look hard enough into the plastic in the picture below, you may see a reflection of my face and the camera. On second thoughts, don’t… don’t look.)
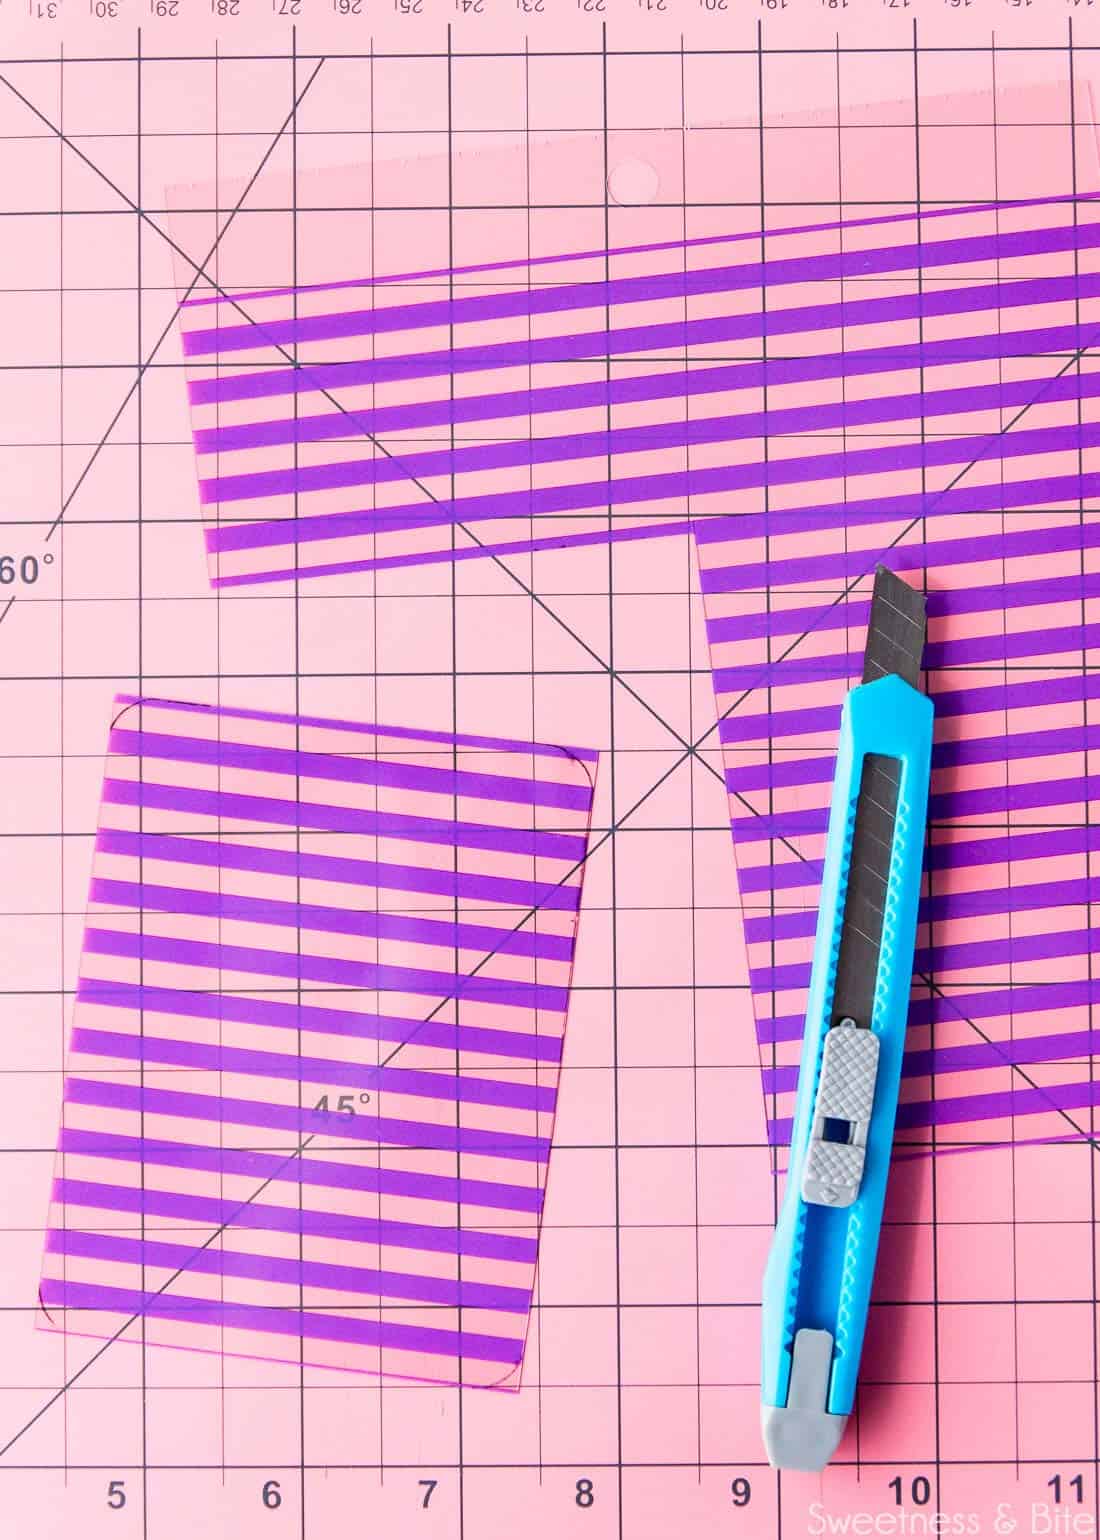
And just like the template, cut out the straight sides with the craft knife…
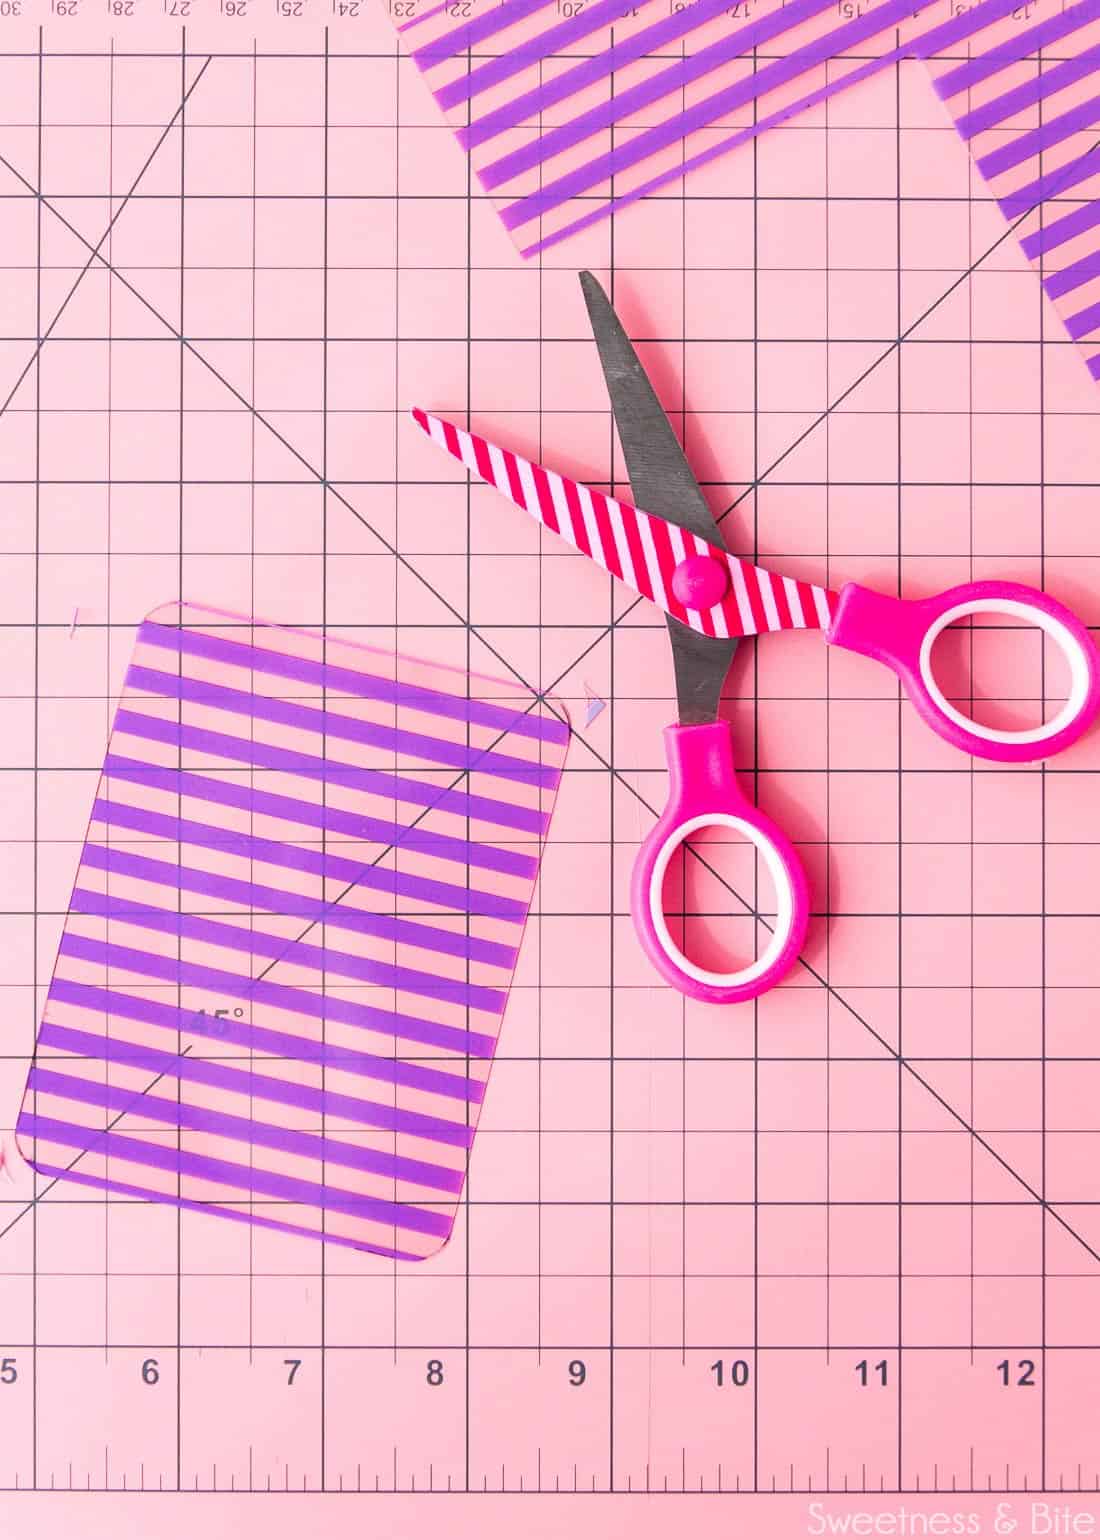
And round off the edges with the scissors.
Then use a splash of isopropyl alcohol on a paper towel to remove any remaining lines of marker. Even permanent marker has a habit of rubbing off the plastic, so it’s better to remove it now.
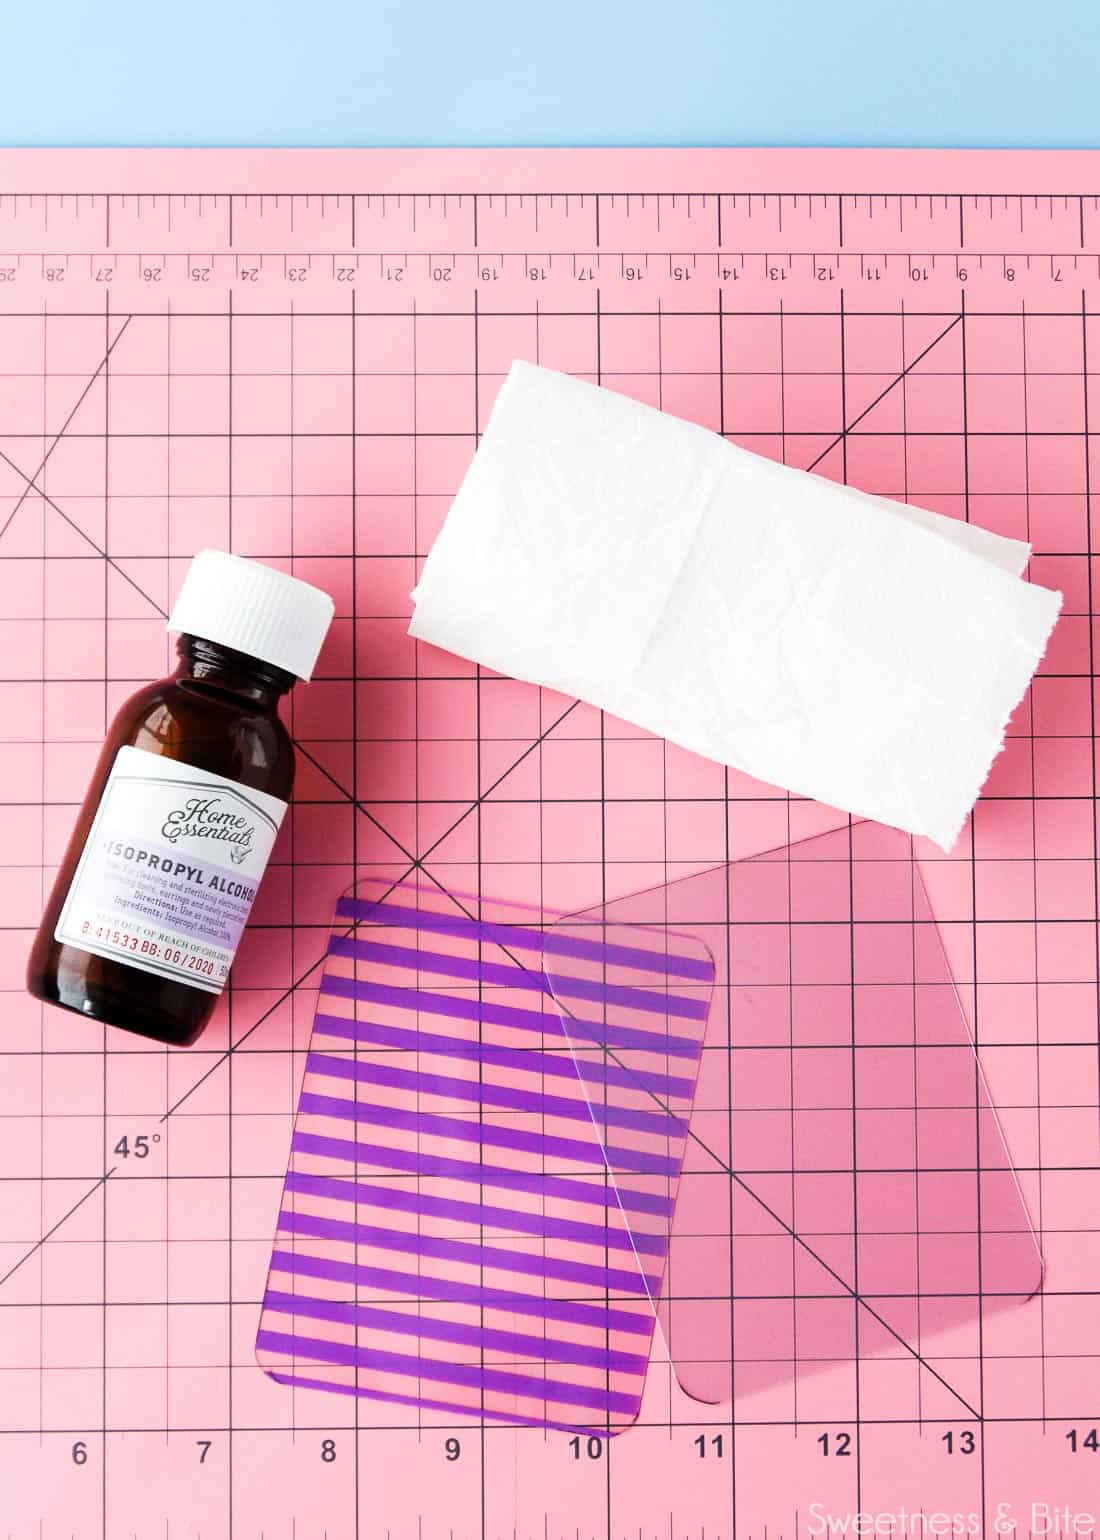
Aaaand, yep that’s it. Repeat those steps for as many smoothers as you want. The process is exactly the same for the thicker template plastic, just make sure you run your finger around the edges of those ones, as sometimes the plastic doesn’t cut as smoothly as the acetate. You don’t want ragged edges ruining the fondant you’re trying to perfect.
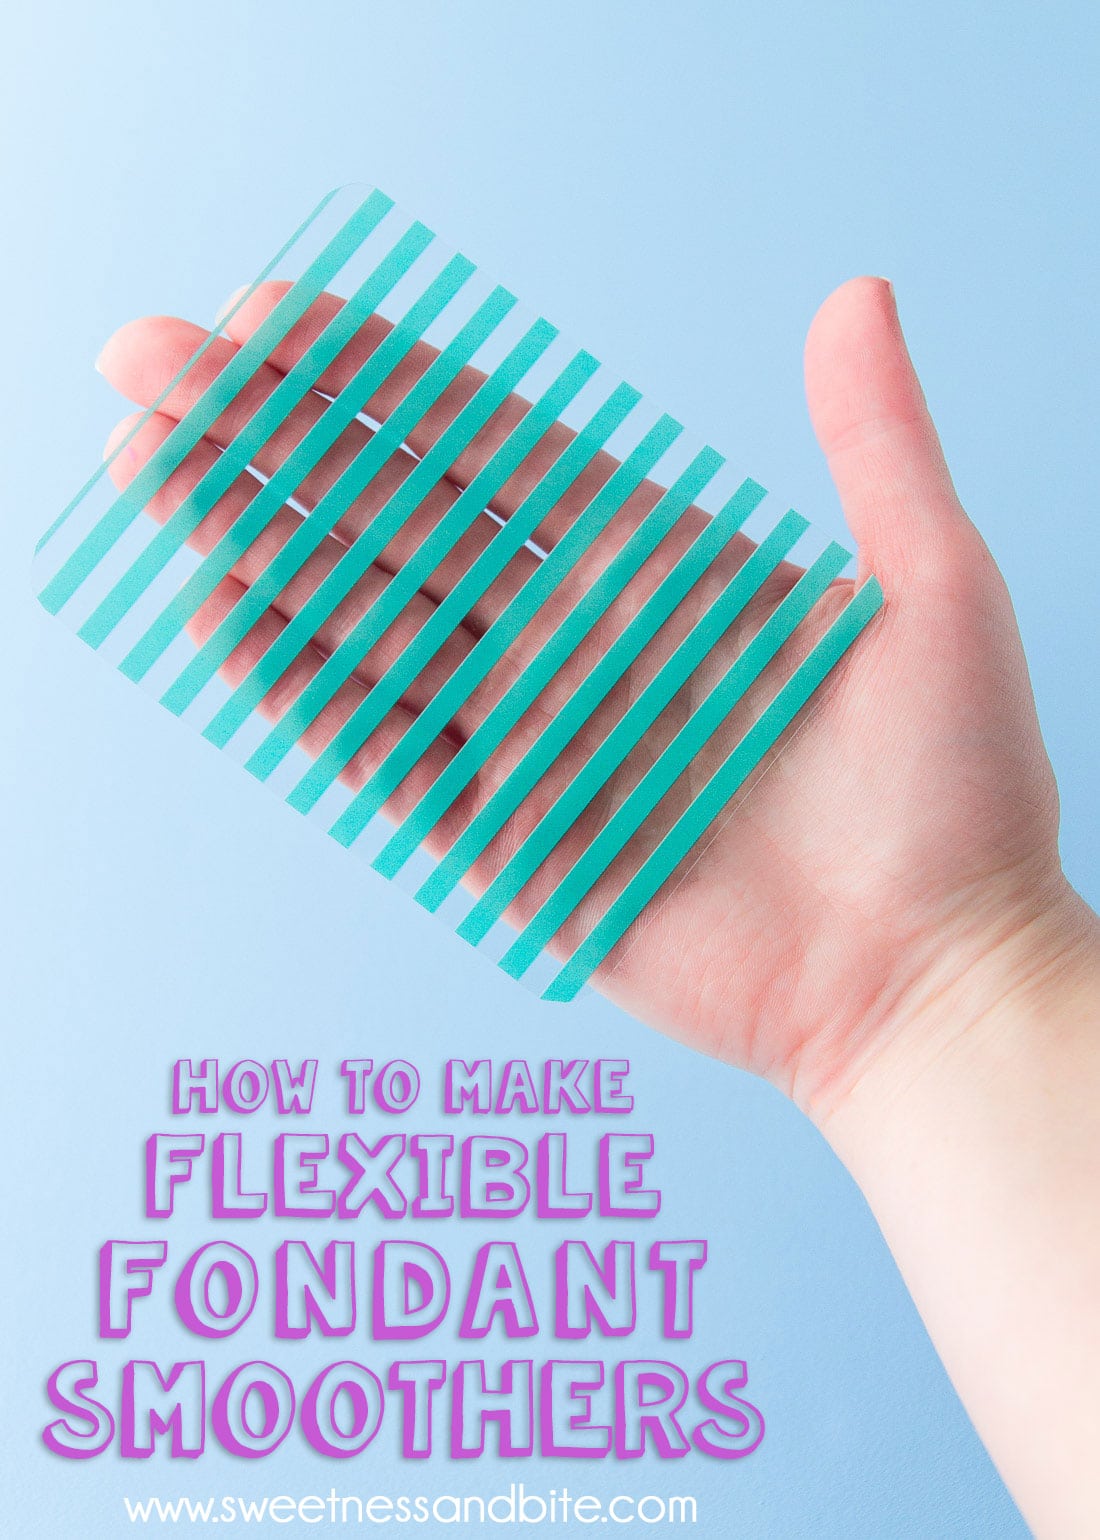
After each use, it’s a good idea to give the smoothers a wash in some soapy water to remove any bits of fondant or whatever it is that you use on your fondant to stop if sticking to your bench. Then give them a rinse and leave ’em to dry, ready for next time. And just try not to throw them out by accident…
Happy smoothing!
Natalie
xx


