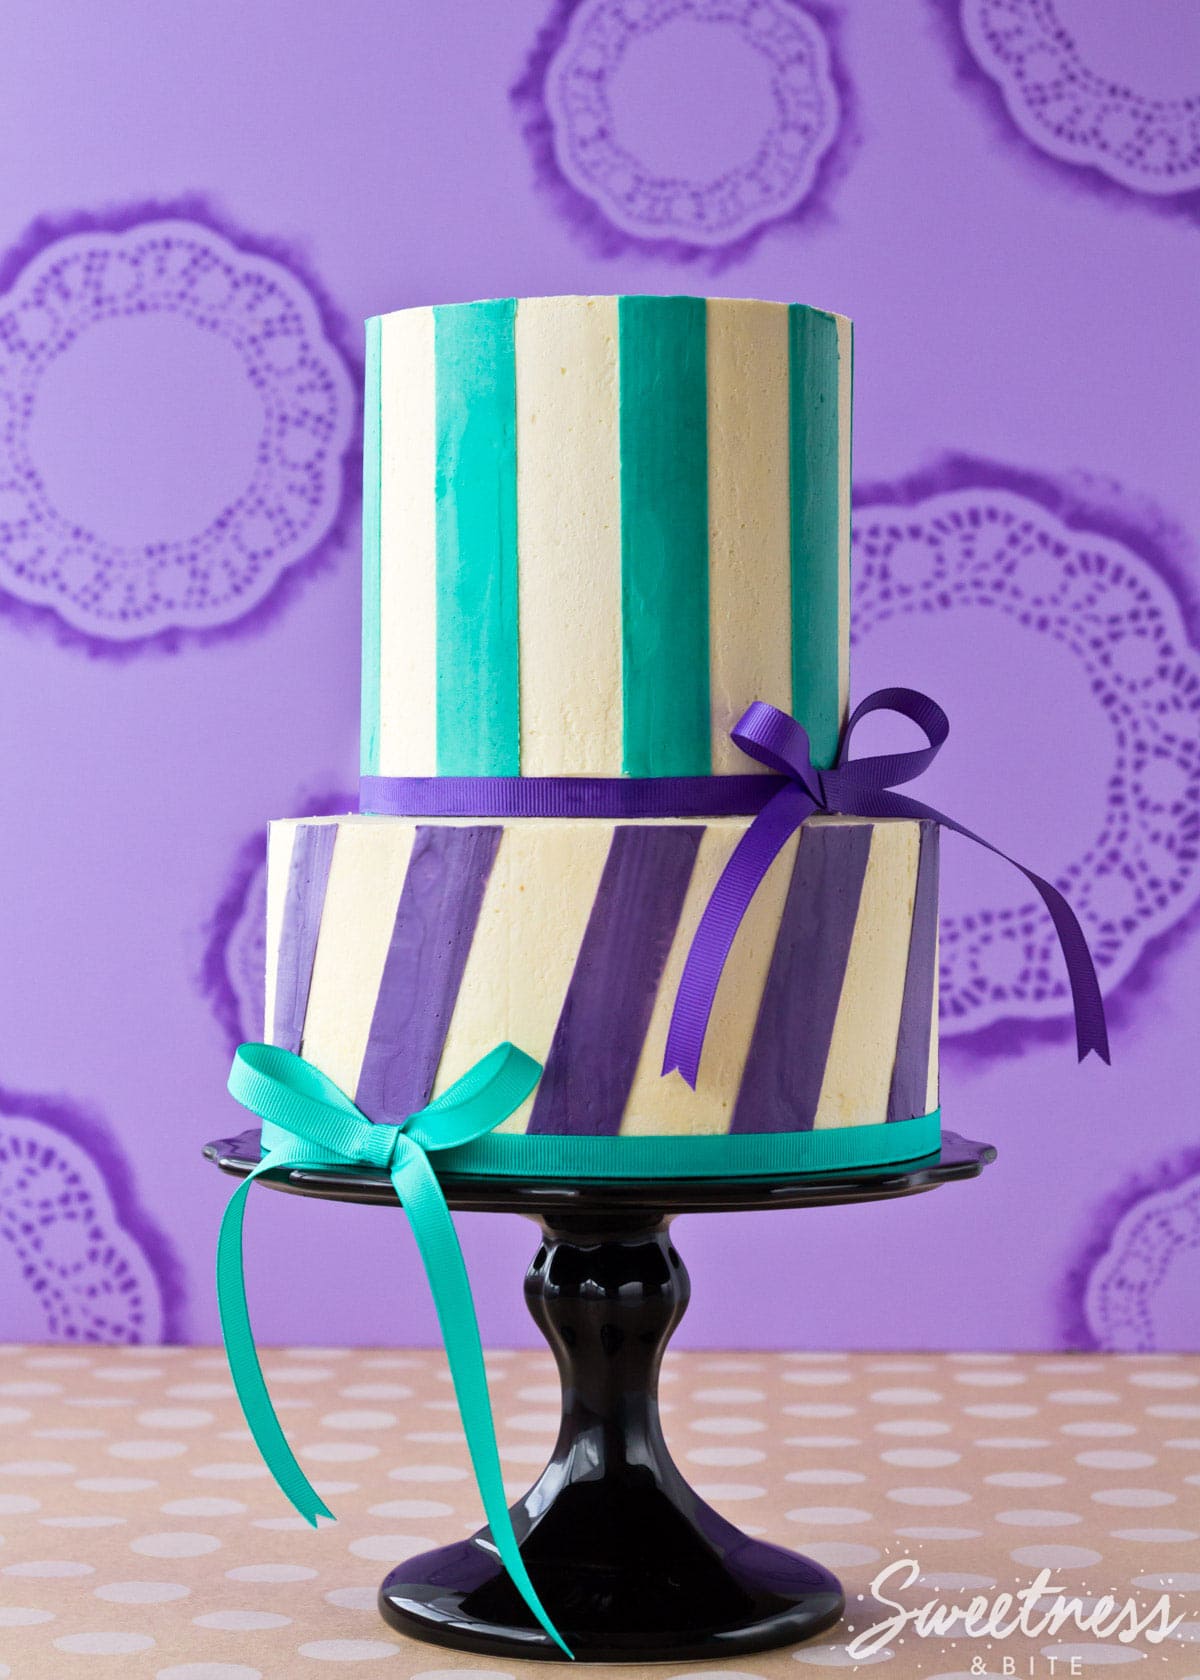
Perfect Buttercream Stripes ~ {Part One}
This post may contain affiliate links to products I recommend. I receive a small commission at no cost to you if you make a purchase using my link.
Ooh, have I got a good one for you today! In fact, it’s so good I’ve had to split it into three posts!
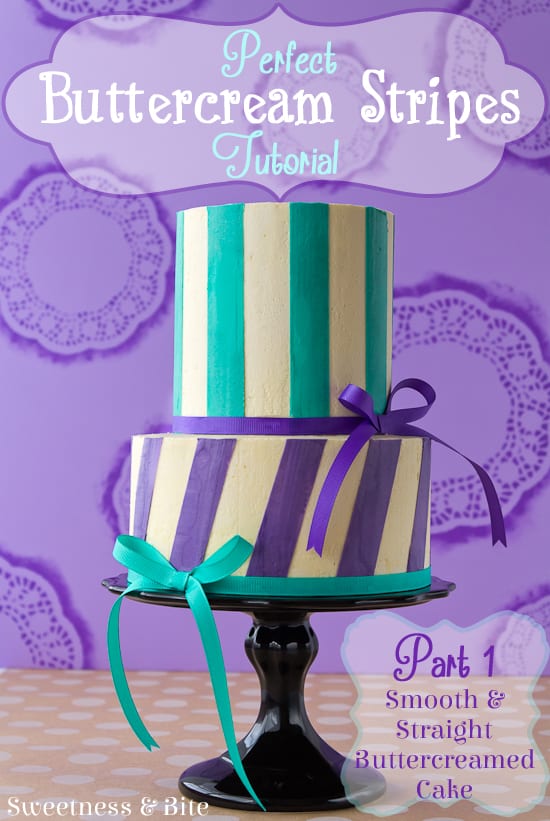
Ok part of the reason I’ve split it is because I tend to ramble and I have a shutter obsession so there are lots of pictures. But really, when it comes to cake pictures, more is really more, right?
One of the things I love most about cake decorating is learning a new technique and then being able to take it in new directions. Like my Sponged Abstract Buttercream Stripes tutorial, this stripe technique was inspired by Jessica Harris’ Clean and Simple Cake Design Craftsy class where she does some great things with waxed paper, fondant and modelling chocolate. I love that it translates so well into using it with buttercream. In this case we’re basically using the paper like masking tape – masking off some areas and ‘painting’ the rest with coloured buttercream.
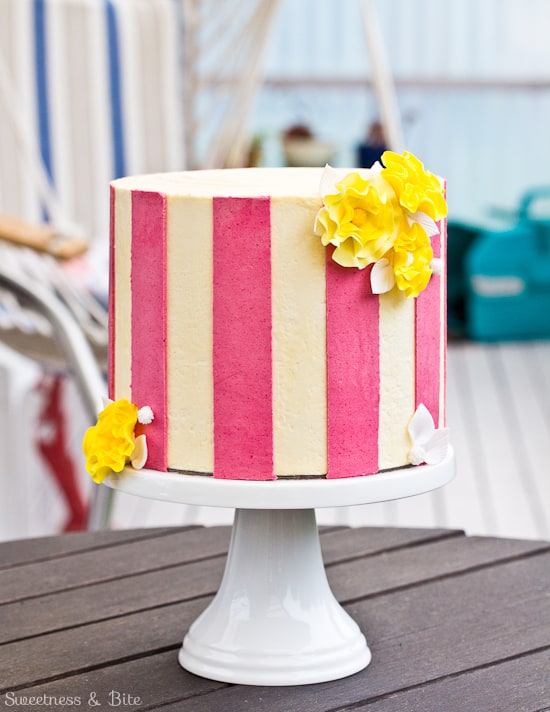
I made this pink striped cake for my Nonna’s birthday in June. I had some raspberry buttercream left over from filling the cake, and I knew I wanted to do something on the outside with it too, but I can’t pipe to save myself. I had this idea for some vertical stripes, and it happened to be one of those awesome (and rare) moments when my crazy idea turned out almost exactly how I’d planned.
For this two tier cake (that I made especially for you… Happy Birthday!… or not) I decided to go one step further and make one cake with diagonal lines, which are only slightly more difficult than the straight ones. The important step to making sure you have straight lines is making sure you have straight cakes. To do this I apply buttercream to my cakes the same way I apply ganache, using a straight angled scraper, a ‘lid’ (extra cake board on top of the cake) and flipping the cake upside down. If you’re familiar with ganaching cakes, this is kind of hybrid of the traditional way and the “upside down” method. If you’re not familiar with it, then don’t freak out, I’ve broken it right down for you!
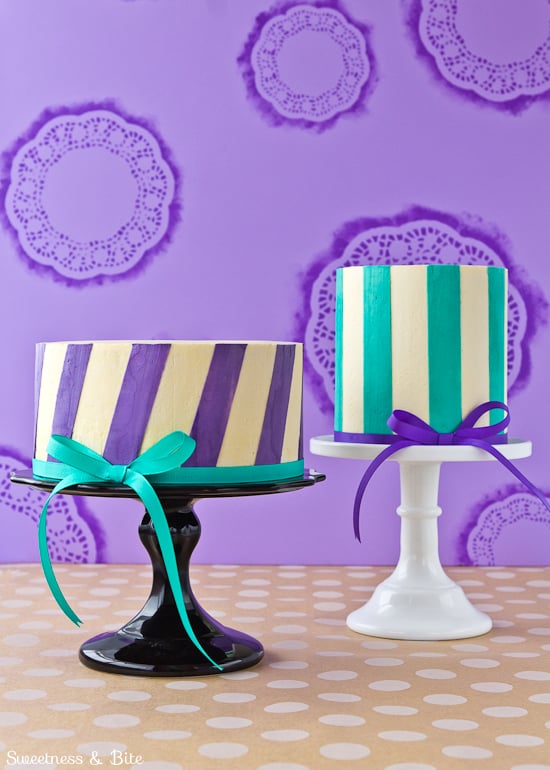
I usually use meringue buttercream (Swiss or Italian) on my cakes so that is what I’ve used here, however I imagine this would also work well with an American crusting buttercream too. One of the little issues with this technique is that some of the buttercream can come away on the waxed paper strips. I don’t mind this too much, but if you like perfectly smooth buttercream I would suggest trying it with a crusting buttercream.
When I’m working with two tiered cakes I find it easiest to switch back and forth between the tiers (work on one cake while the other chills, then swap, etc.) but you can do whichever way works best for you. I suggest reading through at least the first two parts of the tutorial before you start, just so you know what’s coming up and where you’re heading.
I’ve split this tutorial into three parts- covering the cake in buttercream to get straight and smooth sides, how to do the vertical stripes (including how to make the guides for perfectly spaced and straight stripes) and how to do the diagonal stripes. Parts two and three will be coming soon, in the meantime lets talk about getting this straight and smooth buttercream finish.
Perfect Buttercream Finish
*
For my two tier cake I used one five inch tall five inch round cake, and one three inch tall seven inch round cake. I used one batch of Sweetapolita’s Swiss Meringue Buttercream, which was enough for both tiers with some to spare.
What you’ll need:
Your cake
Buttercream
Two cake boards the same size as your cake
Waxed paper and baking paper
Plain white paper & pencil
Cutting board and small serrated knife
Turntable
Two setup boards or cake boards, at least several inches larger than your cake
Non-slip mat – one piece to go between your turntable & setup board, and one piece slightly smaller than your cake board
Spatulas and a right-angled scraper
Trace the cake board onto both a piece of waxed paper and a piece of baking paper. (I like using the baking paper for when I’m buttercreaming the cake and the waxed paper for when I do the stripes. If you only have one of these then just use that.) Cut very carefully around both circles. Then also trace around the cake board onto a piece of plain paper. My cakes were small so I just used printer paper. Set aside the waxed paper circle and the piece of paper.
Take your baking paper circle, attach it to one of the 5” cake boards using a few dabs of buttercream and put this in the fridge to set the buttercream. This board will be the ‘lid’ that helps to give perfectly straight sides to your cake, and the paper will make it easy to remove the board when you’re ready.
Split your cake into as many layers as you’d like, and trim each layer down so that the layers are ¼“ (5mm) smaller than the size of your cake board. This will make sure you have a nice layer of buttercream on the cake, and it gives you room for both your crumb coat and your (hopefully) crumbless top coat. I have a template cut out from a thin plastic cutting board that I use to do this.
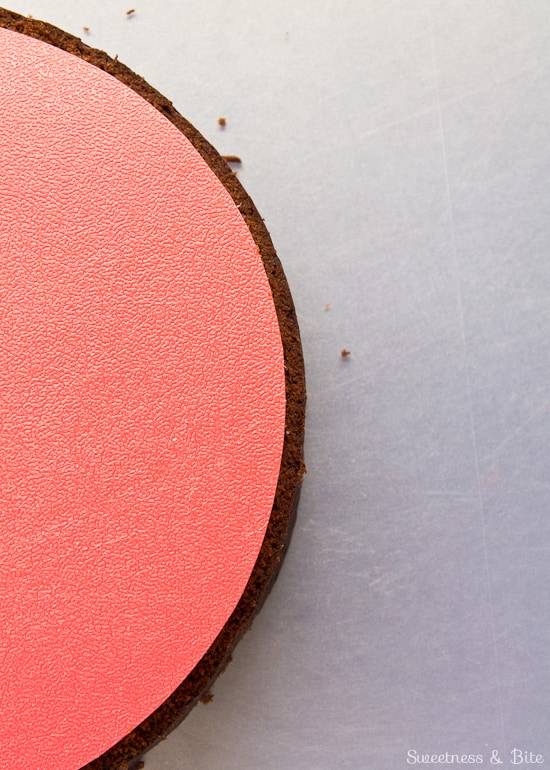
Place a piece of non-slip mat between your turntable and setup board, and then place your other cake board on top, securing with the smaller piece of grippy mat. Stick your first layer of cake to the board with a dab of buttercream, then fill and stack all your layers with however much buttercream you like to use. Spread a thin layer of buttercream over the whole cake. Place the baking paper covered cake board on top of the cake, and use a right angle or scraper to make sure the board is centred, checking with it the whole way around the cake. Refrigerate the cake until the buttercream is firm.
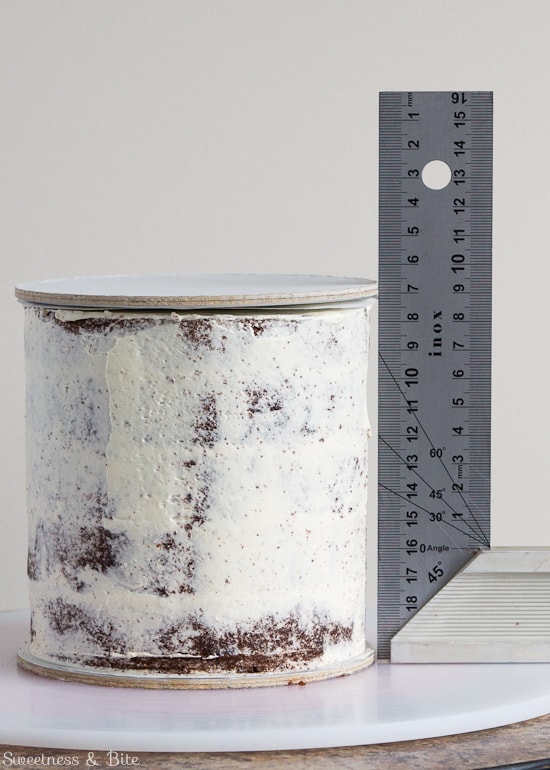
Start applying a thick layer of buttercream to the sides of the cake, being careful not to let your spatula touch the crumb coat or you may still pick up some crumbs. Put on a nice thick layer.
Grab your right angled scraper and press it up against the cake, making sure it’s pressed up against both cake boards. Scrape gently, turning the turntable until you’ve removed the excess buttercream. Check around the cake for any holes or dips in the buttercream (like the ones in the picture below), fill them in and scrape again.
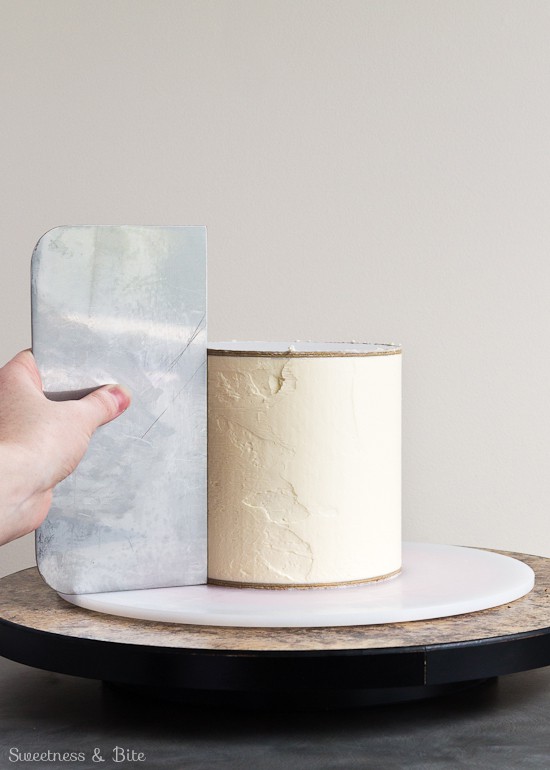
You can rinse your scraper under warm water and dry before scraping the cake again, to help it get nice and smooth. Try not to let the scraper get too hot though or you will melt the butter and you could end up with buttery streaks. Once you’re happy with the sides, put the cake in the fridge and chill it until the buttercream is firm.
Slide a spatula under the top cake board, trying to get the spatula between the board and the piece of baking paper. Slide the spatula all the way around the top edge of the cake until the board pops off. Peel off the baking paper. Spread a layer of buttercream over the top the cake, spreading it so it goes a little over the edges on the cake.
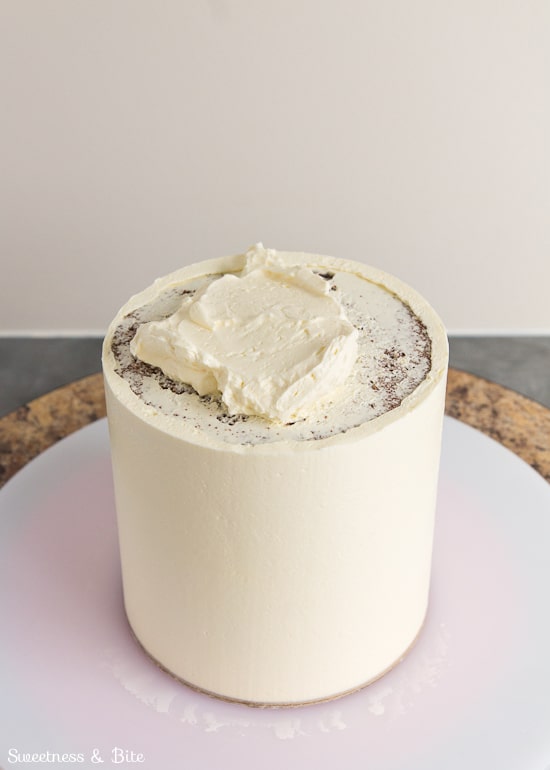
Place a piece of baking paper over the top of the cake and smooth out any big air bubbles.
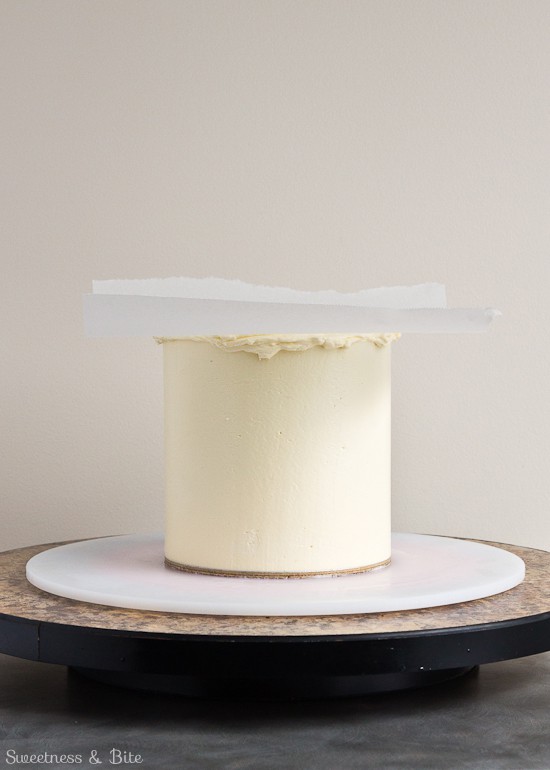
Place a second setup board on top of the cake, then flip the cake over, so that the cake is upside down on this second board, remove the first setup board and the piece of non-slip mat, and press down gently on the cake. Place a spirit level on top of the cake board and gently press where needed until the cake is level. The buttercream should squeeze out a little around the edges at the bottom. If there are any parts where the buttercream has not squeezed right to the edge of the cake, then use your spatula to add a bit more buttercream to that area.
Warm your scraper slightly under warm water and scrape the excess buttercream off. Make sure you keep your scraper straight or you will scrape away the straight sides!
Pop the cake back in the fridge until the buttercream is firm.
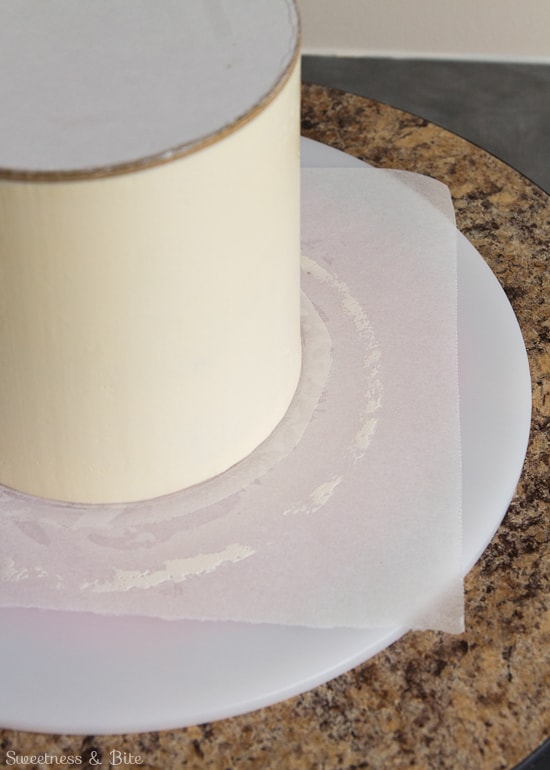
While the cake is upside down, this is also a good opportunity to clean up any excess buttercream on the bottom of your cake board.
Flip the cake back over and peel off the baking paper. If it doesn’t come away easily then your cake may not be quite chilled enough, so pop it back in the fridge for a little longer before trying to remove the paper.
Fill in any little holes on the top of the cake with more buttercream and smooth with the spatula. Warm up your scraper and scrape once more around the sides of the cake. You may end up with a little ridge of buttercream along the top edge, like I have in the picture below- use your spatula to gently smooth it inwards, from the top edge towards the middle of the cake. Chill the cake until the buttercream is firm before you start your stripes.
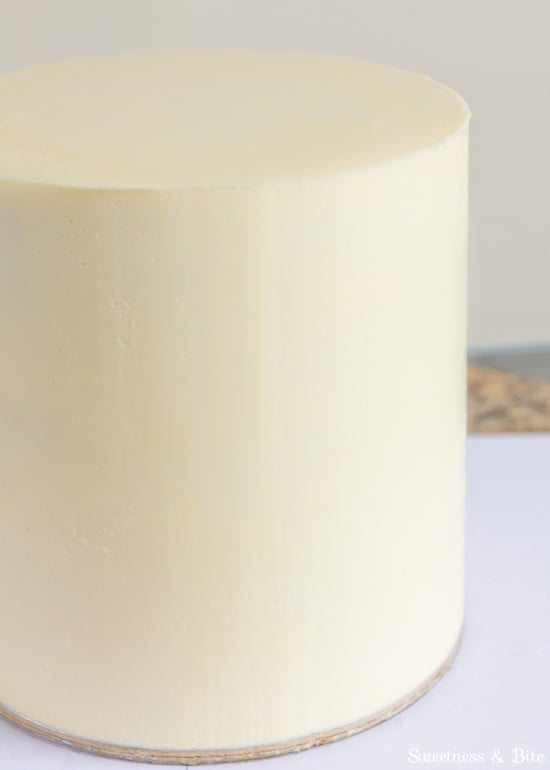
So there you have a nice smooth buttercream finish. I’ll be back soon with Part Two – Prepping for the stripes, and applying the vertical stripes. To make sure you don’t miss it, pop over and ‘like’ my Facebook page and I’ll let you know when part two is up 🙂
If you have any questions please post them in the comments 🙂
~Natalie
x
{This post contains affiliate links, which means I earn a small commission if you purchase through those links. I only recommend products I truly love and use.}

