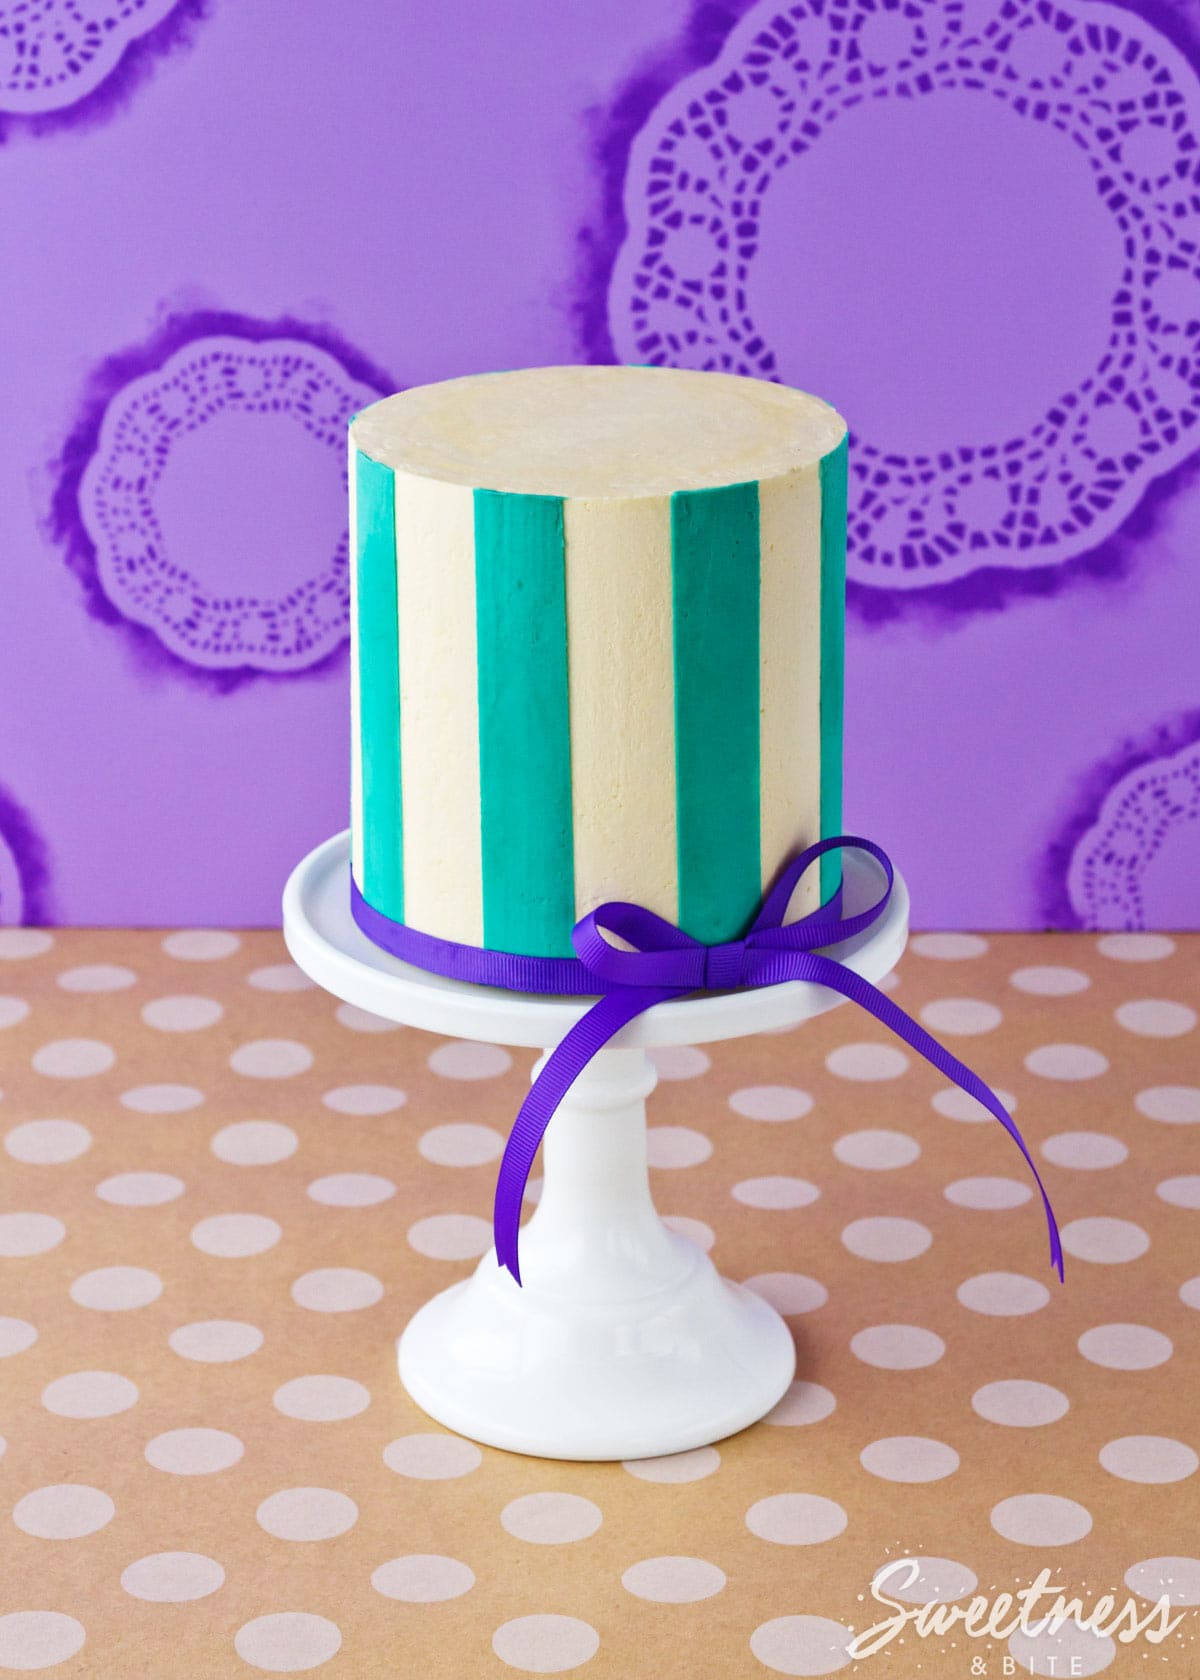
Perfect Buttercream Stripes {Part Two}
This post may contain affiliate links to products I recommend. I receive a small commission at no cost to you if you make a purchase using my link.
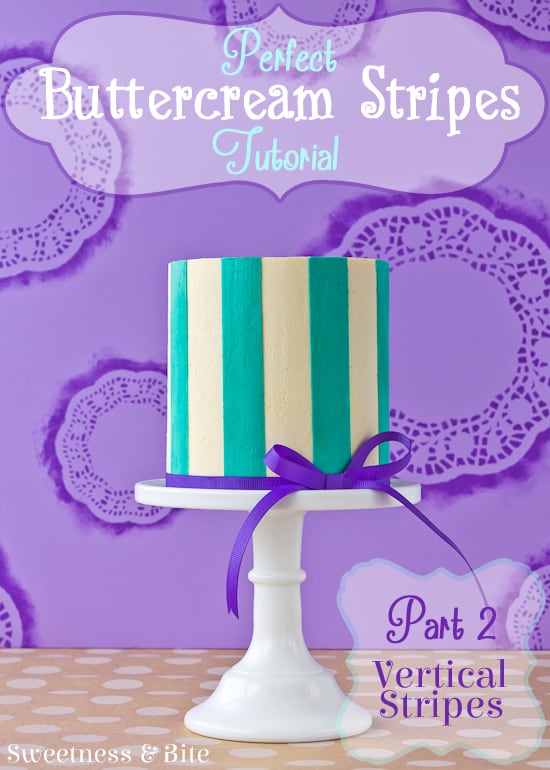
Vertical Buttercream Stripes
*
What you’ll need:
Your buttercream covered cake (my cake was a 5″ tall, 5″ round cake)
Buttercream (a few heaped tablespoons)
Gel food colouring
Waxed paper and/or baking paper
Plain white paper, pencil, ruler, protractor, cutting mat and blade/scalpel
Turntable
Setup board or cake board
Spatula/palette knife and a right angled scraper
Vegetable shortening (Crisco)
The waxed paper circle you cut out in part one (make sure this is cut out very carefully, if it’s too big it will make things tricky later on)
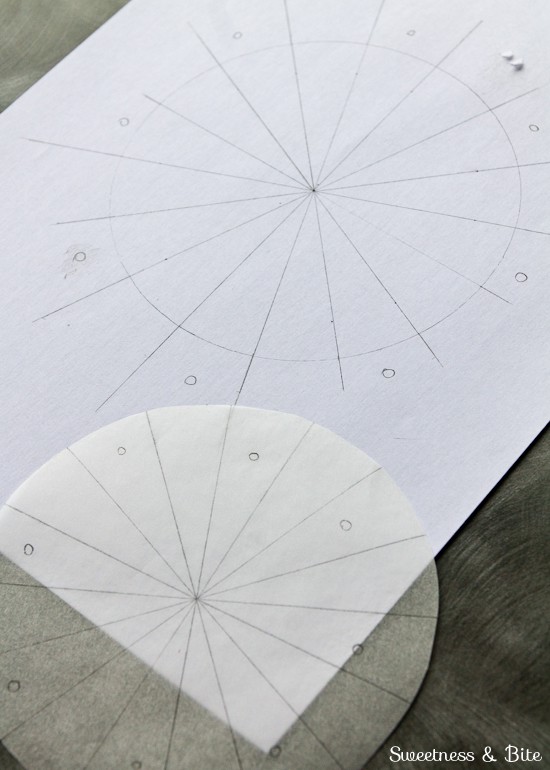
First off, you need to make your guides for placing your stripes. As I mentioned above, you could measure around your cake and mark it, but you may leave a whole lot of accidental marks on your beautifully smooth buttercream covered cake, and I found making a guide all around an easier option. You’re basically going to draw a pizza shape on a piece of paper, and each pizza ‘slice’ will guide you as to where to place your stripes. You’ll make one ‘pizza’ on a piece of plain paper, and the cake will sit on top of this. You’ll trace over that piece onto a circle of waxed paper, and that piece will sit on top of the cake. Once you line up the two guides, applying the strips is as easy as lining them up at the top and bottom.
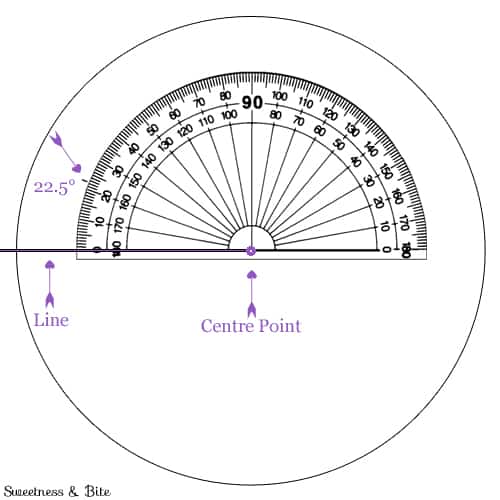
Grab the piece of paper that you drew an outline of your cake board on in Part One. Work out the circumference of your circle (I used this calculator, because maths and I do not get along. To me, ‘pi’ is just the first two letters of “pie”, and pie is for eating, not thinking.) Just put in the diameter of your cake, and it will tell you the circumference. So the circumference of 5” is 15.707 (the number goes on, but I won’t) and I rounded it up to 16. ~ So: 5″ cake, circumference = 15.707 (I rounded to 16″.) Now decide how wide you want your stripes to be. You need to find a stripe width that will make an even number of stripes, so that your colours will alternate. I decided I wanted 1” stripes, which made things super easy because the circumference was 16”, which meant my cake would have sixteen 1” stripes. ~ Circumference divided by the number of stripes desired = the width of your stripes. This is the bit that can sound a bit confusing, but it’s basically pretty easy. Divide 360 (as in degrees of a circle) by the number of stripes you’re going to have. For my 5” cake this gave me the number 22.5°. This is the angle that you will measure out with the protractor. ~ 360 divided by the number of stripes (in my case 16) = angle (in my case 22.5°) On your piece of paper with the circle outline, draw a line from the centre point out to the edge, and then extend it half an inch or so past the edge (so you’ll still be able to see it when the cake is sitting on top.) Place the cross of your protractor on the centre point, and mark your angle (in my case, 22.5°). If you’re a creative type like me and maths makes you cross-eyed, this is the reason why we’re thinking of it like a pizza slice. You’re just working out how big each of the slices needs to be. And to help, I fumbled together these images for you…
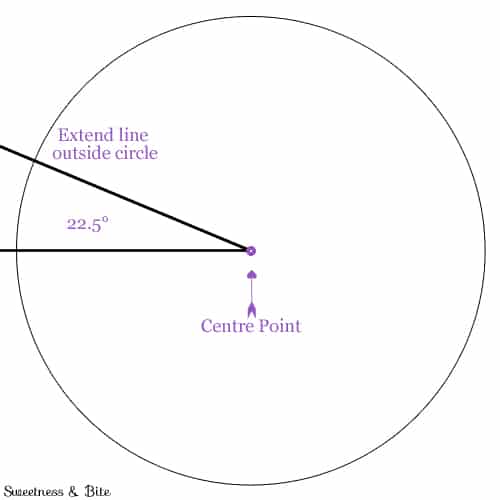
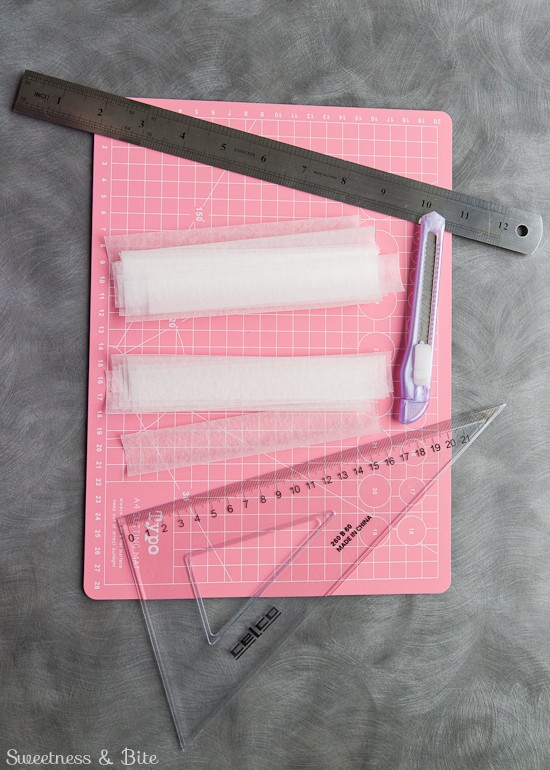
So now you have your two guides. Your cake will sit on top of the big template, and the waxed paper one will go on top of the cake. That’s the hard bit done, I promise! Use a straight angle (I used this plastic triangle thingie) to cut straight the torn edge of a piece of baking paper or waxed paper (if you don’t cut it straight your strips will be wonky). Cut out strips of the paper that are the width of your stripes and 1” or so higher than the height of your filled and iced cake. I knew the exact heights I wanted my cakes to be before I’d filled and iced them, but if you don’t know then just wait until after you’ve iced your cakes and measure them so you know how high your strips need to be. You will need half as many strips as you will have stripes, so I needed 8 strips for this cake. Do a few extras though, just in case. (I’ve got lots in this picture because I cut strips for the other tier at the same time.)
Tape your plain paper guide to your turntable, and place the chilled cake on top.
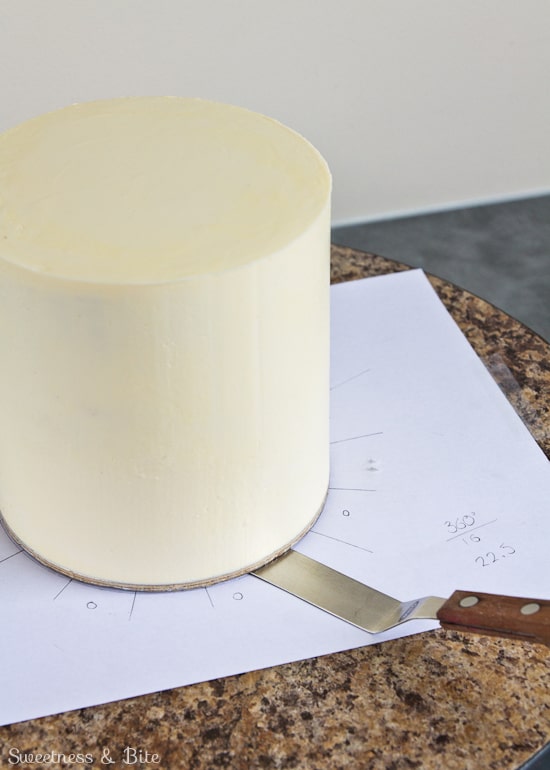
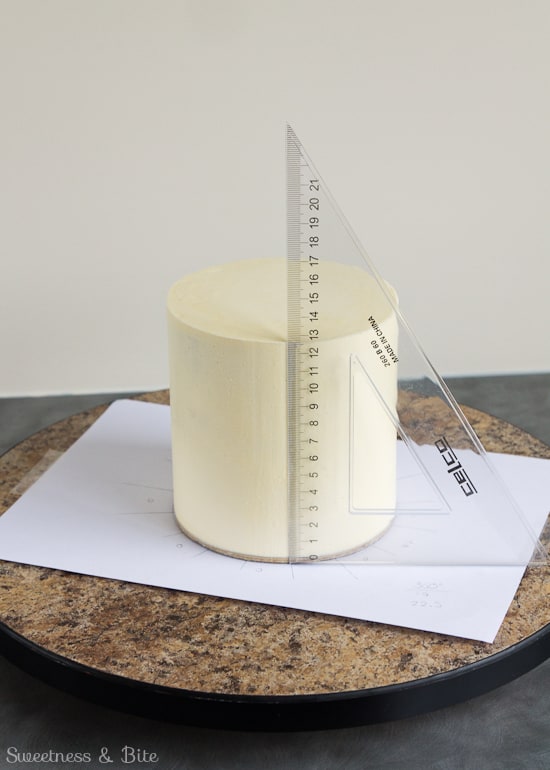
Take your waxed paper circle (the one with the lines marked) and spread the waxed side with a thin layer of shortening. Place the circle shortening side down onto the top of the cake, lining up one of the section lines with the line you marked on the buttercream. Remember to line up a marked section on the top with a marked section on the bottom. Be very careful when you place the circle, if it overhangs the cake too much in one area, then your stripes won’t sit flush with the top of the cake and you’ll risk the buttercream seeping underneath the paper. If it does overhang too much, then I’d suggest removing it and cutting out a new one.
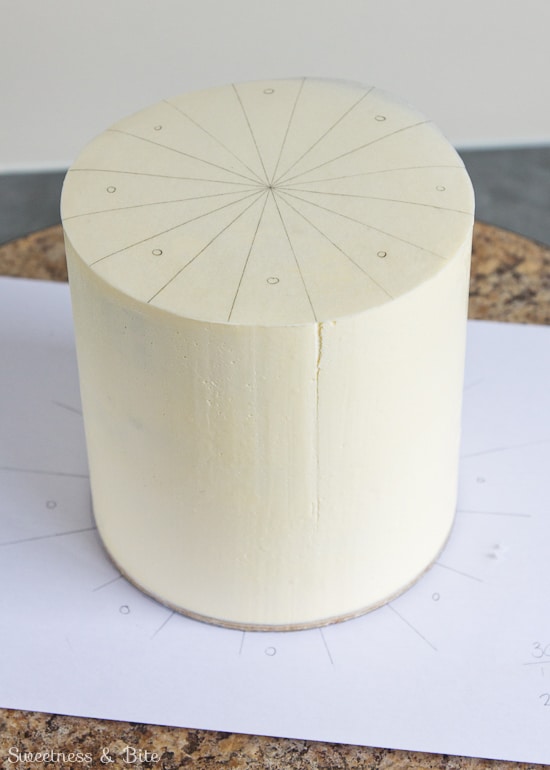
Grease the waxed side of each of your paper strips lightly with the Crisco. I started out doing this with a paper towel, but then realised using my finger meant I had more control over the amount of Crisco, and I could feel any spots that weren’t covered. Greasing the strips helps stop the buttercream coming away when you peel off the strips. Line up each strip on the cake. Start at the bottom edge, then line it up at the top and gently press the paper against the cake. Don’t panic if you mark the buttercream next to the strip, remember that area will be covered with your coloured buttercream.
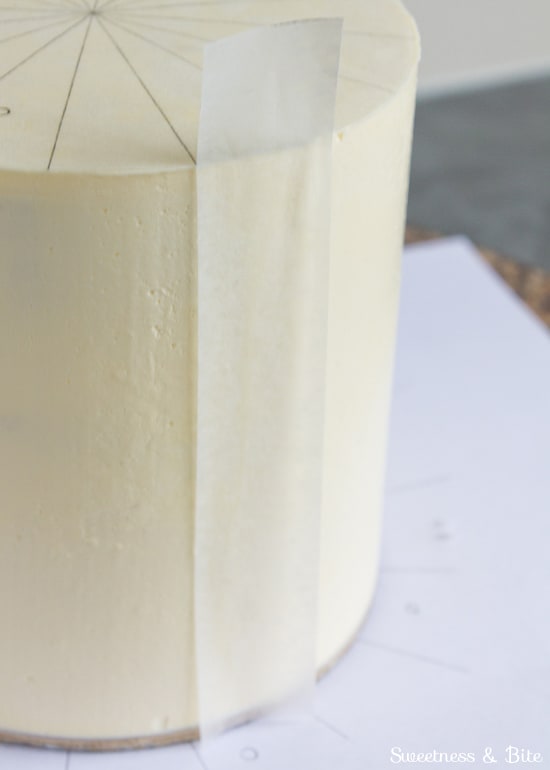
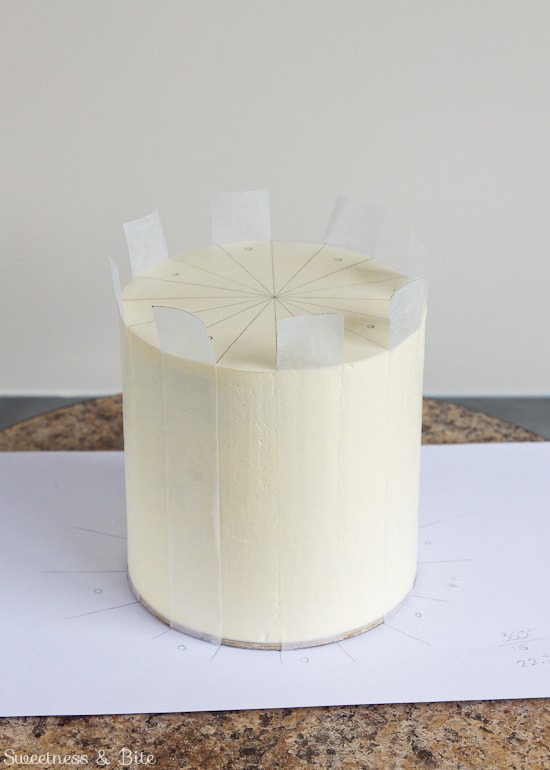
Colour two heaped tablespoons or so of your buttercream with the gel colours. Hold a little bit of the uncoloured icing back in case you decide you need to lighten then colour. Don’t be afraid to mix the colour in well, it’s actually good to beat out some of the air from the buttercream as it means you’ll be less likely to end up with air bubbles in your stripes. You want the buttercream to be the consistency of thick paint. I used Americolor turquoise and a drop of sky blue to get this shade. If you’re making a very dark colour you might want to leave the buttercream aside for a bit as the colour will deepen over time.
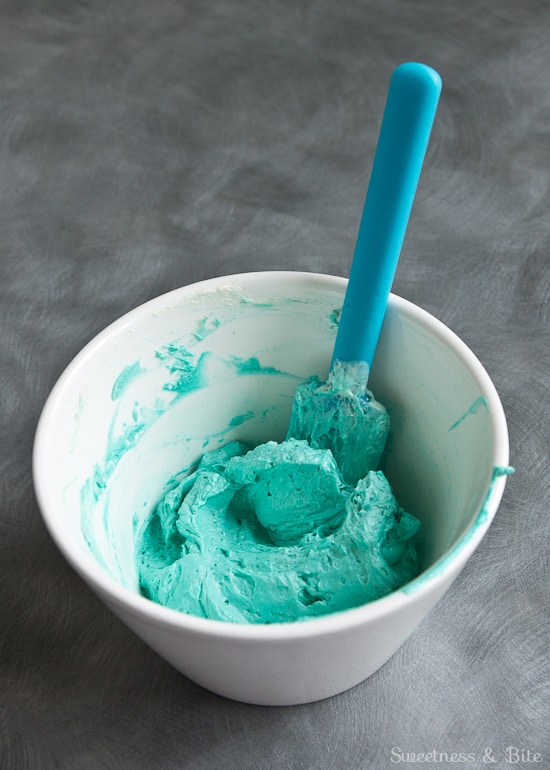
Use a small offset spatula to apply a thin layer of buttercream to the spaces between the strips. Before you start filling each section, press down the edges of the paper strips, this will help make sure the colour doesn’t bleed under the strips. Always use an up and down motion with the spatula, don’t go side to side. Be gentle as you get to the top edge, you don’t want to force buttercream under the top piece of waxed paper.
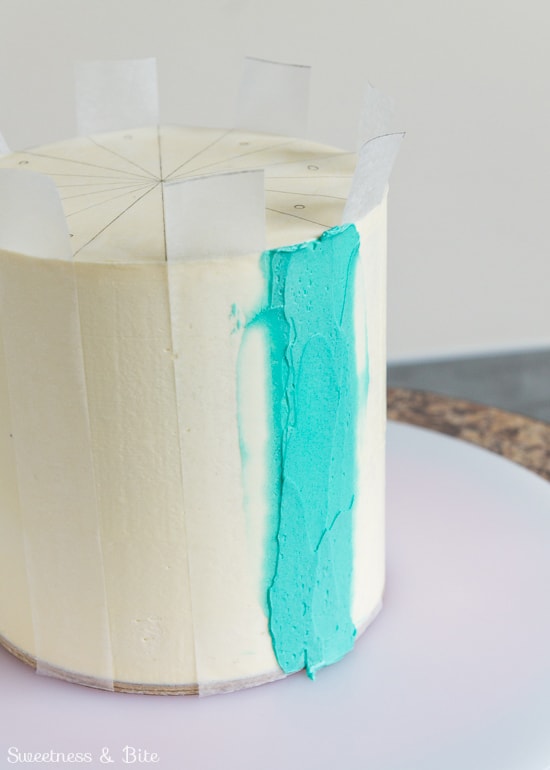
Continue around the rest of the cake, remembering to press down the paper strips before you start each stripe.
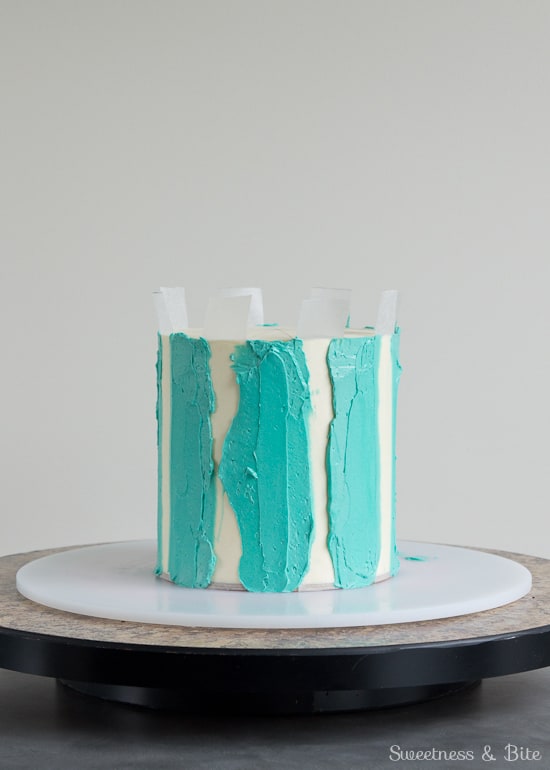
Once all of your stripes have a rough layer of buttercream, gently warm your straight angled scraper under warm water and dry it. Place it against one of the stripes and gently scrape away the excess. Don’t get the scraper too hot, (or press too hard) or you will remove all of the colour. It’s better to take a few light passes than one heavy one. Clean and dry the scraper after each pass. If you remove too much colour, just add a little bit more buttercream and scrape again. You can be as fussy as you like in smoothing the buttercream, I was pressed for time so I had to squash my obsessive compulsive tendencies and leave a few rough bits.
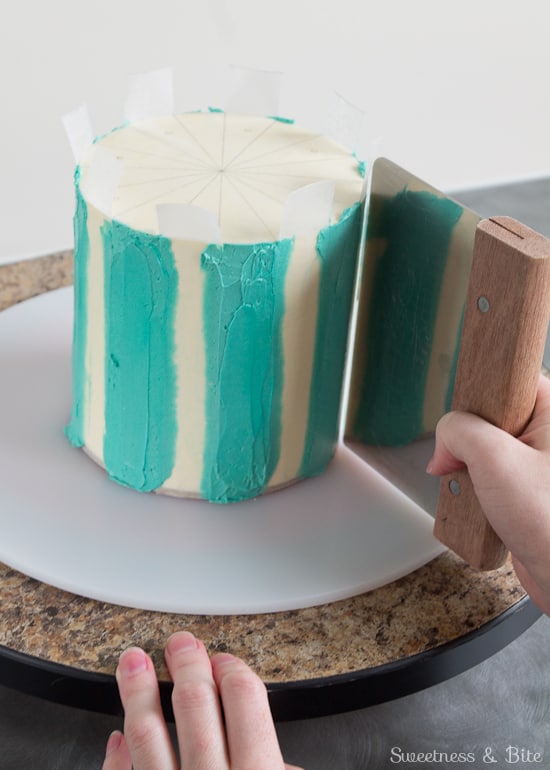
Use the spatula to smear any excess buttercream along the top edge onto the paper. This will make sure the tops of the stripes are smooth and flat.
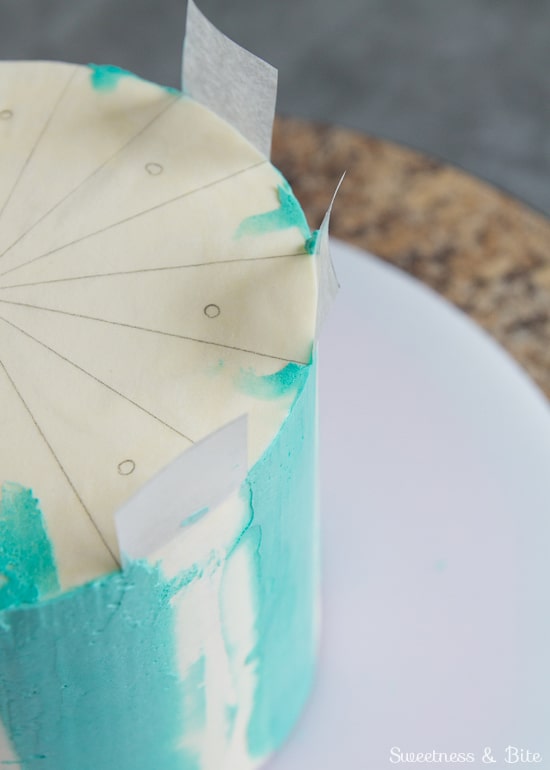
Chill the cake for ten minutes or so until the stripes have firmed up. Carefully peel away the strips.
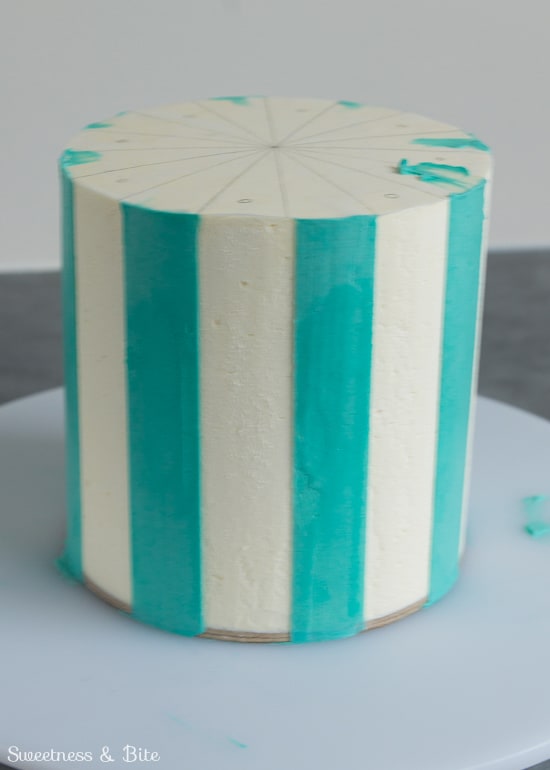
(Please excuse the blurry photo!)
Use the spatula to flick up one side of the top disc of waxed paper and peel that away too. If some of the buttercream comes away with the paper, you can fill these spots in and re-smooth them with the spatula. Use the tip of the spatula to remove any excess buttercream at the bottom of the stripes. Also, if it’s just a little rough, you can lightly wet your fingertip and rub the buttercream gently to smooth it.
If the buttercream has bled under the paper strips, you can use a very small spatula (I use a small artist’s palette knife) to gently scrape the coloured buttercream away. Remember, while we’re aiming for perfect stripes, if there does happen to be a slightly dodgy bit you can just use that as the back of the cake, or hide it with any further decorations you may be adding.
Chill the cake until the buttercream is firm again before transferring the cake to a cake board or stand, or stacking as part of a tiered cake.
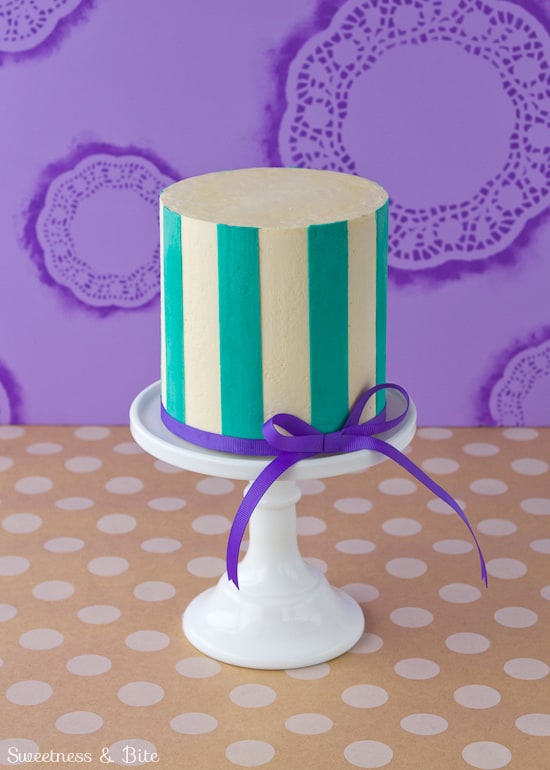
To cover up the visible cake board, I wrapped a piece of ribbon around the bottom of the cake, overlapping the edges at the back and securing it with a piece of double-sided tape. This is best done just before you serve the cake as the fat from the buttercream can soak into the ribbon. (If you look closely you’ll see it started to that while I was taking these pictures.) If you want to do it further in advance, then cut thin strips of waxed paper and stick them non-waxed side down onto the back of the ribbon with double-sided tape. This will prevent the fat soaking through.
I cut another piece of ribbon, tied a bow in it and attached it to the front of the cake with a little more double sided tape.
So there are your vertical stripes….
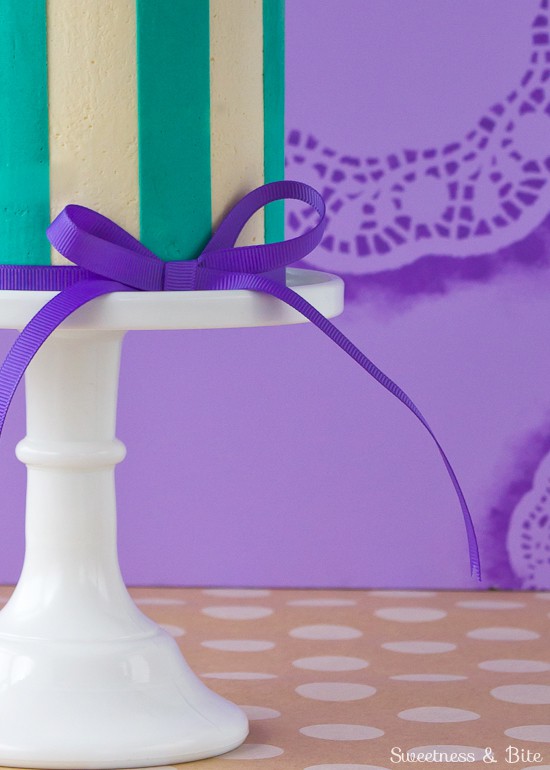
If you have any questions, please post them in the comments and I’ll do my best to answer them 🙂 Make sure to like my Facebook page so you don’t miss part three!
~Natalie
x

