Simple Stencilled Cake Board
This post may contain affiliate links to products I recommend. I receive a small commission at no cost to you if you make a purchase using my link.
Well hey there, you! I suppose you might remember me, from way back. Like two months ago, the last time I was talking to you on this here blog. It’s been a while.
Back then I had sworn off making cakes for people. I hadn’t been well (even less well than usual) and due to my ‘other illness’ – my ridiculously painful case of perfectionism, I find cakes rather stressful. So I’d been avoiding them. Just baking for fun, and making super simple cakes for family birthdays.
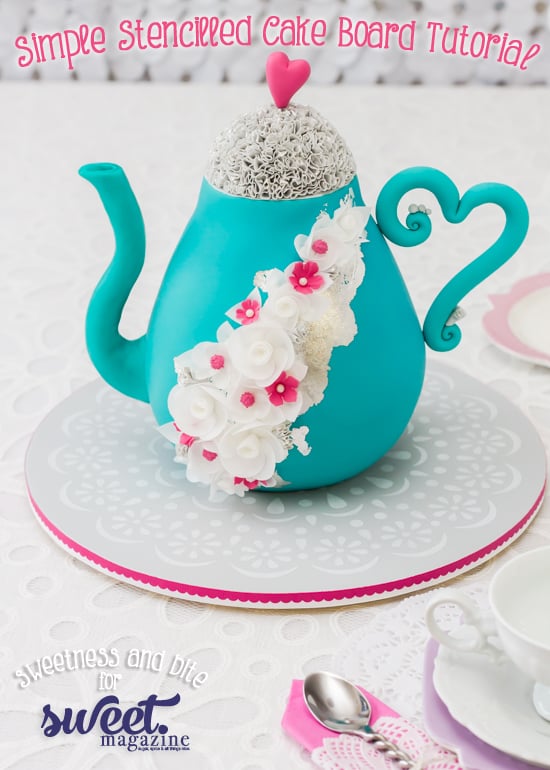
I had already decided to come out of cake hibernation at the end of May to make our littlest neighbour McKenzie’s first birthday cake, when the lovely editor of Sweet Magazine asked if I was interested in creating a teapot cake tutorial for their upcoming wedding issue. Annnnnnd, Lisa basically had me at ‘teapot’.
So there I was, breaking my self-enforced no cake policy, minus the medication that stops my heart from beating as though it is in a blind panic for no reason, (because the drug is not available here and the company that sends it to my cardiologist from Australia was, y’know, too busy to send?/on holiday and couldn’t send?/couldn’t be bothered sending?) it out to me, with two cake projects due within a week of each other. It was a super fun, relaxing few weeks. Er, no.
At first I thought my biggest problem with designing a teapot cake was too many ideas. Lisa gave me free reign, the only requirement being that it was a teapot cake suitable for a bride’s kitchen tea. I happen to love teapots in all shapes and forms, and I knew I wanted to create something that wasn’t the ubiquitous round/pumpkin shaped teapot. I wanted something a bit more elegant and suited to a wedding related event, but still a bit fun and with a touch of quirkiness.
Eventually I had the shape I liked sketched out, and a rough idea of the design. So I got into it, baking, carving, ganaching and covering the cake in fondant. And then I looked at it and realised my original design was going to look terrible. Awful. Downright dreadful. Ok, maybe it wouldn’t have completely ruined your eyesight if you’d looked at it, but I could just see that it wasn’t going to end up as fabulous as I wanted it to.
Panic.
By this time I had a week to get the teapot mostly finished and photographed before I needed to properly start on McKenzie’s cake, and I had a bare-bummed teapot body and NO CLUE what I was doing. I still had pieces of ideas floating around in my head but no solid idea of where to go from there.
Enter my shining cake angel, Loralee, on her delicate gumpaste wings. If you ask her, she will tell you she didn’t do anything much, but she lives ¼ of a country away from me, and she couldn’t actually see with her own eyes just how badly I was freaking out before she helped me get back on track. She made the mistake of asking me how the cake was going, and I told her how awful my idea was going to look. So she let me vent, and then we brainstormed.
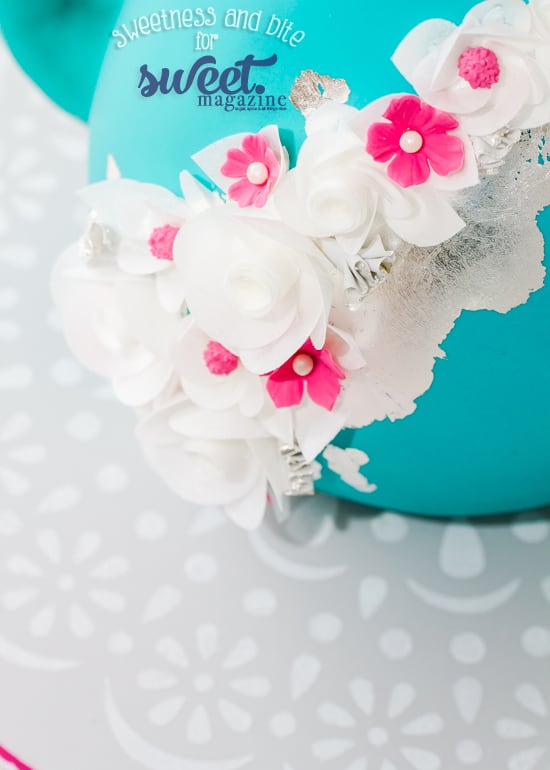
Loralee had already sent me a book of silver leaf sheets when I had talked about maybe using silver leaf but was worried the leaf I had ordered wouldn’t arrive in time (and it didn’t, it arrived the day I sent the tutorial off). Knowing that silver leaf and wafer paper flowers have been big trends in wedding cakes, it seemed like the answer had been staring me in the face. Once I was on track, the rest of the cake came together perfectly with the handle and lid from my original design.
And I’ve been itching to show it off to you guys ever since!
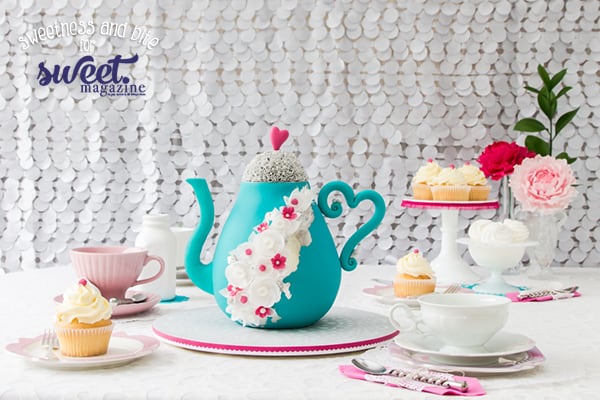
Want the step by step instructions on making this cake? Then you need to check out issue three of Sweet Magazine!
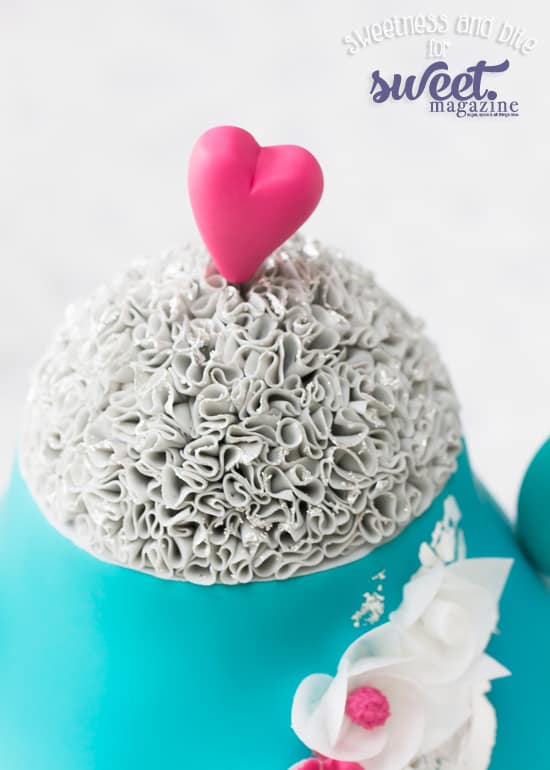
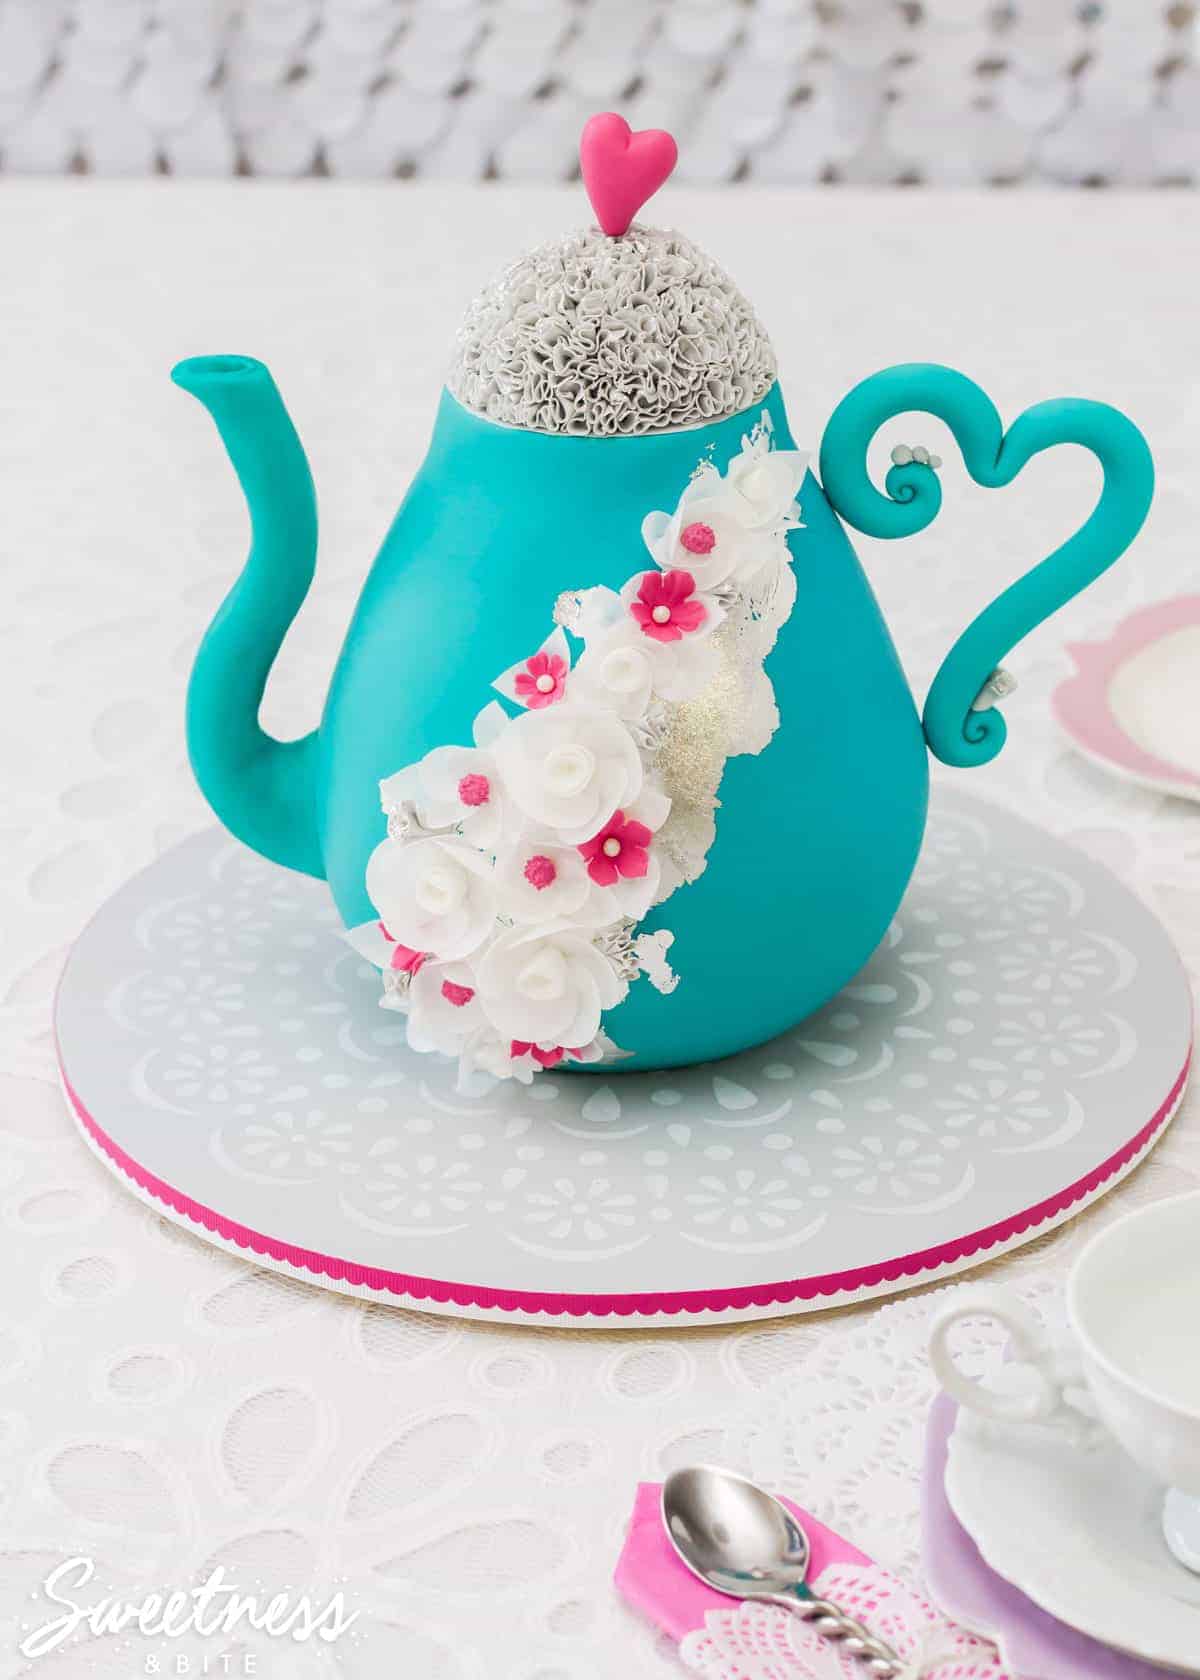
The tutorial covers everything from carving, ganaching and covering the cake in fondant, to making the ruffled lid, the handle and spout, applying the silver leaf and making the wafer paper flowers.
In fact, the only thing it doesn’t cover is the super simple stencilled cake board, only because I thought I was already pushing it with the huge number of photos I had sent in!
The board was by far the easiest part about the design of this cake. I’d spotted some 12” scrapbooking stencils in our local Spotlight store, and the doily one seemed absolutely perfect for this cake.
Decorating this board is actually so crazy easy that I almost feel silly writing about it. It doesn’t require any fancy tools, and instead of faffing about making royal icing, I mixed up a bit of white food colouring paint instead.
I’ve also included briefly how I add a centre dowel to a cake board, which I would usually only do for tiered cakes, however since the teapot was quite tall I decided to add a dowel just to make it a little more stable.
What You’ll Need:
12” cake board
Cleats
12” scrapbooking stencil
Fondant and a little tylose, plus rolling pin and other tools for covering a cake board in fondant
White powder food colouring (and other colouring, if desired)
Vodka (or water, but vodka is best)
Makeup sponges
Tape
(Dowel, hot glue and a spirit level, if centre-dowelling)
If you’re adding a centre dowel, then start by drilling a hole in your cake board, the same size as the diameter of the dowel you’re going to use. You want the dowel to fit very snugly into the hole.
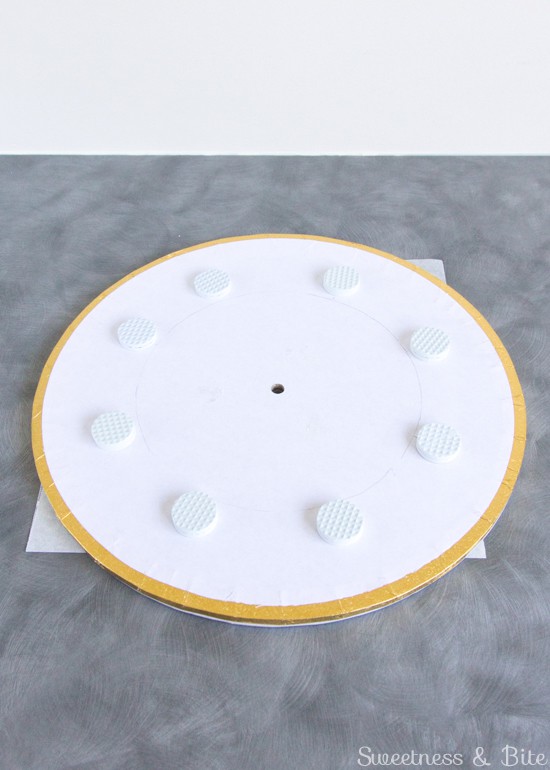
Add some ‘feet’ or cleats to your cake board. These could be anything that will raise your board up off the table, I use self adhesive furniture skid protectors. Space them out evenly around the bottom of the board, and at least 2” in from the edge of the board.
Knead a sprinkle of tylose into your fondant, and roll it out until it is 3-4mm thick, and large enough to cover the board. Lightly brush the cake board with water then lay the fondant on top and smooth it out, removing any air bubbles. Trim the fondant neatly around the edge. To do this, I pop the board up on an icing bucket (secured underneath with non-slip mat) and use a sharp knife that I have smeared with shortening to cut the excess fondant away. The shortening helps stop the fondant from sticking to the knife, but if bits do start to stick then just wipe ’em off on a bit of paper towel. Hold the knife upright and flush with the board to get a nice, straight, neat cut.
If you have drilled a hole in the board, then use a scalpel or craft knife to cut away the fondant covering the hole.
If you want to you can roll out a piece of the excess fondant and leave it on a piece of baking paper to dry, and you can use that to test out your paint and sponge before you start on the board.
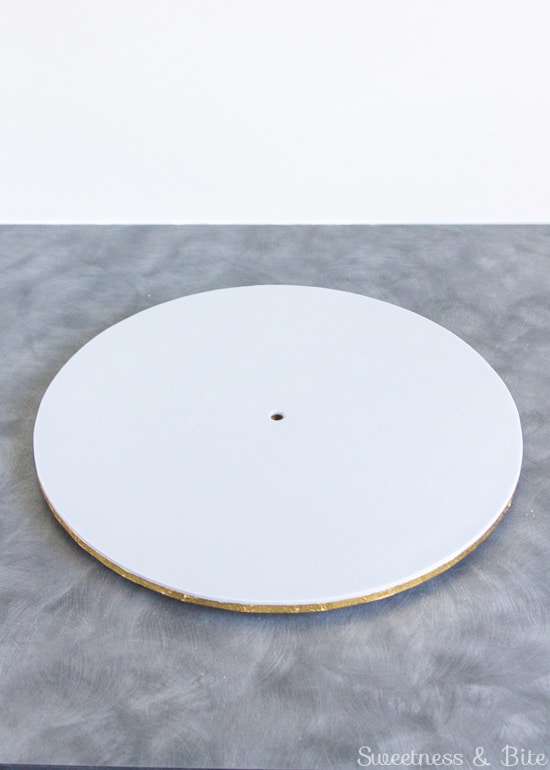
Let the fondant dry at least overnight (a couple of days is better). Check it by pressing the fondant firmly in the middle of the board (or wherever you know your cake will be sitting on the board). If your finger doesn’t leave a dent then it’s dry enough to stencil.
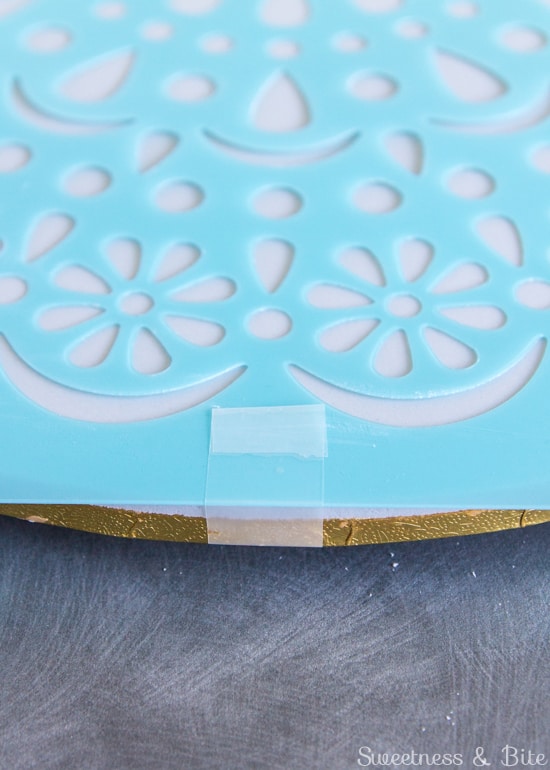
Place your stencil onto the board, and very carefully tape the stencil onto the board. Because my board and stencil were the same size, I could tape over the edge of the board, so the tape only touched the board and edge of the fondant, not the top of the fondant. If your stencil is smaller than the board you may be better off trying a low-tack masking tape instead. Make sure your fondant is very dry, and be very careful you don’t damage the fondant with the tape.
Mix some white powder food colouring with a little vodka (or water) to make a thick paint. If you want to make coloured paint, then add a little powder or gel colour now. If you rolled out a test piece of fondant then you can use your sponge to dab on a bit of paint to check that it is opaque enough.
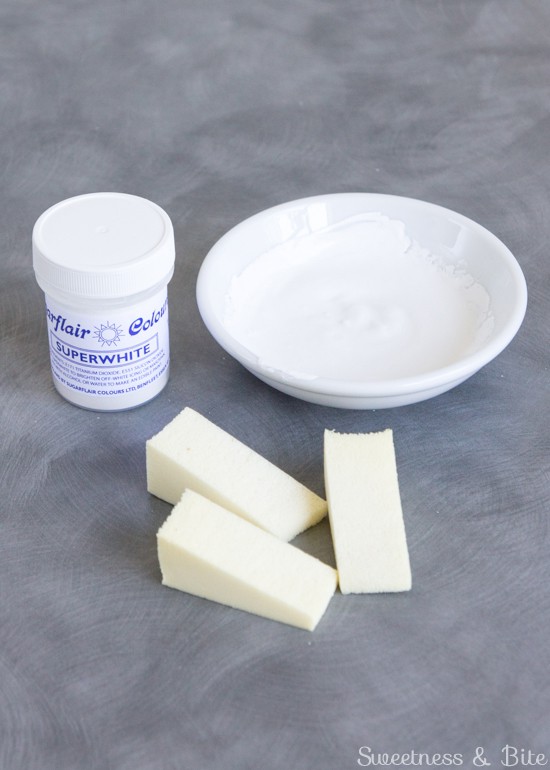
Start applying the paint in the middle of the stencil, using a quick dabbing motion. You can choose to go lightly over each section and leave it speckled with paint, or go over it several times to fill it in completely. (Mine was somewhere in between)
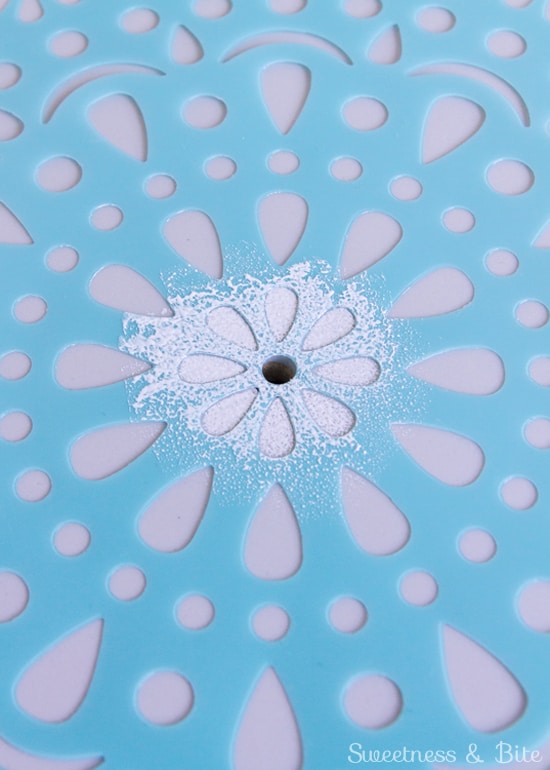
After a time the sponge will start to soak up the vodka or water, so you can either dry it out on some paper towels or be lazy (er, time efficient) like myself and just use a fresh sponge. I used three sponges to cover the pattern of my stencil.
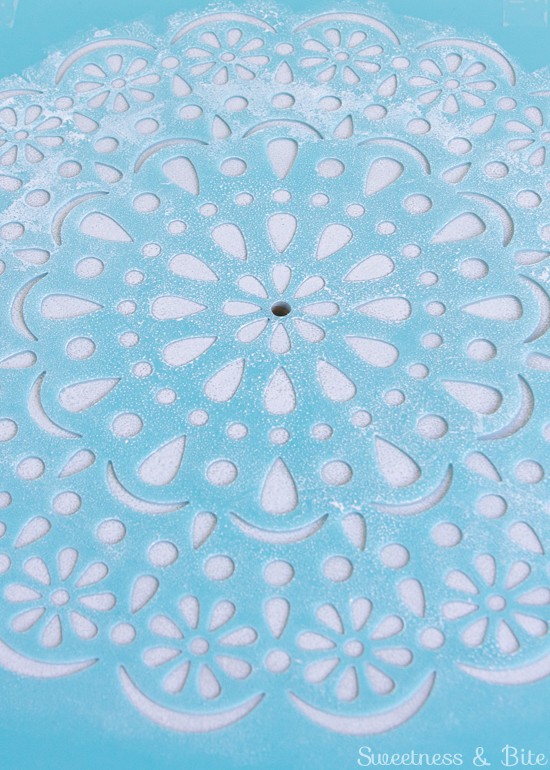
Leave the stencil in place for a couple of minutes then very, very carefully remove the tape, trying not to move the stencil until all of the tape is removed. Then lift it upwards, trying not to drag it through the paint.
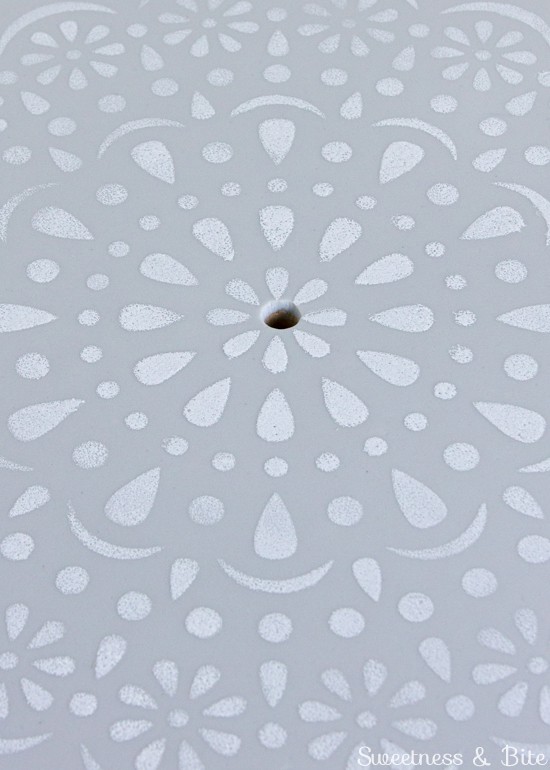
If the paint has bled under the stencil a little bit, dip a fine paintbrush in vodka or water, dab it a little on a paper towel so it isn’t too wet, and use it to gently erase the rough edge.
Leave the paint to dry.
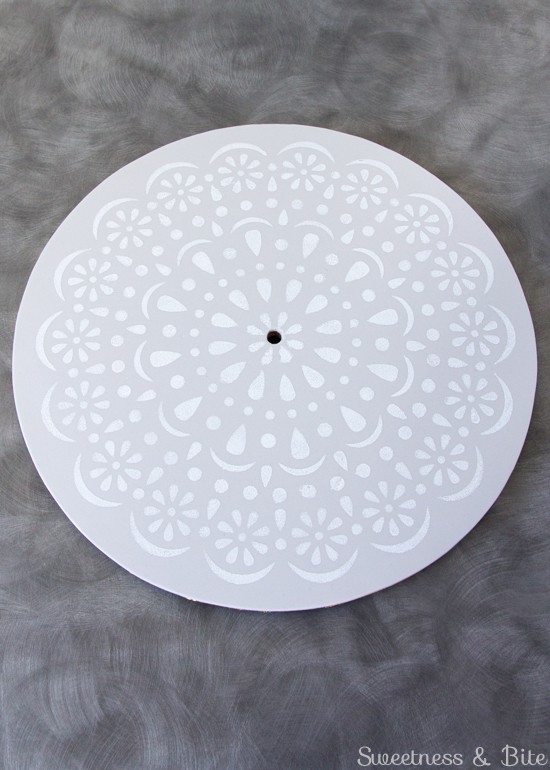
If you’re adding a centre dowel, insert this down until it touches your work surface, then flip the board over and use hot glue to secure the dowel. While the glue is still soft, use a spirit level to make sure the dowel is straight.
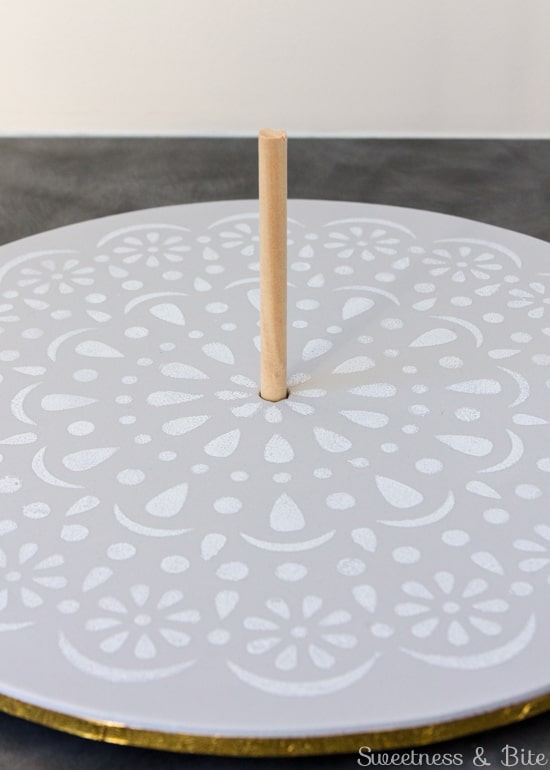
Then all that is left to do is trim the board with ribbon (check out my paper doily cake board post for tips on this).
Pop your cake on top and then make sure you tell everyone that you totally hand-painted the board. With no template. And with one hand tied behind your back.
Go on, I won’t tell them the truth.
~Natalie
xx
